If you color your hair at home, congratulations: you are brave, ambitious, and probably one rogue drip away from accidentally dyeing your forehead “midnight espresso.” Hair dye on skin is incredibly common, especially around the hairline, ears, neck, hands, and nails. The good news? Most stains are temporary, and in many cases, you can fade or remove them with simple items already sitting in your bathroom or kitchen.
The trick is not to panic and attack your face like you are sanding a deck. Hair dye stains usually respond best to gentle, low-drama methods first. Think warm water, oil-based products, and mild cleansers. Stronger scrubs and solvents can sometimes work on hands or nails, but on delicate facial skin, they can create a much bigger problem than a little leftover color.
In this guide, you will learn exactly how to remove hair dye from skin using six easy DIY methods, plus when to stop, what to avoid, and how to prevent the next “why is my ear auburn?” moment from happening again.
Why Hair Dye Stains Skin in the First Place
Hair dye is designed to deposit pigment and hang on. That is literally its whole personality. When it lands on your skin, especially if it sits there while the color develops, some of that pigment can cling to dead skin cells on the surface. The stain usually looks worst around the hairline and ears because those areas catch drips, while hands and nails often get stained during application.
Fresh dye is much easier to remove than dried dye. So if you catch a smudge early, your odds improve dramatically. If it has already dried, do not worry. You still have options. You just need patience, a light touch, and a refusal to turn a minor stain into an angry rash.
Method #1: Soap and Warm Water
Best for: Fresh stains on the face, hairline, ears, neck, and hands
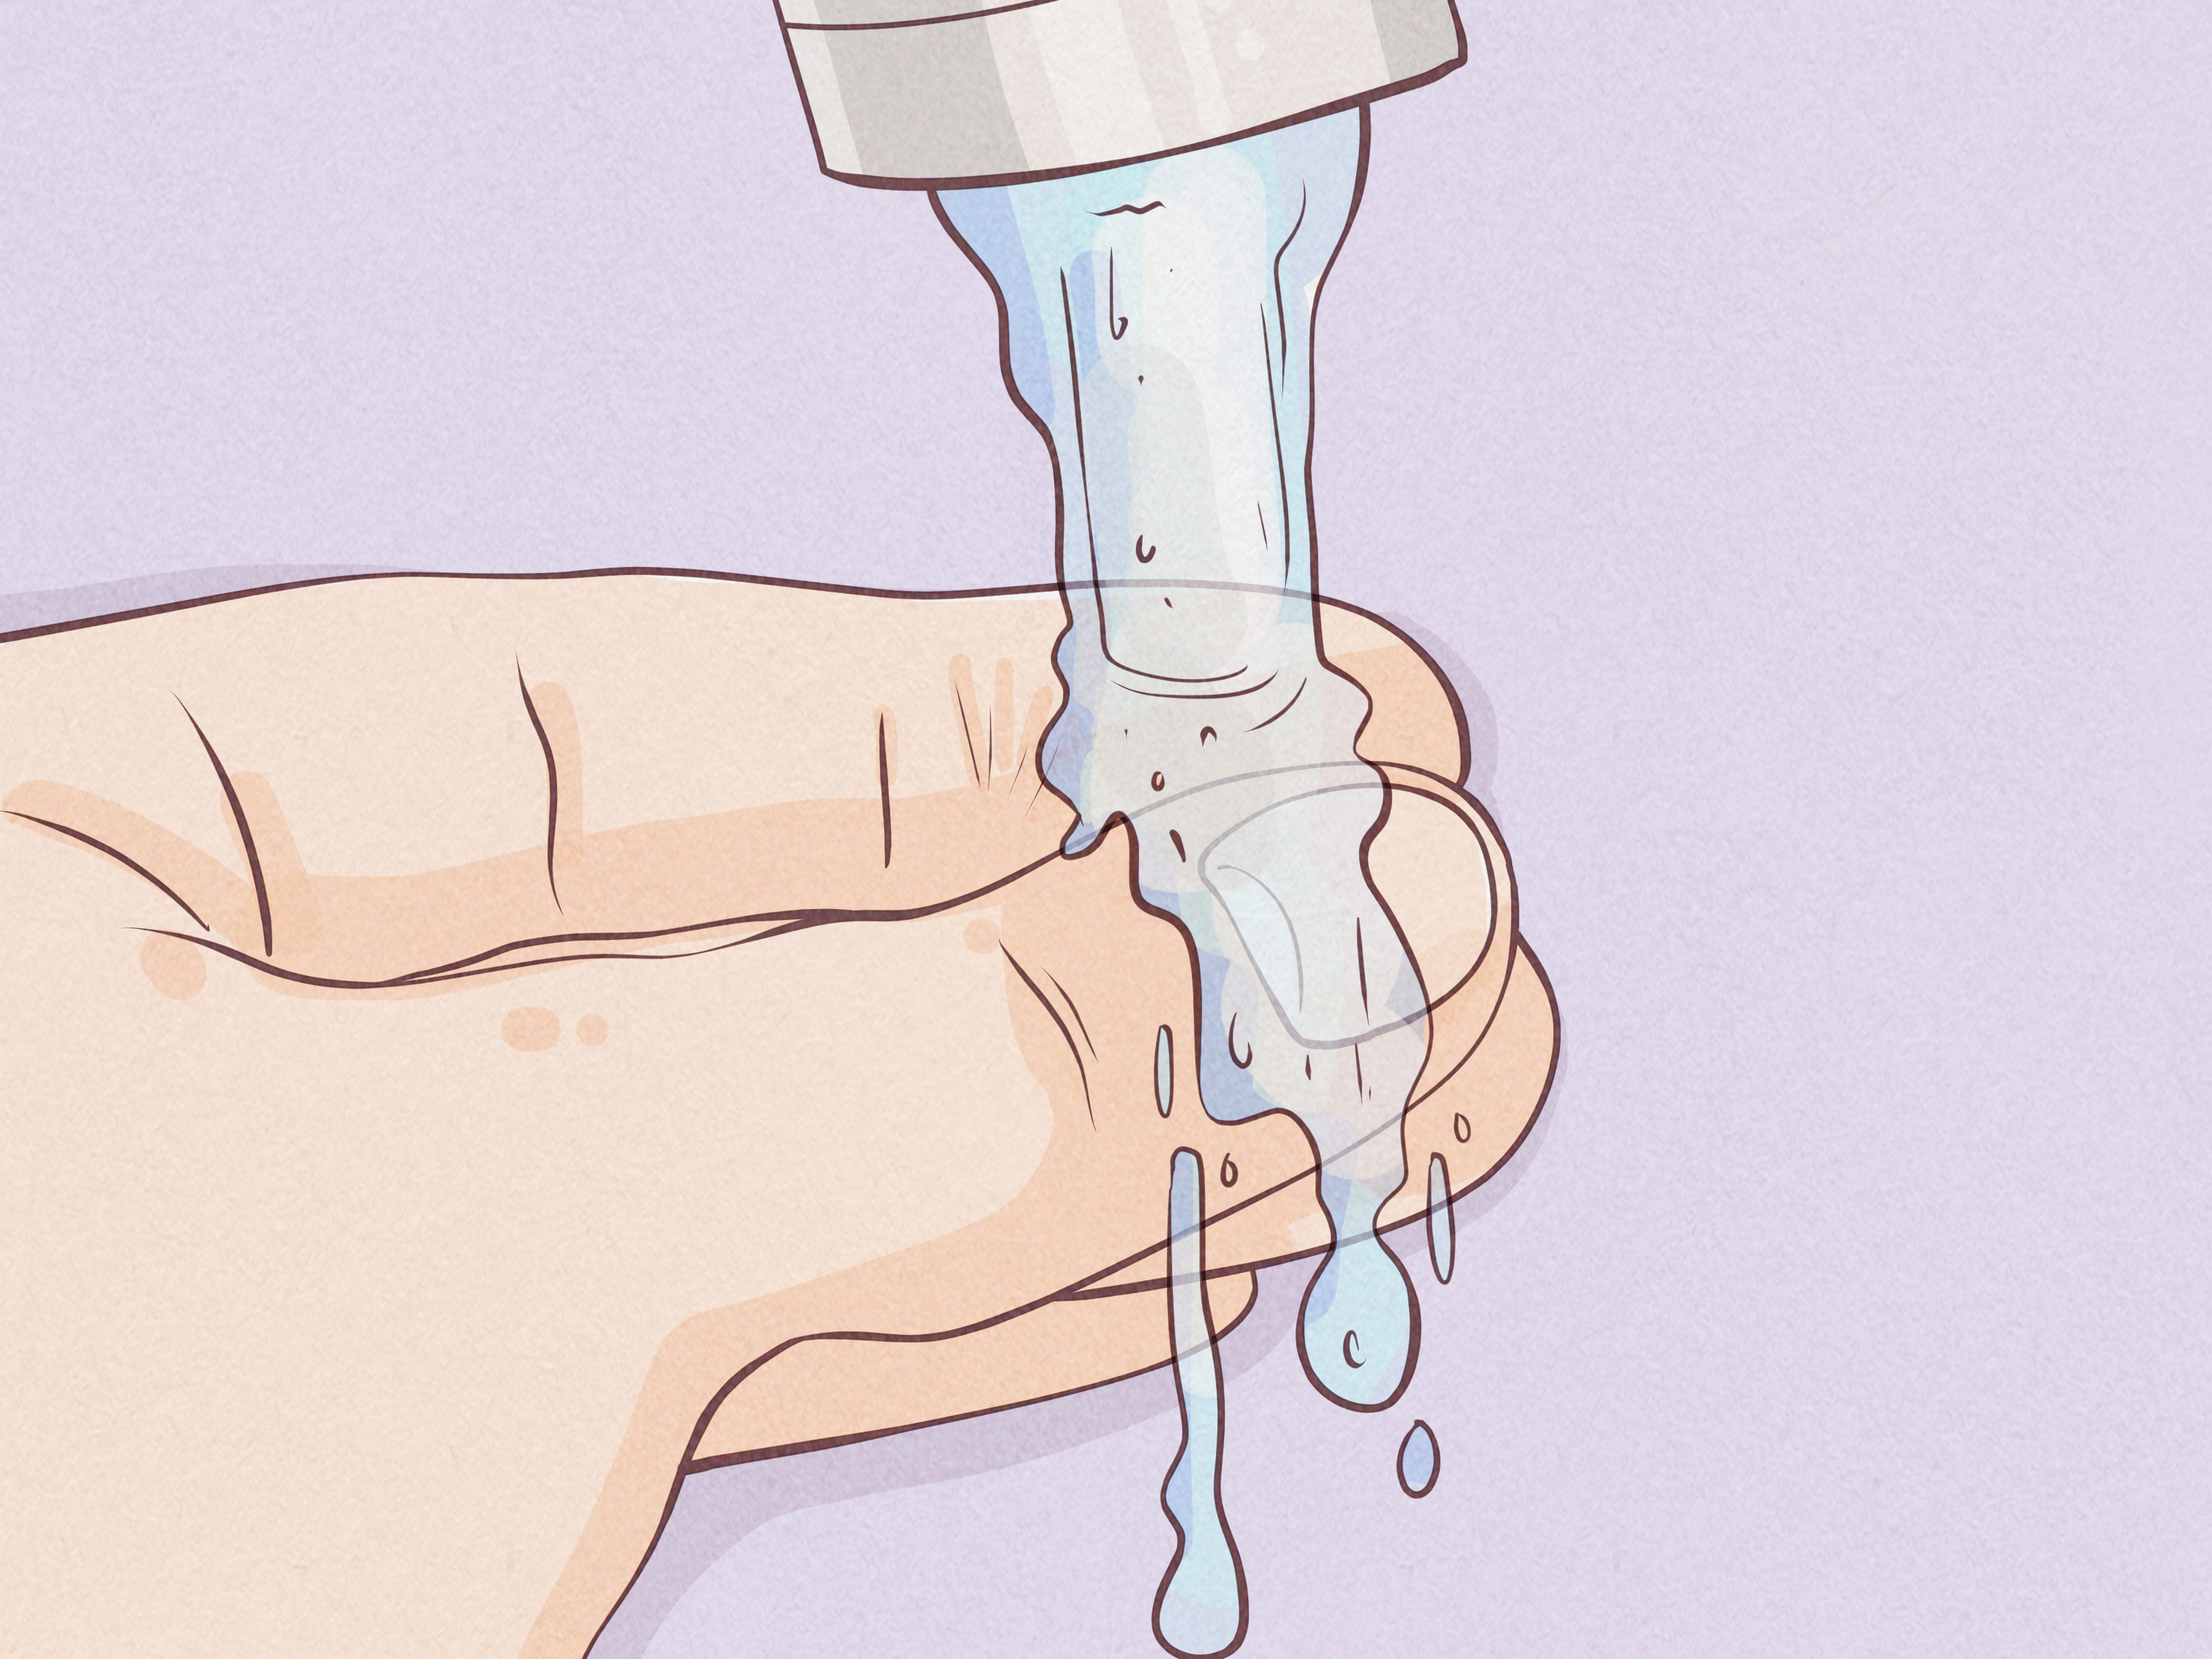
This is the first thing to try because it is gentle, accessible, and often surprisingly effective when the stain is new. Use a mild hand soap, facial cleanser, or body wash with warm water. Wet the area, lather gently with your fingertips or a soft washcloth, and rinse. Repeat once or twice if needed.
If the dye is still damp, this may be all you need. For the hairline, a damp cotton pad can help target the stain without spreading it around. On the face, keep your touch light. The goal is to lift the color, not exfoliate your identity off.
Pro tip: If you just finished applying dye and notice a smudge, wipe it away right away instead of waiting until the end of processing time. Quick cleanup is your cheapest beauty hack.
Method #2: Petroleum Jelly
Best for: Hairline stains, ears, neck, hands, and prevention before coloring
Petroleum jelly is a classic for a reason. It acts like a barrier before dyeing, and after the fact, it can also help loosen and lift pigment from skin. Dab a small amount onto the stained area, massage gently in circular motions for 30 to 60 seconds, then wipe away with a soft tissue, cotton pad, or damp cloth. Wash the area afterward with mild soap and water.
This method is especially useful around the hairline, where skin can be more sensitive and scrubs may be too harsh. It is also handy around nails and cuticles, where dye loves to set up permanent residency.
If you are using petroleum jelly before dyeing, apply a thin layer around your hairline, ears, and the back of your neck. Just keep it off the actual hair strands, unless your goal is “patchy but mysterious.”
Method #3: Oil-Based Removal With Olive Oil, Coconut Oil, or Baby Oil
Best for: Dried stains and sensitive areas
Oil-based products are a smart next step when soap and water are not enough. Olive oil, coconut oil, baby oil, or even a thick fragrance-free moisturizer can help break down stubborn residue while being gentler than abrasive scrubs.
Apply a small amount to the stain and massage it in gently. Let it sit for a few minutes, or even overnight for tougher spots on hands or around the hairline, then wipe it away and wash with a mild cleanser. This works especially well if your skin is dry or easily irritated, because oils add slip and moisture instead of stripping everything in sight.
This is one of the friendlier options for facial skin. It may not erase a very dark stain in one pass, but it often fades it enough that a second gentle cleanse finishes the job.
Method #4: Micellar Water or Waterproof Makeup Remover
Best for: Face, forehead, temples, and around the ears
If a product can take off long-wear mascara, it can sometimes help with hair dye, too. Micellar water and oil-based waterproof makeup removers are useful for small stains on delicate areas, especially near the face. Saturate a cotton pad and press it against the stain for a few seconds before wiping gently.
This method works well for people who do not want to experiment with pantry ingredients on their cheeks. It is also practical if you already have micellar water in your bathroom and prefer skincare-adjacent solutions over DIY chemistry hour.
Afterward, rinse or wash the area and apply a little moisturizer if your skin feels dry. If you are working near the eyes, be careful and avoid getting product into the eyes themselves.
Method #5: Non-Gel Toothpaste
Best for: Small, stubborn stains on thicker skin
Toothpaste is one of those beauty hacks that sounds slightly suspicious until it works. A small dab of non-gel toothpaste can help loosen hair dye because many formulas contain mild cleansing or gently abrasive ingredients. Put a tiny amount on the stain, rub carefully with a cotton swab, clean washcloth, or your fingertip, then rinse thoroughly.
The important word here is gently. Toothpaste can be drying, and aggressive rubbing can irritate skin fast. It is usually better for hands, fingers, or along the hairline than for very sensitive facial areas.
If your skin starts to sting, burn, or turn red, stop immediately and wash it off. Follow up with a fragrance-free moisturizer. This is not the moment to “push through.” That strategy belongs in spin class, not skincare.
Method #6: Baking Soda and Dish Soap Paste
Best for: Hands, fingers, and nails only
When the stain has really settled into thicker skin, a paste made from baking soda and a few drops of gentle dish soap can help. Mix enough to form a spreadable paste, apply it to the stained area, and rub softly in circular motions for a few seconds before rinsing with warm water.
This method can be effective because baking soda provides mild physical exfoliation while the soap helps break down residue. But it is not the best choice for your face. On delicate skin, this combo can feel too abrasive and leave you red, dry, or irritated.
Use it on hands and nails only, and keep the contact brief. If your skin is cracked, sensitive, or already irritated, skip this one and go back to oil or petroleum jelly.
What About Rubbing Alcohol, Nail Polish Remover, or Other Stronger Fixes?
These options do show up in some stain-removal advice, but they deserve a giant caution label. Rubbing alcohol can sometimes help remove very stubborn dye from hands, and acetone-based nail polish remover may work on fingertips or nails. But both can be intensely drying and irritating.
They should not be used on the face, around the eyes, or on irritated skin. Even on hands, they should be used sparingly, followed by immediate washing and moisturizing. If you have eczema, sensitive skin, cuts, or any sign of irritation, skip them entirely. A temporary stain is annoying; a chemical burn is a full-blown side quest nobody asked for.
How to Prevent Hair Dye From Staining Skin
Prevention is wildly less annoying than scrubbing your ear for 20 minutes. Before your next dye session, try these simple steps:
1. Create a barrier
Apply petroleum jelly, a thick ointment, or a rich cream around your hairline, ears, and back of the neck. Keep it on the skin, not the hair.
2. Wear gloves
Yes, the flimsy gloves in the box count. Better than nothing. Use them from the minute you start mixing color until the cleanup is done.
3. Keep a damp cloth nearby
If dye drips, wipe it off immediately. Fresh color is much easier to remove than dried pigment.
4. Clip hair up while it processes
This helps reduce streaking down the neck and ears. Gravity is not your friend during color processing.
5. Do a patch test every time
Even if you have used the same brand before, follow the package instructions and patch test each time. Hair dye can trigger irritation or allergic reactions, and you do not want to discover that halfway through becoming “soft copper brown.”
When a Stain Is More Than a Stain
Sometimes the issue is not the pigment. It is your skin reacting to the product. If you notice redness, burning, swelling, itching, rash, blistering, or flaky irritated skin, you may be dealing with contact dermatitis or an allergic reaction rather than a simple stain. Stop using the product and rinse the area thoroughly with water.
If dye gets into your eyes, rinse with lukewarm or room-temperature water for at least 15 minutes and seek help right away if pain, redness, or blurred vision continues. And if you develop facial swelling, lip or tongue swelling, wheezing, or trouble breathing, treat it as an emergency.
How Long Does Hair Dye Stay on Skin?
Even untreated stains usually fade as your skin naturally sheds dead cells. Lighter stains may disappear in a day or two. Darker dyes, especially black, red, or deep brown shades, may hang on longer. Permanent dye can linger for several days, sometimes more, depending on the formula, how long it sat on your skin, and where it landed.
That is why gentle persistence beats one aggressive scrub session. A mild method repeated once or twice is often more effective than going nuclear and ending up with irritated skin.
Real-Life Experience: What People Usually Learn After a Hair Dye Mishap
If you have ever colored your hair at home and then caught your reflection looking like you lost a fight with a chestnut marker, you are not alone. The most common experience people describe is that the stain always looks worse in the first hour than it does the next morning. That is good news, because panic tends to make people scrub too hard, and over-scrubbing is often what turns a cosmetic annoyance into a skin problem.
A lot of people learn the same lesson the hard way: the best time to deal with a dye smudge is immediately. Someone starts with great intentions, gets halfway through applying color, notices a little dot on the temple, and thinks, “I’ll clean it later.” Later arrives, the dye has dried, and suddenly that dot has become a proud little badge of poor planning. Warm water and a cotton pad would have handled it in seconds at the beginning, but now it takes several rounds of a gentler remover.
Another very common experience is discovering that the face and hands behave completely differently. What works on fingers or cuticles can be a terrible idea on the cheeks. Plenty of people try a stronger DIY trick on facial skin because it worked beautifully on their hands, only to end up with dryness, redness, or stinging. The skin on the face is simply less forgiving. That is why oils, micellar water, or petroleum jelly tend to get such loyal fans for hairline cleanup.
People also notice that darker shades are the clingiest offenders. Black, deep brown, burgundy, and vivid reds often leave the most obvious marks, especially around the ears and along the back of the neck. The experience here is less “instant miracle” and more “steady fading with smart cleanup.” In other words, if a single pass with olive oil or cleanser does not remove everything, that does not mean you failed. It usually means the stain needs another gentle round, not a harsher attack.
There is also a very specific emotional experience that deserves recognition: the fear that the stain will last forever. It almost never does. Most people find that once they stop overworking the area, keep it clean, and use one or two sensible methods, the remaining color fades with normal washing. What feels like a beauty emergency at 8:15 p.m. often turns into a faint shadow by the next day.
And then there is the ultimate veteran move: prevention. People who have had one memorable dye mishap rarely skip the petroleum jelly barrier, gloves, or cleanup cloth the next time around. Nothing teaches hair-color discipline quite like realizing your ear matches your roots.
Final Thoughts
When it comes to how to remove hair dye from skin, the best approach is simple: start gentle, work quickly, and do not let a tiny stain convince you to wage war on your face. Soap and warm water, petroleum jelly, oils, micellar water, toothpaste, and a baking soda-dish soap paste for hands can all help, depending on where the stain is and how sensitive your skin is.
If your skin feels irritated, switch gears. A stain is temporary, but inflamed skin can linger longer than the evidence of your DIY color adventure. And if you notice rash, swelling, eye exposure, or breathing symptoms, stop treating it like a beauty issue and treat it like a medical one.
With the right method and a little patience, most hair dye stains come off without much drama. Your skin can return to normal, your hair can remain fabulous, and your forehead can stop cosplaying as part of the color chart.
Note: This article is for informational purposes only and is not a substitute for medical advice. Stop any method that causes burning, stinging, or worsening redness. Seek urgent medical help for eye exposure, facial swelling, or trouble breathing.