There is something wonderfully chaotic about Halloween decorating. One minute you are placing a tasteful pumpkin on the porch. The next minute you are hot-gluing wings onto a gourd and whispering, “Fly, my fuzzy orange minion.” That is the magic of DIY pumpkin bats: they are inexpensive, goofy in the best possible way, and spooky enough to make your front porch look like it has joined a tiny bat convention.
This easy Halloween craft turns ordinary pumpkins into winged creatures using paper, felt, paint, glue, and a pinch of artistic mischief. You do not need carving skills, a workshop, or a dramatic thunderstorm in the background. A few supplies and a little imagination are enough to create pumpkin bat decorations for your porch, mantel, party table, classroom, or front steps.
Better still, this project can be adapted for nearly every Halloween style. Make sweet little bats for a kid-friendly display, dramatic black bats for a haunted-house porch, or glittery purple bats for people who believe every holiday deserves at least one unnecessary sparkle explosion.
Why DIY Pumpkin Bats Are Perfect Halloween Decor
Pumpkin bats are one of those rare Halloween decorations that look impressive without requiring a complicated tutorial, expensive supplies, or a degree in Advanced Witchcraft. They combine two Halloween classics: pumpkins and bats. The result is a decoration that feels festive, playful, and just creepy enough to make your neighbors pause before grabbing their mail.
A no-carve pumpkin bat craft is also less messy than carving a jack-o’-lantern. Instead of scraping pumpkin guts out of your sleeves for three business days, you can paint the pumpkin, add wings, and move directly to the fun part: giving it a ridiculous personality.
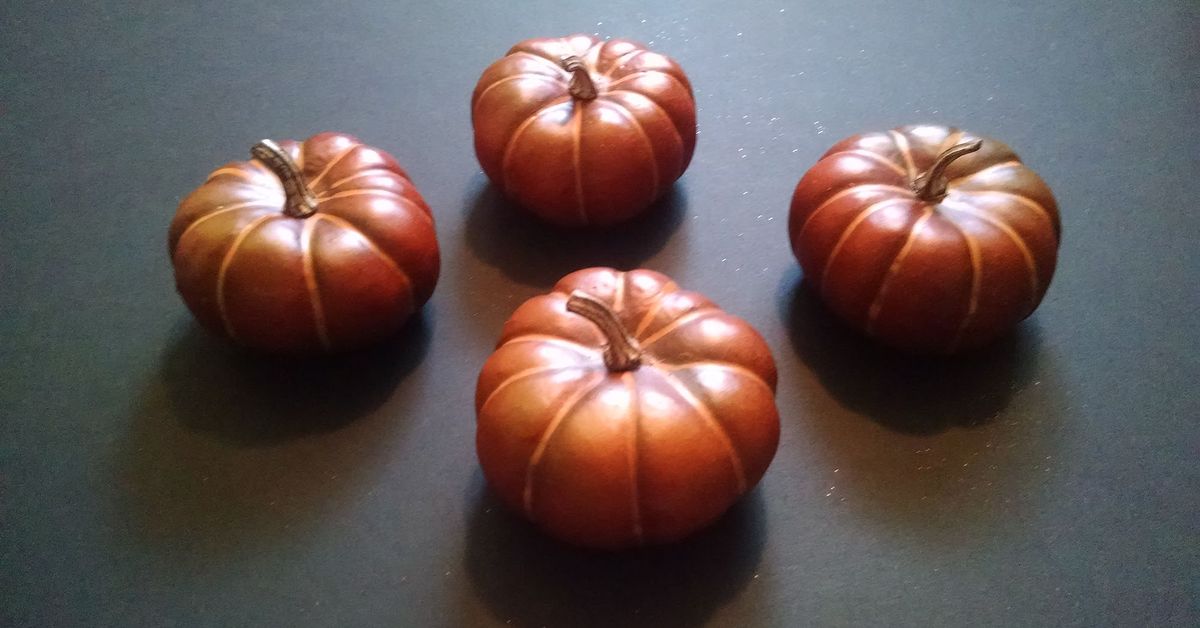
Fresh pumpkins work beautifully for a short-term Halloween display, while faux pumpkins are ideal for decorations you want to reuse every year. A faux pumpkin can survive rain, storage bins, curious children, and the annual debate about whether Halloween decorations should go up in September.
Materials You Will Need for DIY Pumpkin Bats
Before you begin, gather your supplies. Most of these can be found at a craft store, dollar store, grocery store, or in that mysterious drawer where tape, batteries, and forgotten birthday candles go to retire.
Basic Supplies
- Small or medium pumpkins, real or faux
- Black acrylic craft paint or spray paint
- Black cardstock, craft foam, felt, or poster board
- Scissors
- Hot glue gun and glue sticks, or strong craft glue
- Painter’s tape or masking tape
- Pencil or white chalk pencil
- Googly eyes, red pushpins, buttons, or painted eyes
- Black pipe cleaners, optional
- Battery-operated LED tea lights, optional
- Clear sealer spray for faux pumpkins or covered outdoor displays, optional
Kid-Friendly Alternatives
For a classroom, family craft night, or kitchen-table project with younger children, swap hot glue for glue dots, double-sided tape, or tacky glue. Adults should handle sharp scissors, spray paint, knives, and hot glue guns. Halloween should involve candy and cackling, not emergency bandages.
Choose the Best Pumpkin Shape for a Bat
The shape of your pumpkin makes a bigger difference than you might think. A short, round pumpkin creates an adorable cartoon-style bat. A taller pumpkin gives your bat a slightly more dramatic silhouette, especially when it has large wings and pointed ears.
Mini pumpkins are excellent for making a whole colony of bats. Line them along a mantel, place them in a bowl, attach them to a wreath, or arrange them on porch steps. Larger pumpkins can become the “boss bat” of the display, which is basically a middle manager with wings.
When choosing a real pumpkin, look for one with a firm surface, an intact stem, and no soft spots. For faux pumpkins, choose lightweight craft pumpkins if you plan to hang them or attach them to a wreath. Heavier decorative pumpkins are better for tabletops, porches, and stair displays.
How to Make DIY Pumpkin Bats Step by Step
Step 1: Clean and Prep the Pumpkin
Wipe the outside of the pumpkin with a dry cloth to remove dirt and dust. If you are using a real pumpkin, let it dry completely before painting or attaching anything. Moisture can make glue less reliable, and nobody wants their bat’s wing to fall off halfway through trick-or-treating.
For faux pumpkins, remove stickers and wipe the surface clean. If the pumpkin is glossy, lightly roughen the area where the wings will attach using fine sandpaper. This gives glue a better surface to grip.
Step 2: Paint the Pumpkin
Paint the pumpkin black for a classic bat look. Acrylic paint works well for indoor crafts, while spray paint can create a smoother finish on larger pumpkins. Apply thin coats and allow each coat to dry before adding another.
You do not have to use black, though. Try deep purple, charcoal gray, midnight blue, burgundy, metallic silver, or even hot pink for a playful Halloween display. A bright-colored pumpkin with black wings feels modern, cheerful, and slightly unhinged in a very charming way.
Cover the pumpkin stem with painter’s tape before painting if you want to keep its natural color. A brown stem can look like a tiny bat’s head tuft, which is frankly adorable and scientifically impossible to resist.
Step 3: Draw and Cut Bat Wings
Draw a simple bat wing shape on cardstock, felt, craft foam, or poster board. Each wing should have a straight inner edge where it will attach to the pumpkin and a scalloped outer edge for that classic bat silhouette.
For a medium pumpkin, make each wing roughly six to nine inches wide. For mini pumpkins, wings that are three to five inches wide usually look balanced. Cut one wing first, then trace it upside down to create a matching wing for the other side.
Felt creates soft, flexible wings. Cardstock produces crisp, graphic shapes. Craft foam is durable and works especially well for porch decorations because it holds its shape better than thin paper. You can also layer two materials together, such as black felt over purple cardstock, for extra dimension.
Step 4: Fold the Wing Tabs
Fold about one-half inch along the straight inner edge of each wing. This small folded tab gives you a flat surface for attaching the wing to the pumpkin. It also helps the wings project outward instead of lying flat like a sad black pancake.
If you are using paper or cardstock, crease the tab gently. For felt or foam, fold the edge and secure it with glue before attaching it to the pumpkin.
Step 5: Attach the Wings
Place the wings on both sides of the pumpkin before gluing. Adjust their angle until the bat looks balanced. Slightly upward wings make the pumpkin appear as though it is taking off. Straight wings look more formal. Downward wings give the bat a tired, “I have been flying since 4 a.m.” expression.
Use hot glue or strong craft glue on the folded tabs, then press each wing firmly against the pumpkin. Hold the wings in place until the glue begins to set. For a heavy wing material, reinforce the attachment with a small strip of black tape hidden behind the wing.
Step 6: Add Ears and a Face
Cut two small triangles from black felt, craft foam, or cardstock. Glue them near the top of the pumpkin, just below the stem. These become the bat’s ears.
Next, add eyes. You can use googly eyes for a cute look, red pushpins for a spooky vampire vibe, white paint for cartoon eyes, or small black buttons for a simple modern design. Add tiny white paper fangs below the eyes if you want your bat to look like it is ready for a midnight snack.
For an easy face, paint two white oval eyes and add black pupils. For a scarier version, paint narrow red eyes and a jagged mouth. For a silly version, give your bat one giant eye and one tiny eye. Every Halloween display needs at least one decoration that looks like it made questionable decisions at a costume party.
Step 7: Add Finishing Details
Once the basic pumpkin bat is finished, decorate it with extra details. Add a bow tie made from ribbon, little felt feet, glittery ears, a tiny witch hat, or a cape cut from fabric scraps. Wrap black pipe cleaners around the stem to create curly hair or twist them into miniature antennae for a bat that has apparently joined a science-fiction franchise.
For a glowing display, place battery-operated LED tea lights around the pumpkin bats or inside a carved pumpkin nearby. Avoid using open flames around paper wings, felt, ribbon, or glue. The goal is “haunted porch,” not “accidental neighborhood bonfire.”
Creative DIY Pumpkin Bat Ideas
Make a Bat Family
Create a group of pumpkin bats in different sizes. Use one large pumpkin as the parent bat and several mini pumpkins as baby bats. Give each one a different expression, such as sleepy, surprised, grumpy, or delighted by the existence of candy corn.
Create a Flying Bat Display
Attach lightweight faux pumpkin bats to a sturdy branch, wire wreath form, or porch garland. Use fishing line to suspend them at different heights. This works especially well above a dessert table, near a front door, or in a covered entryway.
Use Nontraditional Colors
Black bats are classic, but Halloween does not have a color police department. Try white pumpkins with black wings, orange pumpkins with purple wings, or metallic gold pumpkins with velvet-black wings. A pastel bat display can look whimsical, while black-and-white bats create a more elegant haunted-house style.
Turn Pumpkin Bats Into Table Decor
Mini pumpkin bats make excellent Halloween table decorations. Place one at each seat as a party favor, add a name tag to its wing, or arrange several around a bowl of candy. They can also become centerpieces when grouped with LED candles, black lace, dried leaves, and small faux spiders.
Where to Display Your Pumpkin Bats
The best thing about DIY Halloween pumpkin bats is that they work almost anywhere. Put them on front steps beside mums and lanterns, line them across a mantel, tuck them into a bookshelf, or arrange them on a party food table.
For an outdoor porch, layer the display. Place large pumpkin bats toward the back, medium pumpkins in the middle, and mini bats near the front. Add hay bales, black lanterns, faux cobwebs, dried corn stalks, or stacks of plain pumpkins to create height and texture.
Keep pathways clear for guests and trick-or-treaters. A spooky display should make people smile, not send them tumbling into a decorative gourd pile like a very seasonal slapstick comedy routine.
How to Make Pumpkin Bat Decorations Last Longer
Real pumpkins are best made close to Halloween, especially if they will sit outdoors. Keep them out of direct rain and intense sunlight when possible. If your pumpkin is painted, let the paint dry fully before moving it outside.
Faux pumpkins are the easiest choice for long-term DIY Halloween decor. Store them in a cool, dry box after the season. Wrap delicate paper wings in tissue paper or remove them before storage if you want to prevent bending.
If you are using paper wings outdoors, consider placing the display on a covered porch. Felt, craft foam, plastic bats, and faux pumpkins generally hold up better in breezy or damp conditions than cardstock alone.
Common DIY Pumpkin Bat Mistakes to Avoid
Wings That Are Too Small
Tiny wings can disappear against a large pumpkin. Before cutting, hold a piece of paper against the pumpkin to test the wing size. Bigger wings usually create a more dramatic and recognizable bat shape.
Using Weak Glue
School glue is fine for light paper details but may not support large wings, especially on a curved pumpkin surface. Use hot glue, strong craft adhesive, glue dots, or hidden tape reinforcement for better results.
Skipping Dry Time
Fresh paint plus fresh glue equals a slippery little disaster. Let paint dry before attaching wings and facial details. A little patience now prevents your bat from becoming a pumpkin blob with a detached wing later.
Adding Too Many Details
Halloween crafts are fun, but every pumpkin does not need twelve accessories, three capes, and an emotional backstory. Start simple, then add details only if the design needs them.
Real DIY Pumpkin Bat Experiences: What Works, What Fails, and What Makes People Smile
Making DIY pumpkin bats is one of those projects that looks almost too easy on paper. Then you sit down with a pumpkin, two crooked paper wings, a glue gun, and the sudden realization that bats are apparently much harder to draw than you remember. The good news is that imperfect pumpkin bats usually look better. A slightly uneven wing makes the bat seem handmade. A crooked eye makes it look hilarious. A lopsided fang gives it personality. Halloween decor is not supposed to look like it arrived from a luxury showroom staffed by vampires in blazers.
One of the best experiences with this craft is making a group rather than a single pumpkin bat. A lone bat pumpkin is cute. Five bats in different sizes suddenly become a tiny Halloween cast of characters. You can make one look sleepy, one look angry, one look confused, and one look like it has just remembered it left the oven on. Kids especially enjoy naming them, and adults often get surprisingly competitive about who made the most dramatic wing shape.
Using mini pumpkins can make the project much easier for beginners. They are inexpensive, light enough for small hands, and perfect for creating a full Halloween mantel display. The challenge is keeping the wings proportional. When the pumpkin is tiny, oversized wings can make it look less like a bat and more like a flying onion. Test the wing shape with scrap paper before cutting your final material.
For indoor parties, paper wings are usually enough. They look crisp in photos, are easy to customize, and can be cut quickly in batches. For an outdoor porch, felt or craft foam tends to be less fussy. Paper can curl in damp weather, especially in areas with chilly October evenings or unexpected rain. A covered porch helps, but using stronger materials saves you from having to perform emergency wing surgery at 10 p.m. on Halloween.
Painted pumpkins also offer more freedom than traditional carved pumpkins. You can make elegant black bats, bright purple bats, metallic bats, polka-dot bats, or bats wearing tiny bow ties. A black-and-orange color palette looks classic, while black, white, and gold feels more polished. Families who do not want scary decorations often make friendly pumpkin bats with oversized googly eyes and little smiles. The result is less haunted mansion and more adorable produce with aviation dreams.
The most memorable pumpkin bat displays usually use layers. Place bats on wooden crates, stack them beside lanterns, tuck them into fake spiderwebs, or surround them with mums and dried leaves. Mixing heights makes the display feel fuller without requiring dozens of decorations. One large pumpkin bat can anchor the scene, while several mini bats fill in empty spaces around it.
Another practical lesson is that glue placement matters. Wings attached directly to the curved side of a pumpkin can slide if there is not enough contact area. Folding a small tab onto the wing creates a flat place for glue and makes the wing look as though it is extending naturally from the pumpkin. It is a tiny detail, but it can turn a craft from “why is that orange ball wearing paper?” into “that is definitely a bat and possibly the mayor of Halloween Town.”
At the end of the day, the best DIY pumpkin bats are not the most symmetrical or expensive ones. They are the ones that make people stop, laugh, point, and ask who made them. A few pumpkins, some wings, and a willingness to embrace a little harmless craft chaos can turn an ordinary porch into a Halloween scene worth remembering.
Final Thoughts on Making DIY Pumpkin Bats
DIY pumpkin bats are proof that Halloween decorating does not need to be complicated to be memorable. With pumpkins, wings, paint, and a few simple craft supplies, you can create decorations that are spooky, funny, family-friendly, and completely your own.
Make one giant vampire bat for the porch, create a flock of mini pumpkin bats for the mantel, or turn the whole project into a Halloween party activity. The only real rule is to have fun with it. After all, a bat-shaped pumpkin with googly eyes may not be terrifying, but it will absolutely have better party energy than most people.
Note: This article is written for general Halloween crafting inspiration. Supervise children around hot glue, sharp tools, paint, and small decorative pieces.