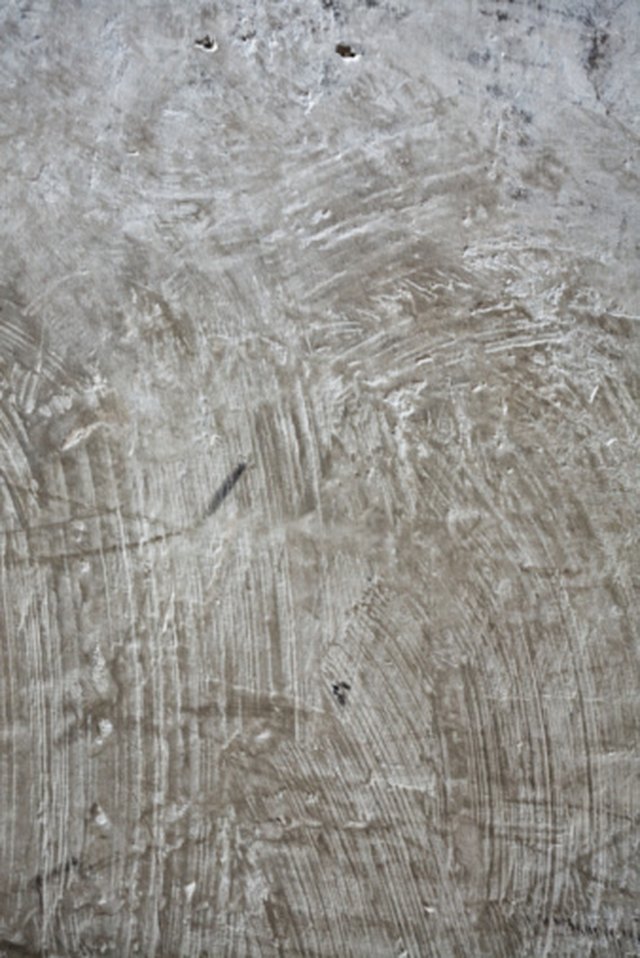
Concrete has a funny way of acting indestructible right up until it starts looking like a neglected sidewalk behind an old gas station. Small pits, shallow rough spots, hairline surface damage, and uneven patches can make a slab look tired even when it is still structurally sound. That is where thinset mortar sometimes enters the conversation.
But before we grab a trowel and start spreading mortar like peanut butter on toast, let’s clear up one important thing: thinset mortar is not a magic replacement for concrete resurfacer, self-leveling underlayment, or structural repair mortar. Thinset is primarily designed to bond tile or stone to a suitable substrate. However, in the right situation, a polymer-modified thinset mortar can be used as a thin skim coat or bonding layer to smooth minor imperfections in concrete, especially when the surface will later receive tile, stone, or another compatible finish.
This guide explains how to use thinset mortar to resurface concrete properly, where it works, where it absolutely should not be used, and how to avoid turning your weekend project into a crunchy gray pancake of regret.
What Is Thinset Mortar?
Thinset mortar is a cement-based adhesive made from Portland cement, fine sand, and water-retention agents. Many modern thinsets also include polymers that improve flexibility, bond strength, and resistance to moisture. When mixed correctly, thinset becomes a creamy, workable material that can be spread with a trowel and used to bond tile, fill shallow surface imperfections, or create a thin smoothing layer over concrete.
The key word here is “thin.” Thinset is meant to be applied in thin layers, usually not as a thick topping. If your concrete has deep holes, major spalling, active cracks, structural movement, or serious unevenness, thinset is not the hero of that movie. You need a concrete patch, resurfacer, repair mortar, or professional evaluation.
Can You Resurface Concrete With Thinset Mortar?
Yes, but only in limited situations. Thinset mortar can help resurface concrete when the surface damage is shallow, the slab is stable, and the goal is to create a smoother bonding surface rather than a heavy-duty wear layer.
Thinset mortar may work well for:
- Small interior concrete patches
- Minor pitting or shallow surface roughness
- Skim coating before tile installation
- Filling small low spots under flooring systems
- Improving bond on a properly prepared concrete substrate
Thinset mortar is not ideal for:
- Driveways exposed to vehicle traffic
- Outdoor slabs with freeze-thaw movement
- Deep cracks or structural damage
- Large-scale resurfacing of patios or sidewalks
- Leveling an entire floor
- Covering painted, sealed, oily, or dusty concrete
For large concrete resurfacing projects, a dedicated concrete resurfacer is usually the better choice. These products are engineered to create a new wear surface over old concrete. Thinset, by contrast, is best treated as a thin bonding and smoothing material.
Tools and Materials You Will Need
A good concrete resurfacing job starts before the mortar ever leaves the bucket. Gather your tools first so you are not sprinting through the garage with wet thinset hardening faster than your optimism.
Materials
- Polymer-modified thinset mortar
- Clean water
- Concrete patching compound for deeper holes
- Concrete cleaner or degreaser
- Plastic sheeting or painter’s tape for protection
- Optional concrete bonding primer if recommended by the product manufacturer
Tools
- Bucket
- Margin trowel
- Flat steel trowel
- Notched trowel if tile will be installed later
- Drill with mixing paddle
- Stiff-bristle brush
- Shop vacuum
- Scraper or grinder
- Sponge
- Safety glasses, gloves, and dust mask
Step 1: Inspect the Concrete First
Before resurfacing concrete with thinset mortar, inspect the slab carefully. Look for cracks, hollow spots, loose concrete, paint, sealers, oil stains, moisture problems, or crumbling edges. Thinset needs a clean, sound, stable surface. If the concrete is weak, the thinset will only bond to weak material, which is like building a bookshelf on a trampoline.
Tap questionable areas with a hammer or the handle of a tool. A hollow sound can indicate delamination or loose concrete. Scrape flaking areas until only solid material remains. If the surface continues to break apart, stop and use a proper concrete repair product instead.
Step 2: Clean the Surface Thoroughly
Cleaning is not the glamorous part of resurfacing concrete, but it is the part that decides whether your repair lasts. Thinset mortar bonds mechanically and chemically to the surface. Dust, paint, oil, curing compounds, adhesive residue, and sealers can all interfere with that bond.
Start by sweeping the slab. Then scrub it with a concrete cleaner or degreaser if there are oily spots. Rinse well and remove all residue. For indoor work, use a wet vacuum or sponge system to control water. For garages or exterior slabs, pressure washing may help, but the concrete must dry or return to the moisture condition recommended by your product before application.
A simple water-drop test can tell you a lot. Sprinkle water on several spots. If the water soaks in, the concrete is likely open enough to bond. If it beads on the surface, there may be a sealer, oil, or dense finish that needs mechanical abrasion.
Step 3: Roughen Smooth Concrete
Thinset mortar does not love slick concrete. A smooth, steel-troweled slab can be too dense for a strong bond. If the concrete surface is glossy or water beads on it, roughen it with a grinder, scarifier, or mechanical abrasion method.
Your goal is not to carve the Grand Canyon into the slab. You simply want a clean, textured surface that gives the mortar something to grip. After grinding, vacuum thoroughly. Dust left behind is bond enemy number one. It is tiny, sneaky, and excellent at ruining your hard work.
Step 4: Repair Deep Damage Before Skim Coating
Thinset mortar should not be used to fill deep holes or rebuild missing concrete edges. For pits, chips, and cracks deeper than the thinset manufacturer allows, use a concrete patching compound first. Let the repair cure as directed before applying thinset over the surface.
For cracks, determine whether they are dormant or active. A hairline shrinkage crack may be manageable, but a crack that keeps widening or moving should not simply be buried under mortar. Movement will usually telegraph through the new surface. In plain English: the crack will come back like a villain in a sequel.
Step 5: Protect Joints and Edges
Expansion joints, control joints, and isolation joints exist for a reason. They allow concrete to move without randomly cracking wherever it feels dramatic. Do not bridge these joints with thinset mortar. Continue the joint through the resurfaced layer or protect it during application so movement is not restricted.
Use painter’s tape, foam backer rod, or joint protection methods suitable for the project. If tile will be installed later, follow tile industry movement-joint recommendations. Skipping this detail can lead to cracked tile, broken grout, and the kind of sigh usually heard after opening a repair bill.
Step 6: Dampen the Concrete
Many cement-based repair materials bond better when the concrete is damp but not wet. Dry concrete can pull moisture out of fresh mortar too quickly, weakening the bond and increasing shrinkage. Before applying thinset, lightly dampen the surface with clean water, then remove standing water.
The surface should look darkened from moisture, not shiny with puddles. Think “damp sponge,” not “duck pond.” Always follow the instructions printed on the thinset bag, because formulas vary.
Step 7: Mix the Thinset Mortar Correctly
Pour clean water into a bucket first, then add thinset powder gradually. Use a drill with a mixing paddle at low speed. Mix until the mortar has a smooth, lump-free consistency similar to creamy peanut butter. Let the mixture slake, or rest, for the time recommended on the bag, usually several minutes. Then remix briefly without adding extra water.
Do not make the mix soupy. Overwatering weakens cement-based materials and can lead to dusting, cracking, or poor bond strength. Also avoid mixing more than you can apply during the product’s pot life. Thinset does not care that your phone rang or your neighbor came over to discuss lawn mowers. Once it starts setting, the clock is not your friend.
Step 8: Apply a Tight Bond Coat
For resurfacing or skim coating, start by using the flat side of a steel trowel to force a thin layer of mortar into the concrete surface. This is often called a tight coat or burn-in coat. Hold the trowel at a low angle and press firmly, working the mortar into pores and texture.
This first pass is important because it improves contact between the thinset and the concrete. Do not simply float material over the top like frosting on a cake. Concrete resurfacing is less bakery, more handshake. You want the mortar and slab to really meet.
Step 9: Build the Skim Coat Thinly
After the bond coat is in place, apply additional thinset only as needed to smooth shallow imperfections. Keep the layer thin and even. Feather the edges carefully so the repaired area blends into the surrounding concrete.
If you need more thickness than the product allows, stop and switch to a patching or leveling compound. Trying to force thinset into a job it was not designed for usually leads to cracking, curling, or debonding. The bag is not making suggestions for fun; those limits matter.
Step 10: Smooth, Texture, or Prepare for Tile
The finish depends on your final goal. If the thinset is being used as a skim coat before tile, the surface does not need to look like polished marble. It needs to be flat, bonded, and suitable for the next layer. If you are using it to smooth a utility area, lightly trowel the surface and avoid overworking it.
For a better blend, keep your trowel clean and use long, controlled strokes. If the surface starts dragging or tearing, the mortar may be setting. Stop fussing with it. Over-troweling cement products can bring excess water and fines to the surface, weakening the finish.
Step 11: Let the Thinset Cure Properly
Curing time depends on the product, temperature, humidity, layer thickness, and airflow. Most thinset mortars need at least 24 hours before light service or additional flooring work, but some rapid-setting products cure faster. Cool weather slows curing. Hot weather speeds it up and can shorten working time dramatically.
Protect the surface from direct sun, wind, freezing temperatures, heavy traffic, and water exposure while it cures. Do not rush this part. Concrete materials are not like instant noodles; adding impatience does not improve the result.
Common Mistakes to Avoid
Using Thinset Over Dirty Concrete
Dust and oil are bond killers. If the surface is not clean, the thinset may peel or flake later.
Applying It Too Thick
Thinset is not a deep-fill material. Thick applications can shrink, crack, or fail.
Ignoring Moving Cracks
Active cracks will usually return. Repair movement issues before resurfacing.
Covering Expansion Joints
Never bury working joints under a continuous layer of mortar. Movement needs somewhere to go.
Adding Too Much Water
A loose mix may be easier to spread, but it can produce a weaker surface.
When to Use Concrete Resurfacer Instead
If your goal is to renew a driveway, sidewalk, patio, garage floor, or large exterior slab, choose a concrete resurfacer rather than thinset mortar. Concrete resurfacers are formulated as toppings for worn concrete and are designed to handle broader surface coverage. They are usually applied with a squeegee or trowel and can create a more durable wear surface.
Thinset mortar is best for small, controlled areas or as preparation for tile. Concrete resurfacer is better for making old concrete look new again across larger areas. Self-leveling underlayment is better when flatness is the main problem. Structural repair mortar is better for broken edges, deep spalls, or damaged concrete. Picking the right product is half the project.
Practical Example: Resurfacing a Small Basement Patch
Imagine a basement floor with a rough 3-by-4-foot area where old flooring adhesive was removed. The concrete is solid, but there are shallow scratches and tiny pits. In this case, polymer-modified thinset can be useful if the surface will later be tiled.
The process would look like this: scrape adhesive residue, mechanically abrade glossy areas, vacuum dust, perform a water-drop test, dampen the slab, mix thinset properly, burn in a tight coat, skim the rough area, feather the edges, and let it cure. Once cured, the floor can be checked for flatness before tile installation.
Now compare that with a driveway full of scaling, salt damage, and tire traffic. That is not a thinset project. That is a job for a concrete resurfacer or professional concrete repair plan.
Experience Notes: What Real Projects Teach You
After working with thinset mortar on concrete, one lesson becomes obvious: surface preparation matters more than trowel talent. A beginner with a clean, properly roughened slab often gets better results than a confident DIY warrior spreading mortar over dusty concrete while saying, “It’ll probably stick.” It probably will not.
One useful habit is to divide the project into small sections. Thinset has a limited working time, and large areas can become stressful quickly. Start with a patch you can comfortably finish in 10 to 15 minutes. This gives you time to learn how the mortar moves, how quickly it tightens, and how much pressure your trowel needs.
Another field lesson: lighting changes everything. A concrete patch that looks smooth under dim garage lighting may reveal ridges, trowel lines, and uneven feathering once daylight hits it from the side. Use a work light held low across the surface to spot imperfections while the mortar is still workable. It is much easier to correct a ridge while fresh than to grind it down later while questioning your life choices.
Temperature also plays a major role. On a warm day, thinset can stiffen faster than expected. Keep materials shaded, use cool clean water, and avoid working in direct sun when possible. On a cold day, curing slows down, and the surface may stay soft longer. Respect the temperature range printed on the product label. Cement chemistry has no interest in your weekend schedule.
Feathering edges is another skill that improves with practice. Load less mortar near the outside edge of the repair and use firm pressure with the flat side of the trowel. If the edge looks too thick, scrape it back immediately. A good feathered edge disappears gradually into the old concrete. A bad one looks like a tiny speed bump for ants.
For indoor projects, dust control is a big deal. Grinding concrete can create fine silica dust, which is hazardous to breathe. Use proper respiratory protection, vacuum attachments, and wet methods where appropriate. Do not dry-grind in a closed basement with no dust control. Your lungs are not shop filters.
Finally, be honest about the final purpose of the surface. If tile is going over the thinset, the skim coat only needs to be bonded, flat, and compatible. If the thinset will be exposed as a walking surface, expectations should be modest. Thinset is not designed to be a decorative, high-traffic concrete topping. It may work in a utility patch, but it will not perform like a dedicated overlay system.
The best results come from matching the product to the problem. Thinset mortar can be a useful tool for minor concrete resurfacing, especially before tile, but it should be used with discipline. Clean the slab, roughen it, dampen it, mix carefully, apply thinly, cure patiently, and do not ask thinset to become something it is not. That is the difference between a repair that lasts and one that flakes off like a bad sunburn.
Conclusion
Using thinset mortar to resurface concrete can be a smart solution for small, shallow, well-prepared areas, especially when the goal is to create a better surface for tile or another finish. The secret is knowing its limits. Thinset is a bonding mortar, not a full concrete replacement, not a structural repair product, and not the best choice for large outdoor slabs or vehicle traffic.
For success, start with solid concrete, remove contaminants, roughen smooth surfaces, protect joints, dampen the slab, mix the mortar correctly, and apply it in thin coats. When the job calls for something stronger or thicker, use a concrete resurfacer, patching compound, or leveling product instead. Your concrete will thank you by not falling apart at the worst possible moment.