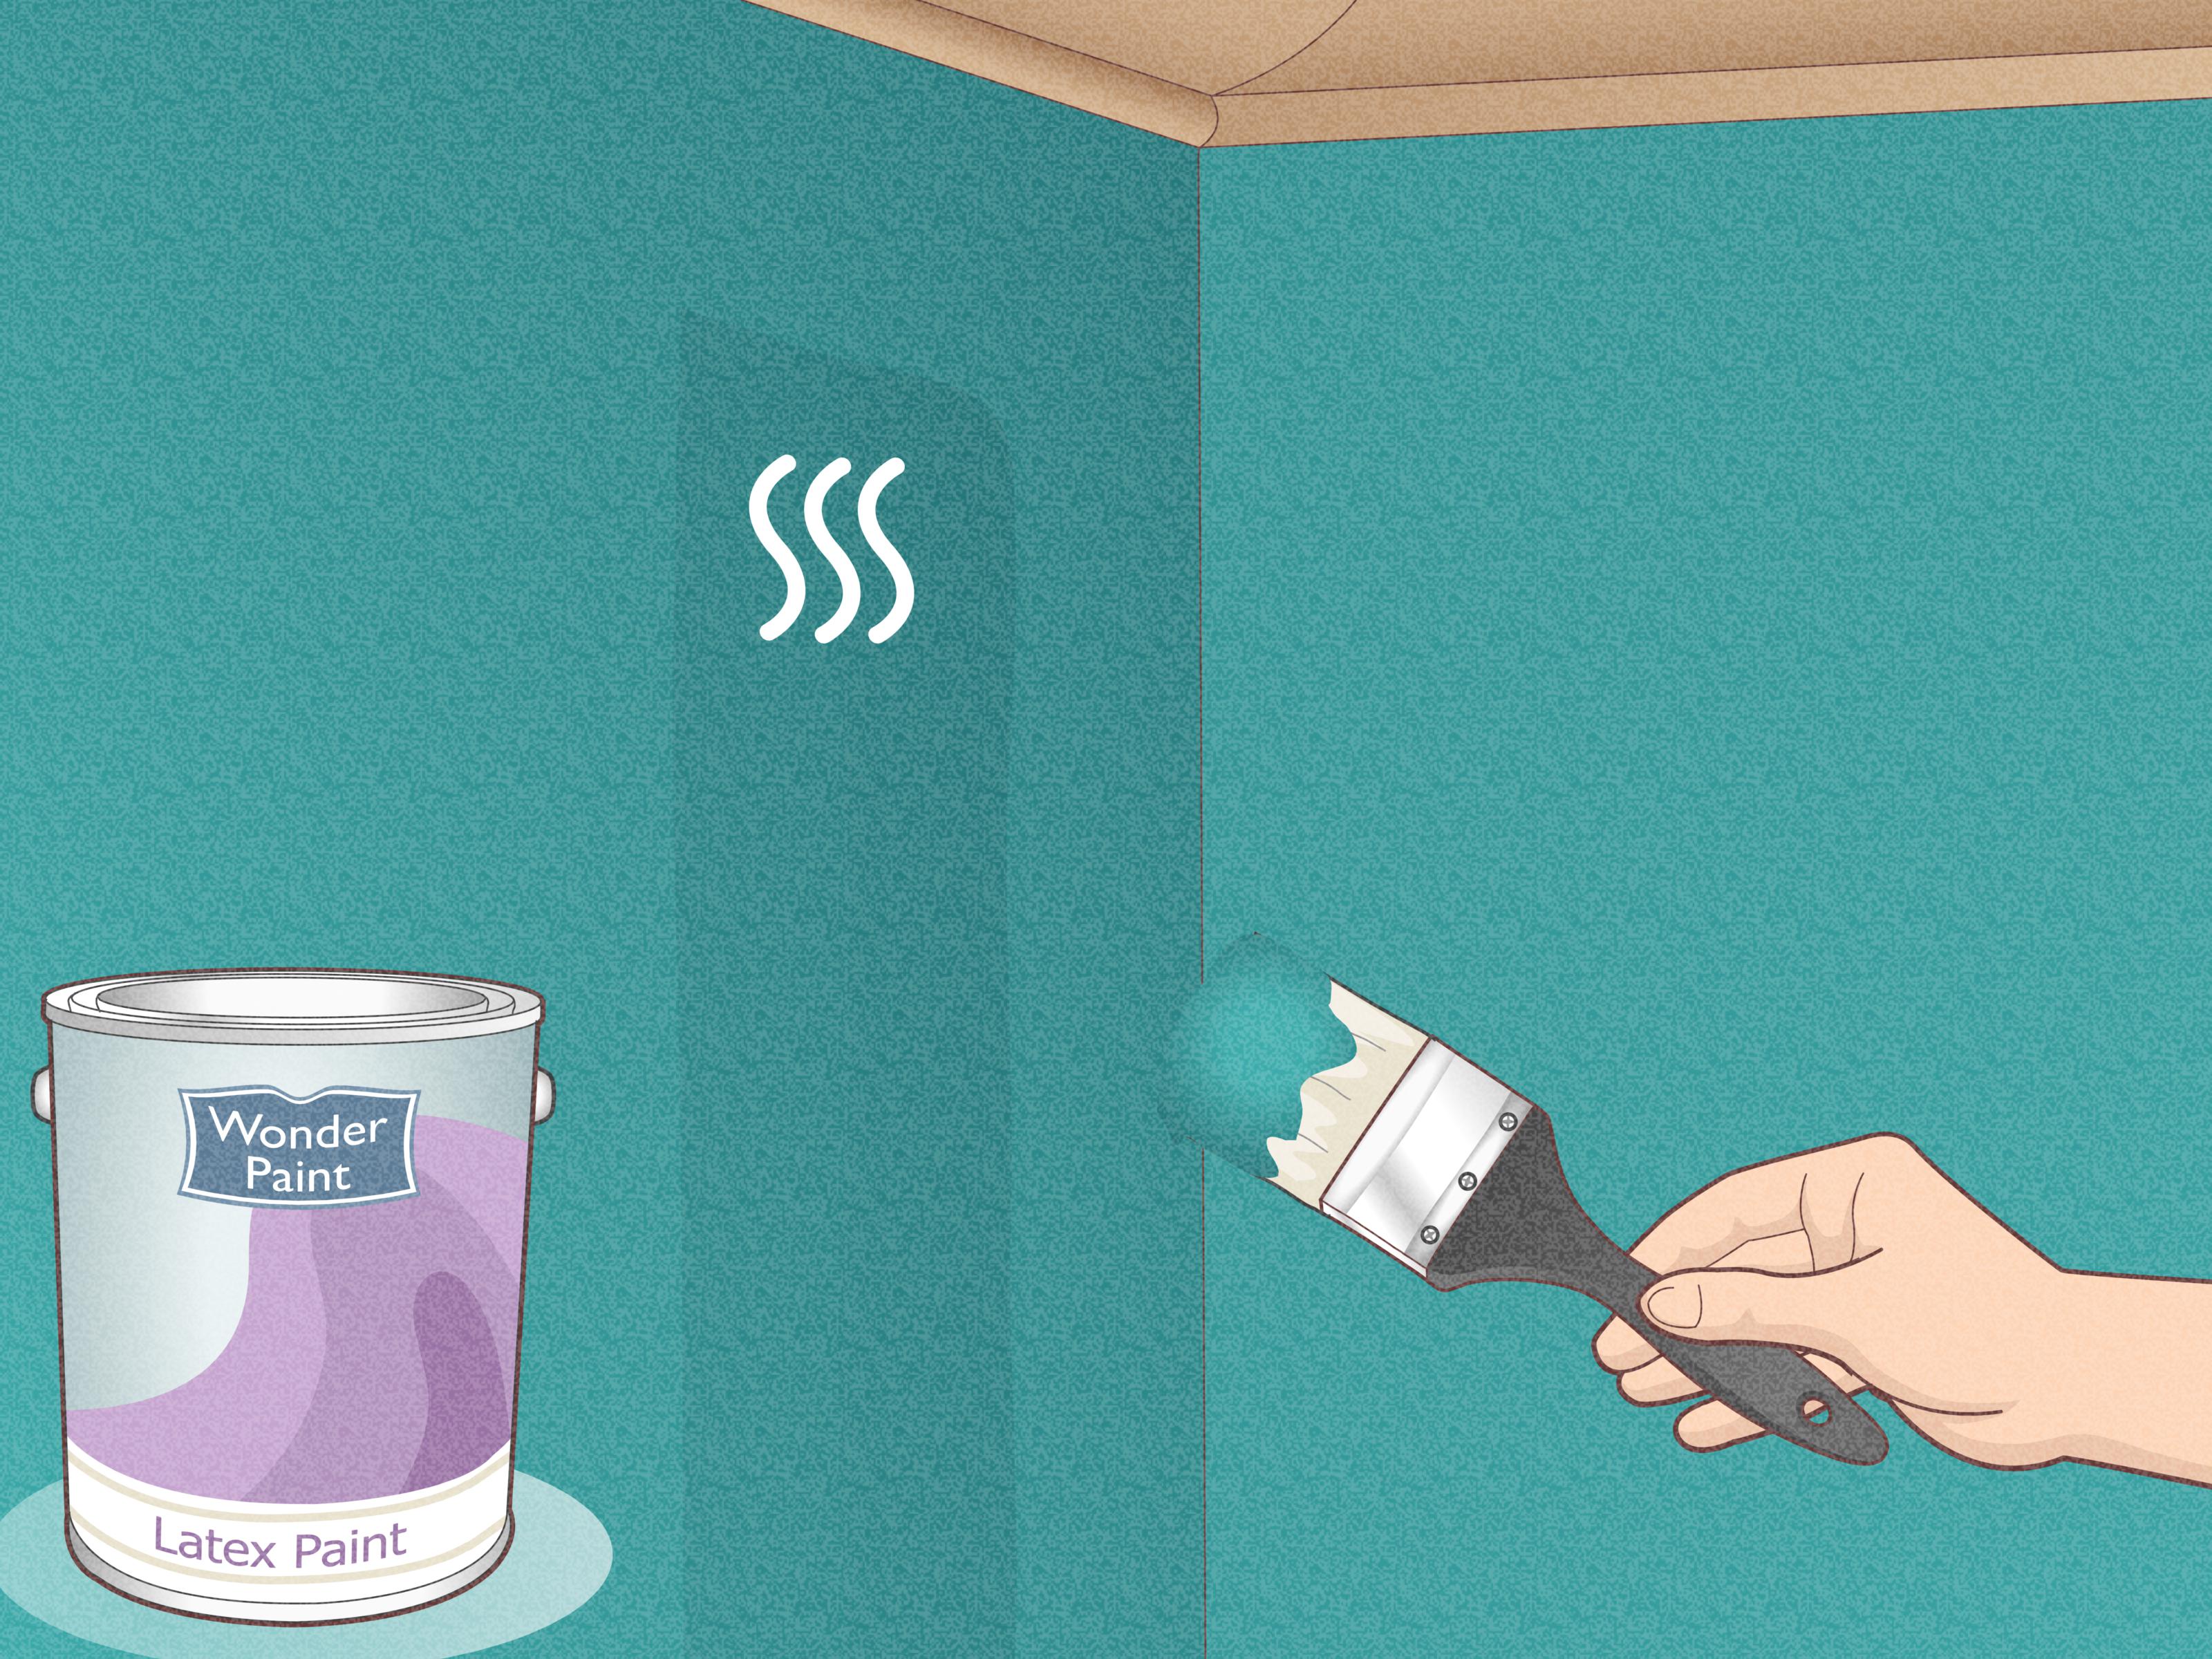
You painted the wall, stepped back to admire your work, and then spotted it: a long, suspicious stripe tracing the drywall seam like a road on a map. Sometimes the tape itself is visible. Sometimes the joint appears as a raised ridge, shallow valley, shadow, crack, or differently colored band. Whatever form it takes, drywall tape showing through paint can make an otherwise tidy room look unfinished.
The good news is that most visible drywall seams can be repaired without replacing the wall. The correct fix depends on whether the tape is firmly attached, physically damaged, or merely being emphasized by uneven joint compound, poor priming, glossy paint, or harsh lighting. This guide explains how to diagnose the problem, repair it properly, and repaint the area so the seam stops announcing itself to everyone who walks into the room.
Why Does Drywall Tape Show Through Paint?
Drywall tape reinforces the joints where two gypsum panels meet. During installation, the tape is embedded in joint compound, commonly called drywall mud, and then covered with progressively wider finishing coats. When the compound is applied, feathered, sanded, primed, and painted correctly, the finished joint should blend into the surrounding wall.
If one part of that process goes wrong, the seam may remain visible. Before reaching for a sanding block, identify which of the following problems you have.
The Joint Compound Is Too Thin
A thin layer of compound may leave the outline or texture of the tape visible. This is especially common when a DIY repair receives only one narrow coat of mud. A drywall joint does not disappear because it is filled flat. It disappears because the compound is spread over a wide area, creating such a gradual transition that the eye cannot detect it.
The Compound Was Not Feathered Far Enough
A narrow mound of joint compound can create a raised stripe. The center of a taped seam is naturally thicker than the surrounding drywall, so each finishing coat must extend farther from the joint. Butt joints, where two non-tapered panel ends meet, may need to be feathered 12 inches or more on each side.
The Surface Was Oversanded
Aggressive sanding can remove the thin finishing coat and expose the tape underneath. It can also scuff the drywall face paper, creating fuzzy areas that absorb primer and paint unevenly. Drywall sanding is less about trying to flatten the wall through brute force and more about removing ridges, tool marks, and high edges.
The Wall Was Not Primed Correctly
Joint compound and drywall paper absorb paint differently. Painting directly over an unprimed repair may create a visible dull or shiny patch known as flashing. Even when the surface is physically smooth, differences in porosity can make the seam appear under certain lighting.
The Tape Is Loose, Bubbled, or Cracked
Paper tape needs enough wet compound underneath it to form a solid bond. If the original installer scraped away too much mud, air pockets may develop. Moisture, seasonal movement, poor installation, or structural settling can also cause tape to lift or crack.
Glossy Paint and Side Lighting Reveal Imperfections
Satin, semigloss, and gloss finishes reflect more light than flat paint. Windows, ceiling lights, and lamps positioned close to a wall can cast light across the surface at a shallow angle, making small ridges and depressions look dramatic. This effect is often called joint photographing or banding.
Tools and Materials You May Need
- Drop cloths and plastic sheeting
- Safety glasses and a dust mask or respirator
- Utility knife with a sharp blade
- Four-, six-, ten-, and twelve-inch drywall knives
- Mud pan
- All-purpose or lightweight finishing compound
- Setting-type joint compound for deeper repairs
- Paper drywall tape or fiberglass mesh tape
- Fine-grit sanding sponge or 150- to 220-grit sandpaper
- Shop vacuum and clean microfiber cloth
- Drywall primer or quality interior primer-sealer
- Matching interior paint
- Roller cover that matches the wall’s existing texture
You may not need every item. A firmly bonded seam usually requires only cleaning, skim coating, sanding, priming, and repainting. Loose or cracked tape requires a more complete repair.
Inspect the Seam Before Repairing It
Turn on the room lights and inspect the wall during daylight. Then hold a bright work light close to the wall so it shines across the seam rather than directly at it. This raking light reveals ridges, depressions, sanding scratches, bubbles, and lifted edges that normal lighting can hide.
Run a wide drywall knife across the seam. If the blade rocks over the center, the joint is raised. If you see daylight beneath the blade near the middle, the area may be hollow or recessed. Press gently along the tape. A loose section may flex, crackle, or feel hollow.
Also check for stains, dampness, sagging drywall, repeated cracking, or doors and windows that have recently become difficult to operate. Those symptoms may indicate a leak or building movement. Fix the underlying problem before making a cosmetic repair, or the seam may return for an encore.
Method 1: Repair Tape That Is Visible but Firmly Attached
Use this method when the tape is not bubbling, peeling, or cracking. The goal is to build a wider, smoother joint over the existing seam.
Step 1: Protect the Room
Move furniture away from the wall and cover the floor. Close doors and cover nearby vents because drywall dust has an impressive ability to travel into rooms that were not invited to the project. Wear eye protection and a suitable dust mask.
Step 2: Clean and Dull the Painted Surface
Wash away grease, dirt, and dust with a mild cleaning solution, then allow the wall to dry. Lightly scuff glossy paint around the seam with fine-grit sandpaper. You are not trying to remove all the paint; you are creating a clean, dull surface that helps the new compound adhere.
Step 3: Remove High Ridges
Use a drywall knife to scrape away paint drips, loose material, and obvious ridges. Sand raised edges lightly. Stop before reaching the tape. Exposing or damaging paper tape turns a simple skim-coat project into a tape replacement project.
Step 4: Apply the First Skim Coat
Stir the joint compound until it is smooth. Place a small amount in a mud pan. Using a six- or ten-inch knife, apply a thin coat over the visible seam. Press slightly harder along the outer edge of the knife so the compound becomes thinner as it moves away from the joint.
Do not leave a thick hump directly over the tape. The objective is to fill low areas and widen the transition. Remove obvious ridges while the compound is wet, but avoid repeatedly working it after it begins to dry.
Step 5: Let the Compound Dry Completely
Follow the manufacturer’s drying instructions. Drying time depends on the product, thickness, humidity, airflow, and temperature. Compound that looks dry on the surface may still be soft underneath. Sanding or recoating too early can cause scratches, shrinkage, and peeling.
Step 6: Sand Lightly
Use a fine-grit sanding sponge to remove knife marks and blend the outer edges. Keep the sanding tool flat. Concentrate on ridges rather than sanding the entire repair equally. Check your progress frequently with a work light.
Step 7: Apply a Wider Second Coat
Use a ten- or twelve-inch knife to spread another thin coat beyond the edges of the first. A broad, shallow repair is far less noticeable than a narrow, thick one. For a difficult butt joint, extend the compound farther on both sides rather than piling more mud in the center.
Step 8: Add a Third Coat if Needed
Some seams disappear after two coats. Others need a final skim coat to fill small depressions or blend the joint into the wall. Apply only enough compound to correct the remaining imperfections. Thin coats dry more evenly, shrink less, and require less sanding.
Step 9: Perform the Wide-Knife Test
After the final coat dries, place a twelve-inch knife across the repair. The knife should sit steadily without rocking over a ridge. Shine a light across the wall and mark imperfections lightly with a pencil. Fill pinholes or scratches with a very thin touch-up coat.
Step 10: Remove All Dust
Vacuum the wall and surrounding area. Wipe the repair gently with a clean, barely damp microfiber cloth or tack-free dusting cloth. Do not soak bare compound, which can soften when exposed to excessive water.
Step 11: Prime the Repair
Apply a drywall primer or compatible interior primer-sealer over the entire repaired area. Extend the primer beyond the new compound. Primer seals the porous surface and helps the finish paint develop a uniform color and sheen.
Inspect the primed wall after it dries. Primer often exposes flaws that were difficult to see in bare compound. Correct them now instead of hoping the finish paint will perform a miracle. Paint is decorative, not magical drywall camouflage.
Step 12: Repaint the Wall
Use the same paint color, sheen, application tool, and roller texture as the existing finish. Feathering a touch-up may work on recently painted flat walls, but older paint can fade, collect dirt, or change sheen. For the most consistent result, repaint the entire wall from corner to corner.
Method 2: Repair Loose, Bubbled, or Cracked Drywall Tape
Do not simply cover loose tape with more compound. New mud cannot permanently secure tape that has already detached from the wall.
Step 1: Cut Out the Damaged Tape
Score around the loose section with a sharp utility knife. Pull away the tape and remove crumbly compound. Cut back to firmly bonded material. Avoid tearing the surrounding drywall face paper.
Step 2: Open and Clean the Joint
Scrape loose material from the seam and vacuum away dust. If the crack is deep, fill it with setting-type compound and allow it to firm up. Do not leave a large empty gap beneath the replacement tape.
Step 3: Apply Fresh Joint Compound
Spread a continuous bed of all-purpose joint compound over the exposed seam. The layer should be thick enough to bond the tape without being so heavy that the tape floats above the wall.
Step 4: Embed New Tape
Center paper tape over the seam and press it into the wet compound with a four- or six-inch knife. Start near the middle and work toward each end. Hold the knife at a slight angle and apply enough pressure to remove excess compound while leaving a thin, complete layer beneath the tape.
For fiberglass mesh tape, follow the tape and compound manufacturer’s recommendations. Mesh is commonly paired with setting-type compound because the combination provides better crack resistance than mesh covered only with ordinary premixed finishing mud.
Step 5: Cover and Feather the Repair
After the bedding coat sets or dries, apply two or more finishing coats. Make every coat wider than the previous one. Let each coat dry completely, sand lightly, remove dust, prime, and repaint.
How to Fix a Visible Drywall Seam on a Ceiling
Ceiling repairs use the same general method, but gravity and lighting make the work less forgiving. Ceiling fixtures and windows often send light directly across taped joints, highlighting minor humps.
Use thin coats to reduce sagging. Feather the compound wider than you might on a wall, especially on butt joints. If the ceiling has orange-peel, knockdown, popcorn, or another texture, practice the texture on scrap cardboard before applying it to the repair. Matching the texture is just as important as matching the paint color.
Investigate any ceiling stain, softness, sagging, or recurring crack before repairing it. A roof, plumbing, or condensation problem must be corrected first. A cosmetic patch over active moisture is essentially putting makeup on a leaking pipe.
Common Mistakes to Avoid
Applying One Thick Coat
Thick compound takes longer to dry, shrinks more, and is difficult to sand smoothly. Several thin coats produce a flatter, more durable finish.
Sanding Until the Tape Reappears
When a seam remains raised, the answer is often to feather compound farther outward, not to grind down the center. Paper tape should remain covered.
Painting Without Primer
Paint-and-primer products do not always replace a dedicated primer on bare joint compound. A suitable primer helps equalize porosity and reduces flashing.
Using Spackle Over a Long Seam
Spackle is useful for nail holes and small dents, but joint compound is generally better for broad drywall seams because it spreads, feathers, and sands more predictably.
Judging the Repair Only in Dim Light
Inspect the wall with raking light before priming and again after priming. A seam that looks perfect at night may become painfully obvious when morning sunlight reaches the room.
Touching Up With the Wrong Roller
A smooth foam roller can leave a noticeably different texture on a wall originally painted with a half-inch nap roller. Match both the paint and the application method.
How to Prevent Drywall Tape From Showing Again
Use the correct tape and compound combination, keep the tape fully embedded, and apply multiple thin coats. Feather flat joints generously and make butt joints especially wide. Allow every coat to dry according to product directions instead of rushing because the wall “looks dry enough.”
Sand with light pressure and inspect with a work light. Seal finished drywall with a suitable primer before painting. In rooms with strong side lighting or large windows, consider a flatter paint sheen because low-sheen finishes are more forgiving of minor surface irregularities.
For extremely demanding lighting conditions, a skim coat over the entire wall may provide a more uniform surface. This higher level of finish reduces differences between the drywall paper and joint compound, although it requires more time and skill.
Experience-Based Lessons From Real-World Drywall Repairs
One of the most common repair experiences begins with a homeowner assuming the seam only needs another coat of paint. A second coat goes on, followed by a third, and the stripe remains. The reason is simple: paint follows the shape and porosity of the surface underneath it. If the joint is raised, recessed, or poorly sealed, additional paint may make the problem shinier without making it flatter.
A more successful approach is to stop painting and inspect the seam with a bright light. In many cases, the visible “tape” is actually the shadow of a narrow mound of compound. The center does not need to be sanded aggressively. Instead, a thin skim coat spread 10 to 16 inches beyond the seam softens the transition. Once primed and painted, the line becomes difficult to locate even when the homeowner knows exactly where it was.
Another familiar situation involves a small bubble under paper tape. It can be tempting to slice the bubble, inject adhesive, and paint over it. That may work for a tiny isolated spot, but larger bubbles often indicate that too little compound was left beneath the tape. Removing the loose section and embedding new tape usually takes longer at the beginning but prevents repeated cracking and callbacks later.
Ceiling repairs teach an especially valuable lesson about lighting. A seam may look flawless while standing directly beneath it. Move several feet away, turn on a wall-mounted light, or wait for afternoon sunlight, and the joint suddenly appears. Experienced finishers therefore check ceilings from multiple directions with a portable work light. The technique feels slightly obsessive until it saves the trouble of repainting the ceiling.
Paint matching produces its own surprises. Even when the original can is available, a small touch-up may remain visible because the existing wall has aged, faded, or accumulated cleaning marks. Roller texture also changes the way light reflects. Using the same paint with a different roller can create a patch that looks darker from one direction and lighter from another. Repainting from corner to corner is often the cleaner solution.
Drywall repair also rewards patience more than enthusiasm. A thick coat applied at night may still be damp the next morning, particularly in humid weather. Sanding it too soon can tear the surface and clog the sanding sponge. Applying several thin coats with good airflow generally produces faster and better results than attempting to finish the seam in one heroic application.
Finally, recurring seams should not be treated as purely cosmetic. A crack that returns after a careful repair may be connected to movement, moisture, inadequate fastening, or framing issues. The lesson is not that drywall is impossible to fix. It is that the wall may be reporting a problem occurring behind it. Listening to that report before opening another bucket of mud can save considerable time.
When Should You Call a Professional?
A careful homeowner can repair many visible seams, but professional help may be appropriate when the tape failure covers several walls or ceilings, the drywall is sagging, cracks return repeatedly, moisture damage is present, or the surface has a difficult texture. A drywall finisher may also be worthwhile in rooms with large windows, glossy paint, or architectural lighting where even small imperfections become obvious.
Conclusion
To fix drywall tape showing through paint, first determine whether the tape is firmly bonded. A sound seam usually needs wider skim coats, careful feathering, light sanding, primer, and repainting. Loose, bubbled, or cracked tape must be removed and replaced before the surface is refinished.
The most important rule is to create a broad, gradual transition rather than a narrow mound over the joint. Work in thin coats, inspect the repair under strong side lighting, and never skip primer. With patience and the right technique, the seam can return to its intended role: quietly holding the wall together instead of becoming the room’s main decorative feature.
Research note: The technical guidance in this article was synthesized from U.S. drywall manufacturers, coating manufacturers, trade guidance, and established home-improvement publications, including USG, CertainTeed, National Gypsum, the Gypsum Association, Sherwin-Williams, Benjamin Moore, This Old House, The Home Depot, Lowe’s, Bob Vila, Family Handyman, Fine Homebuilding, and Angi.