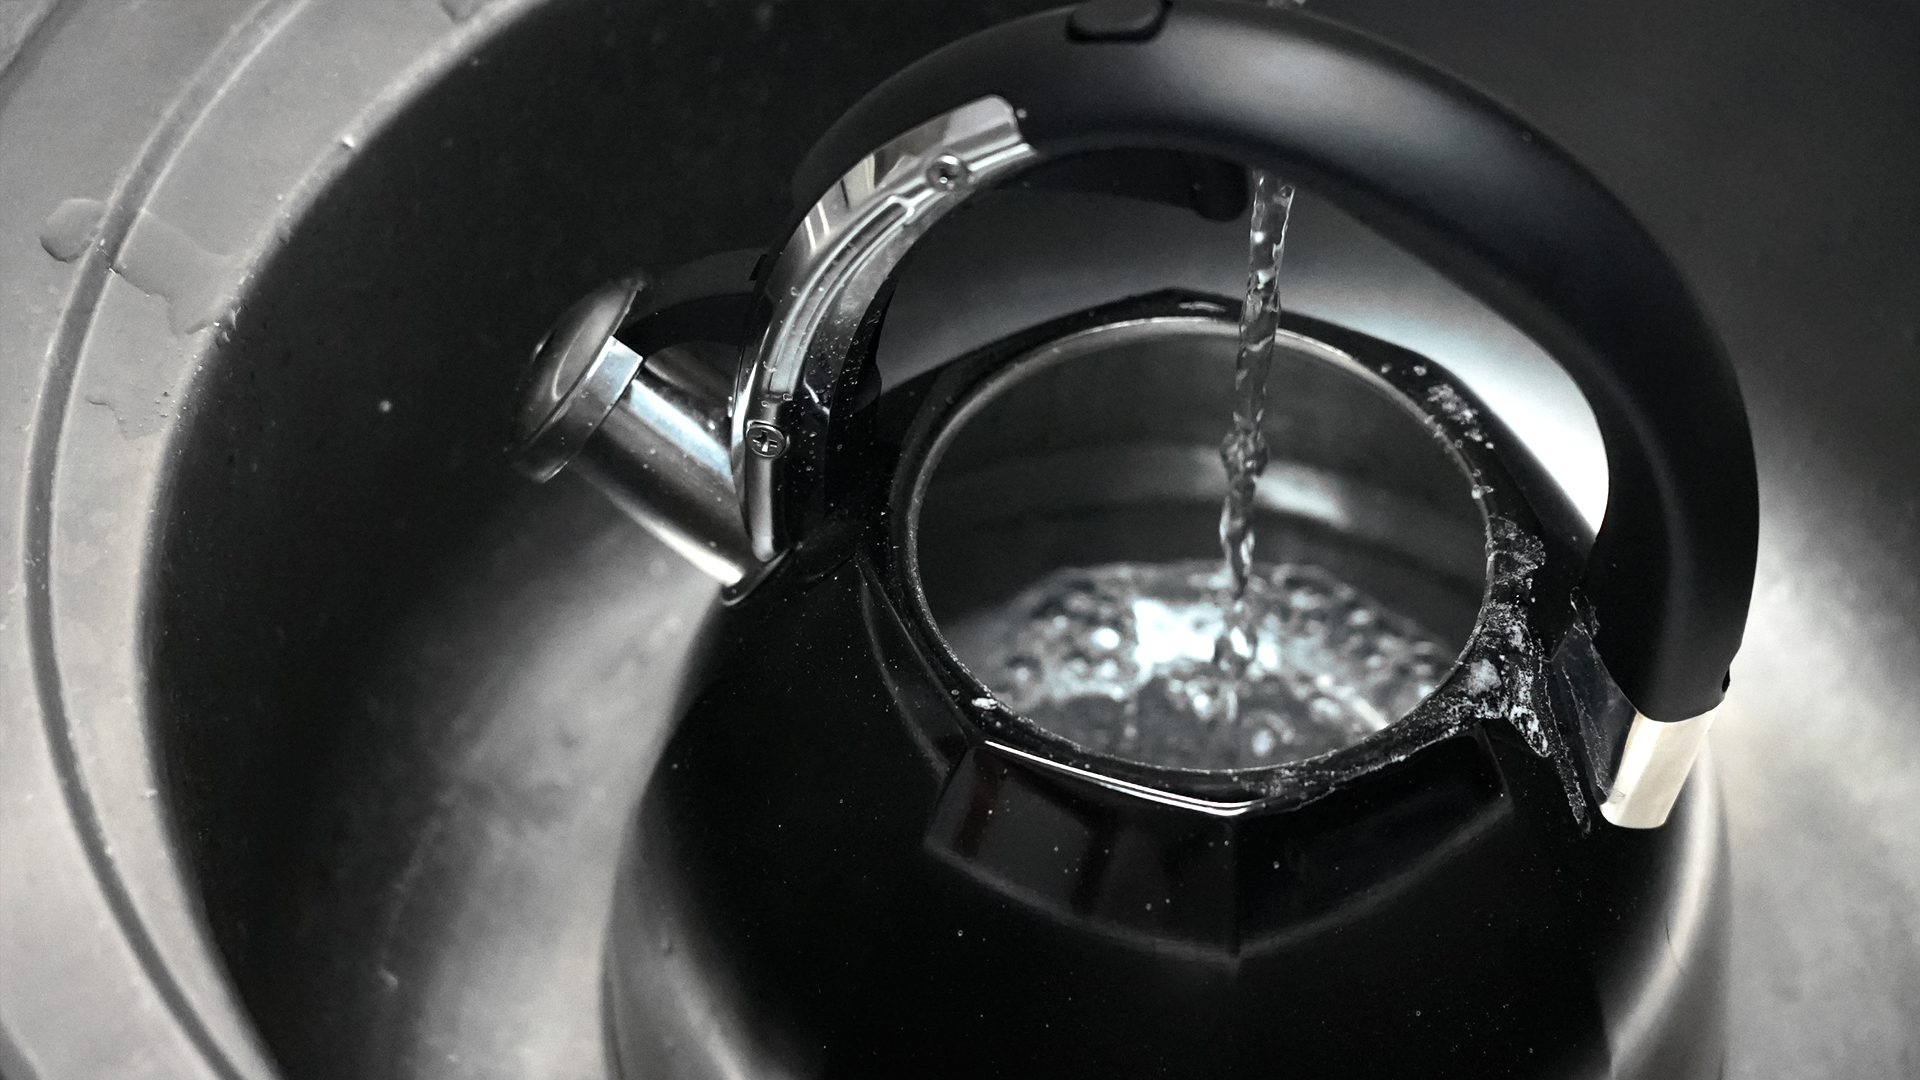
Your kettle works hard. It boils water for morning cdles that you definitely planned as a balanced dinner. Over time, however, the inside may develop a chalky white, gray, or beige coating known as limescale.
Limescale is not leftover tea, and your kettle is not growing a tiny coral reef. It is primarily a buildup of mineral deposits left behind when hard water is heated. Fortunately, learning how to descale a kettle is straightforward. White vinegar, lemon, and citric acid can each dissolve mineral buildup without requiring aggressive scrubbing.
This guide explains three effective kettle descaling methods, how often to use them, which method works best for stubborn deposits, and how to keep limescale from returning quite so quickly.
What Is Limescale, and Why Is It in Your Kettle?
Hard water contains relatively high concentrations of dissolved minerals, particularly calcium and magnesium. When water is heated, some of those minerals can form solid deposits on the kettle’s base, heating element, walls, spout, and removable filter. That crusty residue is commonly called limescale, mineral scale, or kettle scale.
Limescale is especially common in households with hard tap water, but it can appear almost anywhere. Even moderate mineral levels can create visible deposits when a kettle is used several times a day.
The buildup may look like:
- White spots or a powdery film on the bottom
- Beige or gray flakes floating in boiled water
- A rough ring around the normal waterline
- Crust around the spout or mesh filter
- A cloudy coating inside a glass kettle
Although small amounts of normal mineral scale are generally more unpleasant than alarming, ignoring the buildup is not a great maintenance strategy. A thick layer can interfere with efficient heat transfer, contribute to slower boiling, affect the taste of water, and shorten the useful life of the appliance.
How Often Should You Descale a Kettle?
For most households, descaling every one to three months is a reasonable starting point. Your ideal schedule depends on water hardness and how frequently you boil water.
| Usage and Water Type | Suggested Descaling Schedule |
|---|---|
| Daily use with hard water | Every 2 to 4 weeks |
| Daily use with moderately hard water | Every 1 to 2 months |
| Occasional use or relatively soft water | Every 2 to 3 months |
| Visible flakes, slow boiling, or heavy deposits | Descale as soon as possible |
Do not wait for the bottom to resemble a limestone cave. A thin coating is much easier to remove than a thick, layered crust.
Before You Start: Important Kettle-Cleaning Safety Tips
Always read the appliance’s care instructions before trying a homemade cleaning solution. Kettle designs vary, and the manufacturer’s directions should take priority over general advice.
- Unplug an electric kettle before wiping, scrubbing, or removing its filter.
- Allow the kettle to cool before handling it.
- Never immerse an electric kettle, power cord, or heating base in water.
- Do not let liquid run into electrical controls or connectors.
- Stay below the maximum fill line, especially when boiling a cleaning solution.
- Use a soft sponge, bottle brush, or microfiber cloth instead of steel wool.
- Never combine vinegar or citric acid with chlorine bleach.
- Rinse thoroughly before boiling drinking water again.
If the kettle has exposed damage, a frayed cord, a loose electrical connection, or signs of leaking near the base, stop using it. Descaling can remove minerals; it cannot negotiate with faulty wiring.
Method 1: How to Descale a Kettle With White Vinegar
Distilled white vinegar is one of the most dependable ways to remove kettle limescale. Its acidity helps loosen and dissolve alkaline mineral deposits, and it is inexpensive, widely available, and suitable for many stainless steel, glass, and plastic-lined kettles.
What You Will Need
- Distilled white vinegar
- Fresh water
- A soft sponge or nonabrasive brush
- A clean microfiber cloth
Step-by-Step Vinegar Method
- Check the owner’s manual. Confirm that vinegar is approved for your model.
- Prepare the solution. Fill the kettle with equal parts white vinegar and water. For lighter buildup, one part vinegar to two or three parts water may be enough.
- Boil the mixture. Switch on the electric kettle or heat the stovetop kettle until the solution reaches a boil. Do not overfill it.
- Let it soak. Turn off the heat and leave the solution inside for 20 to 60 minutes. For severe scale, allow it to soak longer if the manufacturer permits.
- Pour it out. Empty the kettle carefully. The liquid may contain loose mineral flakes.
- Gently clean remaining spots. Use a soft sponge or brush around the base, waterline, lid, and spout. Avoid scratching the heating surface.
- Rinse several times. Fill the kettle with clean water, swirl it, and empty it.
- Boil fresh water. Complete one or two full-water boil-and-discard cycles to remove the vinegar smell and taste.
When Vinegar Works Best
Vinegar is a good choice for moderate or heavy mineral buildup, especially when the scale covers a large part of the kettle floor. It is powerful enough for most routine descaling jobs, although its unmistakable aroma can make the kitchen smell briefly like a salad dressing factory.
If the smell remains after two rinse cycles, boil fresh water with a small slice of lemon, discard it, and rinse again.
Method 2: How to Clean Kettle Limescale With Lemon
Lemon contains citric acid, which can dissolve mineral deposits while leaving a more pleasant scent than vinegar. This method is particularly useful for light or moderate scale and for people who can detect a molecule of vinegar from three rooms away.
What You Will Need
- One fresh lemon or bottled lemon juice
- Fresh water
- A soft sponge or brush
Step-by-Step Lemon Method
- Prepare the lemon. Slice one lemon into thin rounds, or squeeze approximately 2 to 4 tablespoons of lemon juice into the kettle.
- Add water. Fill the kettle halfway or high enough to cover the mineral deposits without exceeding the maximum line.
- Boil the mixture. Bring the lemon water to a boil.
- Let it sit. Leave the solution in the kettle for 30 to 60 minutes.
- Discard the liquid. Remove lemon pieces carefully so they do not become lodged in the spout or filter.
- Wipe away loosened scale. Use a soft sponge or brush on remaining deposits.
- Rinse thoroughly. Swirl clean water around the interior and empty it.
- Complete a fresh-water boil. Boil and discard one full kettle of clean water before making a drink.
Fresh Lemon vs. Bottled Lemon Juice
Either can work, but bottled lemon juice may contain added ingredients and can leave a slightly stronger residue. Fresh lemon is often more pleasant, although pulp and seeds must be removed carefully.
Avoid packing the kettle with lemon peels. More fruit does not automatically mean more cleaning power, and loose pieces can obstruct the filter or spout.
When Lemon Works Best
Choose lemon for routine maintenance, thin white films, glass kettles, and situations where odor matters. For a kettle with a thick, rock-like deposit, vinegar or powdered citric acid will usually work faster.
Method 3: How to Descale a Kettle With Citric Acid
Food-grade citric acid is an efficient, low-odor descaler. It is commonly sold as a powder for canning, cooking, candy making, and household cleaning. Many commercial kettle descaling products also rely on acids designed to dissolve mineral deposits.
Citric acid is often the best overall option when you want more control than lemon juice provides without the lingering smell of vinegar.
What You Will Need
- Food-grade citric acid powder or a manufacturer-approved descaling product
- Fresh water
- A measuring spoon
- A soft sponge or nonabrasive brush
Step-by-Step Citric Acid Method
- Review the manufacturer’s directions. Follow the product label or kettle manual when it specifies a concentration.
- Mix the solution. For general cleaning, dissolve about 1 to 2 tablespoons of citric acid in approximately 1 liter of water.
- Add it to the kettle. Stay between the minimum and maximum fill lines.
- Heat the solution. Bring it to a boil unless the product instructions recommend a different process.
- Allow time to work. Let the solution sit for 15 to 30 minutes. Heavy deposits may need a second treatment rather than an excessively strong mixture.
- Empty and inspect. Pour out the solution and check the base, walls, lid, and spout.
- Gently wipe remaining deposits. Do not scrape the surface with knives, metal utensils, or abrasive pads.
- Rinse thoroughly. Rinse several times, then boil and discard at least one full kettle of fresh water.
Using a Commercial Kettle Descaler
A commercial descaling solution can be convenient for severe buildup or when a manufacturer specifically recommends its own product. Use the exact amount listed on the package. A stronger mixture is not necessarily better and may damage seals, finishes, or internal parts.
Do not assume all appliance descalers are interchangeable. A product designed for a coffee machine, steam iron, toilet, or industrial boiler may not be appropriate for a kettle that prepares drinking water.
Which Kettle Descaling Method Is Best?
| Method | Best For | Main Advantage | Possible Drawback |
|---|---|---|---|
| White vinegar | Moderate to heavy scale | Affordable and widely available | Strong temporary odor |
| Lemon | Light to moderate scale | Pleasant smell and simple ingredients | May need repeating on thick buildup |
| Citric acid | Routine or stubborn scale | Effective with very little odor | Requires careful measuring |
For most people, white vinegar is the easiest starting point. Citric acid is excellent for regular maintenance, while lemon offers a milder alternative for thin deposits.
How to Clean the Kettle Filter, Spout, and Exterior
Cleaning a Removable Scale Filter
Many electric kettles have a removable mesh filter near the spout. Once the kettle is cool and unplugged, remove the filter according to the manual. Rinse it under clean water and brush it gently with a soft toothbrush.
If scale remains, soak the filter in diluted vinegar or citric acid solution. Rinse it thoroughly before reinstalling it. Never force a filter out of its holder; small plastic clips have an impressive talent for snapping at the least convenient moment.
Cleaning the Exterior
Wipe the outside with a damp microfiber cloth and a small amount of mild dish soap if necessary. Then wipe it again with a clean damp cloth and dry it.
Do not pour water over an electric kettle or place it in a sink full of water. For stainless steel exteriors, wipe in the direction of the grain to reduce streaks. Avoid abrasive powders, harsh scouring pads, and chlorine-based cleaners.
Cleaning a Stovetop Kettle
A stovetop kettle can generally tolerate more exterior washing than an electric model, but its material still matters. Enamel, copper, glass, cast iron, and stainless steel each have different care requirements. Follow the manufacturer’s recommendations and dry the kettle completely to reduce the risk of rust or water spots.
Common Kettle Descaling Mistakes
Using Baking Soda as the Main Descaler
Baking soda is useful for deodorizing and gently cleaning some stains, but acid-based cleaners are usually more effective against mineral scale. Vinegar, lemon juice, and citric acid react more directly with common limescale deposits.
Scraping Scale With Metal Tools
A butter knife may look like the perfect tiny chisel, but it can scratch stainless steel, glass, coatings, or the heating element. Let the cleaning solution dissolve the buildup instead.
Mixing Cleaning Chemicals
Never mix vinegar, lemon juice, citric acid, or commercial descalers with chlorine bleach. Combining acids and bleach can release dangerous chlorine gas.
Skipping the Rinse Cycles
One quick splash of water is not enough. Rinse the kettle several times and complete at least one full fresh-water boil. Use additional boil-and-discard cycles if you can still smell or taste the cleaning solution.
Leaving Water in the Kettle All Day
Standing water gives dissolved minerals more time to settle as the water cools and evaporates. Emptying unused water at the end of the day can slow the return of visible buildup.
How to Prevent Limescale From Building Up Quickly
- Empty unused water after each day rather than repeatedly reheating it.
- Rinse the kettle regularly before a thick mineral layer forms.
- Use filtered water if the filter is designed to reduce hardness minerals.
- Descale on a schedule instead of waiting for floating flakes.
- Clean the removable scale filter according to the manual.
- Dry a stovetop kettle thoroughly before storing it.
- Use only the amount of water you need to limit repeated evaporation.
Standard pitcher filters vary. Some improve taste and reduce chlorine but do not remove much calcium or magnesium. Check the filter’s specifications rather than assuming every filtered-water pitcher is secretly a miniature water softener.
Frequently Asked Questions
Can I leave vinegar in my kettle overnight?
Some manufacturers recommend an overnight vinegar soak for stubborn deposits, while others specify a shorter treatment. Check your manual first. If overnight soaking is permitted, dilute the vinegar as directed and keep the unplugged kettle in a safe location.
Is limescale dangerous to drink?
Typical kettle limescale is primarily associated with minerals naturally present in hard water. Small flakes are generally treated as a quality and maintenance issue rather than an emergency. However, unusual colors, odors, oily residue, rust, mold, or contamination from an unknown source should be investigated before the kettle is used again.
Why are white flakes still appearing after descaling?
The cleaning solution may have loosened deposits without fully removing them. Rinse the kettle, wipe it gently, and repeat the treatment. Also clean the filter and spout, where loosened pieces may become trapped.
Can I descale a plastic kettle with vinegar?
Many plastic-lined electric kettles can be cleaned with diluted vinegar, but the manual should confirm the approved method. Strong solutions or long soaking periods may affect certain plastics, seals, or components.
Can I use apple cider vinegar?
Apple cider vinegar can dissolve mineral buildup, but distilled white vinegar is generally preferred because it is clear and less likely to leave color, sediment, or a lingering flavor.
Real-World Descaling Experience: What Usually Happens
In an ordinary kitchen, the most surprising part of descaling a kettle is often how quickly an ugly mineral layer begins to break apart. A kettle may look permanently stained, yet after a hot acidic soak, the bottom can become smooth and reflective again with very little scrubbing. The cloudy liquid and floating flakes are not glamorous, but they provide satisfying evidence that the process is working.
Light buildup is usually uneventful. A diluted vinegar or citric acid solution boils, rests for about half an hour, and pours out with a few tiny white particles. After one rinse cycle, the kettle already looks better. This is the ideal situation and a persuasive argument for monthly maintenance in hard-water areas.
A neglected kettle behaves differently. Thick scale may soften around the edges while remaining firmly attached in the center. The temptation is to attack it with a metal spoon, but patience produces better results. A second mild descaling cycle is safer than forceful scraping. Repeating the treatment also reaches mineral layers that the first soak exposes.
Vinegar tends to be the most convenient option because many homes already have it. The disadvantage becomes obvious as soon as the kettle warms up: the odor travels. Ventilation helps, as does completing two fresh-water boil cycles afterward. People with a sensitive sense of smell often prefer citric acid because it delivers comparable cleaning performance without making the kitchen smell like pickles have taken control of the building.
Lemon is the most pleasant method but not always the strongest. It performs well on a thin cloudy film and gives the kettle a fresh scent. On heavy deposits, however, lemon may need more time or a second round. Fresh slices also create pulp, seeds, and small fragments that must be kept away from narrow spouts and removable filters.
Glass kettles provide the most visible before-and-after result. Their transparent walls reveal exactly where the scale has formed and how it dissolves. Stainless steel kettles can be more deceptive because the interior may look merely dull until descaling reveals how much shine was hidden under the mineral film.
Another common observation is improved boiling behavior. Removing a substantial deposit can reduce rattling noises and restore more consistent heating. Not every slow kettle is suffering from limescale, of course, but scale is a sensible maintenance issue to address before assuming the appliance has reached retirement age.
The final rinse matters more than people expect. A kettle can look perfectly clean and still give water a faint vinegar or lemon taste. Boiling and discarding one or two full batches of fresh water solves the problem in most cases. The kettle should smell neutral when cool and produce water with no noticeable cleaning flavor.
The easiest long-term routine is not a heroic annual deep clean. It is a quick inspection every few weeks, followed by descaling as soon as a film appears. Ten minutes of preparation and a passive soak are far less troublesome than chiseling through months of buildup while wondering whether the kettle has developed its own geological era.
Conclusion
Knowing how to descale a kettle can improve its appearance, maintain efficient heating, and prevent mineral flakes from wandering into your tea. White vinegar is inexpensive and effective, lemon is pleasant for lighter buildup, and citric acid offers strong performance with minimal odor.
Whichever method you choose, check the owner’s manual, avoid abrasive tools, protect electrical components, and rinse the kettle thoroughly. Regular maintenance is easier than tackling a hardened mineral crustand considerably cheaper than replacing an appliance that simply needed a good soak.
Note: Cleaning instructions differ among kettle models and materials. Always follow the manufacturer’s care guidance when it conflicts with general household cleaning advice.