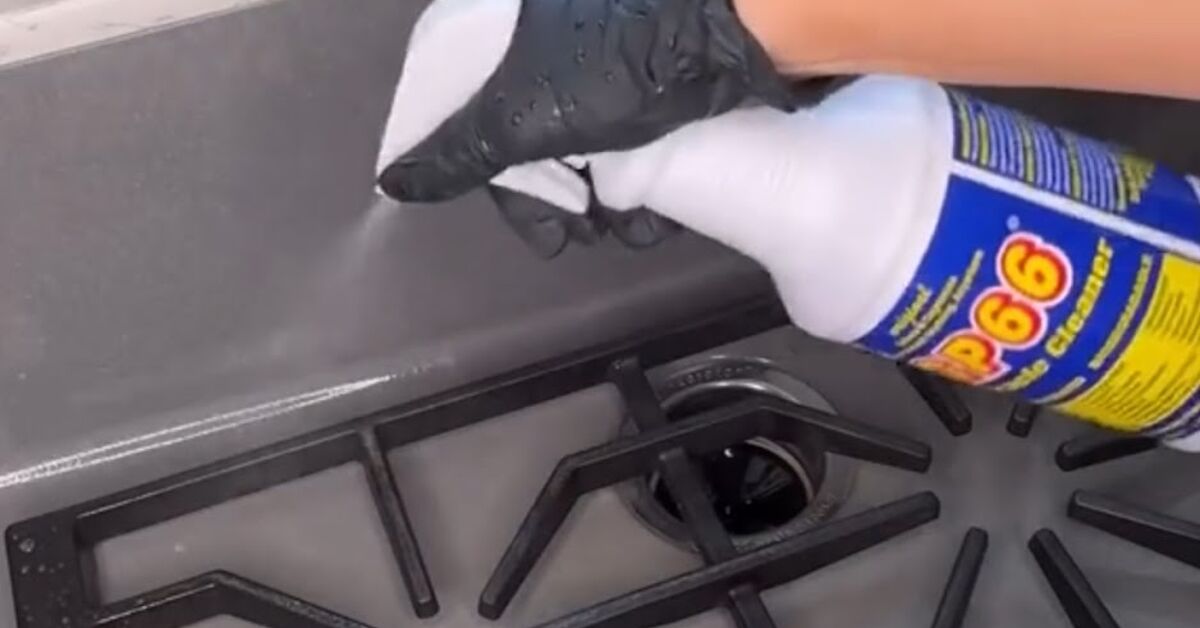
A stove works hard. It catches pasta water, tomato sauce, oil pops, pancake batter, mystery crumbs, and the occasional “I’ll wipe that later” disaster. Then, one day, the kitchen light hits it just right and you realize your stovetop has been quietly building its own tiny ecosystem. Good news: learning how to deep clean your stove does not require a hazmat suit, a professional cleaning crew, or dramatic background music.
With the right method, you can remove baked-on grease, refresh stove grates, clean burner caps, polish glass or stainless steel surfaces, and make the whole cooking area look less like a crime scene from spaghetti night. The key is to clean by stove type, use gentle tools first, and let time do some of the scrubbing for you. Hot water, dish soap, baking soda paste, microfiber cloths, and a little patience can do more than aggressive scraping ever will.
This guide breaks the process into five effective steps that work for gas, electric coil, glass, and stainless steel stovetops. You will also find practical tips, common mistakes to avoid, and real-life cleaning experience at the end so your next deep-clean session feels less like punishment and more like a satisfying kitchen reset.
Why Deep Cleaning Your Stove Matters
A clean stove is not just about looks, although a shiny stovetop does make the whole kitchen feel more expensive than it probably is. Grease buildup can create odors, attract dust, interfere with even heating, and make future spills harder to remove. On gas stoves, clogged burner ports can affect flame quality. On glass cooktops, dried spills can become stubborn marks if they are reheated again and again.
Deep cleaning also helps you spot small problems early. Loose burner caps, damaged drip pans, scorched residue near heating elements, or scratches on a glass cooktop are easier to notice when the surface is clean. Think of it as giving your stove a spa day, minus the cucumber slices.
Before You Start: Gather the Right Supplies
Before attacking the grime, set up your cleaning station. A little preparation keeps the job organized and prevents you from spreading grease from one side of the kitchen to the other like an overachieving raccoon.
Recommended Supplies
- Dish soap with degreasing power
- Warm or hot water
- Microfiber cloths
- Soft sponge or nonabrasive scrub pad
- Baking soda
- White vinegar in a spray bottle
- Plastic scraper or cooktop scraper approved for your surface
- Old toothbrush or small nylon brush
- Dry towels
- Cooktop cleaner for glass or ceramic surfaces, if needed
- Stainless steel cleaner, if your stove has a stainless finish
Safety First
Always turn the stove off and let it cool completely before cleaning. Remove loose crumbs before adding water or cleaner. If you have a gas stove, avoid flooding burner openings with liquid. Do not mix cleaning products, especially bleach with ammonia or acidic cleaners. If your stove manual gives specific care instructions, follow those first because finishes and parts vary by model.
Step 1: Clear, Cool, and Disassemble the Stove
The first step in deep cleaning a stove is to create a safe, clear work area. Remove pots, pans, utensils, and anything decorative near the cooking zone. If you store a wooden spoon rest, oil bottle, or salt cellar beside the stove, move it out of the splash zone. You are about to uncover crumbs that may have been living rent-free since last Tuesday.
For a gas stove, remove the grates and burner caps. Some models also allow burner heads to be lifted out, while others do not. Do not force parts. For an electric coil stove, gently remove the coils if your model allows it, then lift out drip pans. For a glass stovetop, there may be no removable top parts, so focus on clearing the surface. For stainless steel cooktops, remove grates or accessories according to the appliance design.
Place removable parts in or near the sink. Keep small items grouped together so reassembly is easy. If burner caps are different sizes, arrange them in the same pattern as the stovetop or take a quick photo before removing them. This prevents the classic cleaning finale where everything is spotless but one burner cap sits awkwardly like it missed orientation day.
Step 2: Soak Removable Parts to Loosen Grease
Soaking is the secret weapon of stove cleaning. It lets hot water and soap soften grease while you work on the surface. Fill a sink or large basin with hot water and a few drops of dish soap. Add gas stove grates, burner caps, and removable drip pans if the manufacturer says they are safe to soak. Let them sit for 15 to 30 minutes while the residue loosens.
If the parts are coated with ordinary grease, dish soap may be enough. For heavier buildup, sprinkle baking soda over the wet parts and let it sit before scrubbing. Baking soda is mildly abrasive, which means it can help lift grime without acting like sandpaper. For enamel-coated grates, use a nonabrasive pad or nylon brush. For uncoated cast iron grates, avoid long soaking because water can encourage rust. Clean them with minimal moisture and dry thoroughly.
Electric drip pans often collect burnt food rings and oily residue. Wash them in hot soapy water, scrub gently, rinse well, and dry fully before returning them. If a drip pan is permanently stained, warped, or rusty, replacement may be more practical than heroic scrubbing. Some kitchen battles are not meant to be won.
Step 3: Degrease and Scrub the Stove Surface
While the removable parts soak, turn your attention to the stove surface. Start by wiping away loose crumbs with a dry cloth or paper towel. Then use a damp sponge with warm soapy water to remove the first layer of grease. Work from the back of the stove forward so you are not dragging dirty water into already-clean areas.
For Gas Stovetops
Clean around the burner bases carefully. Use a damp cloth rather than pouring water directly onto the stove. If food is stuck near the burners, apply a baking soda paste made with three parts baking soda and one part water. Let it sit for about 15 to 20 minutes, then wipe with a soft sponge. Use a small nylon brush or old toothbrush around edges and grooves.
If burner ports look clogged, gently clear debris with a straight pin or tool recommended by the manufacturer. Avoid wooden toothpicks because they can break and leave pieces behind. After cleaning, wipe everything with a clean damp cloth and dry thoroughly.
For Glass or Ceramic Cooktops
Glass stovetops need a gentler approach because scratches and pitting can be permanent. Once the cooktop is cool, remove loose debris. Apply a cleaner approved for glass or ceramic cooktops, or use a baking soda paste for mild residue. Let the cleaner sit briefly, then wipe with a nonabrasive pad or microfiber cloth.
For stubborn burned-on spots, use a cooktop scraper only if your appliance manual allows it. Hold the blade at a low angle and scrape slowly. Do not dig into the glass, press aggressively, or use random sharp tools from the junk drawer. A glass stovetop is not the place to audition your inner archaeologist.
For Stainless Steel Stovetops
Stainless steel looks beautiful when clean, but it can show streaks if you wipe in circles or use harsh scrubbers. Use warm soapy water and a microfiber cloth. Wipe in the direction of the grain, rinse with a clean damp cloth, then dry immediately. For fingerprints or heat discoloration, use a stainless steel cleaner made for appliances and follow the label directions.
Step 4: Clean Details, Knobs, Edges, and Hidden Grease Zones
The difference between a regular wipe-down and a deep clean is detail work. Grease loves edges, seams, knobs, control panels, and the thin line where the stovetop meets the counter. These areas may look small, but they hold enough crumbs to qualify as a snack if you are not careful.
Remove control knobs only if your stove manual says they are removable. Wash them in warm soapy water with a soft cloth, rinse, and dry. Never soak knobs with electronic components or markings that could fade. For the control panel, spray cleaner onto the cloth instead of directly onto the appliance. This helps prevent moisture from entering openings.
Use a toothbrush or small cleaning brush for tight corners. A wooden or plastic scraper can help lift dried food along seams without scratching the finish. For greasy backsplashes or the wall behind the stove, use dish soap and warm water first. If the backsplash is tile, a mild degreaser may help, but avoid spraying strong cleaners near open burner areas or electrical controls.
Do not forget the front lip of the stove, the underside of grates, and the area around drip pans. These zones are famous for hiding splattered oil. If your stove has a removable crumb tray or lift-up top, clean it according to the manual. Dry every area before moving to reassembly.
Step 5: Rinse, Dry, Reassemble, and Polish
Once the grime is gone, rinse all surfaces with a clean damp cloth to remove soap or cleaner residue. This step matters because leftover cleaner can streak, smell when heated, or leave a dull film. After rinsing, dry the stove with a microfiber cloth. Drying is especially important for gas burner parts, cast iron, stainless steel, and electric components.
Scrub soaked grates, burner caps, and drip pans, then rinse them thoroughly. Set them on a towel and dry by hand. Do not reinstall damp gas burner caps. Moisture can interfere with ignition or flame quality. Put each part back in the correct position and make sure burner caps sit flat and centered.
For glass cooktops, buff the surface with a dry microfiber cloth until it shines. For stainless steel, polish with the grain. For gas stoves, run a quick visual check before cooking again. Turn burners on briefly to confirm that flames look even and normal. If a burner clicks repeatedly or the flame looks unusual after cleaning, turn it off, let everything dry longer, and check that the cap is seated correctly.
How Often Should You Deep Clean Your Stove?
The best cleaning schedule depends on how often you cook and how enthusiastic your sauces are. For most households, a quick wipe after each cooking session prevents major buildup. A deeper clean once a week works well for frequent home cooks. If you cook lightly, every two to four weeks may be enough. After a major spill, especially sugary spills on glass or greasy splatters on gas grates, clean as soon as the stove is safe to touch.
Daily maintenance can be simple: wait for the stove to cool, wipe with a damp cloth, use a little dish soap for grease, rinse, and dry. This two-minute habit saves you from spending Saturday afternoon negotiating with burnt marinara.
Common Stove Cleaning Mistakes to Avoid
Using Abrasive Tools on the Wrong Surface
Steel wool, gritty powders, rough pads, and aggressive scraping can damage glass, stainless steel, enamel, and painted surfaces. Start gentle. Increase cleaning strength only when needed and only with tools approved for your stove type.
Skipping the Owner’s Manual
Some grates are dishwasher-safe; others are not. Some burner caps can soak; others should not. Some glass cooktops allow careful scraping; others have specific restrictions. The manual may not be thrilling literature, but it can save you from expensive mistakes.
Reassembling Wet Parts
Wet burner caps, damp drip pans, and moisture near ignition points can cause performance issues. Dry parts completely before putting them back.
Letting Spills Reheat Repeatedly
Every time a spill heats again, it can become harder to remove. Sugary spills on glass cooktops are especially troublesome. Clean spills promptly once it is safe.
Natural Cleaning vs. Commercial Stove Cleaners
Natural cleaning staples such as baking soda, vinegar, and dish soap are useful for many stove messes. Baking soda helps loosen stuck-on food. Vinegar can help cut light grease and leave glass looking clearer. Dish soap is excellent for oily residue because it is designed to break down fats.
Commercial cooktop cleaners can be helpful for glass and ceramic surfaces, especially when residue is baked on. The important rule is to choose a cleaner made for your surface and follow the label. More product does not always mean more cleaning power. Sometimes it just means more rinsing, more streaks, and more wondering why you started this project before dinner.
Extra Experience: What Actually Works When Your Stove Looks Hopeless
Here is the honest experience many home cooks eventually learn: the best stove cleaning method is not the most aggressive one. It is the one that gives grime enough time to soften. When a stove looks terrible, the first instinct is often to scrub harder. That usually leads to sore wrists, scratches, and a sponge that looks like it has been through a small kitchen war. A better approach is to soak, wait, wipe, repeat, and only then scrub targeted spots.
For example, after frying bacon or searing burgers, the stovetop may feel coated with a thin, sticky film. If you wipe it with a dry paper towel, the grease smears. If you spray cleaner immediately, it may mix with oil and create a slippery mess. The better move is to remove loose crumbs first, use warm soapy water to break down the grease, then rinse and dry. That simple order makes the whole job easier.
Gas stove grates are another lesson in patience. A quick scrub rarely removes cooked-on residue from every corner. Letting grates sit in hot soapy water for 20 minutes can change everything. The grease softens, the brown patches lift more easily, and the brush does not have to work so hard. If the grates are enamel-coated, a baking soda paste can help with stubborn spots. If they are uncoated cast iron, keep water exposure short and dry them immediately. The goal is clean, not rusty.
Glass stovetops require a different mindset. They look sleek, but they remember every bad decision. Dragging a rough pan, using a harsh scrubber, or scraping at the wrong angle can leave marks. The most useful habit is wiping the glass after cooking, once it cools. This prevents small splatters from turning into stubborn rings. For cloudy areas, a cooktop cleaner and microfiber cloth usually work better than random household powders. When scraping is needed, use the proper scraper, keep the angle low, and move slowly.
Stainless steel teaches another lesson: direction matters. Wiping with the grain gives a smoother finish and fewer streaks. Drying immediately also makes a big difference. A stainless surface can be technically clean but still look messy if water spots remain. A dry microfiber cloth is the final step that makes the stove look polished instead of simply wet.
One practical trick is to clean in zones. Start with removable parts in the sink. While they soak, clean the main stovetop. Then clean knobs, edges, and the backsplash. Finally, return to the grates or drip pans. This keeps the process moving and makes the job feel less overwhelming. You are not cleaning “the whole stove.” You are cleaning one section at a time, which is much less dramatic.
Another experience-based tip: do not deep clean right before you need to cook. A stove deep clean can take longer than expected, especially if parts need to dry fully. Choose a time after dinner or on a low-pressure morning. Put on music, open a window if needed, and treat it like a reset. The result is worth it. Food smells better, the kitchen looks brighter, and you get that oddly satisfying feeling of turning chaos into shine.
Finally, the easiest stove to deep clean is the one that never gets too dirty. That does not mean you need to become a person who wipes every microscopic splash with military focus. It means doing tiny maintenance tasks: wipe spills after cooling, wash grates before grease hardens, dry stainless steel after cleaning, and keep a scraper or soft brush where you can find it. Future you will be grateful. Future you may even cook pancakes without judging past you. That is growth.
Conclusion
Deep cleaning your stove in five effective steps is simple when you follow the right order: clear and disassemble, soak removable parts, degrease the surface, clean the details, then rinse, dry, reassemble, and polish. Whether you have a gas stove, electric coil stove, glass cooktop, or stainless steel surface, the best results come from patience, nonabrasive tools, and cleaning methods matched to the material.
A clean stove improves the look of your kitchen, reduces lingering odors, helps burners perform properly, and makes cooking feel more enjoyable. Even better, regular maintenance turns deep cleaning from a dreaded event into a manageable routine. Your stove does not need perfection every day. It just needs attention before the grease becomes emotionally attached.