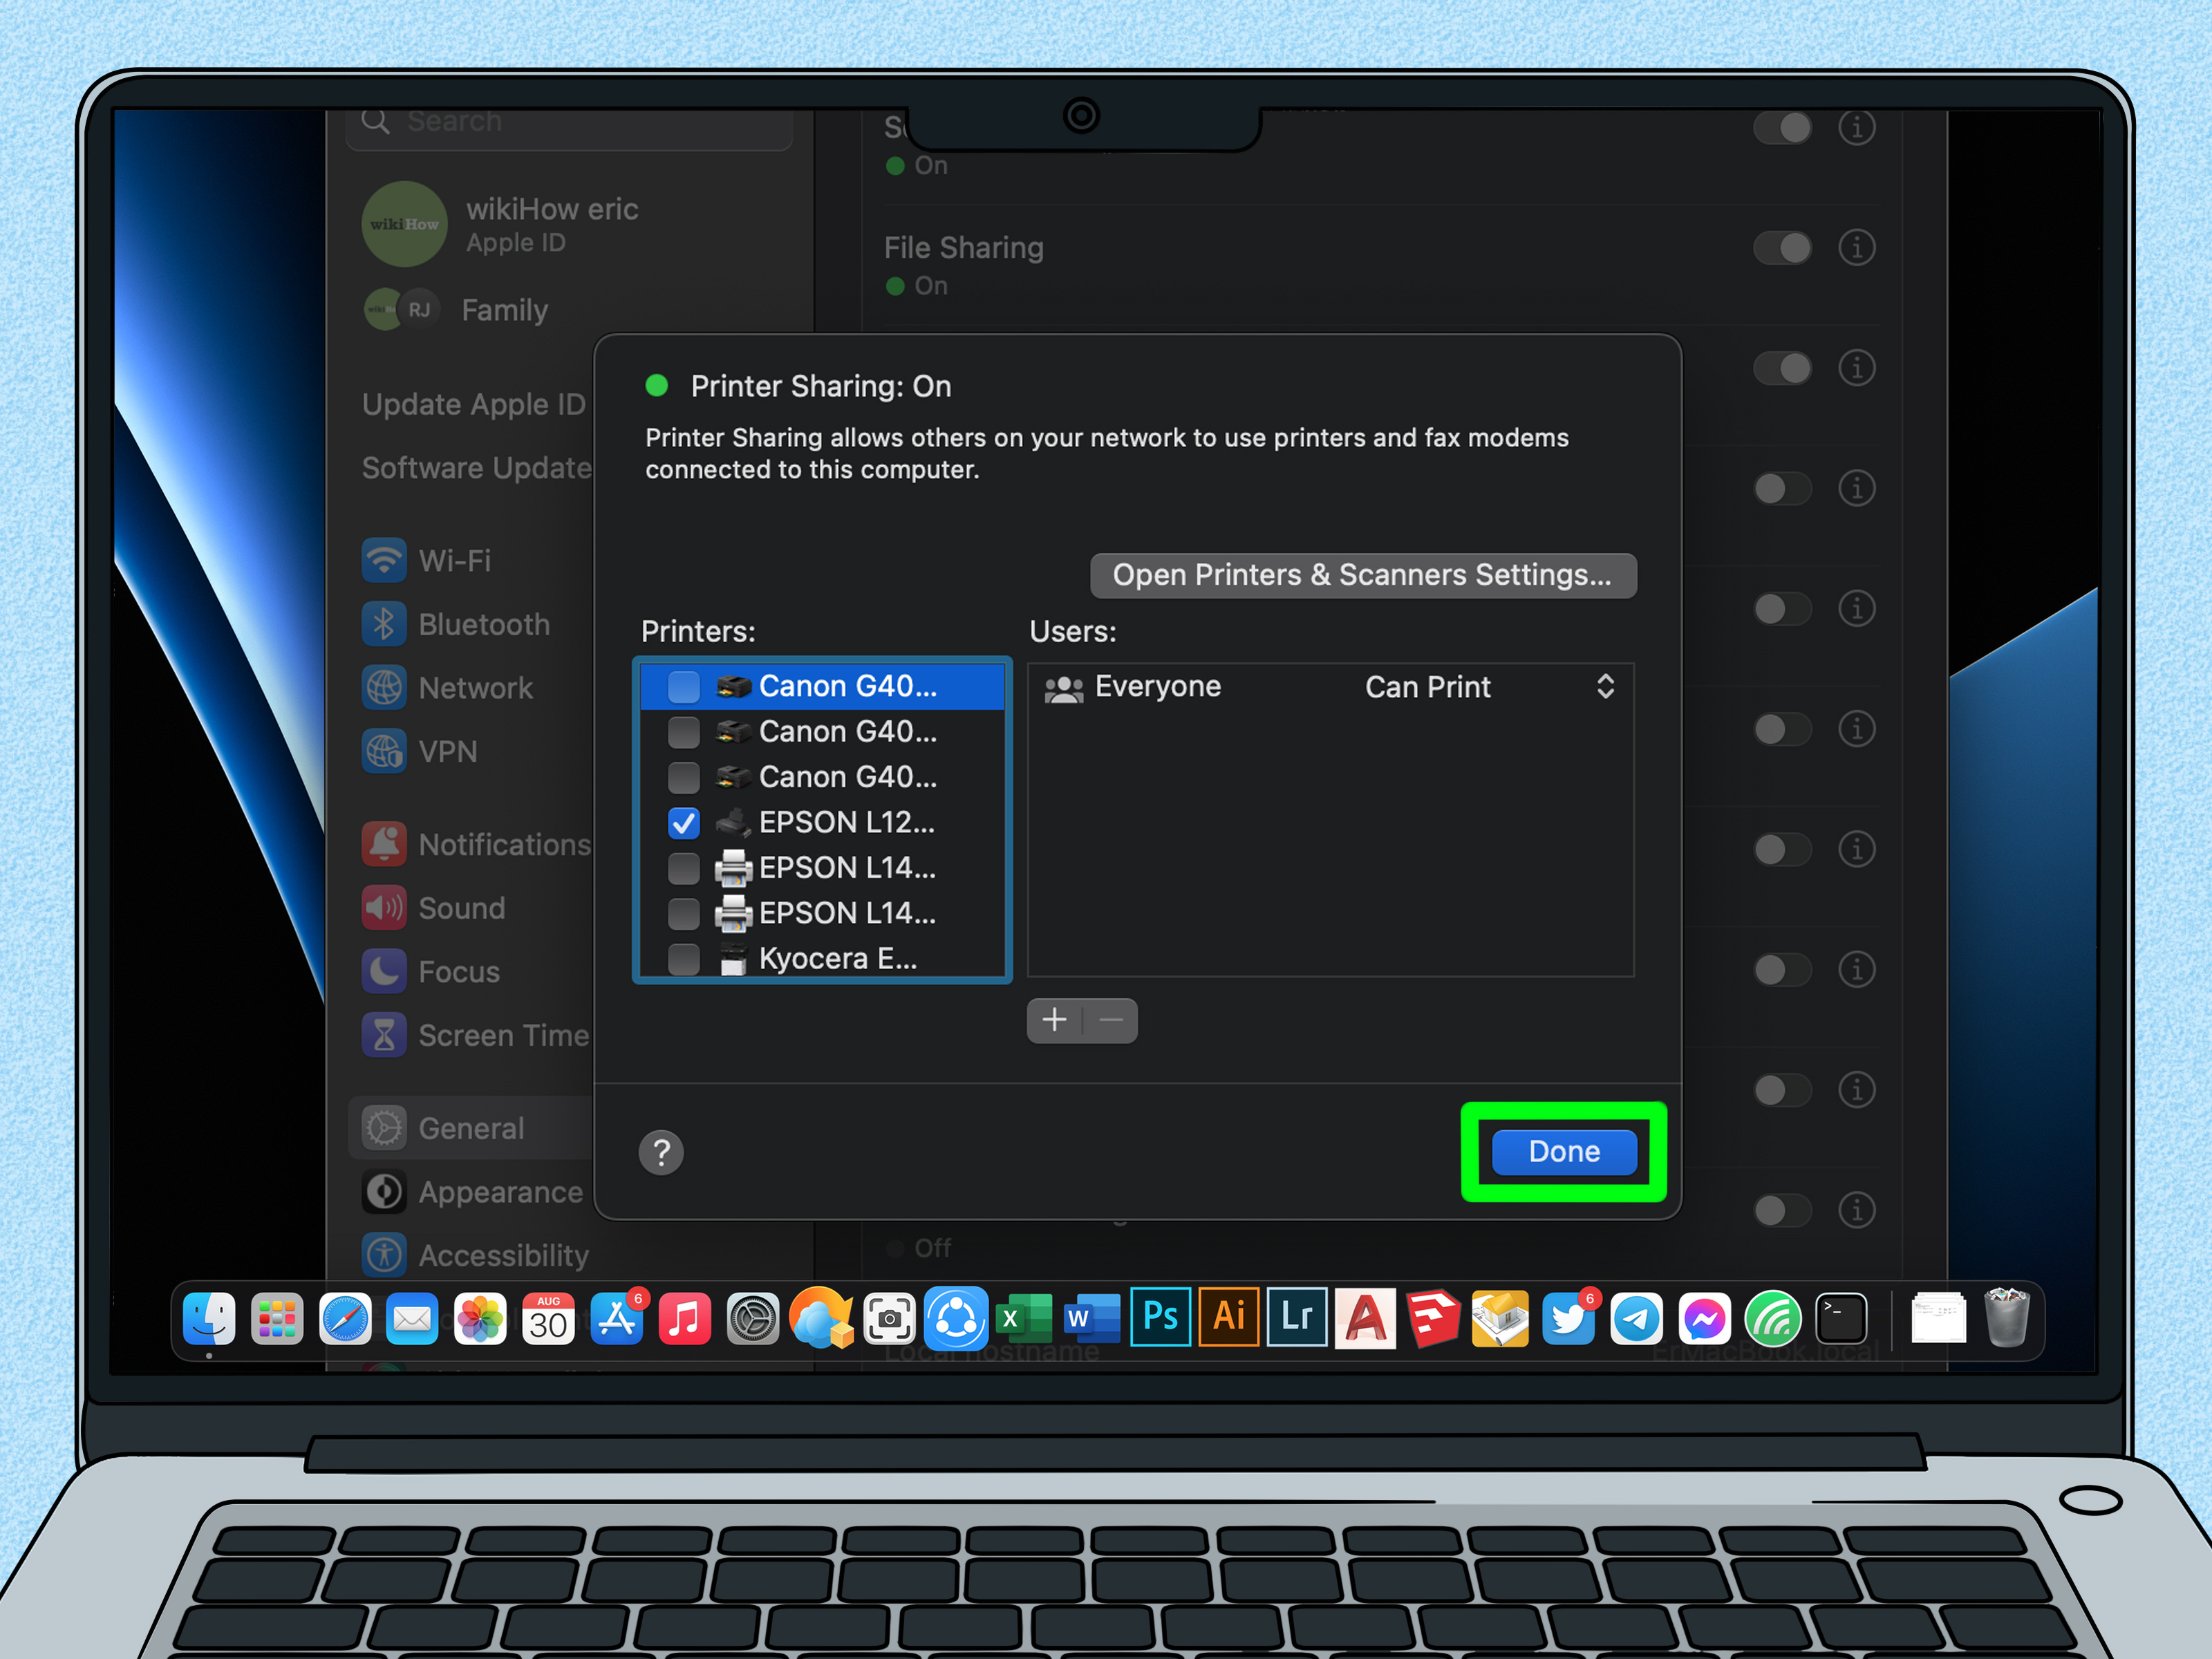
Connecting a printer to your computer sounds like one of those “five-minute tasks” that somehow turns into a full archaeological dig through drawers, old USB cables, forgotten Wi-Fi passwords, and one mysterious installation CD from 2011. The good news? Modern printers are far easier to set up than their reputation suggests. Whether you use Windows or Mac, a wired USB printer, a wireless inkjet, a laser printer, or an all-in-one machine that insists it is “smart,” the process usually comes down to three things: power, connection, and the correct driver or built-in print system.
This guide explains how to connect a printer to your computer on Windows or Mac using USB, Wi-Fi, Wi-Fi Direct, AirPrint, IP address setup, and manufacturer software. It also covers common printer connection problems, practical troubleshooting, and real-world setup experiences that can save you from yelling at a harmless plastic box that only wants to print your shipping label.
Before You Start: Printer Setup Checklist
Before connecting anything, make sure the basics are handled. A printer cannot join your computer’s happy little technology family if it is still wrapped in tape, missing ink, or quietly blinking an error light like a tiny office lighthouse.
Check These First
- Plug in the printer and turn it on.
- Install ink or toner cartridges correctly.
- Load paper into the tray.
- Remove all shipping tape and protective packaging.
- Place the printer near your computer or Wi-Fi router during setup.
- Know your Wi-Fi network name and password.
- Update Windows or macOS before installing a new printer.
For wireless printers, your computer and printer should usually be on the same Wi-Fi network. This is the number one rule of home printing, right next to “the printer will run out of ink when you are already late.” If your computer is on one network and the printer is on another, they may not see each other.
How to Connect a Printer to a Windows Computer
Windows 10 and Windows 11 can automatically detect many modern printers, especially USB and network printers. For most users, the built-in Settings app is the easiest place to begin.
Method 1: Connect a USB Printer to Windows
A USB connection is the simplest option because it avoids Wi-Fi drama. It is ideal for a desktop computer, a home office, or anyone who believes cables are not a flaw but a lifestyle choice.
- Turn on the printer.
- Connect the printer to your PC using a USB cable.
- Wait while Windows detects the printer.
- Open Start > Settings > Bluetooth & devices > Printers & scanners.
- Look for your printer in the list.
- If it does not appear, select Add device.
- Choose your printer and follow the on-screen prompts.
In many cases, Windows installs the printer automatically. If Windows cannot find the right driver, download the latest software from the printer manufacturer’s official support website. This is especially important for older printers, photo printers, label printers, and all-in-one models with scanning features.
Method 2: Connect a Wireless Printer to Windows
A wireless printer lets multiple computers print without passing around a USB cable like it is a sacred office artifact. The printer must first connect to your Wi-Fi network.
- Use the printer’s touchscreen, buttons, or mobile setup app to connect it to Wi-Fi.
- Make sure your Windows computer is on the same Wi-Fi network.
- Open Settings > Bluetooth & devices > Printers & scanners.
- Select Add device.
- Wait for Windows to search for available printers.
- Select your printer and click Add device.
- Print a test page.
If your printer has a small screen, look for a menu called Wireless Setup Wizard, Network Setup, Wi-Fi Setup, or something similar. HP, Canon, Epson, and Brother printers often provide setup apps or utilities that guide you through the wireless connection process.
Method 3: Add a Printer by IP Address on Windows
If Windows cannot find your printer automatically, adding it by IP address can work well. This is common in small offices, shared networks, or homes where the router seems to enjoy hiding devices for sport.
- Find the printer’s IP address from its network settings or by printing a network configuration page.
- Go to Settings > Bluetooth & devices > Printers & scanners.
- Select Add device.
- If your printer does not appear, choose the option to add manually.
- Select the option for adding a printer using a TCP/IP address or hostname.
- Enter the printer’s IP address.
- Choose the recommended driver or install the manufacturer driver.
- Complete setup and print a test page.
For best results, consider giving your printer a reserved IP address in your router settings. That prevents the printer’s address from changing later, which can make your computer act like the printer moved to another country.
How to Connect a Printer to a Mac
Mac computers are usually friendly with modern printers, especially AirPrint-compatible models. AirPrint allows many printers to work without downloading extra drivers. That is excellent news for anyone who has ever installed a “complete printer software suite” and suddenly found six new apps, three update tools, and a desktop shortcut they never asked for.
Method 1: Connect a USB Printer to Mac
- Turn on the printer.
- Connect the printer to your Mac using a USB cable or adapter if needed.
- Open Apple menu > System Settings.
- Select Printers & Scanners.
- If the printer appears, select it.
- If it does not appear, click Add Printer, Scanner, or Fax.
- Choose your printer and click Add.
Many newer Macs only have USB-C ports, so you may need a USB-C adapter. Use a reliable cable, because a bad printer cable can waste more time than a meeting that should have been an email.
Method 2: Connect a Wireless Printer to Mac
- Connect the printer to your Wi-Fi network using the printer menu or setup app.
- Make sure your Mac is on the same network.
- Open System Settings > Printers & Scanners.
- Click Add Printer, Scanner, or Fax.
- Select your printer from the list.
- In the Use menu, choose AirPrint if available.
- Click Add.
- Print a test page.
If your printer supports AirPrint, choose it whenever possible for simple wireless printing. If you need advanced features such as special photo settings, duplex controls, ink management, or scanning tools, the manufacturer’s driver may offer more options.
Method 3: Add a Printer by IP Address on Mac
Adding a printer by IP address on a Mac is useful when the printer is on the network but does not appear automatically.
- Find the printer’s IP address from its network menu or printed network report.
- Open System Settings > Printers & Scanners.
- Click Add Printer, Scanner, or Fax.
- Select the IP tab.
- Enter the printer’s IP address.
- Choose the protocol recommended by your printer manufacturer, often IPP, AirPrint, or HP Jetdirect-Socket.
- Select the driver in the Use field.
- Click Add.
When in doubt, try AirPrint or the suggested driver first. If printing works but special features are missing, install the official software from the printer brand.
USB vs Wi-Fi vs Wi-Fi Direct: Which Printer Connection Is Best?
USB Printer Connection
USB is stable, fast, and easy. It is best when one computer uses the printer most of the time. It also avoids Wi-Fi interference, router issues, and network discovery problems. The downside is obvious: the printer must stay near the computer.
Wi-Fi Printer Connection
Wi-Fi is best for homes, shared offices, laptops, and families with multiple devices. Everyone can print from different rooms, assuming the printer is awake, connected, and not emotionally unavailable. The downside is that wireless printing depends on network strength and proper setup.
Wi-Fi Direct
Wi-Fi Direct lets your computer connect directly to the printer without using your router. It can be useful in dorm rooms, temporary offices, or places where you cannot connect the printer to the main Wi-Fi network. However, it may disconnect your computer from the internet while printing, depending on your setup.
Do You Need Printer Drivers?
Sometimes yes, sometimes no. Modern Windows and Mac systems can often print using built-in drivers, AirPrint, Mopria, or IPP-based printing. These technologies reduce the need for bulky printer software. However, manufacturer drivers may still be needed for older printers, business printers, label printers, advanced scanning, borderless photo printing, maintenance tools, or ink-level monitoring.
A good rule: start with the operating system’s built-in printer setup. If printing works and you have the features you need, stop there. Do not install extra software just because the website waves a giant “recommended package” button at you. If features are missing, then install the official driver from HP, Canon, Epson, Brother, or your printer brand.
How to Set a Default Printer
Set Default Printer on Windows
- Open Settings > Bluetooth & devices > Printers & scanners.
- Select your printer.
- Click Set as default.
- If Windows manages your default printer automatically, turn that option off if you prefer manual control.
Set Default Printer on Mac
- Open System Settings > Printers & Scanners.
- Find the Default printer option.
- Choose your preferred printer from the menu.
Setting a default printer prevents your computer from sending a grocery list to the office printer, a tax form to a label printer, or a school assignment to a PDF file while everyone wonders where the paper went.
Common Printer Connection Problems and Fixes
Problem: Computer Cannot Find the Printer
First, confirm the printer is turned on and connected to the same Wi-Fi network as your computer. Restart the printer, router, and computer. Yes, “turn it off and on again” is boring advice, but it remains undefeated in the technology Olympics.
Problem: Printer Shows Offline
A printer may show offline when it loses Wi-Fi, enters sleep mode, changes IP address, or has a stuck print job. Wake the printer, check its wireless signal, clear the print queue, and restart the print spooler on Windows or reset the print queue on Mac if needed.
Problem: Driver Is Missing or Unavailable
Download the latest driver directly from the manufacturer’s official support page. Avoid random driver websites. They are the digital equivalent of buying sushi from a gas station: technically possible, rarely wise.
Problem: Printer Prints Blank Pages
Check ink or toner levels, cartridge installation, paper size settings, and whether the correct printer is selected. Run a nozzle check or cleaning cycle for inkjet printers. For laser printers, remove and reseat the toner cartridge.
Problem: Mac Adds the Printer but Features Are Missing
If you added the printer using AirPrint, basic printing may work while advanced features are hidden. Remove the printer, install the manufacturer software, and add it again using the manufacturer driver if available.
Problem: Windows Adds the Printer but It Will Not Print
Remove the printer from Printers & scanners, restart the computer, and add it again. Check the print queue for stuck jobs. If the printer is connected by USB, try another port or cable. If it is wireless, move it closer to the router during setup.
Security Tips for Printer Setup
Printers are computers with paper trays, which means security matters. Change the default administrator password if your printer has one. Keep firmware updated. Avoid exposing your printer directly to the public internet. On shared networks, use secure Wi-Fi with WPA2 or WPA3 encryption. In offices, limit who can access printer settings.
For Windows users, modern IPP and Mopria-compatible printing can reduce dependence on older third-party drivers. For Mac users, AirPrint is often the cleanest path because it avoids unnecessary software. In both cases, simpler setup often means fewer things to break later.
Best Setup Method by Situation
| Situation | Best Connection Method | Why It Works |
|---|---|---|
| One desktop computer | USB | Stable, simple, and reliable |
| Multiple computers at home | Wi-Fi | Easy sharing across devices |
| Mac with modern printer | AirPrint | No extra driver needed in many cases |
| Windows laptop with modern printer | Windows auto-detect or IPP | Fast setup through Settings |
| Printer not appearing automatically | IP address setup | Bypasses discovery issues |
| Temporary setup without router access | Wi-Fi Direct | Direct computer-to-printer connection |
Real-World Experiences: What Actually Happens When Connecting a Printer
In real life, connecting a printer is rarely difficult because the steps are complicated. It becomes difficult because one tiny detail is wrong. The printer is on the guest Wi-Fi network. The computer is connected to a VPN. The USB cable is power-only. The printer is asleep. The router changed the IP address. The driver was installed, but for a slightly different model number. These are not dramatic problems, but they can make setup feel like solving a mystery novel where the villain is named “Offline.”
One common experience is the “same Wi-Fi” trap. A laptop may be connected to a 5 GHz network while the printer only supports 2.4 GHz. In many homes, both networks share the same router but use different names. The printer joins one, the computer joins another, and neither device wants to admit they are in separate social circles. The fix is simple: connect both to the same network name during setup. After setup, some routers handle mixed bands just fine, but the first connection often works better when everything is clearly on the same network.
Another real-world lesson: USB setup is underrated. People often try wireless setup first because it feels modern, but a USB cable can be the fastest way to confirm the printer actually works. If a printer prints over USB, then the cartridges, paper path, and basic driver are probably fine. After that, you can focus only on the network connection. This turns one big problem into two smaller problems, which is basically the secret recipe for troubleshooting anything without losing your afternoon.
Mac users often have a smoother first experience with AirPrint, especially with newer printers. The printer appears, the Mac adds it, and printing works with very little ceremony. However, advanced features may require the manufacturer’s software. For example, a photographer using borderless photo paper or a small business scanning multi-page documents may need more than basic AirPrint. The smart move is to test basic printing first, then install extra tools only when needed.
Windows users may see more driver options, which is helpful but occasionally confusing. A printer might appear as a network printer, a Wi-Fi Direct printer, and a manufacturer-specific device all at once. Choose the normal network printer when both the computer and printer are on your router’s Wi-Fi. Choose Wi-Fi Direct only when you intentionally want a direct connection. If you accidentally pick the wrong one, printing may work once and then vanish later like a magician with toner.
In small offices, the best experience often comes from assigning the printer a reserved IP address. This prevents computers from losing track of the printer when the router restarts. It also makes setup easier for future devices because you can add the printer by address. For families, labeling the printer with the Wi-Fi network name, model number, and admin page address can save everyone from asking the same question six months later.
The biggest practical tip is to print a test page immediately after setup. Then print from the actual app you plan to use, such as Word, Google Chrome, Preview, Adobe Acrobat, or your shipping label service. A printer can pass a test page and still have paper size or scaling issues in a specific app. Catching that early is much better than discovering it while trying to print concert tickets, homework, invoices, or a return label five minutes before leaving the house.
Conclusion
Learning how to connect a printer to your computer on Windows or Mac is mostly about choosing the right connection method. USB is the easiest and most stable for one computer. Wi-Fi is best for shared printing. AirPrint is excellent for modern Mac setups. IP address setup is the reliable backup plan when automatic discovery fails. Manufacturer drivers are useful when you need advanced features, but built-in Windows and macOS tools are often enough for everyday printing.
The secret is not to panic when the printer does something weird. Restart the printer, check the network, verify the cable, remove and re-add the device, and use official drivers when necessary. Printers may never become charming, but with the right setup, they can at least become useful. And really, for a printer, that is personal growth.
Note: This article is based on current setup guidance from major operating system and printer manufacturers, including Windows, macOS, AirPrint-compatible printing, Wi-Fi Direct setup, and official printer driver recommendations. Exact menu names may vary slightly by operating system version and printer model.