If your roof looks tired, hot, and one argument away from filing a complaint, fibered aluminum roof coating can be a smart way to refresh and protect it. This reflective coating is commonly used on compatible low-slope asphalt roofs, modified bitumen, and some metal roofs to help shield the surface from sunlight, weather, and everyday wear. In plain English: it gives the roof a bright silver jacket and tells the sun to calm down a little.
That said, this is not a “slap it on and hope for the best” project. Fibered aluminum coating rewards careful prep and punishes shortcuts with streaks, peeling, uneven color, or poor adhesion. The good news is that the process is very doable when you follow the right order: inspect, clean, repair, dry, mix, apply, and let it cure in peace. Roof coatings love preparation almost as much as people love pretending they will “do it next weekend.”
This guide walks you through how to apply fibered aluminum roof coating step by step, including tools, prep work, weather conditions, coverage tips, common mistakes, and a few real-world lessons that can save you time, money, and one deeply regrettable afternoon on a hot roof.
What Is Fibered Aluminum Roof Coating?
Fibered aluminum roof coating is a solvent-based reflective roof coating made with asphalt, aluminum pigment, and reinforcing fibers. The aluminum helps reflect sunlight, while the asphaltic base and fibers add weather resistance and durability. It is often used to protect and renew compatible roof surfaces that are still structurally sound but showing age, oxidation, or surface wear.
The keyword there is compatible. Not every roof should be coated with fibered aluminum. Some products are designed for aged built-up roofing, modified bitumen, metal, or cured asphalt emulsion base coats. Others specifically warn against use over shingles, silicone coatings, certain rubber membranes, PVC, or roofs with chronic ponding problems. Before you buy anything, read the product label like it owes you money.
Why Homeowners and Building Owners Use It
There are a few practical reasons this coating remains popular. First, the silver finish reflects sunlight and can help reduce roof surface heat. Second, it forms a protective layer that helps slow down weathering of the underlying roof. Third, it can be a more budget-friendly maintenance option than a full tear-off when the roof is still in serviceable condition.
In other words, it is not magic, but it is useful. A good coating job can help extend roof life, freshen the appearance of an older roof, and improve day-to-day performance. A bad coating job, however, mostly extends your relationship with frustration.
Before You Start: Make Sure the Roof Is a Good Candidate
Check the roof condition
Fibered aluminum coating works best on roofs that are dry, stable, and repairable. If the roof deck is soft, leaks are widespread, seams are failing everywhere, or standing water is a regular houseguest, coating may not solve the actual problem. Coatings protect surfaces; they do not perform miracles on roofs that are already halfway into retirement.
Confirm compatibility
Review the manufacturer’s label for approved substrates. As a general rule, these coatings are commonly used on aged smooth built-up roofs, modified bitumen, cured asphalt emulsion systems, and some prepared metal roofs. If your roof has silicone, certain single-ply membranes, fresh asphalt, or shingles, stop and verify before moving forward.
Respect weathering time
Fresh roof surfaces often need time before coating. New metal may require weathering before application, and some asphalt or built-up roofs need a longer aging period. Repairs and base coats also need cure time. The exact waiting period varies by product, so use the label as the final word.
Tools and Materials You’ll Need
- Fibered aluminum roof coating
- Soft roof brush, roller, or airless spray equipment rated for the product
- Heavy-duty drill with mixing paddle or mechanical mixer
- Push broom or blower
- Pressure washer or hose with nozzle
- Non-film-forming cleaner or TSP substitute, if allowed by the label
- Roof patch or flashing cement and reinforcing fabric for repairs
- Wire brush for rust on metal roofs
- Gloves, eye protection, long sleeves, and slip-resistant footwear
- Ladder safety equipment and fall protection as needed
How to Apply Fibered Aluminum Roof Coating Step by Step
Step 1: Pick the right weather window
This is one of the biggest make-or-break factors. Apply fibered aluminum roof coating on a clear day with temperatures in the range recommended on the label. Many products call for roughly 40°F to 50°F and rising, while some specify a higher starting point. What matters even more is dry weather. Do not coat if rain, heavy dew, or freezing conditions are expected before the product has had time to cure.
Morning application is often the sweet spot because it gives the coating more daylight to set up. Starting late in the day is how people end up watching the sky like they are in a weather-themed thriller.
Step 2: Clear off all debris
Sweep the roof thoroughly. Remove leaves, dust, grit, old loose coating, branches, and anything else that might interfere with adhesion. Clear drains and gutters too. A reflective coating over clogged drainage is like putting a nice tie on a raccoon. It does not solve the underlying problem.
Step 3: Wash the roof
Clean the surface using water and an approved non-film-forming cleaner if needed. Stubborn dirt, grease, mildew, algae, and chalky residue should be scrubbed or washed away. Some manufacturer instructions even recommend specific cleaning approaches for moss or algae. The goal is simple: remove anything that could keep the coating from bonding properly.
Once the roof is clean, rinse it well. Then let it dry completely. Not “mostly dry.” Not “dry-ish.” Completely dry. Moisture trapped under the coating can cause adhesion issues, discoloration, and uneven performance.
Step 4: Inspect and repair the roof
Before coating, inspect the entire roof carefully. Look around seams, penetrations, flashing, drains, edges, and transitions. Patch cracks, blisters, holes, splits, and weak areas with compatible repair products and reinforcing fabric where required. On metal roofs, remove loose rust by wire brushing and address corrosion before coating.
This step matters because fibered aluminum roof coating is a finish coat, not a bandage for active leaks. If you coat over damage without fixing it, the roof will keep leaking while looking shinier. That is not progress. That is a very reflective mistake.
Step 5: Prime or base-coat only if needed
Some badly weathered or alligatored asphalt surfaces may need an emulsion base coat or primer before the aluminum coating goes on. Some roofs that were recently patched or sealed may also need cure time before the reflective coat is applied. Do not assume every roof needs a primer, but do not assume yours does not. Follow the manufacturer’s system recommendations.
Step 6: Mix the coating thoroughly
Aluminum coatings are not the place for lazy stirring. The aluminum pigment needs to be fully and evenly dispersed before application, and some products require mixing during use as well. Use a mechanical mixer or drill paddle, and keep the material uniform from start to finish.
Also, do not thin the coating unless the manufacturer explicitly says you can. Most current guidance says not to thin it. Thinning can affect performance, finish, cure, and coverage, and it may void product expectations. Translation: the can already contains the chemistry; your garage does not need to become a laboratory.
Step 7: Map out coverage before you start spreading
One of the smartest moves you can make is to divide the roof into sections and calculate how much coating each section should get. Many fibered aluminum products are applied at about 1 to 1.5 gallons per 100 square feet, though some labels call for more depending on the roof texture or system. Rough, porous, or irregular surfaces usually require more material than smooth metal.
Example: if your roof section is 200 square feet and the label calls for 1.5 gallons per 100 square feet, you need about 3 gallons for that section. Mark it out before you begin so you do not end up with one area wearing a winter coat and the next area dressed for spring break.
Step 8: Apply evenly in one direction
Pour or distribute the correct amount of coating for a given area and spread it evenly with a soft roof brush, roller, or approved spray equipment. Many manufacturer instructions recommend brushing in one direction and avoiding excessive back-and-forth work. Overworking the coating can interfere with the “leafing” action of the aluminum and lead to streaks, dull patches, or uneven color.
Keep a steady coverage rate. Do not let one section get flooded while another gets starved. Avoid puddling, lap marks, and random last-minute touch-ups once the film starts setting. Aluminum coatings like confidence. Hesitation tends to show.
Step 9: Let it cure without disturbance
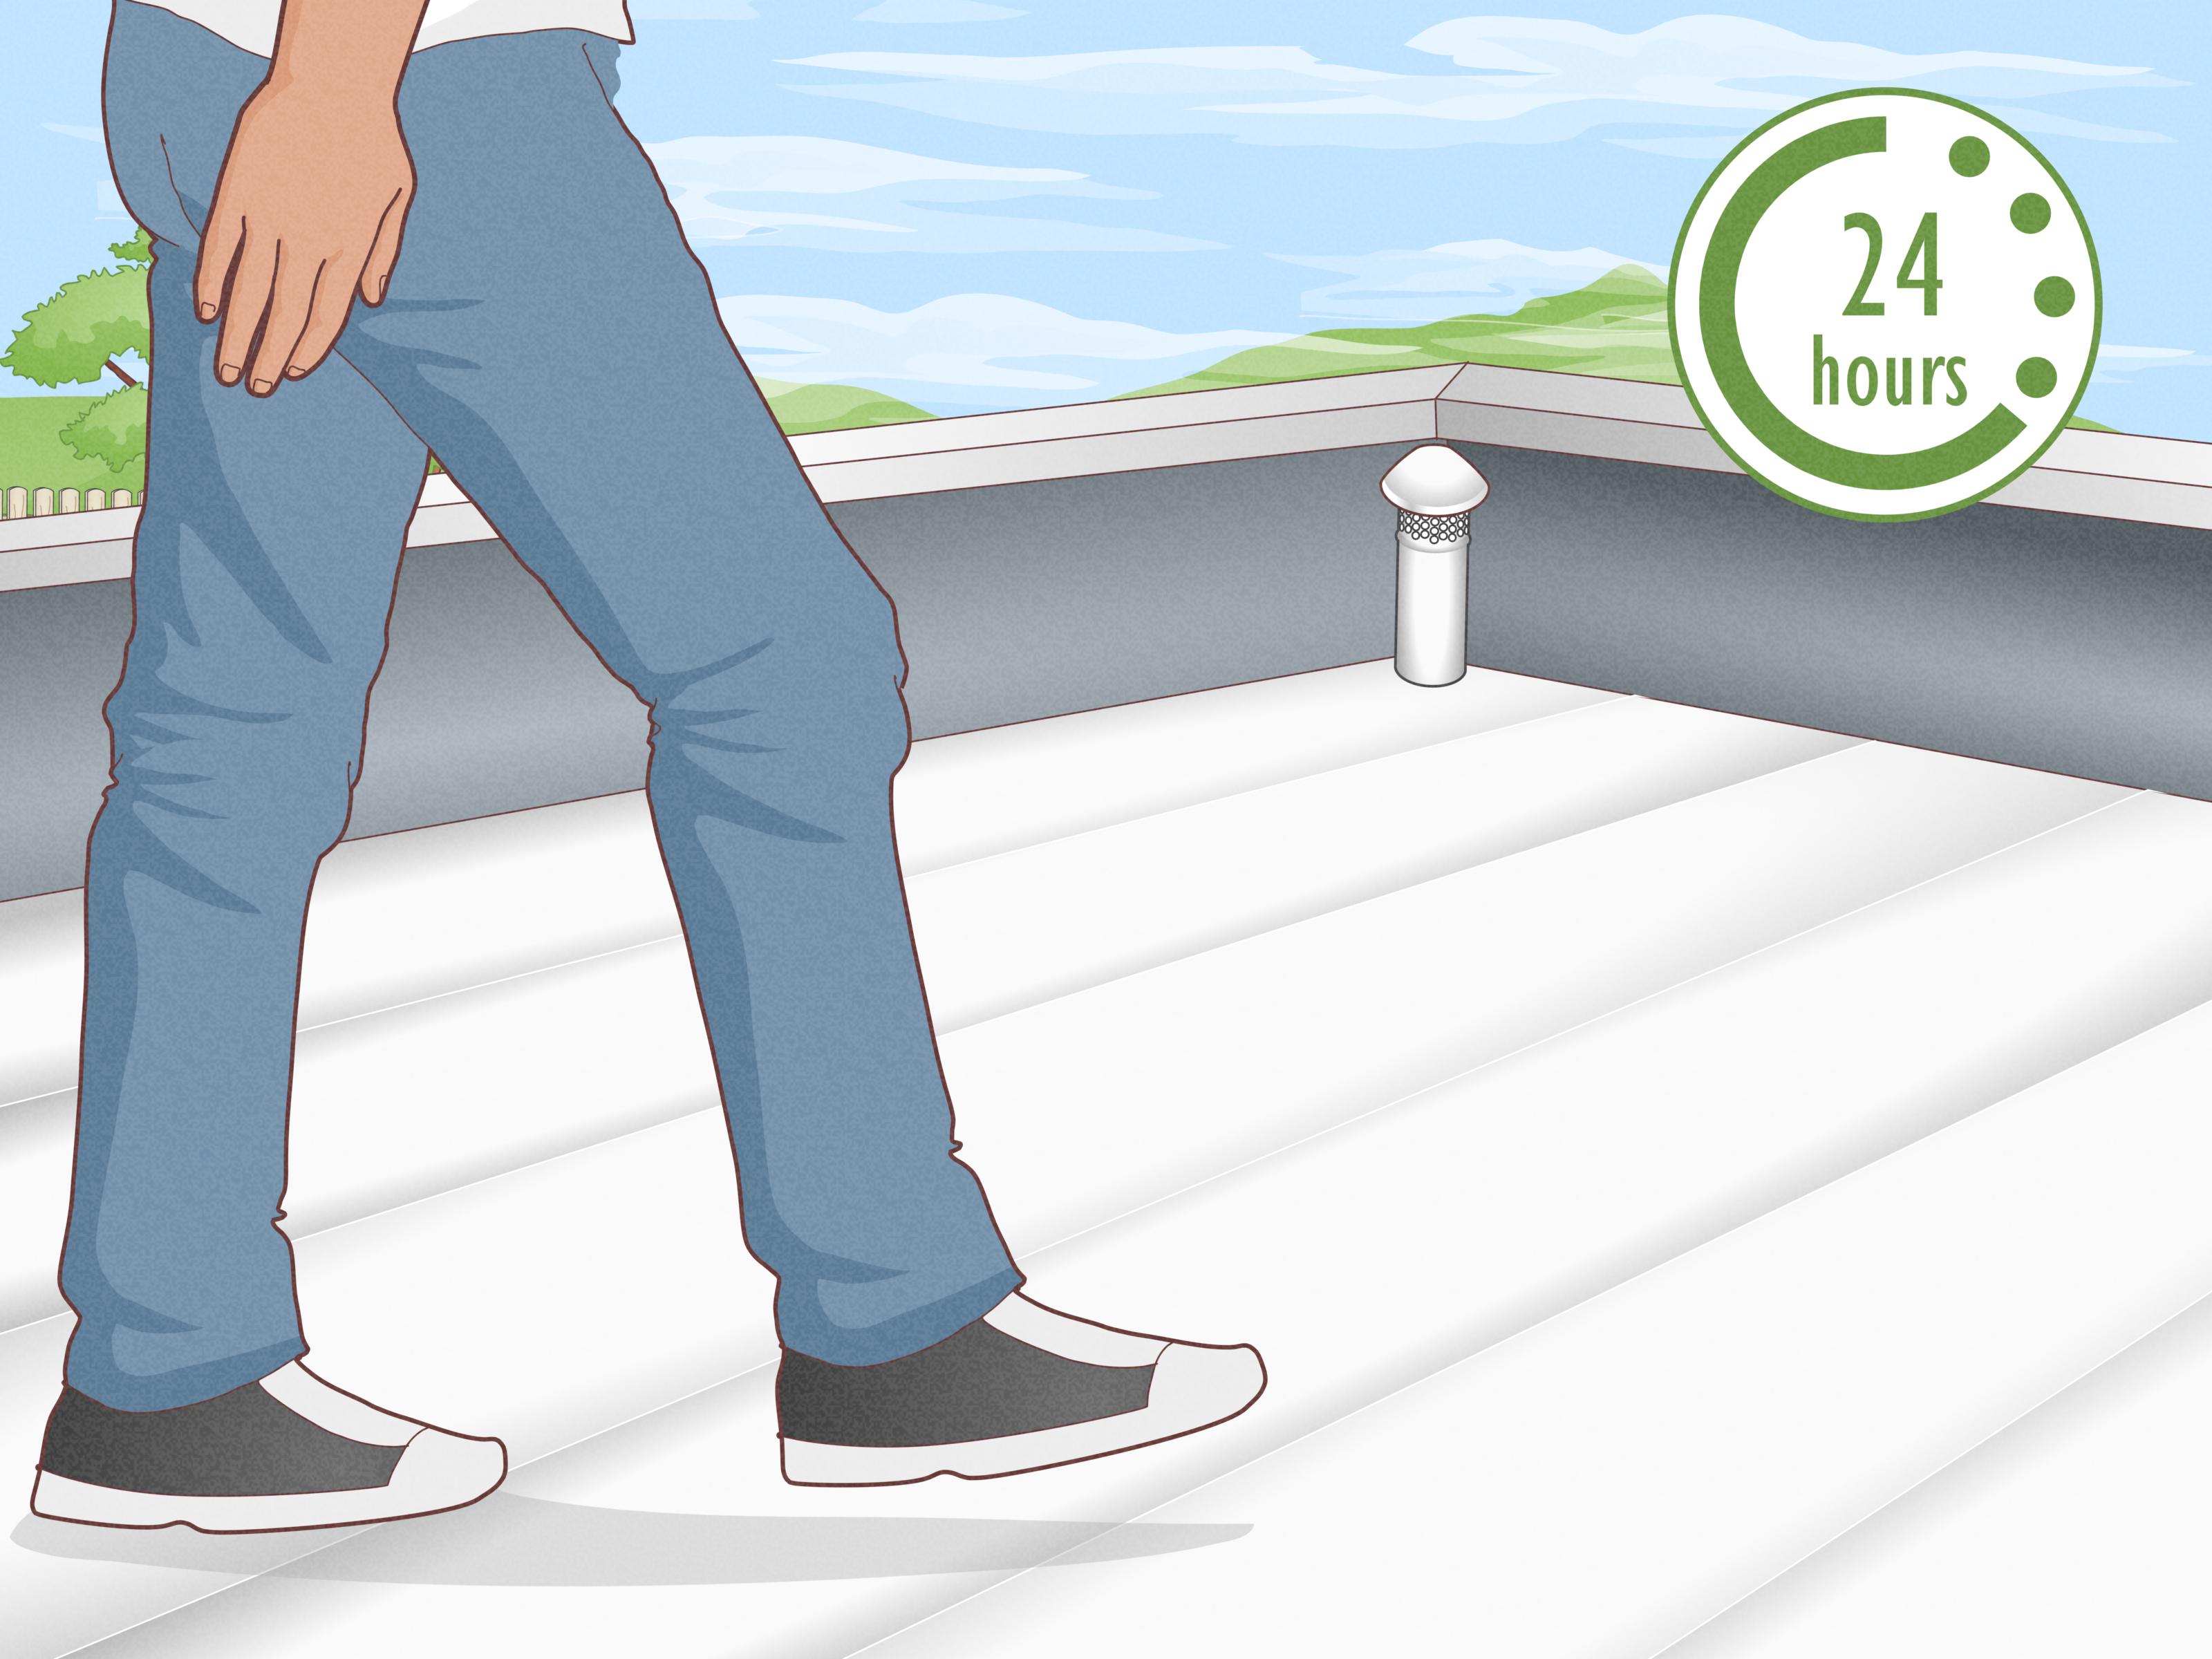
Once applied, leave the coating alone. Avoid foot traffic while it is drying. Cure times vary by temperature, humidity, product formula, and sunlight, but many labels describe an initial dry period in hours and a fuller cure over the next day or two. Cooler weather and high humidity can slow everything down.
Keep roof traffic, debris, and water off the fresh surface as much as possible during the cure period. On buildings with rooftop HVAC or air intakes, follow all safety directions and protect air handling systems as instructed on the label.
Common Mistakes to Avoid
Coating a damp roof
This is one of the fastest ways to ruin adhesion and appearance. If there is any doubt, give the roof more drying time.
Ignoring repairs
Coating over cracks, splits, or rusted areas without fixing them first is the roofing version of putting cologne on a gym bag.
Applying too thin or too thick
Too thin and you may not get the protection you expect. Too thick and you may create run-off, slow curing, or a messy finish. Coverage matters.
Over-brushing
Once the coating is laid down, let it be. Overworking can disrupt the aluminum finish and create shade differences.
Using it on the wrong substrate
Compatibility rules everything here. A roof coating is not interchangeable just because the bucket looks enthusiastic.
How Long Does It Last?
That depends on the product, the roof type, local climate, drainage, sun exposure, and how well the roof was prepared before application. A properly coated and maintained roof can get meaningful added service life from a reflective aluminum coating, but longevity is always tied to the condition of the roof beneath it. A healthy roof responds well to coating. A failing roof responds with sarcasm and leaks.
Maintenance After Application
Once the roof is coated and cured, inspect it periodically. Keep drains clear, remove debris, and check penetrations, seams, and repaired areas after major weather events. Preventive maintenance is much cheaper than emergency repairs, and it also saves you from that classic sentence: “It only leaked a little at first.”
When to Call a Pro
Hire a professional roofer if the roof has widespread leaks, structural damage, severe ponding, large rusted sections, steep access issues, or unknown existing coatings. Also call a pro if the manufacturer requires a system approach you are not equipped to handle. Roofing is a terrific DIY project right up until it becomes a gravity demonstration.
Final Thoughts
Learning how to apply fibered aluminum roof coating is really about respecting the prep. The coating itself is not the hard part. The hard part is cleaning thoroughly, repairing honestly, waiting patiently for dry weather, and applying at the correct coverage without trying to freestyle your way into “close enough.”
Do those things well and you can end up with a bright, protective finish that helps your roof handle heat, weather, and time more gracefully. Skip them, and your shiny new coating may become a very reflective reminder that shortcuts are usually more expensive than effort.
Experiences and Lessons People Commonly Learn the Hard Way
One of the most common experiences people report with fibered aluminum roof coating is simple: the project feels easy right up until the prep starts. On paper, coating a roof sounds like painting a giant silver rectangle. In reality, the first surprise is how much time the cleaning and repair stage takes. Homeowners often begin the day thinking the coating will be finished by lunch, only to discover by noon that they are still sweeping grit out of corners, scrubbing dirty sections, and wondering how a roof collected enough debris to start its own ecosystem.
Another frequent lesson is that the roof must be truly dry, not just dry-looking. Plenty of people have cleaned the surface in the morning, waited a little while, and started coating too soon. Then a brownish cast, uneven finish, or adhesion problem shows up and ruins the vibe. That experience teaches a very memorable rule: if you are asking yourself whether the roof is dry enough, it probably is not.
Coverage planning is another big one. People who do not map out the roof in sections often end up using too much product early, then stretching the final pail like it is the last peanut butter in the house. The result can be an uneven appearance that reflects the sun beautifully and your planning skills less beautifully. Experienced applicators usually divide the roof into measured areas first, then commit a specific amount of coating to each section. It feels fussy at first, but it prevents panic later.
There is also a nearly universal lesson about overworking the coating. Many first-timers think more brushing means a smoother finish. With aluminum coatings, it often means the opposite. After a few extra passes, the finish can look streaky or mismatched because the aluminum leafing gets disturbed. People learn quickly that confident, even application beats obsessive fussing. This is one of those rare home projects where “stop touching it” is premium technical advice.
Weather creates its own category of stories. A roof can be cleaned, patched, mixed, and perfectly ready, then a surprise shower or heavy evening dew turns the schedule upside down. Experienced users become weather skeptics in the best possible way. They stop trusting vague forecasts, start earlier in the day, and leave themselves more cure time than they think they need. That caution usually pays off.
On metal roofs, many people are surprised by how important rust prep is. A shiny topcoat does not make loose rust disappear; it just gives it a silver spotlight. The best outcomes usually come when rust is brushed back, weak spots are addressed honestly, and fasteners or seams are inspected before the coating starts. It is not glamorous work, but it is the difference between restoration and cosmetics.
Probably the most useful shared experience is this: people are happiest with the result when they treat the project like roof maintenance, not miracle repair. Fibered aluminum roof coating can absolutely improve and protect a sound roof, but it cannot rescue one that is already failing. Once that clicks, expectations get better, application gets smarter, and the finished result tends to look a whole lot better too.