A pressed flower home decor tray is what happens when nature, nostalgia, and a little craft-table chaos decide to become useful. It is part botanical art, part functional accent, and part “yes, I made that” conversation starter. Whether it sits on a coffee table holding candles, on a vanity corralling perfume bottles, or on an entryway console catching keys, a pressed flower tray brings the quiet charm of a garden indoors without asking anyone to remember watering day.
Pressed flower decor has become popular because it checks several modern home-style boxes at once: it feels personal, it uses natural materials, it can be customized by color and season, and it fits beautifully with cottagecore, biophilic design, vintage-inspired interiors, and minimalist spaces that need one soft detail. It also gives old bouquets, garden blooms, or tiny wildflowers a second life. Instead of watching flowers fade in a vase like a tiny floral tragedy, you can preserve them in a handmade tray that lasts for years.
In this guide, we will explore what a pressed flower home decor tray is, why it works so well in today’s interiors, what materials are best, how to design one, and how to use it stylishly around the house. We will also cover practical tips, safety notes, common mistakes, and real-life experiences that make this project easier, prettier, and far less likely to end with resin on your socks.
What Is a Pressed Flower Home Decor Tray?
A pressed flower home decor tray is a decorative tray embellished with flattened, dried flowers and sealed under a clear protective layer. The base may be wood, acrylic, glass, ceramic, metal, or resin. The flowers are usually arranged in a pattern, scattered organically, or placed in a border design before being sealed with resin, decoupage medium, or a glass insert.
The final result can look romantic, modern, rustic, botanical, or surprisingly elegant depending on the tray shape, flower colors, and finish. A round tray with baby’s breath and pale pink petals feels soft and bridal. A rectangular black tray with ferns and gold flakes looks dramatic and moody. A clear acrylic tray with tiny daisies feels cheerful, like spring showed up wearing sunglasses.
Why Pressed Flower Trays Are Having a Moment
Home decor trends have leaned heavily toward nature-inspired design in recent years. People want interiors that feel calmer, warmer, and more connected to the outdoors. Biophilic design, dried flower arrangements, floral prints, and handmade objects all reflect this desire for spaces that feel alive without becoming cluttered.
A pressed flower tray fits perfectly into that mood. It is decorative but not loud. It is handmade but not messy-looking when done carefully. It brings organic shapes into the home, which helps soften straight lines from furniture, electronics, and modern architecture. Basically, it is the interior design equivalent of taking a deep breath.
Best Flowers for a Pressed Flower Tray
Not every flower presses beautifully. Thick, watery blooms can brown, mold, or become lumpy. For trays, thinner flowers usually work best because they lie flat under resin or glass and keep their shape better.
Great Flower Choices
Some of the best flowers for pressed flower trays include pansies, violas, daisies, cosmos, forget-me-nots, larkspur, lavender, Queen Anne’s lace, baby’s breath, ferns, small rose petals, delphinium, and small wildflowers. These flowers tend to flatten nicely and maintain recognizable silhouettes.
Leaves also deserve attention. Ferns, eucalyptus leaves, small herb leaves, and delicate greenery can add structure and movement. Flowers bring color, but leaves bring rhythm. Without greenery, a tray can sometimes look like floral confetti after a very polite party.
Flowers to Use Carefully
Roses, peonies, hydrangeas, and tulips can be used, but they need extra care. Instead of pressing the entire bloom, separate petals or use smaller sections. Large flowers often contain more moisture, so they may take longer to dry and may lose color more noticeably.
How to Press Flowers for Home Decor Projects
The simplest method is the classic book method. Place flowers between sheets of absorbent paper, then put them inside a heavy book. Add more weight on top and wait one to three weeks. This method is slow, but it is affordable and dependable. It is also a great excuse to use that giant dictionary nobody has opened since 2007.
For faster results, some crafters use a microwave flower press or a careful low-heat method. These techniques can reduce drying time dramatically, but they require attention because too much heat can discolor petals. The goal is to remove moisture while preserving shape and color, not to accidentally create botanical potato chips.
No matter which method you choose, start with dry flowers. Pick blooms after morning dew has evaporated, avoid flowers that are bruised or wet, and remove thick stems when needed. Moisture is the enemy of good pressed flower crafts because it can cause browning, cloudiness, or mold.
Materials Needed for a Pressed Flower Home Decor Tray
The materials depend on the style of tray you want, but most projects use a similar supply list.
Basic Supplies
- A tray base made of wood, acrylic, glass, ceramic, or silicone mold resin
- Fully dried pressed flowers and leaves
- Clear epoxy resin or a decoupage medium
- Nitrile gloves and protective workspace covering
- Tweezers or a toothpick for arranging delicate flowers
- Mixing cups and stir sticks if using resin
- Small brush for glue or sealing medium
- Optional gold leaf, mica powder, paint, stain, or handles
If you are making a resin tray, always follow the product label instructions. Resin formulas vary, and guessing the mixing ratio is a bold strategy that usually ends in sticky regret. Work in a well-ventilated space, protect your skin, and keep the project away from children, pets, food, and open flames while curing.
Design Ideas for a Pressed Flower Tray
The best part of a pressed flower home decor tray is that it can be designed to match nearly any room. Before gluing or pouring anything, arrange the flowers on the dry tray first. Take a photo of your layout so you can recreate it. This small step saves you from the classic crafter’s panic of whispering, “Wait, where did that fern go?”
Minimalist Botanical Tray
Use a clear or white tray base and place just a few small flowers in one corner. Add a sprig of fern or lavender for balance. This style works beautifully on a nightstand, desk, or bathroom counter because it looks calm and uncluttered.
Cottagecore Floral Tray
Choose soft pinks, yellows, blues, and greens. Arrange small flowers across the whole tray in a loose meadow pattern. This style pairs well with vintage teacups, linen napkins, lace details, and rooms that look like they might contain at least one handwritten recipe card.
Modern Black and Gold Tray
Paint or choose a black tray base, then add white flowers, ferns, and tiny pieces of gold leaf. The contrast makes the flowers feel more dramatic and sophisticated. This is a good choice for coffee tables, bar carts, and glam bedroom decor.
Memory Bouquet Tray
Use flowers from a wedding bouquet, graduation flowers, birthday arrangement, anniversary bouquet, or garden planted by a loved one. A memory tray has emotional value and can become a keepsake rather than just a pretty object.
Step-by-Step: How to Make a Pressed Flower Home Decor Tray
Step 1: Prepare the Tray Base
Clean the tray thoroughly. If it is wood, sand rough spots and apply paint or stain if desired. Let the surface dry completely. If it is glass or acrylic, wipe away dust and fingerprints. Resin and glue are not forgiving when they trap crumbs, lint, or that one mysterious speck that appears from nowhere.
Step 2: Plan the Flower Layout
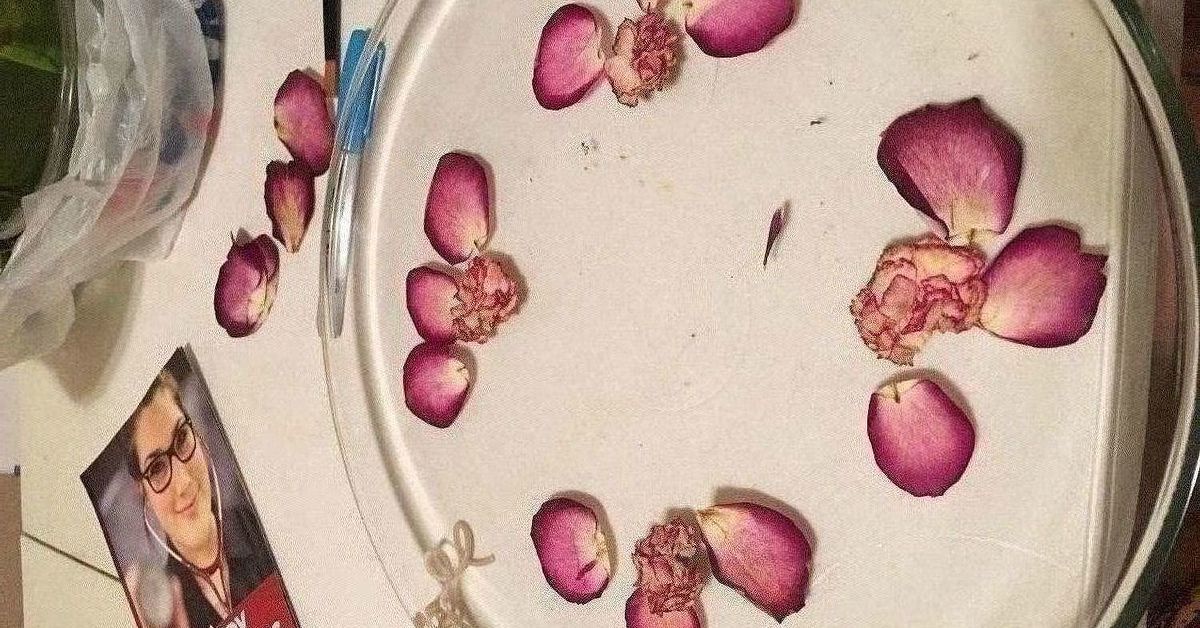
Place your pressed flowers on the tray without adhesive. Try several arrangements. Keep heavier visual elements balanced. For example, if you place a large rose petal cluster on one side, add a fern or smaller flowers on the other side to prevent the design from looking lopsided.
Step 3: Attach the Flowers
Use a tiny amount of clear-drying glue or decoupage medium to hold flowers in place. Apply it gently with a brush or toothpick. Pressed flowers are delicate, so move slowly. Tweezers are helpful for adjusting petals without crushing them.
Step 4: Seal the Surface
If using resin, mix according to the manufacturer’s instructions and pour in thin layers. Many crafters prefer a base layer first, then flowers, then a second clear layer after partial curing. This helps reduce floating and keeps flowers from shifting. If using decoupage medium, apply several thin coats, letting each layer dry before adding the next.
Step 5: Remove Bubbles and Let It Cure
Resin bubbles are normal, but they are easier to remove early. Some projects use gentle heat, but too much heat can damage flowers or resin, so follow the resin brand’s recommendations. Let the tray cure on a level surface in a dust-free area. Cover it loosely with a box or clean container so airborne fuzz does not land in your masterpiece like an uninvited guest.
How to Style a Pressed Flower Tray at Home
A pressed flower tray is versatile because it is both decorative and practical. On a coffee table, use it to group a candle, small vase, and matchbox. On a vanity, let it hold perfume bottles, jewelry, or skincare products. In the entryway, it can collect keys and sunglasses. In a guest room, it can hold a water glass, small book, and welcome note.
For seasonal styling, change the objects around the tray. In spring, pair it with pastel candles and fresh greenery. In summer, add citrus colors or beachy accents. In fall, style it with amber glass and dried grasses. In winter, use it with pine sprigs, white candles, and metallic ornaments.
Care Tips for Pressed Flower Trays
Keep the tray out of direct sunlight to reduce fading. Pressed flowers are natural, and even sealed flowers can lose color over time if exposed to strong light. Wipe the tray with a soft, dry or slightly damp cloth. Avoid soaking it in water, scrubbing it with harsh cleaners, or placing very hot items directly on the surface unless the sealant specifically allows it.
Use the tray mainly as a decorative organizer rather than a food-serving surface unless all materials are labeled food-safe after curing. Many resin and decoupage projects are better suited for decor, jewelry, candles, keys, and wrapped items. When in doubt, treat it like art that happens to have handles.
Common Mistakes to Avoid
Using Flowers That Are Not Fully Dry
Fresh or damp flowers can discolor, rot, or create cloudy spots under resin. Always make sure flowers are completely dry before sealing them.
Pouring Resin Too Thickly
Thick pours can trap bubbles, generate heat, or make flowers float. Thin layers usually give more control and a clearer finish.
Skipping the Test Layout
Pressed flowers are fragile. Once adhesive or resin is involved, rearranging becomes difficult. A dry layout helps you avoid awkward spacing and design surprises.
Choosing Too Many Colors
A tray can become visually busy if every flower color joins the party. Choose a palette of three to five main colors for a polished look.
Why This DIY Project Makes a Meaningful Gift
A pressed flower tray makes a thoughtful handmade gift because it is personal without being overly complicated. You can customize it for birthdays, Mother’s Day, bridal showers, housewarmings, holidays, or teacher gifts. Use flowers in the recipient’s favorite colors, add initials, include petals from a special bouquet, or match the tray to their home decor style.
It also feels more elevated than many quick crafts. A finished tray looks like something from a boutique, especially when paired with a candle, handwritten card, or small jewelry dish. The recipient gets both beauty and usefulness, which is the golden combination of gifting. Pretty but practical always wins.
Experience: What It Is Really Like to Make a Pressed Flower Home Decor Tray
The first time you make a pressed flower home decor tray, you may expect a peaceful afternoon of delicate creativity. And it can be peaceful. But it can also involve tweezers, deep concentration, and one tiny petal that absolutely refuses to face the correct direction. That is part of the fun. This project teaches patience in a very gentle way. You are not building a house. You are convincing dried flowers to look effortless.
One of the most helpful experiences is learning that simple designs often look the most expensive. At first, many beginners want to use every flower they have pressed because each one feels too pretty to leave out. The result can be crowded. After a few tries, you start to see that negative space is not empty space. It gives the flowers room to shine. A single fern stem with three tiny blossoms can look more elegant than a full floral explosion.
Another lesson is that color changes are normal. A bright purple flower may dry slightly deeper. A pale pink petal may become creamier. Green leaves may fade into olive tones. Instead of seeing this as a flaw, treat it as part of the handmade character. Pressed flower decor has a soft, vintage quality because nature does not come with a factory color guarantee.
Working with resin also builds confidence over time. The first pour may feel intimidating because resin has rules. You need to measure carefully, mix slowly, watch for bubbles, and give it time to cure. But once you understand the rhythm, it becomes satisfying. There is something magical about watching a cloudy-looking pour settle into a glossy clear layer that makes the flowers look suspended in glass.
The most memorable pressed flower trays often come from personal flowers. A few petals from a birthday bouquet, a fern from a favorite walking trail, or tiny blooms from a backyard garden can make the piece feel like a preserved moment. Instead of buying generic decor, you create something with a story. That story becomes part of the room.
In everyday use, a pressed flower tray has a quiet way of making ordinary spaces feel intentional. Perfume bottles look prettier. Keys look less chaotic. A candle suddenly feels like part of a styled vignette rather than something you bought during a checkout-line moment of weakness. The tray organizes small items while adding charm, which is basically home decor doing two jobs and asking for zero applause.
Making one also reminds you that DIY does not have to be perfect to be beautiful. A tiny bubble, a slightly tilted leaf, or an uneven petal placement can make the tray feel human. Handmade decor carries warmth because it shows evidence of care. And in a world full of mass-produced objects, a pressed flower home decor tray offers something rare: a piece of nature, preserved by hand, made useful, and placed right where daily life can enjoy it.
Conclusion
A pressed flower home decor tray is a beautiful blend of craft, memory, and practical design. It brings natural texture into the home, fits many decorating styles, and turns delicate flowers into lasting art. Whether you choose a minimalist tray with a few tiny blossoms or a lush cottagecore design full of color, the project offers endless room for creativity.
The key is preparation: press flowers properly, let them dry completely, plan the layout before sealing, and use the right protective finish. With patience and a light touch, you can create a tray that looks polished, personal, and worthy of a prime spot on your coffee table, vanity, or entryway console.
Best of all, every pressed flower tray is one of a kind. No two petals curve the same way, no two leaves dry with the exact same pattern, and no two makers arrange them with the same eye. That is the charm. A pressed flower home decor tray is not just another accessory; it is a small preserved garden with handles.