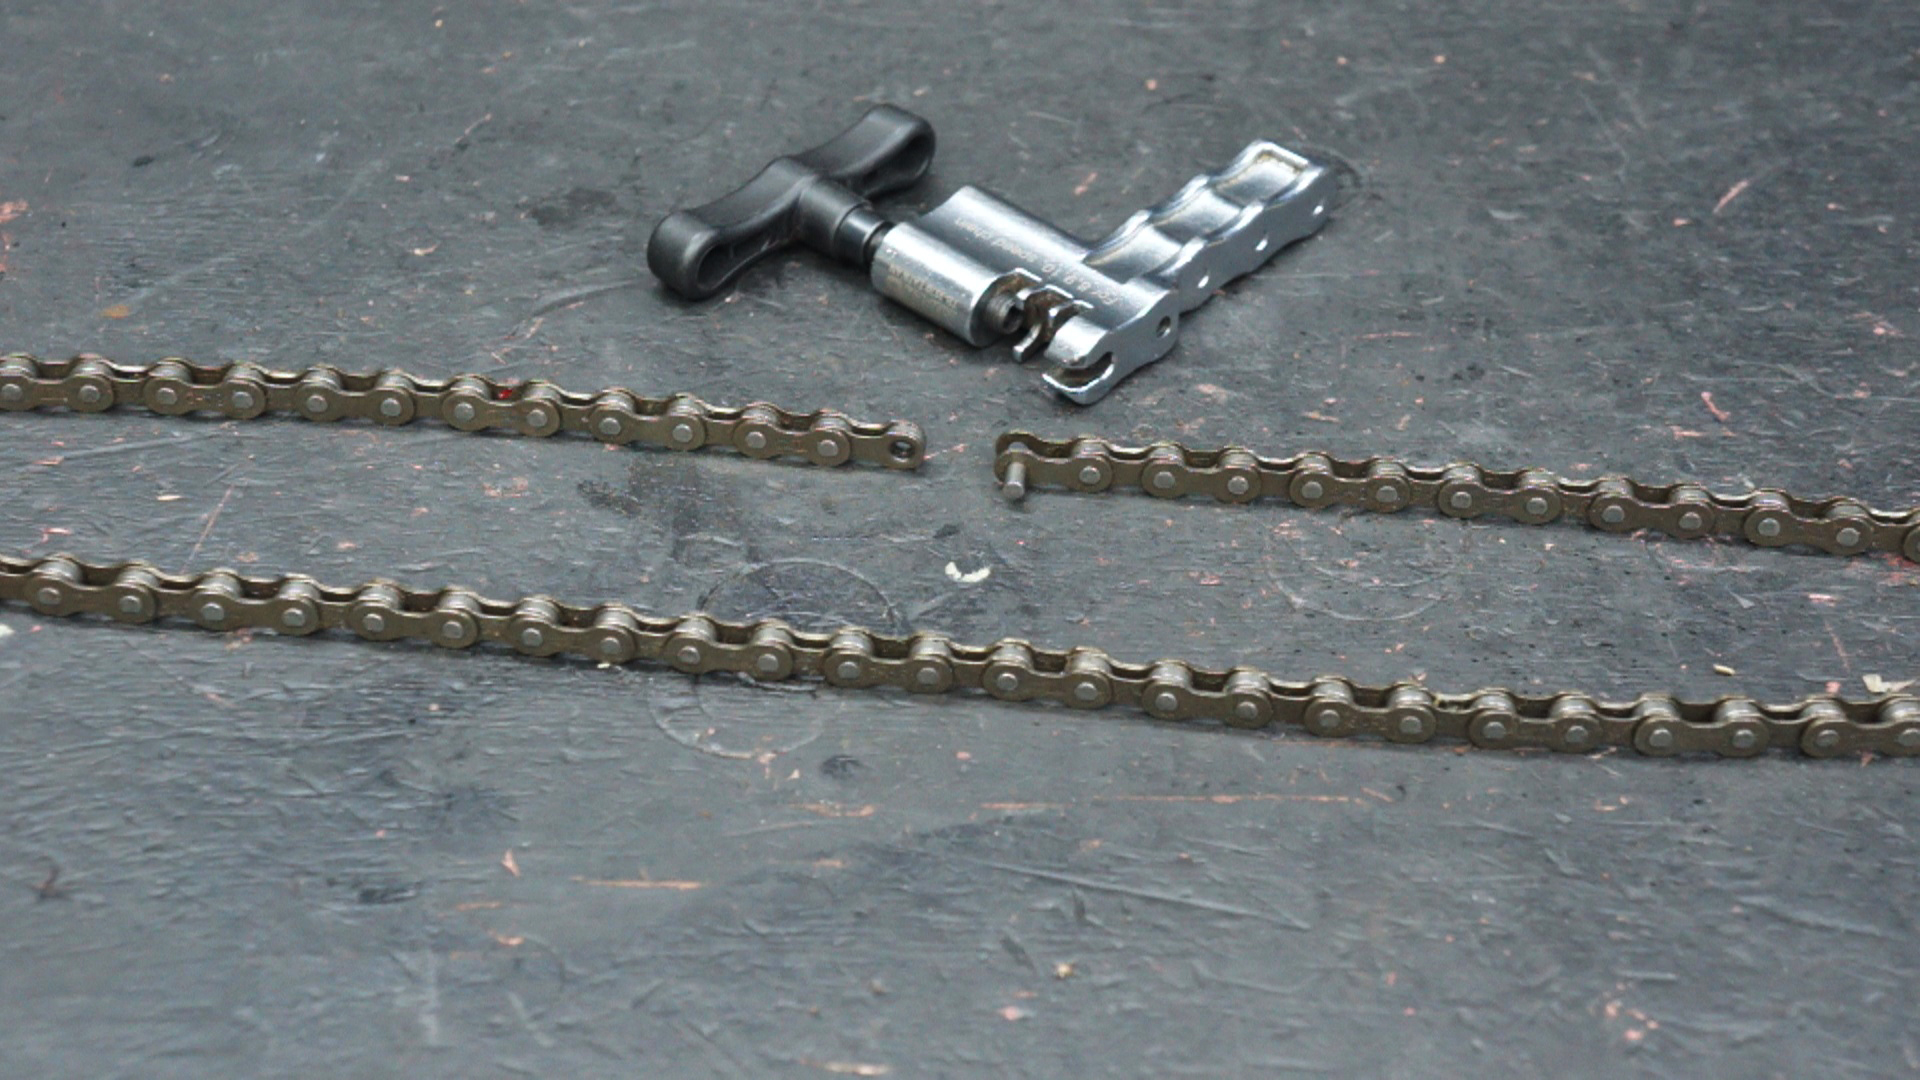
If your bike chain just leaped off the drivetrain like it had somewhere better to be, do not panic. A dropped chain looks dramatic, gets your hands greasy, and has a special talent for ruining your mood in under five seconds, but it is usually a fixable problem. In many cases, you can put the chain back on in a few minutes with no fancy tools, no mechanical degree, and only a mild amount of muttering.
This guide explains exactly how to put on a bicycle chain in 15 clear steps. It also covers what to check before you ride again, why chains fall off in the first place, and what your bike may be trying to tell you if the chain keeps leaving the party. Whether you ride a road bike, mountain bike, hybrid, commuter, or a simple single-speed, the basics are the same: create slack, place the chain correctly, rotate the pedals carefully, and inspect the drivetrain before heading off like nothing happened.
Why a Bicycle Chain Falls Off
Before you put the chain back on, it helps to know why it came off. Sometimes the cause is harmless, like shifting under heavy pressure while climbing a hill. Other times, the dropped chain is a symptom of something else, such as a worn chain, bent derailleur hanger, poor chain tension, misadjusted limit screws, a warped chainring, or rough terrain bouncing the drivetrain around.
On geared bikes, the chain often falls off the front chainring or the smallest or largest rear cogs after an awkward shift. On single-speed bikes, the culprit is often loose chain tension. If the chain falls off once, fix it and keep an eye on things. If it falls off repeatedly, your bike is not being quirky. It is filing a complaint.
Before You Start
Move the bike to a safe place off the road or trail. If possible, flip the bike carefully or lean it against a wall with the chain side facing outward. If your hands are clean and you would like to keep them that way, this is the part where gloves earn their paycheck.
You usually do not need tools to put a bicycle chain back on after it slips off. However, if the chain is broken, twisted, or badly jammed, you may need a chain tool, a master-link tool, or help from a bike shop. For a basic dropped-chain fix, your main tools are patience, a rag, and the ability to resist spinning the pedals like you are in the final sprint of the Tour de France.
How to Put On a Bicycle Chain: 15 Steps
Step 1: Stop Riding Immediately
The first rule is simple: do not try to fix the chain while moving. Pull over, dismount, and steady the bike. Trying to rescue a slipped chain while rolling is how a small maintenance issue turns into a crash, a scraped knee, and a story your friends will enjoy far more than you will.
Step 2: Shift to the Smallest Gear Combination
If the drivetrain still allows movement, shift to the smallest front chainring and the smallest rear cog. This creates more slack in the chain and makes it easier to guide back into place. If the chain is already completely off and the shifters are not cooperating, do not force anything. Just move on to the next step.
Step 3: Check Where the Chain Came Off
Look at the drivetrain and identify whether the chain fell off the front chainring, the rear cassette, or both. A chain that has dropped to the outside of the front ring is usually easier to fix than one wedged between the frame and the chainring. If it is jammed in a tight gap, work slowly and avoid yanking hard.
Step 4: Inspect the Chain for Obvious Damage
Before reinstalling anything, glance over the chain. Look for bent links, stiff links, broken rollers, twisted sections, or plates that look out of line. If the chain is damaged, putting it back on may only buy you a few more seconds before it fails again. That is not a repair. That is a sequel.
Step 5: Inspect the Chainring and Rear Cogs
Now check the chainring teeth and cassette cogs. Remove any sticks, weeds, gravel, or random trail souvenirs stuck in the drivetrain. If the teeth look severely worn, hooked, or damaged, the chain may not track properly. On a single-speed bike, also check whether the chain sags too much.
Step 6: Position the Chain on the Front Chainring
If the chain fell off the front, drape the top section of chain over the front chainring. You do not need to seat the entire chain perfectly right away. Just place it onto the teeth near the top or slightly forward position so it can begin catching as the crank turns. Think of it as helping the chain find the right doorway.
Step 7: Place the Chain on the Smallest Rear Cog
If the chain also came off the back, guide it onto the smallest rear cog. On many bikes this is the easiest cog to use because it keeps the chain path straighter and the derailleur more relaxed. Make sure the chain is resting on the teeth rather than floating beside them like it is considering its options.
Step 8: Check the Chain Path Through the Rear Derailleur
This step matters more than many beginners realize. On a geared bike, the chain must pass correctly through the rear derailleur cage and around both pulley wheels. If the chain is routed outside the cage tab or misses a pulley, the drivetrain will look wrong, feel wrong, and sound like a shopping cart full of forks. If anything looks odd, stop and trace the path carefully.
Step 9: Pull Back the Rear Derailleur If Needed
Sometimes there is not enough slack to place the chain smoothly. Gently pull the rear derailleur backward with one hand to create more room. With the other hand, guide the chain onto the cog or chainring. Do not force the derailleur sideways more than necessary. It is helpful, but it is not indestructible.
Step 10: Rotate the Crank Slowly by Hand
Once the chain is resting on the chainring and rear cog, turn the crank slowly forward by hand. The chain should climb onto the teeth and settle into place. Keep your fingers away from pinch points, especially near the chainring teeth. A bike chain can go from “harmless noodle” to “tiny metal trap” very quickly.
Step 11: Watch the Chain Settle Into Full Engagement
As you turn the crank, watch closely to make sure the chain seats fully on the front chainring and rear cog. If it skips, rides on top of the teeth, or tries to derail again immediately, stop. Reposition it and try once more. Slow, controlled rotation is the goal. Speed is not impressive here.
Step 12: Spin the Drivetrain a Few More Turns
After the chain is back on, rotate the crank several more times. Listen for clicking, grinding, or rubbing. A smooth chain should move cleanly through the drivetrain without hopping or hesitating. If it still feels rough, one of the links may be stiff or the chain may be routed incorrectly through the derailleur.
Step 13: Test a Few Easy Shifts
Lift the rear wheel slightly or place the bike in a stand if you have one, then pedal by hand and shift through a few gears lightly. Do not mash the pedals under load. You are just checking that the chain moves where it should. If the chain hesitates badly, falls off again, or tries to move into the spokes or frame, stop riding until the drivetrain is adjusted.
Step 14: Wipe the Chain and Add Lube if Needed
If the chain picked up dirt, sand, or mystery driveway grime while it was off, wipe it with a rag. If it looks dry or noisy, apply a small amount of bicycle chain lubricant to the rollers, then wipe off the excess. More lube is not more better. Too much lubricant attracts dirt and turns your drivetrain into a gritty paste factory.
Step 15: Do a Final Safety Check Before Riding
Before you roll away, check that the chain is fully seated, the rear wheel is secure, and the cranks turn normally. Take a short, gentle test ride and shift carefully. If the chain drops again within a minute, the issue is probably not bad luck. It is likely a tension, alignment, wear, or adjustment problem that needs real attention.
What to Do If the Bicycle Chain Keeps Falling Off
If you can put the chain back on but it keeps dropping, the chain itself may not be the true problem. Here are the usual suspects. A worn chain or worn cassette can cause poor engagement. A bent derailleur hanger can throw the chain line off just enough to create chaos. Misadjusted front or rear derailleur limit screws can let the chain overshift beyond the gears. On rough trails, a bike without a clutch derailleur or narrow-wide chainring may shed the chain more easily. On single-speed bikes, chain tension that is too loose is a classic cause.
Also pay attention to how you shift. Shifting under maximum pedal pressure, cross-chaining aggressively, or changing gears while bouncing over rough ground can all encourage the chain to misbehave. In plain English: the drivetrain likes smooth communication, not sudden emotional outbursts.
Signs You May Need a New Chain
Sometimes a dropped chain is the first clue that the chain is simply worn out. If the bike shifts poorly, skips under pressure, makes extra noise, or has visible rust and stiff links, it may be time for replacement. A chain that is too worn can also accelerate wear on the cassette and chainrings, which turns a small maintenance job into a more expensive one later.
If your bike shop measures the chain and says it is done, that is not a conspiracy. It is usually cheaper to replace a chain early than to replace the entire drivetrain later.
Common Mistakes to Avoid
- Do not pedal hard while the chain is only half-seated on the chainring.
- Do not stick fingers near moving chainring teeth while spinning the crank fast.
- Do not assume a repeated chain drop is normal just because the bike is “old.”
- Do not drown the chain in lubricant and call it maintenance.
- Do not ignore a bent derailleur, warped chainring, or loose single-speed chain.
- Do not keep riding a chain that is visibly damaged or partially broken.
Real-World Experiences With Putting a Bicycle Chain Back On
Most riders remember the first time a bike chain falls off because it feels bigger than it is. The chain drops, your pedals suddenly spin with no resistance, and your brain immediately assumes the bicycle has suffered a catastrophic identity crisis. In reality, many first-time experiences go the same way: a quick stop, a confused stare at the drivetrain, one greasy hand, and then a surprisingly satisfying fix.
A very common beginner experience happens on a hill. You shift while pushing hard on the pedals, the chain jumps off the front ring, and suddenly you are standing awkwardly over the bike pretending this was all part of the plan. The good news is that once you know how to place the chain back on the chainring and rotate the crank slowly, that same problem becomes far less intimidating the next time. Instead of panic, you get procedure.
Commuters often have a different version of the story. They are wearing work clothes, running a little late, and the chain picks the perfect moment to fall off near an intersection. In that situation, the challenge is not just mechanical. It is emotional. Nobody enjoys arriving at work with chain grease on their fingers and a suspicious stripe on one pant leg. That is why experienced commuters often keep a rag, a spare glove, or even a few wipes in their bag. The repair itself is simple, but the cleanup strategy is what separates optimism from despair.
Mountain bikers and gravel riders tend to describe chain drops as part maintenance issue, part terrain issue. Rough ground, repeated impacts, and hurried shifting can bounce a chain right off the ring, especially on older drivetrains or bikes without strong chain retention features. Riders in these situations often learn two lessons quickly: first, a dropped chain is easier to handle when you stay calm and stop somewhere stable; second, repeated chain drops usually mean the bike wants an adjustment, not just sympathy.
Parents helping kids with bikes have another set of experiences entirely. Small bikes, single-speed setups, and occasional mystery noises can make the process feel more chaotic than it is. But these moments are also where many people first learn basic bike maintenance. One minute you are fixing a child’s chain in the driveway, and the next minute you realize you now know more about chain tension, chainrings, and rear cogs than you did an hour ago. That is a nice trade for a little grease.
What most riders discover over time is that knowing how to put on a bicycle chain changes your relationship with the bike. It removes some of the fear. It makes you more self-sufficient. It also teaches you to notice the warning signs before the chain drops again, like noisy shifting, a loose single-speed chain, or a drivetrain that suddenly feels rough. In that sense, the experience is not just about getting the chain back on. It is about becoming the kind of rider who can handle small problems without turning a normal ride into a dramatic documentary.
Conclusion
Learning how to put on a bicycle chain is one of those simple bike skills that pays off forever. The process is straightforward: stop safely, create slack, place the chain onto the chainring and rear cog, rotate the crank slowly, and inspect everything before riding again. Once you have done it a few times, it becomes less of a crisis and more of a two-minute inconvenience.
If the chain comes off only once in a while, you can usually get back on the road quickly. If it keeps happening, use that as your cue to inspect chain wear, derailleur alignment, chain tension, and shifting habits. Your bike is not being dramatic. It is asking for maintenance in the only language it has.