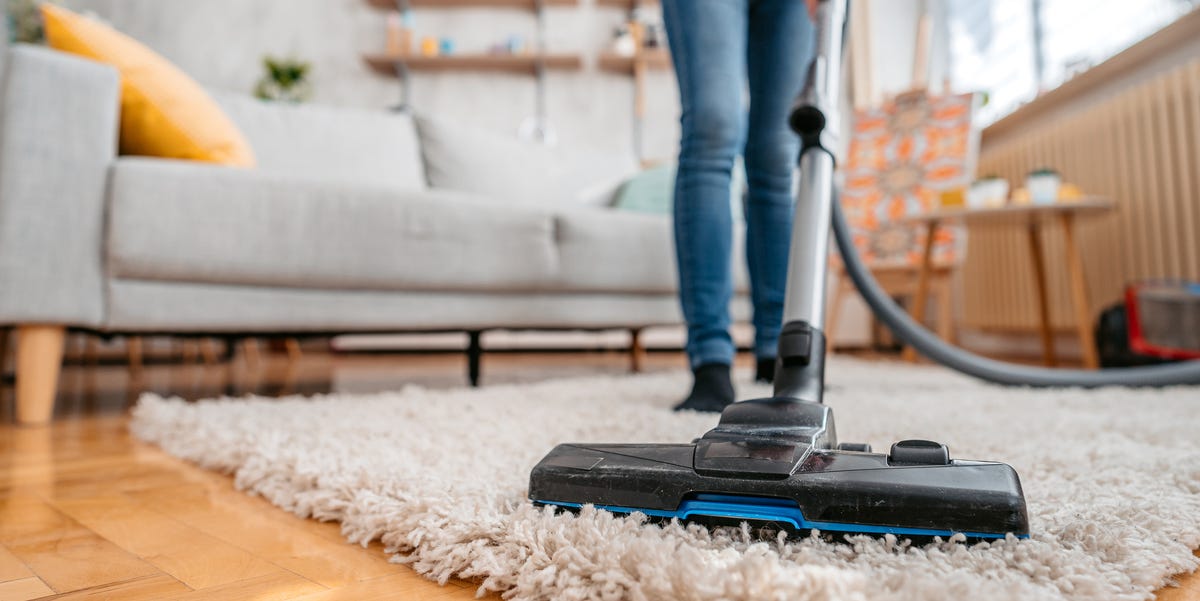
If your vacuum smells like wet dog, burnt toast, old socks, or a mystery from the back of the fridge, you are not alone. A vacuum cleaner is basically a tiny wind tunnel that collects dust, pet hair, crumbs, skin flakes, pollen, and whatever your household dragged in on shoes. When all that debris sits inside a warm machine, bad odors can build up fast.
The good news? Most vacuum smells are fixable. You usually do not need to throw the machine out, perform a dramatic goodbye speech, or blame the dog forever. You need a simple maintenance routine, a few cleaning tools, and the discipline not to vacuum damp cereal again. This guide explains 7 ways to stop your vacuum smelling, with practical steps for bagless vacuums, bagged vacuums, cordless stick vacuums, uprights, canisters, pet vacuums, and even wet-dry models.
Before we begin, one safety rule: if your vacuum has a strong burning smell, smoke, sparks, unusual noise, or sudden loss of suction, turn it off and unplug it immediately. A musty odor is usually a cleaning problem. A burning smell can be a belt, motor, clog, or overheating issue. Your floors can wait. Electricity has no sense of humor.
Why Does Your Vacuum Smell Bad?
A smelly vacuum usually has one of six causes: old debris, pet hair, damp dust, dirty filters, a clogged hose, or overheated moving parts. Each smell gives you a clue.
- Musty smell: Moisture may have mixed with dust inside the bin, hose, or filter.
- Wet dog smell: Pet hair, dander, and skin oils may be trapped in the brush roll, filter, or dust cup.
- Sour smell: Food crumbs, damp debris, or vacuumed spills may be decomposing inside the machine.
- Dusty smell: The bag, bin, or filter may be full and releasing old dust through the exhaust.
- Burning smell: Stop using the vacuum and inspect the belt, brush roll, filter, and hose for blockages.
Once you identify the likely source, the fix becomes much easier. Here are the seven best ways to remove vacuum odor and keep it from coming back.
1. Empty the Dust Bin or Replace the Bag Regularly
The first and easiest way to stop your vacuum smelling is to empty it before the debris turns into a tiny compost pile. Dust bins and bags collect more than dust. They hold hair, crumbs, dead insects, soil, pet dander, carpet fibers, and microscopic debris. Leave that mixture in a warm closet for a few weeks and it will develop personality. Unfortunately, that personality smells terrible.
For Bagless Vacuums
Empty the dust cup after every major cleaning session, especially if you have pets, kids, carpet, or a snack-happy household. Do not wait until debris passes the “max fill” line. Overfilling reduces airflow, weakens suction, and gives odor-causing particles more time to settle into the machine.
Take the bin outside if possible, open it over a trash bag, and tap it gently to loosen compacted dust. Wipe the inside with a slightly damp microfiber cloth. If your manufacturer allows washing the bin, use warm water and mild dish soap, then let it dry completely before reattaching it. “Completely” means dry-dry, not “I waved it near a towel and hoped.” Moisture inside a vacuum is one of the fastest routes to musty smells.
For Bagged Vacuums
Replace the bag when it is about two-thirds to three-quarters full, or sooner if you vacuum pet hair, fine dust, ashes, or food debris. A full bag traps odors and restricts airflow. If your vacuum has odor-control or carbon-style bags available for your model, they can help reduce stale smells, but they are not a substitute for regular replacement.
Also check the bag compartment. Sometimes dust escapes around the bag collar and coats the inside of the vacuum. Wipe that area with a dry or barely damp cloth, then let it air out before installing a fresh bag.
2. Clean or Replace the Filters
Dirty filters are one of the biggest reasons a vacuum smells bad when running. Filters trap fine particles before air exits the machine. Over time, they collect dust, pollen, dander, hair fragments, and odors. When airflow passes through a dirty filter, it can blow stale smells back into the room. In other words, your vacuum becomes a scented candle from the underworld.
Check Your Manual First
Every vacuum is different. Some filters are washable foam filters. Some are pleated filters that should only be tapped clean. Some HEPA filters are replaceable but not washable. Always check the manufacturer’s instructions before putting any filter under water.
How to Wash a Washable Filter
- Unplug the vacuum or remove the battery.
- Remove the filter carefully.
- Tap it outdoors over a trash can to remove loose dust.
- Rinse under cold or lukewarm water if the filter is washable.
- Avoid harsh detergents unless your manual specifically allows them.
- Let the filter air dry for at least 24 hours, or longer if it still feels damp.
Never reinstall a wet filter. A damp filter can create a musty smell, encourage moldy odors, and damage the vacuum. If your vacuum still smells after cleaning, replace the filter. Filters are small, but they have big “I can ruin your whole Saturday” energy.
3. Remove Hair and Debris From the Brush Roll
The brush roll is the spinning bar at the bottom of many vacuums. It beats and lifts debris from carpets, but it also collects hair, string, thread, pet fur, carpet fibers, and tiny mysteries. When wrapped too tightly, that material can trap odors, strain the motor, reduce pickup, and even cause a burning smell if the brush roll stops spinning freely.
How to Clean the Brush Roll
First, unplug the vacuum. Turn the floorhead over and inspect the roller. If you see hair wrapped around it, use scissors or a seam ripper to cut along the groove, being careful not to cut the bristles. Pull the hair away by hand and discard it. Remove any stuck lint, fuzz, or debris from the end caps too, because that is where hair likes to build tiny haunted nests.
If your model allows the brush roll to be removed, take it out and wipe the housing. Some brush rolls can be rinsed, while others should only be wiped. Again, follow the manual. Reinstall the roller only when everything is clean and dry.
Pet owners should check the brush roll weekly. Long-haired humans should also consider themselves pet-adjacent for vacuum maintenance purposes.
4. Clear the Hose, Wand, and Attachments
A clogged hose can make your vacuum smell because trapped debris sits in the airflow path. Common clog villains include hairballs, leaves, cereal, paper scraps, toy pieces, clumps of dust, and that one popcorn kernel that clearly had unfinished business.
Signs of a Clogged Vacuum
- Weak suction
- Whistling or strained motor noise
- Dust smell from the exhaust
- Debris falling back onto the floor
- Hot or burning odor during use
How to Unclog the Hose Safely
Unplug the vacuum and detach the hose. Look through it if possible. If you cannot see light from the other end, there is likely a blockage. Use a flexible cleaning brush, long bottle brush, or broom handle wrapped in a soft cloth to push debris out gently. Do not use sharp tools that can puncture the hose.
If the hose is washable and fully detachable, rinse it with warm water only after removing dry debris first. Then hang it vertically and let it dry completely for at least 24 hours. Reattaching a damp hose is basically sending an engraved invitation to musty odor.
Do the same inspection for extension wands, crevice tools, upholstery brushes, and pet attachments. Attachments are often ignored, which is rude because they do a lot of dirty work in very questionable corners.
5. Wipe the Dust Cup, Seals, and Inner Chambers
Even when the bin is empty and the filter is clean, odors can cling to rubber seals, plastic chambers, cyclones, gaskets, and the area around the intake. Fine dust can stick to these surfaces like powdered glue. Add pet oils or moisture and you get that unpleasant “old vacuum” smell.
Use a Gentle Cleaning Method
Use a microfiber cloth lightly dampened with water to wipe accessible interior parts. For stubborn odor on washable plastic pieces, use mild dish soap if the manual permits it. Avoid soaking electrical parts, motors, battery compartments, or any area that is not designed to get wet.
A cotton swab can help clean grooves around seals and bin lids. An old toothbrush can loosen dust from removable plastic parts. Compressed air can help clear dry dust from tight spaces, but do it outdoors unless you want your laundry room to look like a flour explosion.
After wiping, leave parts separated in a well-ventilated area until fully dry. Sunlight can help freshen plastic parts, but avoid extreme heat, which can warp components.
6. Stop Vacuuming Wet Messes, Food, and Odor Bombs
One of the best ways to stop vacuum odor is to stop feeding your vacuum things it was never meant to eat. Standard household vacuums are designed for dry debris. They are not tiny garbage disposals with wheels.
Avoid Vacuuming These Messes
- Wet pet hair
- Damp carpet debris
- Liquid spills
- Fresh food crumbs or sticky cereal
- Fireplace ash unless your vacuum is designed for it
- Large sharp objects
- Potting soil that is damp
Moisture is the main enemy. Damp debris mixes with dust and creates musty, sour odors. If the mess is wet, use paper towels, a mop, a carpet cleaner, or a wet-dry vacuum designed for liquid pickup. If it is a pet accident, blot it first and use an enzyme cleaner before vacuuming after the area is fully dry.
For smelly carpets, sprinkle a light layer of baking soda, let it sit for 15 to 30 minutes, and vacuum thoroughly. Use this sparingly, especially with fine powders, because too much powder can clog filters. More baking soda does not mean more freshness. It means your vacuum may file a complaint.
7. Use Odor Control Wisely and Maintain a Schedule
Once your vacuum is clean, you can add gentle odor control. The key word is “gentle.” You want a fresh-smelling vacuum, not a machine that blasts lavender so aggressively your sofa needs sunglasses.
Safe Odor-Control Ideas
- Use manufacturer-approved odor cartridges if your vacuum supports them.
- Choose carbon bags or odor-control bags if they fit your model.
- Place a clean, dry cotton ball with one drop of essential oil near the dust bin only if your manual allows it.
- Replace filters on schedule instead of trying to perfume old dirt.
- Store the vacuum in a dry, ventilated place.
Do not pour essential oils directly onto filters, motors, belts, or plastic parts. Oils can damage materials and attract more dust. Do not use loose scent beads unless your vacuum brand specifically approves them. A vacuum is not a potpourri cannon.
Quick Vacuum Odor Maintenance Schedule
| Task | How Often | Why It Helps |
|---|---|---|
| Empty dust bin or replace bag | After each big clean or when mostly full | Prevents old debris odor and improves suction |
| Check brush roll | Weekly for pet homes; monthly for others | Removes hair, reduces motor strain, prevents burning smell |
| Clean washable filters | Monthly or as manual recommends | Stops stale dust smell and restores airflow |
| Replace non-washable filters | Every few months or as directed | Keeps exhaust air fresher |
| Inspect hose and attachments | Monthly | Removes hidden clogs and trapped odor sources |
| Deep clean removable parts | Every 1 to 3 months | Prevents long-term grime buildup |
What If Your Vacuum Still Smells After Cleaning?
If you have emptied the bin, replaced the bag, cleaned the filter, cleared the hose, removed brush roll hair, and wiped the interior, but the vacuum still smells awful, look deeper.
Check for Hidden Problems
- Old belt: A worn or slipping belt may smell like burnt rubber.
- Overheating motor: Clogs and dirty filters force the motor to work harder.
- Damaged hose: Cracks can trap dirt or reduce airflow.
- Old pet odor: Repeated pet hair pickup can saturate filters and plastic parts.
- Moldy parts: If wet debris sat inside for days, some parts may need replacement.
When a vacuum has a persistent burning smell, smoke, or electrical odor, stop using it and contact the manufacturer or a repair professional. A bad smell is annoying. A damaged motor is expensive. A fire risk is absolutely not invited.
Common Mistakes That Make Vacuum Smells Worse
Many people try to solve vacuum odor by adding fragrance. That may help for five minutes, but it does not remove the source. It is like spraying perfume on a trash can and calling it “Paris.”
Mistake 1: Reinstalling Damp Parts
Wet filters, hoses, bins, and attachments can create musty odors. Always let parts air dry completely before reassembling.
Mistake 2: Ignoring the Brush Roll
A clean filter will not help much if the brush roll is wrapped in three months of hair and carpet lint.
Mistake 3: Using Too Much Baking Soda
Baking soda can neutralize carpet odors, but heavy use can clog filters, especially in cordless and bagless vacuums. Use a light sprinkle, not a snowstorm.
Mistake 4: Vacuuming Damp Pet Hair
Damp pet hair is odor fuel. Let areas dry first, then vacuum.
Mistake 5: Forgetting the Exhaust Filter
Some vacuums have more than one filter. If the exhaust filter is dirty, the machine may smell every time air blows out.
Extra Experience: What Actually Works in a Real Home
Here is the practical, lived-in truth about stopping vacuum smells: consistency beats dramatic deep-cleaning. Most people wait until the vacuum smells like a gym bag trapped in a basement, then spend an hour taking it apart. That works, but it is not the easiest path. A better habit is to give the vacuum small, regular checkups.
In a busy home, especially one with pets, the dust bin should be treated like a kitchen trash can. You would not leave shrimp shells in the trash for two weeks and expect the kitchen to smell like a spa. The same logic applies to pet hair and crumbs inside a vacuum. Empty the bin after every full-house cleaning. If you use a bagged vacuum, do not wait until the bag is packed solid. A bag that looks like a stuffed pillow is already past its polite stage.
The second real-world lesson is that pet odor often hides in the brush roll, not the dust bin. The floorhead rides directly over carpets, rugs, pet beds, and entry mats. It collects hair, body oils, dander, and outdoor debris. If your vacuum smells like dog every time it turns on, flip it over and inspect the roller. In many homes, that one step solves half the problem. A pair of small scissors and five minutes can make the vacuum smell noticeably better and run more smoothly.
Filters are another place where good intentions go wrong. Washing a washable filter is helpful, but rushing the drying process is not. A filter can feel dry on the outside while still holding moisture inside the foam or pleats. Reinstalling it too soon can make the whole vacuum smell damp. When possible, wash the filter on a day when you do not need to vacuum again. Leave it in a bright, airy spot overnight or longer. If your household relies on the vacuum daily, keep a spare filter so one can dry while the other works.
Another useful habit is the “sniff test before storage.” After vacuuming, empty the bin, check for obvious clogs, and smell the dust cup area before putting the machine away. If it already smells sour, do not trap it in a closet. Wipe the bin, leave the parts open to air, and check the filter. A closed closet can concentrate odors, especially in humid weather.
For homes with kids, snack crumbs are a major odor source. Dry cereal is usually fine, but sticky food, fruit pieces, damp crackers, and anything sugary can create sour smells inside the vacuum. Pick up wet or sticky food by hand first. Let rugs dry before vacuuming. If a pet accident happened, use an enzyme cleaner and wait until the area is fully dry. Vacuuming too early may pull odor into the machine instead of removing it from the room.
Finally, do not underestimate storage. A vacuum kept in a damp laundry room, garage, or poorly ventilated closet is more likely to smell musty. Store it dry, with clean filters and an empty bin. That one boring habit is powerful. Your vacuum will smell fresher, last longer, and stop making every cleaning session feel like you are being punished for owning floors.
Conclusion
A smelly vacuum is usually not a disaster. It is a message. Your vacuum is telling you that the bin is full, the filter is dirty, the brush roll is hairy, the hose is clogged, or something damp got inside and started causing trouble. The fix is simple: empty it often, clean or replace filters, remove brush roll hair, clear blockages, wipe removable parts, avoid wet messes, and use odor control only after the machine is truly clean.
Once you build a maintenance routine, vacuum odor becomes much easier to prevent. Your machine will smell better, suction will improve, and your home will feel cleaner after vacuuming instead of smelling like you released a dusty ghost. Treat your vacuum like a cleaning partner, not a bottomless pit, and it will return the favor every time you roll it across the floor.
Note: This article is based on practical vacuum-care guidance from appliance manufacturers, household cleaning experts, and indoor moisture-control recommendations. Always follow the user manual for your specific vacuum model before washing or replacing parts.