A lava lamp is basically a tiny retro theater: wax rises, liquid glows, blobs perform interpretive dance, and everyone in the room suddenly becomes 12% more relaxed. But when your lava lamp stops flowing, turns cloudy, or refuses to light up, that peaceful little show can quickly become a glass bottle of confusion.
The good news? Many lava lamp problems are not permanent disasters. In fact, most common issues come from simple things: the wrong bulb, a chilly room, a shaken globe, a loose coil, overheating, or not giving the wax enough time to warm up. The bad news? A lava lamp is not a soup recipe. You should not open it, add mysterious fluids, microwave anything, or perform “experimental science” on your desk unless your goal is to create regret with mood lighting.
This guide explains three safe, practical ways to repair a lava lamp: fixing poor flow, clearing cloudy liquid, and solving base or bulb problems. These methods focus on manufacturer-style care, basic troubleshooting, and smart safety habits so your lamp can get back to doing what it does best: looking groovy without asking for much.
Before You Repair a Lava Lamp: Safety First
Before touching anything, turn the lava lamp off, unplug it, and let it cool completely. Lava lamps use heat to melt the wax, so the bulb, metal base, and glass globe can become hot during use. Give the lamp plenty of cooling time before removing the globe, changing the bulb, or cleaning the base.
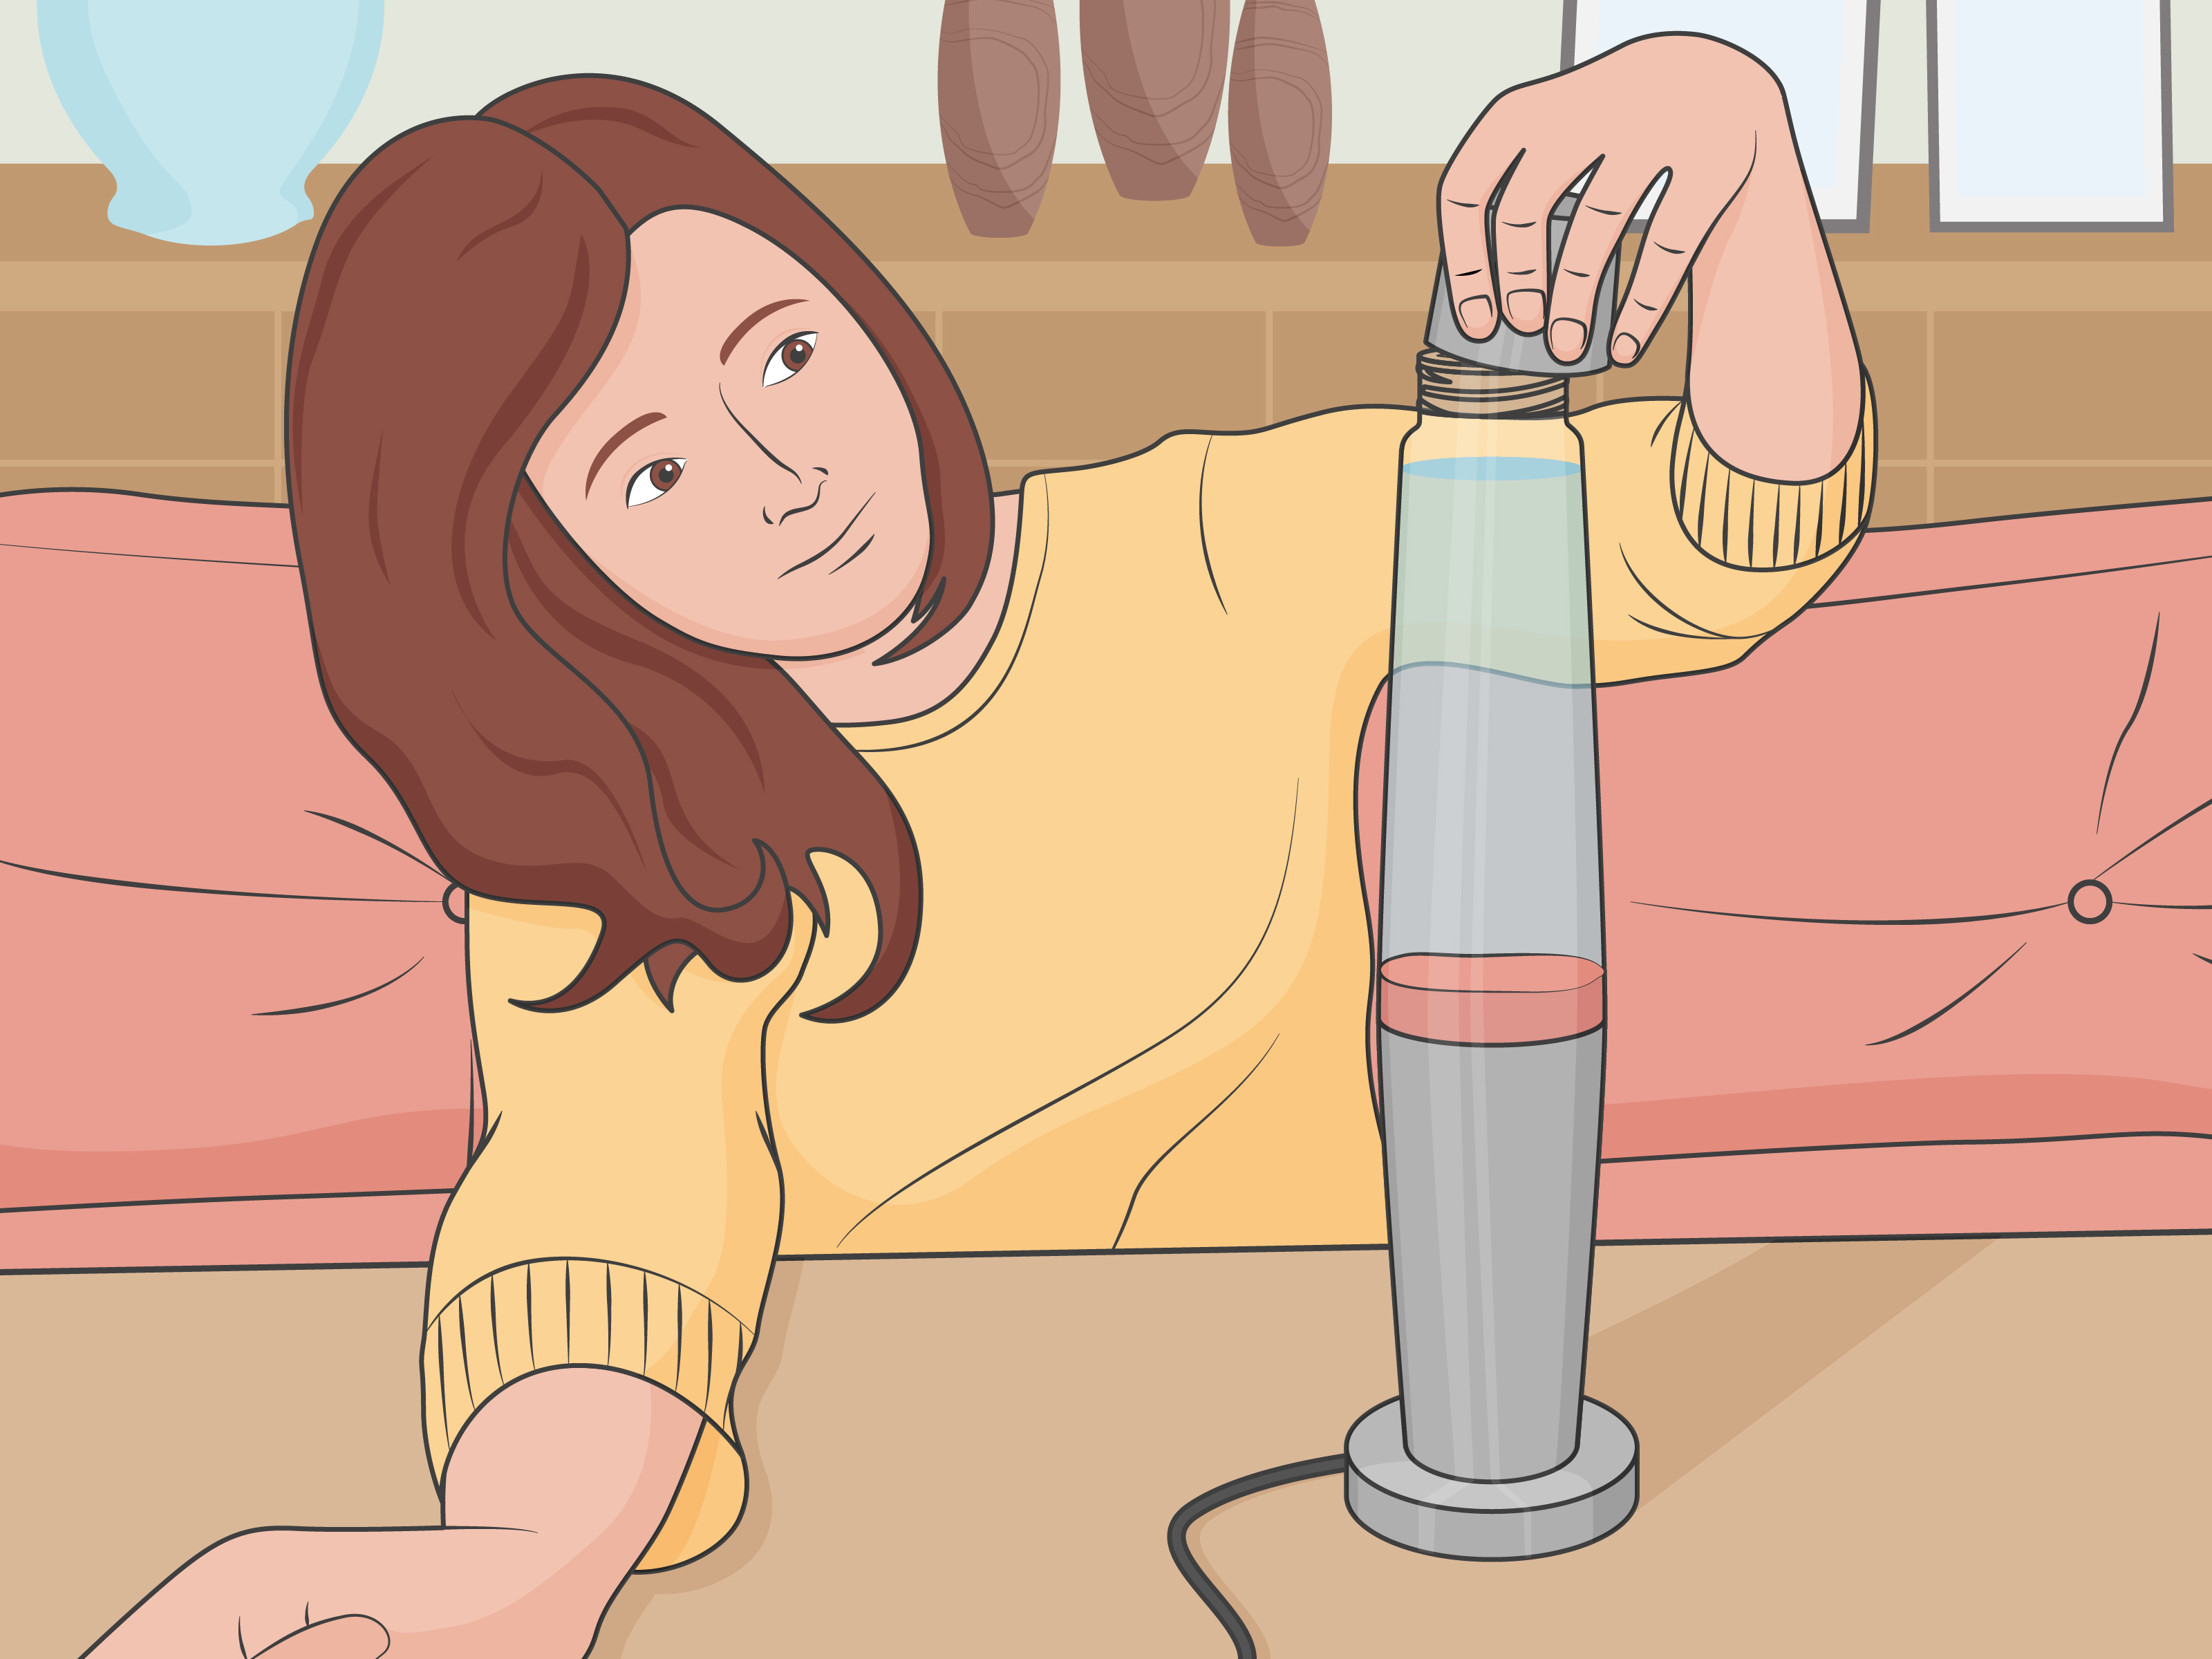
Also, do not loosen or remove the bottle cap on the globe. The sealed bottle is designed to keep the internal liquid, wax, and air space balanced. Breaking that seal can ruin the lamp, cause leaks, void warranties, and turn a simple repair into a messy science-fair villain origin story.
Use your lamp on a flat, stable surface away from direct sunlight, heaters, air conditioners, open windows, and fans. Lava lamps are sensitive to temperature. Too cold, and the wax may barely move. Too hot, and the wax may break into tiny pieces or gather at the top. The ideal repair strategy usually begins with patience, correct heat, and not shaking the globe like a maraca.
Way 1: Repair a Lava Lamp That Will Not Flow
One of the most common lava lamp problems is wax that refuses to move. Maybe it sits at the bottom like a lazy dumpling. Maybe it forms a tower and then gives up. Maybe the lamp looks warm, but the blobs never become blobs. This issue usually comes down to heat, time, bulb type, or the metal coil inside the globe.
Give the Lamp Enough Time to Warm Up
A lava lamp is not instant coffee. New lamps often need several hours before the wax starts moving properly for the first time. During warm-up, the wax may form tall pillars, strange lumps, or shapes that look like modern art trying to escape. That is normal.
For a standard-size lamp, let it run long enough to reach a full flow, but do not leave it on endlessly. Many manufacturers recommend limiting a lava lamp session to several hours rather than running it 24/7. If the lamp has only been on for 20 minutes, the repair may be as simple as waiting. Lava lamps reward patience; they do not respect hurry.
Check the Bulb Wattage and Type
The bulb is not just for light. It is the heat engine of the entire lamp. If the bulb is too weak, the wax may never melt properly. If the bulb is too strong, the lamp can overheat, which may damage the wax, cloud the liquid, or create a safety risk.
Look for the wattage label inside the base, on the lamp, or in the manufacturer’s instructions. Replace the bulb only with the recommended style and wattage. A bulb that “fits” is not automatically correct. Lava lamps often need specific incandescent or reflector bulbs because they produce the right amount of heat in the right direction.
A common mistake is replacing a lava lamp bulb with an LED bulb because LEDs are efficient and easy to find. Efficiency is great for your electric bill, but a lava lamp needs heat. Many LED bulbs do not generate enough heat to melt the wax properly. On the other hand, using a higher-wattage bulb is not a shortcut; it can overheat the fixture. The safest rule is simple: match the lamp’s required bulb.
Make Sure the Bulb Is Seated Properly
If the bulb is loose, the lamp may flicker, fail to heat evenly, or not turn on at all. After the lamp is unplugged and cool, remove the globe from the base, then gently check whether the bulb is screwed in firmly. Do not overtighten it. Just make sure it is seated securely in the socket.
While the globe is off, look inside the base. If you see dust, wipe the outside surfaces with a dry cloth. Avoid water near the socket or electrical parts. If the socket looks damaged, burned, cracked, rusty, or loose, stop using the lamp and have it inspected or replaced. A lava lamp should be relaxing, not spicy.
Check the Metal Coil at the Bottom
Most classic lava lamps have a small metal coil at the bottom of the globe. This coil helps transfer heat and encourages the wax to melt correctly. If the coil is not sitting at the bottom, the lamp may take much longer to flow or may not flow well at all.
With the lamp cool, place the globe back on the base and gently rotate the bottle in place. Do not shake it. A slow, careful twirl may help the coil settle back down. Once the coil is positioned properly, run the lamp again and watch for improvement.
Adjust the Room Conditions
Lava lamps are surprisingly dramatic about their environment. A cold room, drafty window, strong fan, or air conditioner can prevent the wax from reaching the right temperature. Move the lamp to a stable indoor location at normal room temperature, away from airflow and direct sun.
If the wax gathers at the top and stays there, the lamp may be too hot. Turn it off, let it cool fully, and try a shorter operating session next time. If the wax sits at the bottom and barely moves, the lamp may be too cold, underpowered, or not warmed up long enough.
Way 2: Repair a Cloudy Lava Lamp
A cloudy lava lamp is usually the result of wax particles breaking apart and floating through the liquid. This can happen during shipping, after the lamp is moved while warm, or after someone shakes it because they believed chaos would help. Chaos rarely helps.
Cloudiness can sometimes improve with careful settling and controlled heating cycles. However, if the lamp has been badly shaken while hot or the wax has broken down too much, the cloudiness may be permanent. Still, the safe repair steps are worth trying before giving the lamp a retirement speech.
Let the Lamp Sit Undisturbed
Start by turning the lamp off, unplugging it, and placing it somewhere stable at room temperature. Let it sit undisturbed for at least eight hours. If it was shaken while warm, give it a full day if possible. The goal is to let wax particles settle naturally.
Do not move the globe around to “help.” Do not turn it upside down. Do not put it in the refrigerator. Do not warm it on a stove. A lava lamp wants calm, not a spa treatment designed by a raccoon.
Use a Gentle Heat-and-Cool Cycle
After the lamp has rested, plug it in and turn it on only until the wax begins to soften. Then turn it off and let it cool completely. This controlled warm-up can help the wax rejoin larger masses instead of remaining scattered through the liquid.
Once the lamp cools, turn it on again and allow it to run through a normal operating cycle. Watch the liquid. In mild cases, the lamp may become clearer as the wax settles and reforms. This process is not instant, so give it time over a few sessions.
Avoid the Habits That Make Cloudiness Worse
The best repair for a cloudy lava lamp is prevention after recovery. Never move, shake, or drop a lava lamp while it is warm. When the wax is melted, it is easier for it to break apart into tiny particles. Once those particles spread through the liquid, the globe can look foggy even after it cools.
Also, avoid placing the lamp in direct sunlight. Sunlight can fade the colors and may affect how the lamp performs. Keep it away from extreme heat and extreme cold. A lava lamp is happiest in a boring, comfortable roomproof that even the wildest-looking décor has sensible boundaries.
Know When the Cloudiness Cannot Be Repaired
If the globe remains cloudy after resting and several gentle cycles, the damage may be permanent. At that point, do not open the bottle and attempt to filter, refill, dye, salt, soap, or chemically “fix” the liquid. Those online experiments may look tempting, but they can ruin the lamp, create leaks, and introduce safety concerns.
Your safest options are to contact the manufacturer, look for a replacement globe that matches your lamp model, or replace the lamp. A replacement globe is often the cleanest fix because the base may still be perfectly usable.
Way 3: Repair Lava Lamp Base, Bulb, and Power Problems
If your lava lamp does not turn on at all, the issue is usually in the base, bulb, cord, switch, plug, or outlet. This is the practical side of lava lamp repairthe part where the groovy blob machine becomes a regular lamp with electrical responsibilities.
Test the Outlet First
Before blaming the lava lamp, plug another small device into the same outlet to confirm the outlet works. If the outlet is controlled by a wall switch, make sure the switch is on. If the outlet does not work, try a different outlet. Do not use a lamp with a damaged outlet, loose plug connection, or signs of electrical trouble.
Replace a Burned-Out Bulb Safely
If the outlet works but the lava lamp stays dark, the bulb may be burned out. Turn the lamp off, unplug it, and allow it to cool completely. Remove the globe carefully and set it on a stable surface where it cannot roll or fall. Unscrew the old bulb and replace it with the exact recommended bulb for that lamp.
Do not use a higher-wattage bulb to “boost” the lava flow. That can overheat the base and globe. Do not use a lower-wattage bulb unless the manufacturer lists it as acceptable, because the wax may not melt. The correct bulb is not a detail; it is the whole plot.
Inspect the Cord, Switch, and Base
After unplugging the lamp, check the cord and plug. If the cord is frayed, cracked, pinched, melted, or loose at the base, stop using the lamp. If the switch feels broken, sparks, buzzes, smells odd, or becomes hot, do not keep testing it. Replace the lamp or have a qualified repair person inspect it.
For inexpensive modern lava lamps, replacing the entire unit is often safer and more cost-effective than repairing internal wiring. Vintage lamps may be worth professional restoration, but electrical work should be handled by someone who understands lamp wiring and safety standards.
Clean the Base Without Damaging It
A dusty base can trap heat and make the lamp look neglected. With the lamp unplugged and cool, wipe the outside of the base with a soft, dry cloth. For fingerprints on the metal surface, use a slightly damp cloth on the exterior only, then dry it thoroughly. Never spray cleaner into the socket, switch, vents, or cord area.
Clean the glass globe gently with a soft cloth once it is cool. Avoid harsh cleaners near labels, painted surfaces, or decorative finishes. The goal is to make the lamp look good, not strip it like an overenthusiastic garage project.
Common Lava Lamp Problems and What They Mean
Wax Stays at the Bottom
This usually means the lamp is not warm enough. Check the bulb wattage, warm-up time, room temperature, and coil position.
Wax Stays at the Top
This often means the lamp is too hot or has been running too long. Turn it off, let it cool fully, and use shorter sessions.
Liquid Looks Cloudy
Cloudiness often comes from shaking, moving the lamp while warm, shipping stress, or wax particles breaking apart. Let the lamp rest, then try gentle heat-and-cool cycles.
Lamp Lights Up but Wax Does Not Move
The bulb may be producing light but not enough heat, especially if it is the wrong type. Confirm the recommended bulb and check whether the room is too cold.
Lamp Does Not Turn On
Test the outlet, then check the bulb. If the bulb is good but the lamp still fails, inspect the cord, switch, and socket for damage. Stop using it if anything looks unsafe.
When You Should Not Repair a Lava Lamp
Sometimes the best repair is knowing when to stop. Do not continue using a lava lamp if the glass is cracked, the globe leaks, the cap is loose, the cord is damaged, the plug sparks, the base smells burned, or the lamp overheats unusually fast. These are not “quirks.” They are warning signs.
You should also avoid DIY liquid repairs that involve opening the globe. Many lava lamps are sealed for a reason. Once opened, the internal balance may be impossible to restore, and the lamp may become unsafe or permanently cloudy. A replacement globe or new lamp is usually the smarter choice.
Maintenance Tips to Keep Your Lava Lamp Flowing
After your lamp is working again, a few simple habits can extend its life. Run it only for reasonable sessions, not all day and night. Keep it in a stable location where it will not be bumped. Let it cool before moving it. Use only the correct bulb. Keep it away from sunlight, drafts, heaters, and air conditioners.
If you are storing the lamp, let it cool completely first. Keep it upright in a safe place where the globe will not tip over. If you are moving it to another room, carry the base and globe carefully and avoid sudden impacts. A lava lamp may look like it belongs at a 1970s dance party, but it should be handled like glassbecause, inconveniently, it is glass.
Real-World Experiences: What Repairing a Lava Lamp Teaches You
Anyone who has owned a lava lamp for more than a week learns one important lesson: the lamp has its own schedule. You can plug it in, stare at it, encourage it, and even question your purchase, but the wax will flow only when the temperature is right. That is why many “broken” lava lamps are not actually broken. They are just warming up like a sleepy cat in a sunbeam.
One common experience is replacing the bulb and assuming any bulb with the same base will work. It lights up, so it must be fine, right? Not always. A lava lamp depends on heat as much as light. A bulb that is too cool may leave the wax sitting at the bottom like it missed the meeting. A bulb that is too hot can push the wax upward and keep it there. The lesson is simple but easy to forget: with lava lamps, the correct wattage is not optional. It is the difference between “beautiful flowing blobs” and “confused glowing bottle.”
Another experience many owners share is the tragedy of moving the lamp too soon. You turn it off, decide to clean your desk, pick up the warm globe, and suddenly the liquid becomes cloudy. It feels unfair because the lamp looked harmless. But warm wax is fragile. When shaken or bumped, it can break into tiny pieces that float through the liquid. The repair is usually boring: let it rest, cycle it gently, and hope the wax settles. Lava lamps are one of the few household items where doing less is often the smartest repair strategy.
There is also the classic “why is it not flowing in this room?” mystery. The lamp worked fine in one corner, then failed on a different desk. After much suspicion, the villain turns out to be an air conditioner vent or a drafty window. A slight temperature change can affect the wax more than expected. Moving the lamp away from cold airflow can make it perform normally again. It is a small reminder that lava lamps are not just decorations; they are tiny temperature experiments wearing shiny hats.
Repairing a lava lamp also teaches restraint. The internet is full of dramatic fixes: open the globe, add this, remove that, filter something, use secret ingredients, perform countertop wizardry. But most safe repairs are simple: correct bulb, stable surface, proper warm-up, gentle cooling, and no shaking. The moment you open a sealed globe, you may create more problems than you solve.
The best experience-based advice is to treat the lamp like a slow appliance, not a gadget. It will not respond instantly. It will not appreciate shortcuts. It needs the right bulb, the right temperature, and a little peace. When you respect those basics, a lava lamp can last a long time and keep delivering that oddly satisfying floating-wax magic. And when it finally starts flowing again after a careful repair, the victory feels bigger than it should. Is it just wax moving in liquid? Technically, yes. Emotionally, it is a small glowing comeback story.
Conclusion
Repairing a lava lamp is usually about restoring the conditions it needs to work: the right heat, the right bulb, the right placement, and enough time. If your lamp will not flow, start with warm-up time, bulb wattage, coil position, and room temperature. If it is cloudy, let it rest and use gentle heat-and-cool cycles. If it will not turn on, troubleshoot the outlet, bulb, cord, switch, and base safely.
The biggest rule is also the easiest to remember: do not open the sealed globe. A lava lamp looks mysterious, but safe repair is not about secret formulas. It is about patience, proper parts, and avoiding the kind of “quick fix” that turns a relaxing lamp into a cautionary tale. Treat it gently, keep it cool when moving, use the correct bulb, and your lava lamp has a good chance of returning to its hypnotic, blob-filled glory.