Beeswax is already beautiful on its own: golden, honey-scented, and just fancy enough to make your kitchen feel like a tiny artisan studio. But sometimes plain yellow wax is not the vibe. Maybe you want red heart-shaped wax melts, pastel beeswax ornaments, botanical green tapers, or a tinted lip balm that does not look like it was poured by a sleepy beekeeper at midnight. Good news: you can absolutely add color to beeswax. Better news: it is not difficult. Slightly annoying news: you do need to choose the right colorant for the project.
The best way to color beeswax depends on what you are making. Candles need wax-safe dyes that will burn properly. Skin-care products need cosmetic-grade colorants that are approved for their intended use. Decorative crafts can be more flexible, but they still benefit from careful testing. Beeswax is oil-based, so water-based food coloring will usually separate, bead up, or create sad little speckles. That is not “rustic charm.” That is chemistry quietly judging you.
This guide breaks down three reliable ways to add color to beeswax: candle dye, natural infused colorants, and cosmetic-grade pigments or micas. You will also learn how to melt beeswax safely, how much color to start with, what mistakes to avoid, and how to test your color before committing an entire pound of wax to “mysterious swamp brown.”
Before You Start: What Makes Beeswax Different?
Beeswax is a natural wax produced by honeybees, and it behaves differently from soy wax, paraffin, or coconut wax. It is harder, denser, naturally fragrant, and usually ranges from pale yellow to deep golden brown. That natural color affects every shade you add. White dye will not turn yellow beeswax into snow. Blue dye may lean green. Pink can turn peachy. Purple sometimes wanders into “dusty plum with opinions.”
For the cleanest and brightest colors, use white filtered beeswax. For warmer, earthier colors, yellow beeswax is lovely. Think of it like painting on paper: white paper shows colors clearly, while golden paper gives every color a cozy honey filter.
Basic Supplies You Will Need
- Beeswax pellets, pastilles, or chopped beeswax blocks
- A double boiler or heat-safe pouring pitcher inside a pot of water
- A thermometer
- Stirring tool, such as a silicone spatula or wooden skewer
- Digital scale or measuring spoons
- Chosen colorant
- Mold, jar, balm tube, or candle container
- Paper towels and parchment paper for cleanup
Safe Melting Tips
Beeswax typically melts around 144°F to 150°F. Use gentle indirect heat rather than placing wax directly on a burner. A double boiler helps prevent scorching and reduces fire risk. Do not walk away from melting wax. Wax is polite until it is not, and then it becomes a kitchen incident.
For most coloring projects, melt the beeswax fully, then keep it warm enough to stay liquid while you stir in the colorant. Many candle dyes blend best when the wax is around 170°F to 185°F, but beeswax can darken if overheated. Work carefully, stir patiently, and avoid pushing the temperature higher than necessary.
Way 1: Add Color to Beeswax with Candle Dye
If you are making beeswax candles, candle dye is usually the best choice. Candle dyes are designed to dissolve or disperse properly in wax, which helps create smooth color and a reliable burn. They come in several forms, including liquid dye, dye chips, dye blocks, and dye flakes.
This method is ideal for beeswax candles, wax melts, votives, tapers, tealights, and molded decorative candles. It gives the strongest, most predictable color and is much less likely to clog a wick than random craft pigments, crayons, or glittery powders.
Why Candle Dye Works Best for Candles
Candles are not just wax sculptures with a little flame on top. A candle is a tiny fuel system. The wick pulls melted wax upward, the flame vaporizes the fuel, and the candle burns. If you add particles that do not belong in that system, the wick can clog, the flame can sputter, or the candle can burn unevenly.
Candle dye is made for this job. It blends into wax more evenly than water-based colors and usually produces better results than crayons. Crayons may seem tempting because they are colorful and already waxy, but they are formulated for drawing, not clean candle combustion. They can make the wick struggle, and nobody wants a candle that gives up halfway through dinner.
How to Use Candle Dye in Beeswax
- Melt the beeswax gently. Use a double boiler and heat the wax until it is fully liquid.
- Add a small amount of dye. Start lighter than you think you need. Beeswax color deepens as it cools, and concentrated dye can go from “soft rose” to “emergency lipstick” very quickly.
- Stir thoroughly. Stir for at least one to two minutes, scraping the sides and bottom of the container.
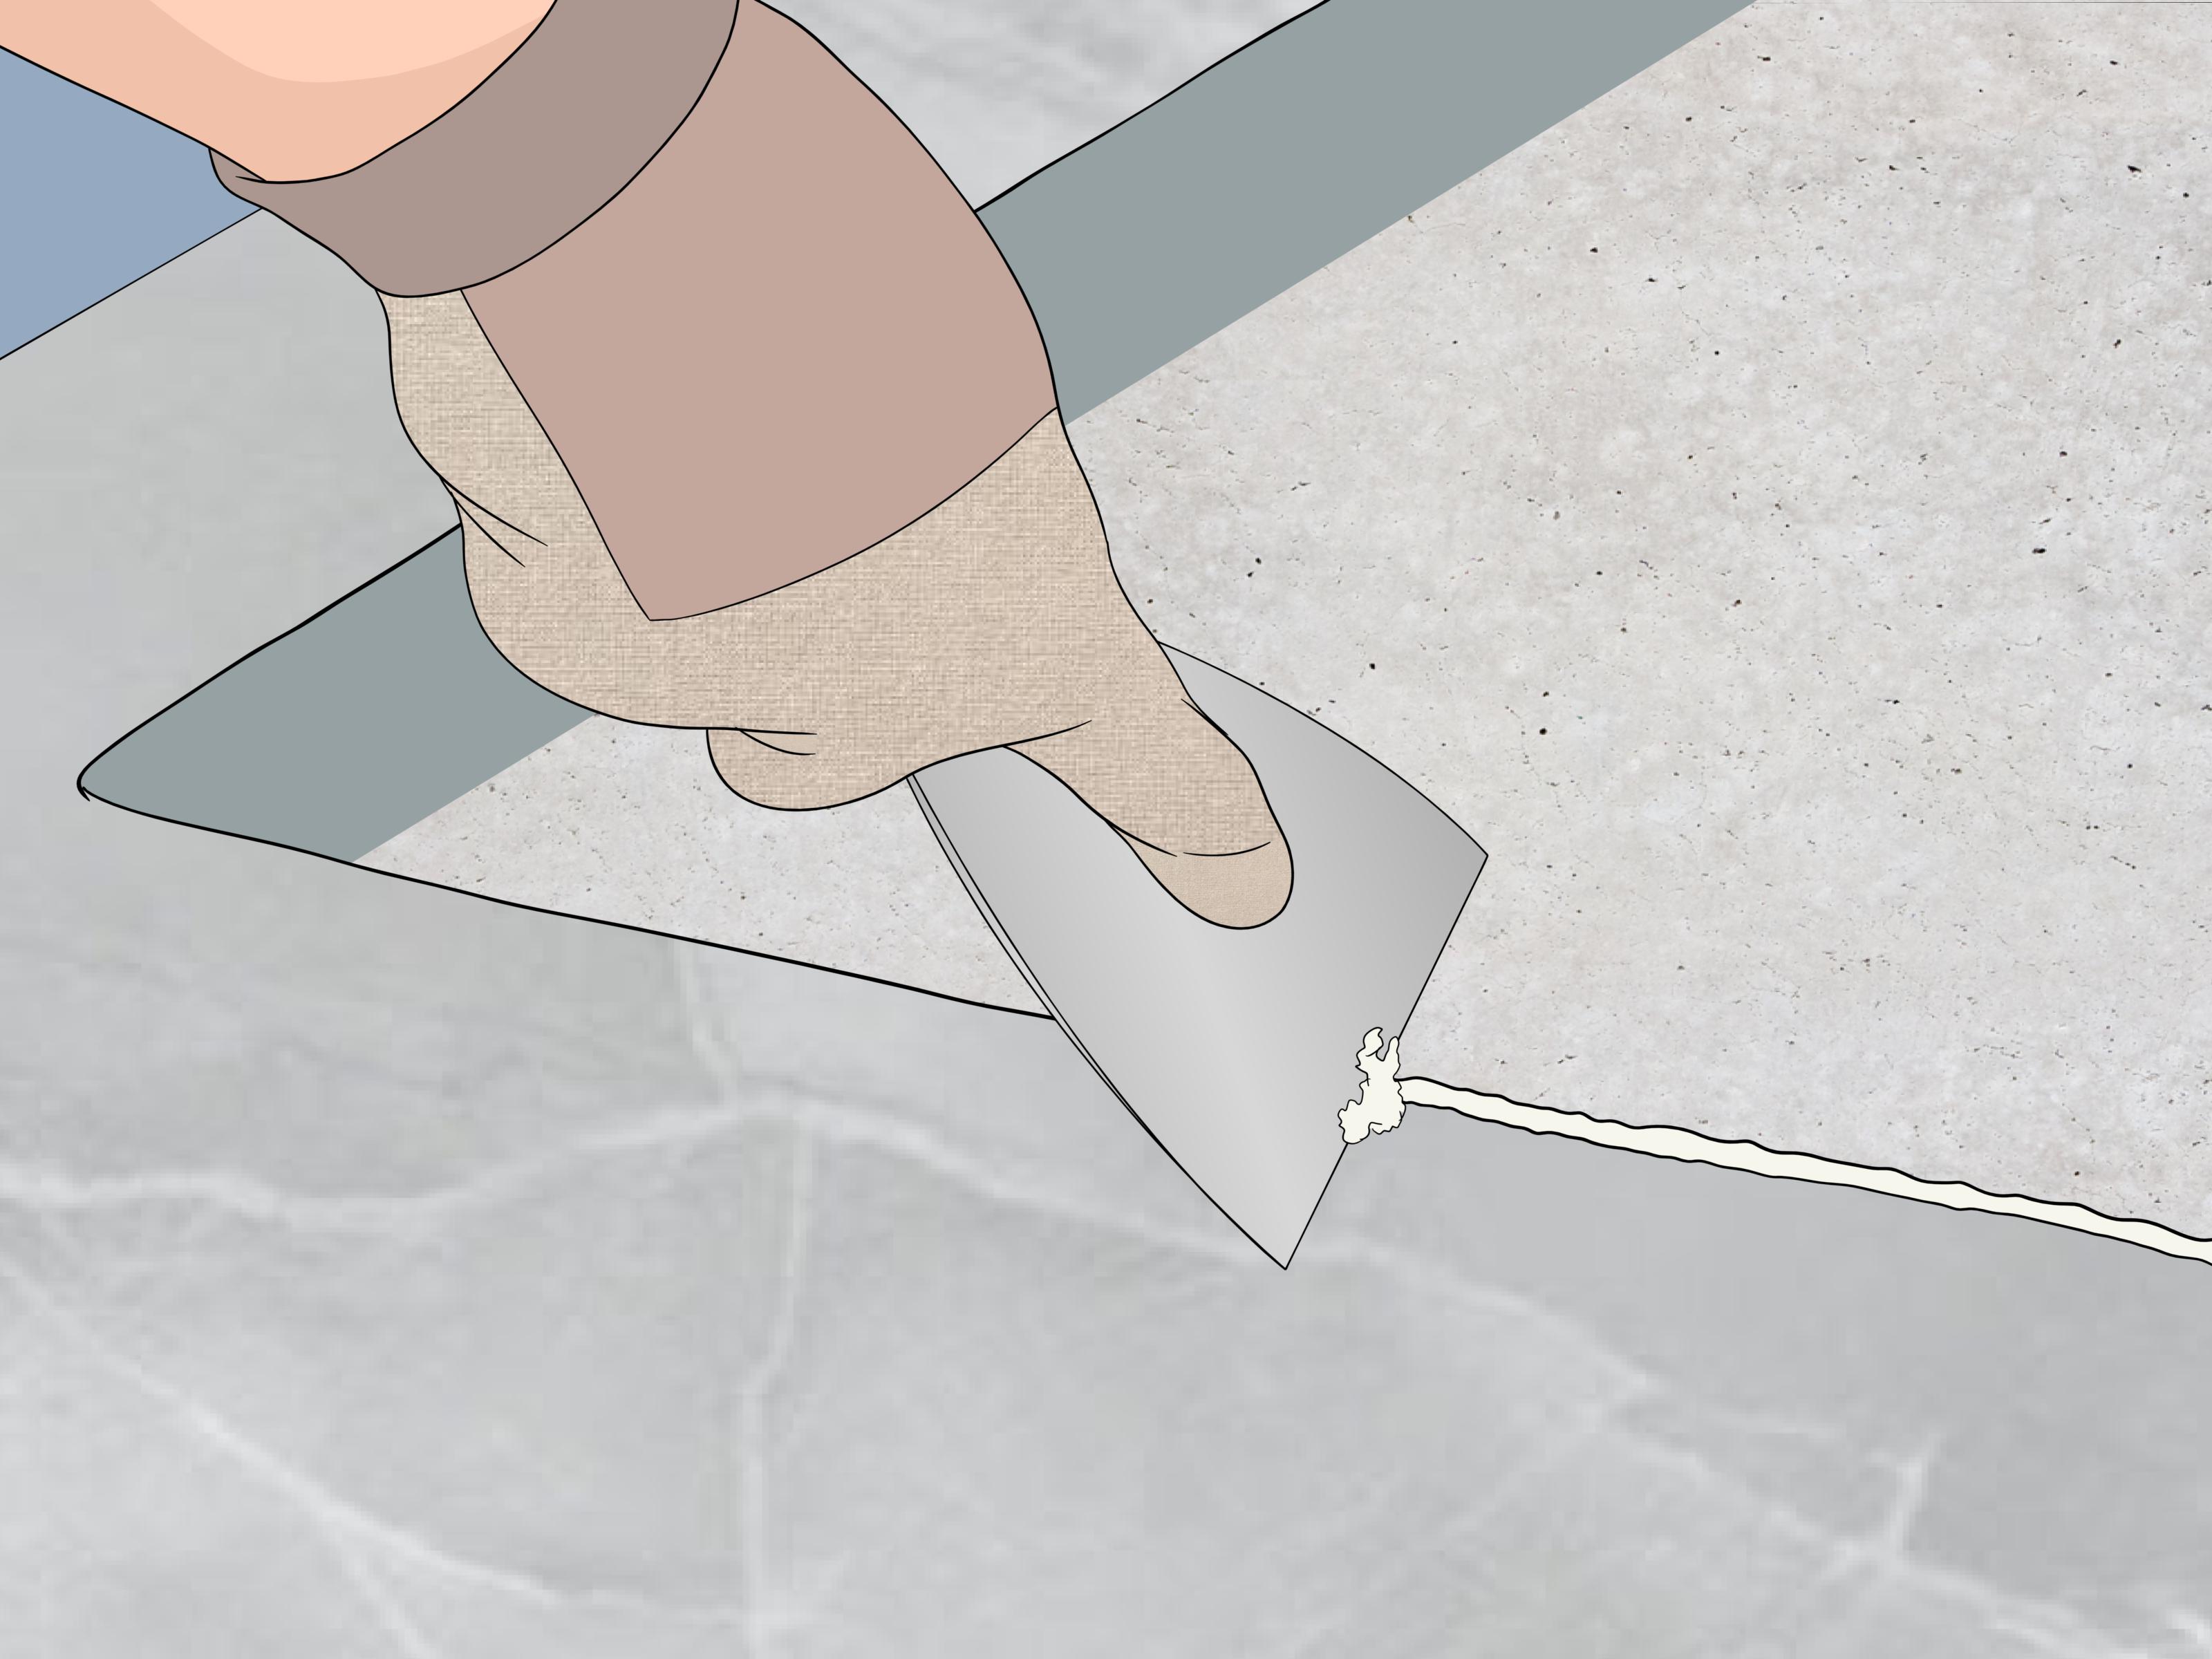
- Test the color. Drip a small amount of wax onto white parchment paper and let it harden. This shows the finished shade more accurately than hot melted wax.
- Adjust if needed. Add more dye in tiny amounts until you reach the color you want.
- Pour into molds or containers. Follow your candle recipe’s recommended pouring temperature and wick guidelines.
How Much Candle Dye Should You Use?
There is no universal amount because dye strength varies by brand and format. A liquid dye may need only a few drops per pound of wax, while dye chips or flakes may require a measured shaving or small fraction of a block. Always follow the supplier’s usage rate, then test. For pale shades, start with less than the recommended amount. For bold shades, increase gradually.
Remember that beeswax already has a natural yellow tone. Red may become warm coral. Blue may become teal. Green may look olive. If you want a clean pastel, white beeswax is your friend. Yellow beeswax is wonderful for autumn colors, honey tones, amber, terracotta, moss, mustard, and warm red-orange shades.
Best Projects for Candle Dye
- Beeswax container candles
- Rolled or molded beeswax tapers
- Wax melts and tarts
- Holiday ornaments made from wax
- Layered candles
- Color-blocked decorative candles
Common Mistakes with Candle Dye
The biggest mistake is adding too much dye. More color does not always mean better color. Heavy dye loads can affect the burn, stain molds, or make the candle look muddy. Another mistake is not stirring long enough. Dye can settle, streak, or create darker dots if it is not fully incorporated.
Also avoid regular liquid food coloring. Most grocery-store food coloring is water-based, and wax is oil-based. They do not mix. You may get little droplets, sizzling, or uneven color. Food coloring belongs in frosting, not in beeswax candles. Let cupcakes have their moment.
Way 2: Add Color to Beeswax with Natural Infused Colorants
If you want a more earthy, handmade look, natural infused colorants can be gorgeous. This method uses botanicals, roots, seeds, spices, or herbs to tint melted beeswax. Instead of dumping powder directly into the wax, you gently infuse the color into the melted wax and strain out the plant material.
Natural coloring is less predictable than candle dye, but that is part of its charm. The results are softer, more muted, and beautifully organic. This method is excellent for rustic candles, wax sachets, ornaments, decorative melts, and crafts where a subtle handmade finish is welcome.
Natural Colorants to Try
- Annatto seeds: warm yellow, golden orange, mango tones
- Alkanet root: pink, plum, mauve, burgundy, depending on strength and wax color
- Madder root: peach, coral, soft red-orange
- Turmeric: bright yellow, though it can be strong and may stain
- Spirulina: muted green, though heat and time can dull it
- Activated charcoal: gray to black, best used carefully and usually better for non-wick projects
- Cocoa powder: tan to brown, better for decorative wax than wick candles
How to Infuse Natural Color into Beeswax
- Melt the beeswax. Use a double boiler and keep the heat gentle.
- Place the botanical colorant in a tea bag or cheesecloth pouch. This makes straining much easier.
- Steep the pouch in the melted wax. Keep the wax warm and stir occasionally. Infusion can take 20 minutes to an hour depending on the colorant.
- Check the color often. Drip a little wax onto parchment paper and let it harden.
- Remove and strain. Do not leave loose plant pieces in candle wax, especially near the wick.
- Pour the wax. Use molds, jars, or craft forms as planned.
Why Straining Matters
Loose herbs, flowers, powders, and plant bits may look adorable on social media, but they can create problems in burning candles. Bits of dried botanicals can act like extra fuel, interfere with the wick, or float too close to the flame. If you are making candles, strain out the solids. If you want decoration, keep botanicals on the outside of non-burning wax crafts or use them in wax sachets that will not be lit.
Best Projects for Natural Colorants
- Rustic beeswax candles
- Wax melts without wicks
- Beeswax ornaments
- Decorative wax seals
- Botanical wax sachets
- Handmade seasonal gifts
Natural Color Results: What to Expect
Natural colorants usually produce softer colors than synthetic candle dye. If you want neon purple, natural infusion will not get you there unless your bees have opened a nightclub. Expect warm, muted, earthy shades. Yellow beeswax will deepen these tones, while white beeswax will make them clearer.
Natural dyes can also fade with light, heat, and time. Store finished beeswax crafts away from direct sun. If you are selling products, test how the color behaves over several weeks. A candle that looks perfect on day one may mellow by day thirty.
Way 3: Add Color to Beeswax with Cosmetic-Grade Mica or Pigments
Cosmetic-grade micas, iron oxides, and approved pigments are popular for beeswax lip balms, salves, lotion bars, wax melts, ornaments, and decorative crafts. They can add shimmer, soft tint, or rich opaque color. However, they are not always the best choice for wicked candles because many pigments are particles rather than dyes. Particles can settle, create speckles, or clog the wick.
This method is excellent when the beeswax is part of a skin-care or beauty product, as long as the colorant is approved for the specific use. Lip products need lip-safe colorants. Eye-area products need colorants approved for eye use. Body products need skin-safe colorants. “It looks pretty” is not a regulatory category, unfortunately.
Mica vs. Pigment: What Is the Difference?
Mica is a mineral-based powder that often creates shimmer or pearly effects. It is commonly coated with colorants such as iron oxides or titanium dioxide to create different shades. Iron oxides are pigments that produce earthy reds, yellows, browns, and blacks. Ultramarines and chromium-based greens can create stronger colors, but they must be used only where approved and appropriate.
In beeswax, these powders do not truly dissolve. They disperse. That means stirring matters. If you add mica and barely mix it, the result may look like a galaxy in one corner and plain wax everywhere else.
How to Use Mica or Pigment in Beeswax
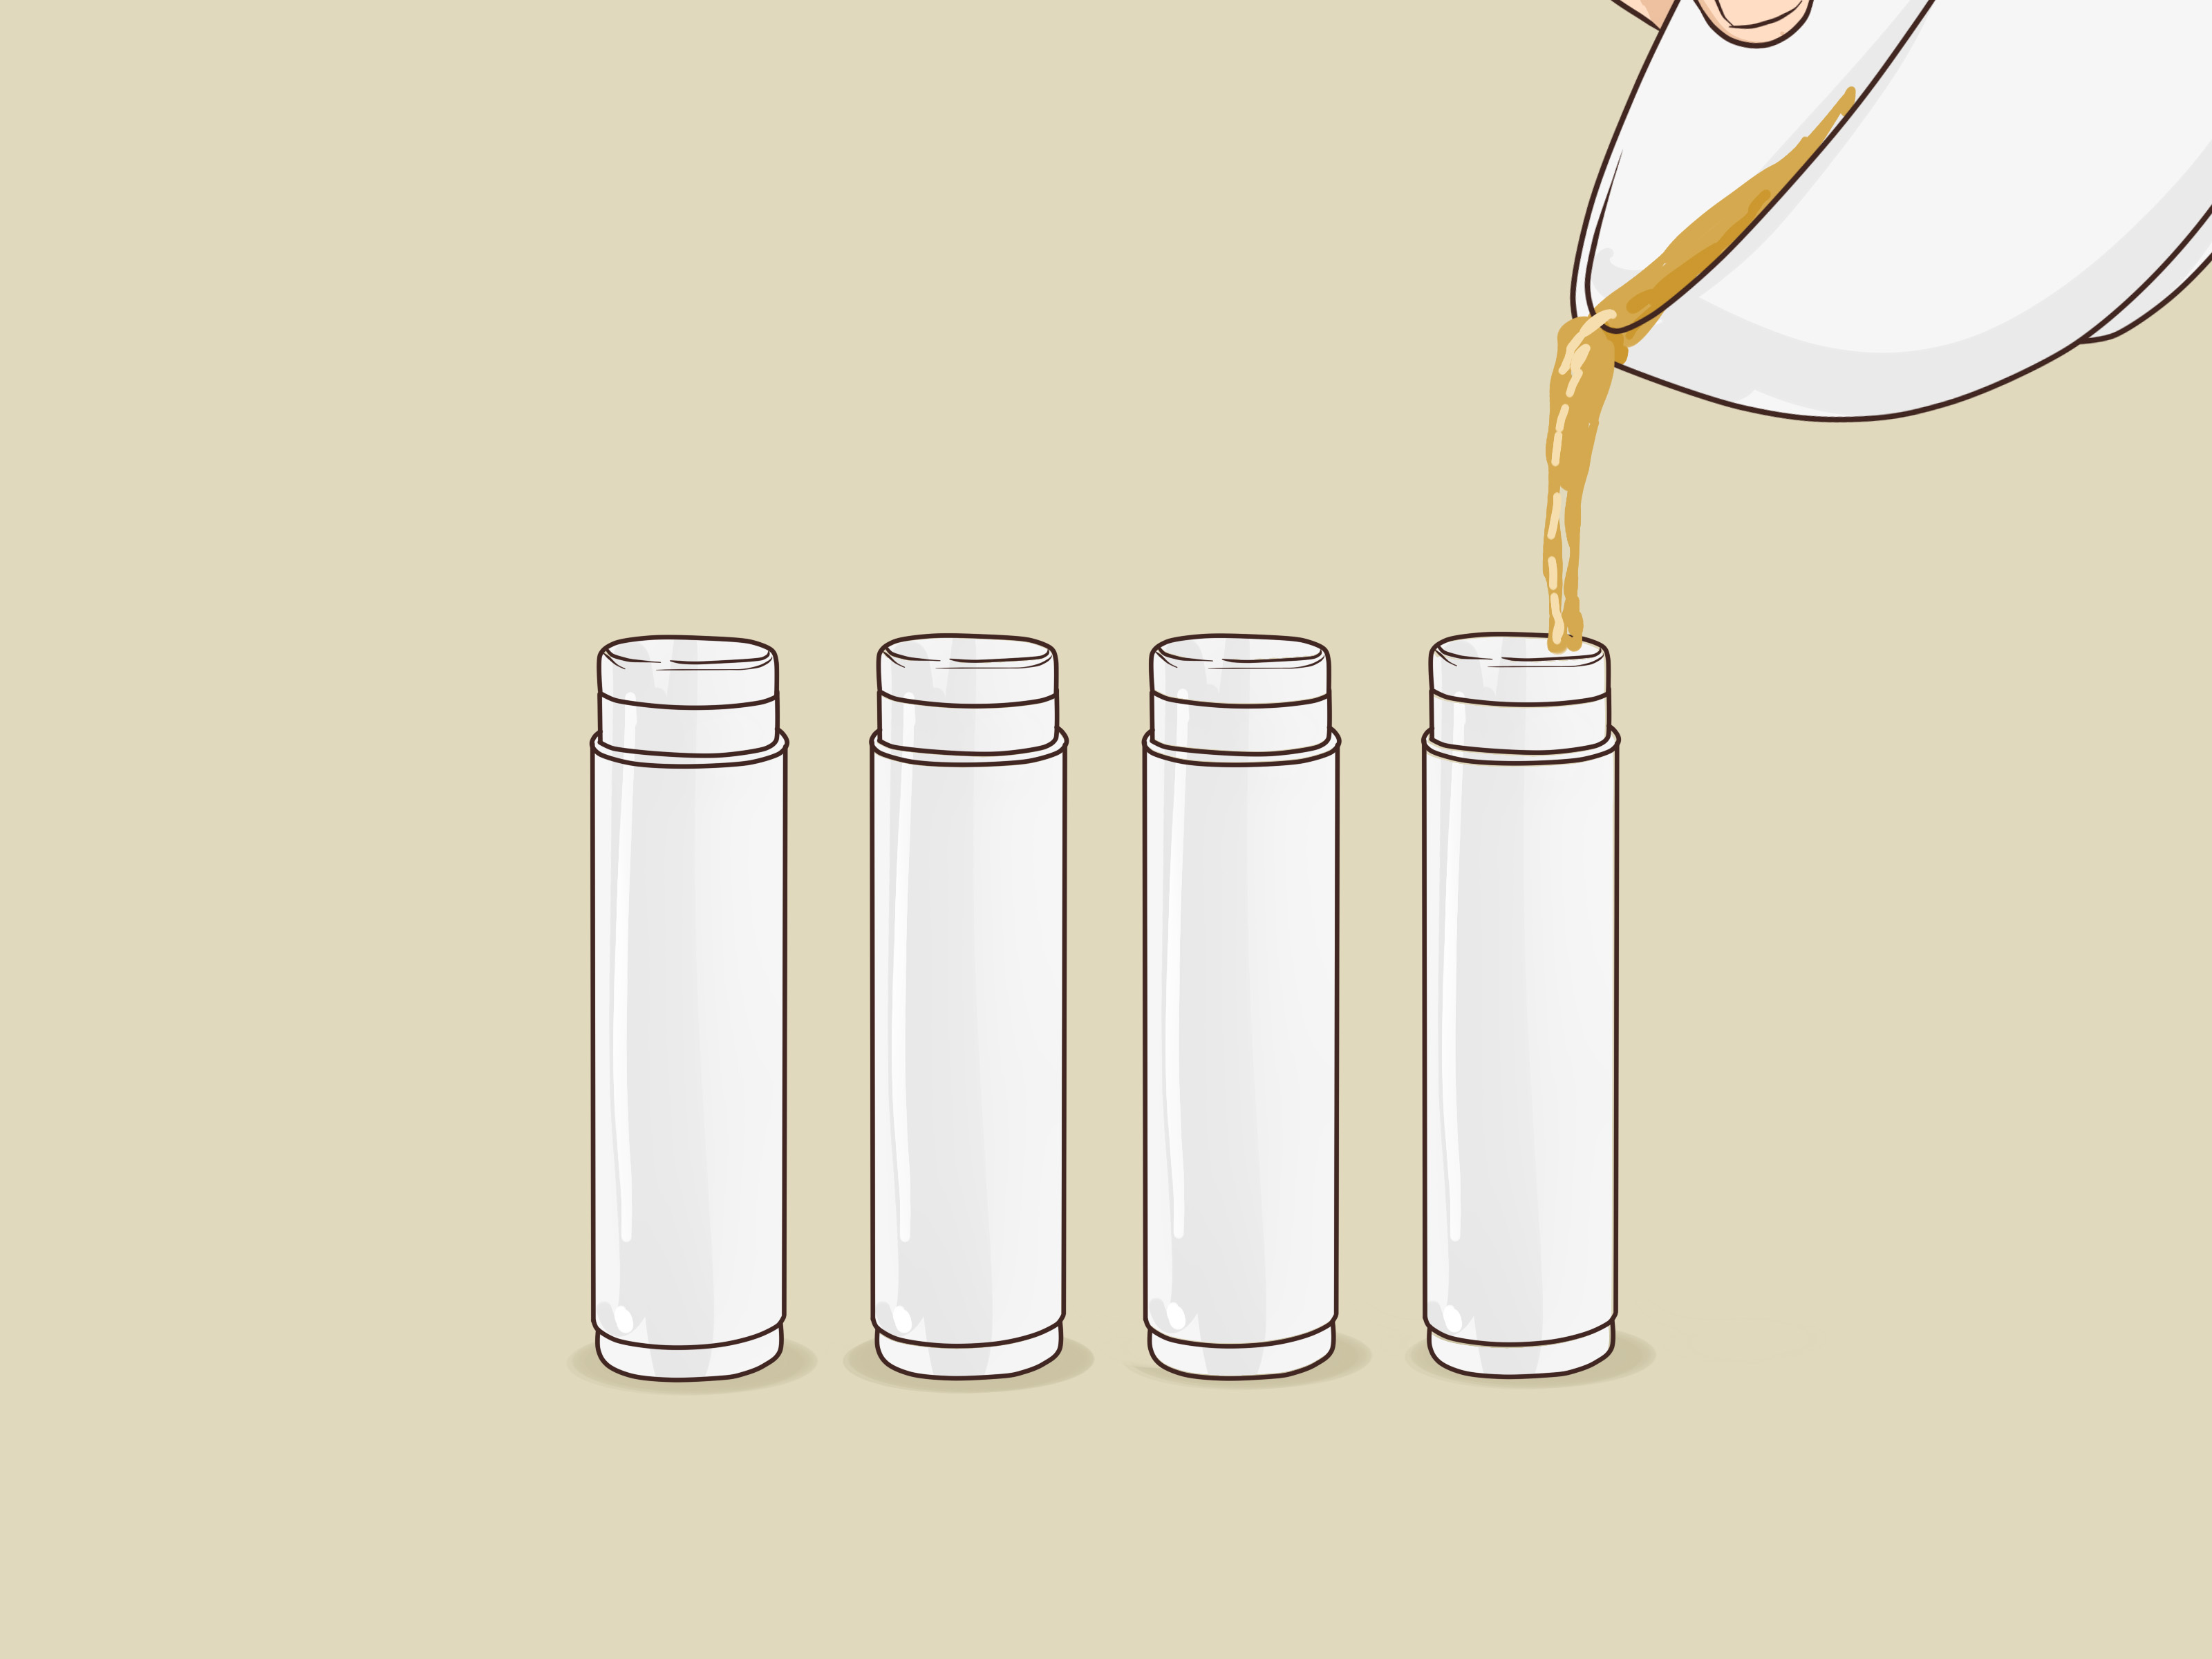
- Melt the beeswax with oils or butters if your recipe includes them. Lip balm, for example, often contains beeswax plus oils and butters.
- Premix the powder. Blend mica or pigment with a small amount of warm oil from the recipe before adding it to the full batch. This helps prevent clumps.
- Add the color slowly. Start with a tiny amount, especially for lip balm or skin products.
- Stir thoroughly. Keep the mixture warm enough to stay liquid while blending.
- Test on white paper or skin, depending on the product. For lip balm, test a small cooled dab to check color payoff.
- Pour quickly but carefully. Pigments can settle if the mixture sits too long.
Best Projects for Cosmetic-Grade Colorants
- Tinted beeswax lip balm
- Shimmer lotion bars
- Decorative beeswax melts
- Wax ornaments
- Beeswax crayons for craft use
- Non-burning decorative wax pieces
Important Safety Notes for Skin Products
Only use colorants labeled for cosmetic use, and check whether they are approved for lips, eyes, or general skin. A colorant that is fine for soap may not be fine for lip balm. A craft mica from a hardware or art store is not the same as cosmetic-grade mica. When in doubt, do not put it on your mouth. Your lips deserve better than mystery powder.
For lip balm, use very small amounts and test texture. Too much pigment can feel gritty or dry. A good tinted balm should glide smoothly, leave a soft wash of color, and not make the user wonder whether they accidentally kissed a chalkboard.
What Not to Use to Color Beeswax
Some colorants sound convenient but cause problems. Here are the most common ones to avoid or use only with caution:
- Water-based food coloring: It does not mix well with wax and may separate.
- Crayons in candles: They can clog wicks and affect burn quality.
- Acrylic paint: It is not designed for melted wax, candles, or skin products.
- Loose glitter: Many glitters are not candle-safe and may be flammable or clog the wick.
- Dried flowers near the wick: Pretty, yes. Fire-smart, not always.
- Unknown craft pigments: Avoid them in cosmetics and burning candles.
How to Choose the Best Coloring Method
The easiest way to choose your method is to start with the finished product.
For Beeswax Candles
Use candle dye. It is the most reliable option for color, wick performance, and consistency. Natural infusions can work for softer shades, but strain carefully and test the burn. Avoid heavy powders and craft pigments in wicked candles.
For Beeswax Lip Balm or Salves
Use cosmetic-grade colorants that are approved for the intended use. For lip products, choose lip-safe mica, iron oxides, or approved cosmetic pigments. Keep the amount low and test the feel.
For Decorative Beeswax Crafts
You have more flexibility. Candle dye, natural infusions, and micas can all work depending on the look you want. If the item will not be burned or used on skin, the main concerns are appearance, texture, staining, and durability.
Color Testing: The Secret to Not Ruining a Batch
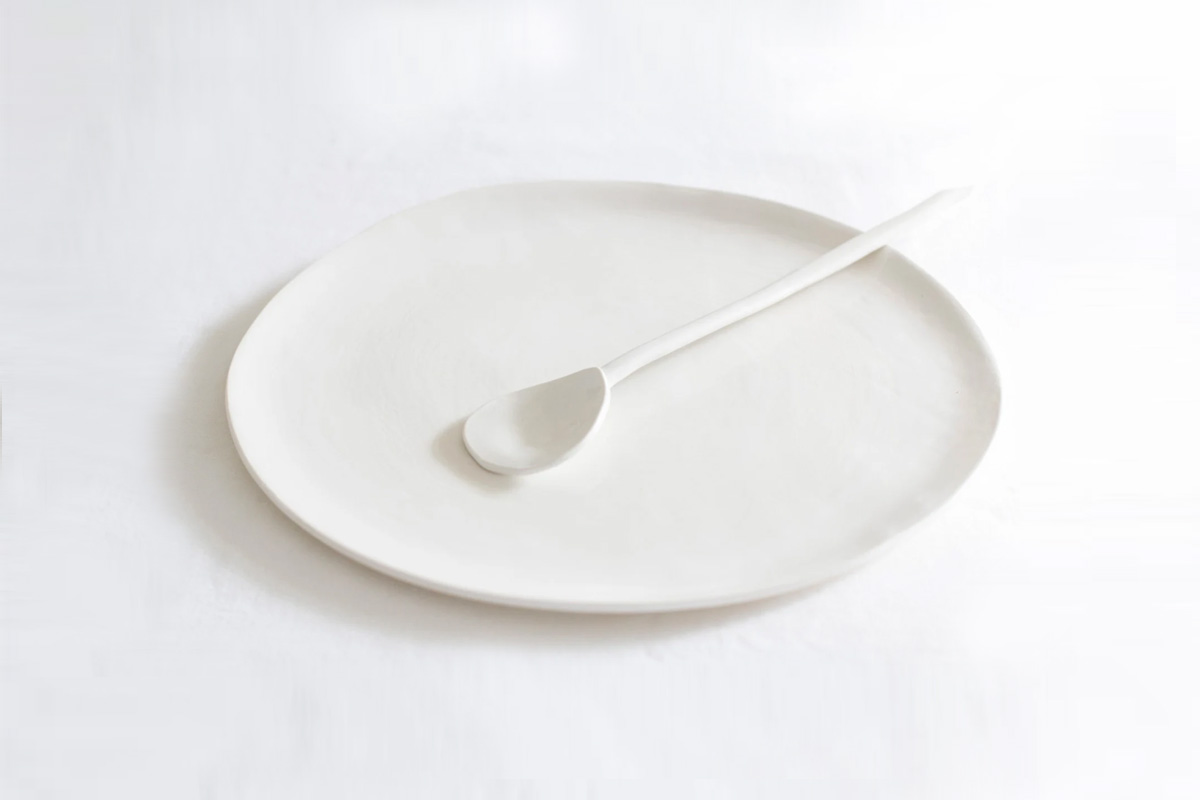
Always test before pouring a full batch. Hot melted beeswax looks darker and more transparent than cooled wax. A color that looks perfect in the pot may dry lighter, warmer, or cloudier. To test, drip a small amount onto parchment paper or a white ceramic plate. Let it harden completely. Then check the color in natural light.
If you are making candles, also do a burn test. Watch the flame, melt pool, scent throw if fragrance is included, and wick behavior. If the flame is weak, sputtering, or drowning, the color load may be too high, the wick may be wrong, or the colorant may not be suitable.
Layering and Mixing Colors in Beeswax
Once you are comfortable with basic coloring, beeswax becomes a playground. You can pour layers, swirl colors, dip candles, or create ombré effects. For layers, let each layer cool until firm but still slightly warm before adding the next. If it is too hot, the colors blend. If it is too cold, layers may separate.
For swirls, add a second color when the wax has cooled slightly and thickened a bit. Stir once or twice, not twenty-seven times. Overmixing turns a dramatic swirl into one uniform color, usually named “Why Did I Do That Brown.”
of Real-World Experience: What Actually Happens When You Color Beeswax
The first thing most people notice when coloring beeswax is that it has a personality. Soy wax often behaves like a blank canvas. Beeswax behaves like a canvas that already has honey-colored mood lighting. That natural warmth is lovely, but it changes everything. If you add blue dye to yellow beeswax, do not be surprised when the result leans green. If you add red, it may become tomato, coral, or burnt orange depending on the amount. This is why testing a cooled drip is not optional. It is the tiny wax fortune-teller that saves your project.
In practice, candle dye is the least dramatic method. It blends well, gives strong color, and behaves predictably if you follow the usage rate. Liquid dye is especially convenient because you can add one drop at a time. Dye chips and blocks are great for repeatable batches, but you need to shave or weigh them carefully. The main lesson is restraint. It is easy to think, “Just a little more,” and suddenly your elegant ivory candle becomes a traffic cone. Add color slowly, stir, test, and then decide.
Natural infusions feel the most magical, but they also require the most patience. Annatto seeds can give beeswax a beautiful golden-orange tone that looks like autumn sunshine. Alkanet root can create pinkish, mauve, or wine-colored results, especially in lighter wax. Turmeric is powerful, but it can be almost too enthusiastic. A little goes a long way, and it may stain tools. The trick with botanicals is to treat them like tea. Let them steep, coax out the color, and then remove the solids. Do not leave plant material floating around a candle wick. It may look charming, but charm is not a substitute for candle safety.
Micas are the most tempting because they look spectacular in the jar. They shimmer, sparkle, and whisper, “Use too much of me.” In beeswax balms and decorative crafts, mica can be beautiful. In candles, it can be disappointing because shimmer does not always show well once the wax hardens, and the particles may not burn cleanly. If you want a shimmery candle effect, consider using mica as a light surface accent on the outside of a decorative candle rather than mixing a heavy amount into the wax. For lip balms, use lip-safe mica only and keep the dosage low. The best tinted balm looks effortless, not like stage makeup for a disco bee.
Another lesson from hands-on beeswax projects: cleanup is easier when you prepare for mess before it happens. Cover your workspace with parchment paper. Use dedicated tools if possible. Wipe warm containers with paper towels before washing, because melted wax down the sink can cool and cling to plumbing. Your future self will thank you, and so will your pipes.
Finally, keep notes. Write down the wax weight, colorant type, amount used, temperature, and result. Beeswax coloring is part recipe and part experiment. Once you create the perfect cranberry taper or soft honey-lavender ornament, you will want to make it again without relying on “I think I used maybe a speck?” as your scientific method.
Conclusion
Adding color to beeswax is simple once you match the colorant to the project. For candles, wax-specific candle dye is the most dependable choice. For natural, earthy designs, infused botanicals can create soft handmade shades. For lip balms, salves, lotion bars, and decorative crafts, cosmetic-grade micas and pigments can add beautiful color when used safely and appropriately.
The golden rule is this: beeswax is oil-based, naturally yellow, and sensitive to overheating. Use gentle heat, add color slowly, test cooled samples, and choose colorants designed for your final product. Do that, and you can turn plain beeswax into candles, balms, ornaments, and melts that look polished, intentional, and just a little bit magical.
Note: Always test small batches first, especially for candles and skin-care products. Use candle-safe colorants for burning candles and cosmetic-grade, approved colorants for anything applied to the body.