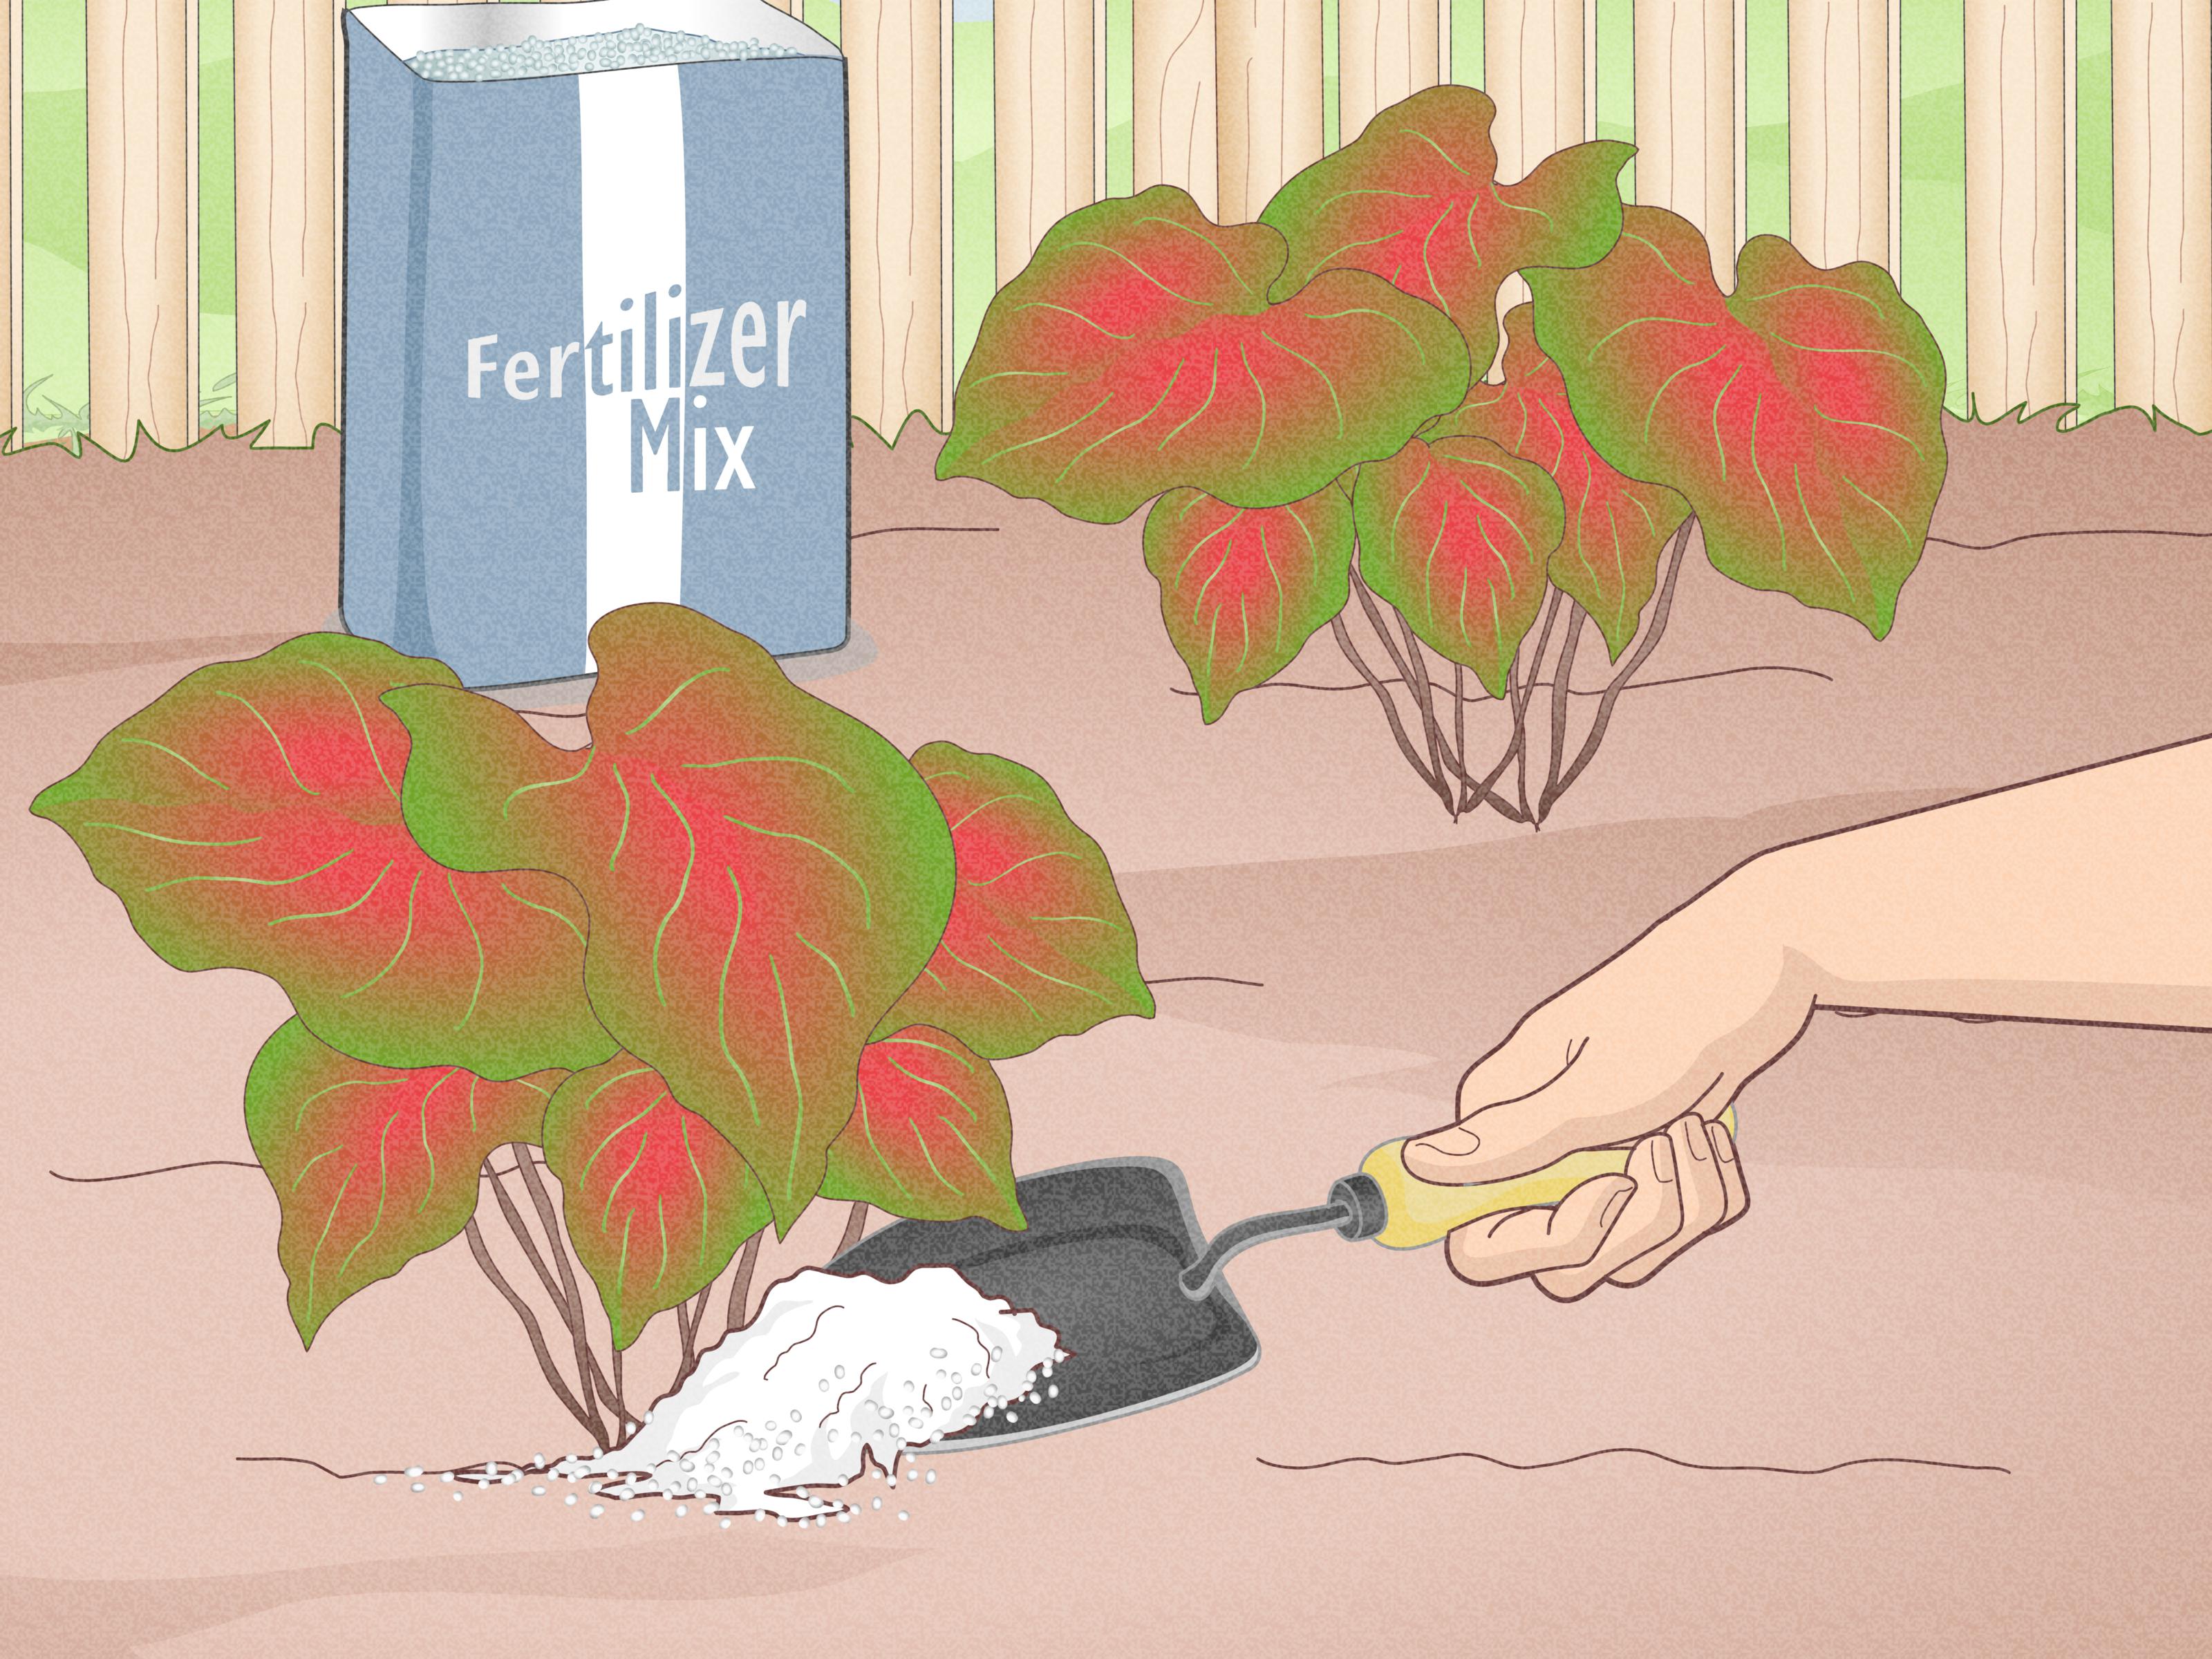
Caladiums are the drama queens of the shade garden, and I mean that as a compliment. One week they are sleepy brown tubers that look like suspicious little potatoes. A few weeks later, they unfurl heart-shaped leaves painted in pink, red, white, green, and sometimes all of the above, as if someone gave a houseplant a watercolor set and no supervision.
If you want more of these tropical beauties without buying a new bag of tubers every spring, propagation is the answer. But here is the important truth: caladiums are not like pothos, mint, or basil. You cannot snip a leaf, pop it in water, and expect a new plant to appear. Caladiums grow from tubers, and successful caladium propagation depends on understanding those tubers, their “eyes,” their dormancy cycle, and their absolute hatred of cold, soggy soil.
This guide breaks down 12 practical ways to propagate caladiums, including classic tuber division, pre-sprouting, de-eyeing, growing daughter tubers, seed propagation, and advanced tissue culture. Some methods are perfect for beginners. Others are for patient gardeners who own labels, clean tools, and possibly a suspicious number of nursery pots.
What Makes Caladium Propagation Different?
Caladiums are commonly called “bulbs,” but botanically they are tubers. A tuber is a swollen underground storage organ packed with energy. Each viable section needs at least one growth point, often called an eye, knob, bud, or node. That eye is where new shoots emerge.
Because the growing point is in the tuber, propagation focuses on dividing or encouraging tuber growth. Leaves and petioles may look impressive, but they do not contain the correct structure to regenerate a full new plant on their own. In other words, a caladium leaf cutting in a jar may look cute for a few days, but it is not secretly building a new tuber in the background.
12 Ways to Propagate Caladiums Successfully
1. Divide Mature Caladium Tubers in Spring
The most reliable way to propagate caladiums is to divide mature tubers before planting them in spring. Choose firm, healthy tubers with several visible eyes. Using a clean, sharp knife, cut the tuber into sections, making sure every piece has at least one eye. No eye means no shoot, and no shoot means you have made decorative compost.
After cutting, let the pieces dry for a few days so the wounds callus over. This reduces the chance of rot once the divisions are planted. Plant them eye-side up in warm, loose, well-draining soil. Caladiums prefer warm conditions, so wait until the soil is around 65–70°F or warmer before planting outdoors.
2. Separate Naturally Clustered Tubers
Some caladiums form clumps or small attached tubers after a growing season. When you dig them up during dormancy, you may find one main tuber with smaller side tubers connected to it. These natural offsets can often be separated by hand or with a clean knife.
This is one of the easiest propagation methods because you are not forcing a large tuber into sections. The plant has already done part of the work for you. Let separated pieces dry briefly, then store or plant them depending on the season. Larger offsets generally produce stronger plants faster, while smaller ones may need an extra season to bulk up.
3. Cut Large Tubers Into Wedges
If you have a jumbo caladium tuber with multiple eyes, you can cut it into wedge-shaped pieces. This method is useful when one large tuber has several obvious growing points spaced around the crown. Each wedge should include a piece of the tuber body and at least one strong eye.
Wedge division is more productive than simply slicing randomly. Think of it like cutting a pie, except the pie is a tropical plant and nobody should eat it. Use sterile tools, avoid tiny slivers, and give each division enough stored energy to support new growth.
4. Use the “One Eye Per Piece” Method
For gardeners who want to multiply caladiums efficiently, the one-eye-per-piece method can work well. This means cutting the tuber into smaller sections, each with one clear growth point. It is especially useful when you have a healthy tuber with many eyes and want several smaller starter plants.
The risk is that smaller pieces dry out or rot more easily than larger divisions. To improve success, keep each piece reasonably chunky, allow cut surfaces to callus, and plant in a lightly moistnot wetpotting mix. Warmth is more important than enthusiasm. Overwatering a sleeping tuber is like serving soup to someone who asked for a blanket.
5. Pre-Sprout Tubers Indoors Before Dividing
Sometimes caladium eyes are hard to identify when the tuber is fully dormant. Pre-sprouting solves this problem. Place tubers in shallow pots or trays with barely moist potting mix, keep them warm, and wait for small shoots to appear. Once you can clearly see active growth points, you can divide more confidently.
This method is especially helpful in cooler climates where spring takes its sweet time. Starting indoors 4–6 weeks before outdoor planting gives caladiums a head start and reduces guesswork. Once shoots appear, handle the tubers gently. Baby caladium shoots are not fans of rough treatment.
6. De-Eye Tubers to Encourage Bushier Growth
De-eyeing is a technique where the dominant central eye is removed or damaged slightly before planting. The goal is not necessarily to create separate plants immediately, but to encourage smaller secondary eyes to wake up. This can produce a fuller, bushier caladium with more leaves.
De-eyeing is useful when growing caladiums in containers because it helps create a lush, balanced plant instead of one tall shoot surrounded by a lot of empty potting mix. Use a small, clean knife to remove the largest eye carefully. Do not gouge out half the tuber like you are carving a jack-o’-lantern with unresolved feelings.
7. Pot Divisions Individually for Stronger Starts
Once you divide caladium tubers, planting each piece in its own small pot can improve survival. Individual pots make it easier to manage moisture, monitor growth, and separate weak divisions from strong ones. This is particularly useful if you are propagating rare or expensive varieties.
Use a container with drainage holes and a loose potting mix rich in organic matter. Plant the division shallowly with the eye facing up. Keep the mix lightly moist and warm. After shoots and roots develop, the young plants can be moved into larger containers or garden beds.
8. Plant Multiple Small Tubers Together
This method does not create new tubers instantly, but it is a smart propagation strategy for building fuller plants and encouraging tuber growth over the season. Planting two or three small tubers together in a container can create the look of a mature caladium clump faster than waiting on one tiny tuber to perform a Broadway solo.
At the end of the growing season, those small tubers may have increased in size or formed additional growth points. When stored properly and replanted, they can become stronger plants the following year. This approach is practical for gardeners who buy smaller tubers and want to grow them into future divisions.
9. Grow Caladiums in Containers to Multiply and Monitor Tubers
Container growing gives you more control over soil, moisture, warmth, and dormancy. Since caladium tubers are sensitive to cold and rot, pots make propagation easier for many home gardeners. You can start tubers indoors, move plants outside when nights are warm, then bring them back in or dig them up before frost.
Containers also make it easier to recover tubers at the end of the season. Instead of hunting through a garden bed like a person searching for missing keys in mulch, you simply tip out the pot and inspect the root zone. Healthy tubers can be stored, divided, and replanted.
10. Overwinter Tubers and Replant Them Next Season
Overwintering is one of the most overlooked forms of caladium propagation. While it does not multiply plants overnight, it preserves tubers so they can grow larger and potentially produce more divisions later. In warm zones, caladiums may remain in the ground year-round. In colder areas, tubers should be dug before frost.
Allow foliage to decline naturally as temperatures cool. Dig the tubers carefully, let them dry in a protected, ventilated place, remove old foliage, and store them in a warm, dry medium such as vermiculite or peat. Avoid cold storage. Caladiums are tropical, and they do not appreciate being treated like tulips.
11. Propagate Caladiums From Seed
Seed propagation is possible, but it is not the standard method for home gardeners. Caladiums may flower, producing a spadix and spathe like other aroids, but the flowers are not the main attraction. Seeds are more often used by breeders who want new varieties rather than gardeners who want exact copies of a favorite plant.
The biggest drawback is that seedlings may not look like the parent plant. If you plant seeds from a red-and-white caladium, the babies may arrive wearing completely different outfits. Seed propagation is slow, unpredictable, and better suited for experimentation than guaranteed garden design.
12. Use Tissue Culture for Advanced Propagation
Tissue culture is a laboratory method used to produce many plants from tiny pieces of plant tissue under sterile conditions. It is common in commercial horticulture because it can generate large numbers of uniform plants. For caladiums, tissue culture can help multiply desirable varieties efficiently.
This is not a normal kitchen-table project unless your kitchen table also includes sterile media, controlled lighting, and a suspiciously professional lab setup. Still, it belongs on the list because it is a real propagation method, especially for nurseries and advanced growers.
Best Conditions for Propagating Caladiums
Temperature: Warmth Is Non-Negotiable
Caladiums need warm soil to wake up. If tubers sit in cold, wet soil, they may rot before producing shoots. For best results, plant when soil temperatures are at least 65–70°F. Indoors, a warm room or heat mat can help divisions sprout faster and more evenly.
Soil: Moist, Rich, and Well-Drained
Use a potting mix or garden soil that holds gentle moisture but drains well. Caladiums like organic matter, but they dislike standing water. A mix containing peat, compost, bark fines, perlite, or similar airy ingredients works well. The goal is “pleasantly damp sponge,” not “forgotten swamp behind the garage.”
Light: Bright Shade or Filtered Sun
Most caladiums perform best in bright shade, filtered light, or morning sun. Some modern varieties tolerate more sun, especially with consistent moisture, but too much direct sun can scorch or fade the leaves. Young propagated plants are especially vulnerable, so start them gently.
Moisture: Water Carefully Before Shoots Appear
Before growth begins, tubers need only light moisture. Once leaves unfurl and roots are active, water more regularly to keep the soil evenly moist. Overwatering dormant divisions is one of the fastest ways to lose them. Caladium propagation rewards patience, not panic watering.
Common Mistakes When Propagating Caladiums
Mistake 1: Trying to Root a Leaf Cutting
A caladium leaf can stay attractive for a short time in water, but it will not grow into a new plant without tuber tissue and a viable growth point. Save the jar for pothos cuttings.
Mistake 2: Cutting Tubers Too Small
Every piece needs an eye and enough stored energy to survive. Tiny chips may technically include a bud, but they often fail because they dry out or rot quickly.
Mistake 3: Planting Too Early Outdoors
Cold soil is the enemy. Wait until nights are warm and the soil has heated properly. In cool climates, start tubers indoors instead of gambling with spring weather.
Mistake 4: Skipping the Callus Period
Freshly cut tubers are vulnerable to rot. Letting cut surfaces dry for a few days gives them a better chance once planted.
Mistake 5: Storing Tubers Too Cold
Caladiums prefer warm storage compared with many hardy bulbs. Cold, damp storage can damage tubers and reduce spring sprouting.
Propagation Timeline: From Tuber to Tropical Showpiece
In late winter or early spring, inspect stored tubers and discard anything mushy, moldy, or shriveled beyond hope. Divide firm tubers if desired, let the cuts callus, and pre-sprout indoors in warm conditions. In mid to late spring, once soil temperatures are warm, move sprouted plants outdoors or plant tubers directly in containers and beds.
During summer, feed lightly and water consistently. The goal is not only big leaves but strong tuber development underground. In fall, reduce watering as foliage naturally declines. Dig and cure tubers before frost in cold regions. Store them warm and dry, then repeat the process next year with larger, better-prepared tubers.
Best Caladium Types for Propagation
Large, vigorous varieties are usually easiest to propagate because they produce stronger tubers and multiple growth points. Fancy-leaved caladiums offer huge decorative impact, while strap-leaved varieties may tolerate more sun and wind. If you are a beginner, start with common, robust varieties before experimenting with rare collector types.
When buying tubers, choose firm ones with no soft spots. Larger tubers generally produce more impressive plants and may be easier to divide. However, small tubers can still perform well if grown in warm conditions and given a full season to size up.
of Real-World Experience: What Propagating Caladiums Teaches You
Propagating caladiums teaches you one lesson immediately: the tuber is in charge. You may have a calendar, a potting bench, and a very confident plan, but the caladium tuber will sprout when it feels warm enough. Not when you are ready. Not when the patio needs color. Not when your neighbor’s garden is already looking smug. Warmth comes first.
One of the best practical experiences is learning to read the tuber before cutting it. A healthy caladium tuber feels firm, not squishy. The top side usually has knobby growth points, while the bottom is smoother. Beginners often stare at tubers like they are ancient artifacts, wondering which side is up. After a few seasons, you begin to recognize the eyes quickly, and the process becomes much less mysterious.
Another useful lesson is that bigger divisions are usually more forgiving. It is tempting to cut one tuber into many tiny pieces because, in theory, more pieces means more plants. In practice, tiny pieces can be fussy. They dry out faster, rot faster, and have less stored energy to push new growth. A slightly larger division with a strong eye is often better than three sad crumbs with ambition.
Pre-sprouting indoors is one of the most satisfying techniques. You tuck the tubers into barely moist mix, keep them warm, and wait. At first, nothing happens. Then one morning, a pale little shoot appears like it has an announcement to make. That is the moment when propagation stops feeling like guesswork and starts feeling like gardening magic.
Moisture control is another experience every caladium grower earns the hard way. Before shoots appear, the tuber does not drink much. Too much water at this stage can cause rot. Once leaves expand, however, the plant becomes much thirstier. The trick is to shift your watering habits as the plant grows. Early on, think “lightly moist.” Later, think “consistently moist but never waterlogged.”
Containers make propagation easier because they let you control the environment. If a sudden cool spell arrives, pots can be moved indoors. If a plant struggles, you can inspect it without disturbing an entire bed. At the end of the season, container-grown tubers are also easier to harvest. This is especially helpful if you are keeping several varieties and want to avoid mixing them up. Labels are not glamorous, but neither is forgetting which tuber was the expensive pink one.
De-eyeing is worth trying once you are comfortable. The first time, it feels slightly wrong to remove a promising central bud. But when the plant responds with fuller growth, the method makes sense. It is not required, and beginners can skip it, but it is a useful trick for producing container plants that look lush instead of lanky.
Finally, storing tubers teaches patience. Let the foliage fade, cure the tubers properly, and keep them warm and dry. A good storage routine turns one season’s plant into next season’s propagation material. That is the quiet reward of caladium growing: each year, your collection can become a little bigger, a little stronger, and a lot more colorful.
Conclusion
Caladium propagation is not difficult once you understand the plant’s rhythm. These tropical foliage plants multiply best through tubers, especially when divided in spring, started in warm soil, and protected from excess moisture. The key is simple: every division needs a healthy eye, clean cuts, time to callus, and warm conditions for sprouting.
Whether you are separating offsets, cutting a large tuber into sections, pre-sprouting indoors, de-eyeing for bushier growth, or saving tubers over winter, the goal is the same: preserve the energy stored underground so the plant can deliver that glorious leaf show aboveground. Caladiums may look fancy, but their propagation needs are refreshingly practical. Give them warmth, drainage, patience, and a little respect, and they will reward you with foliage that makes ordinary shade look like a designer had a very good day.
Note: Caladiums are toxic if ingested and may irritate sensitive skin during handling. Wear gloves when cutting tubers, keep plant parts away from pets and children, and use clean tools to reduce disease risk.