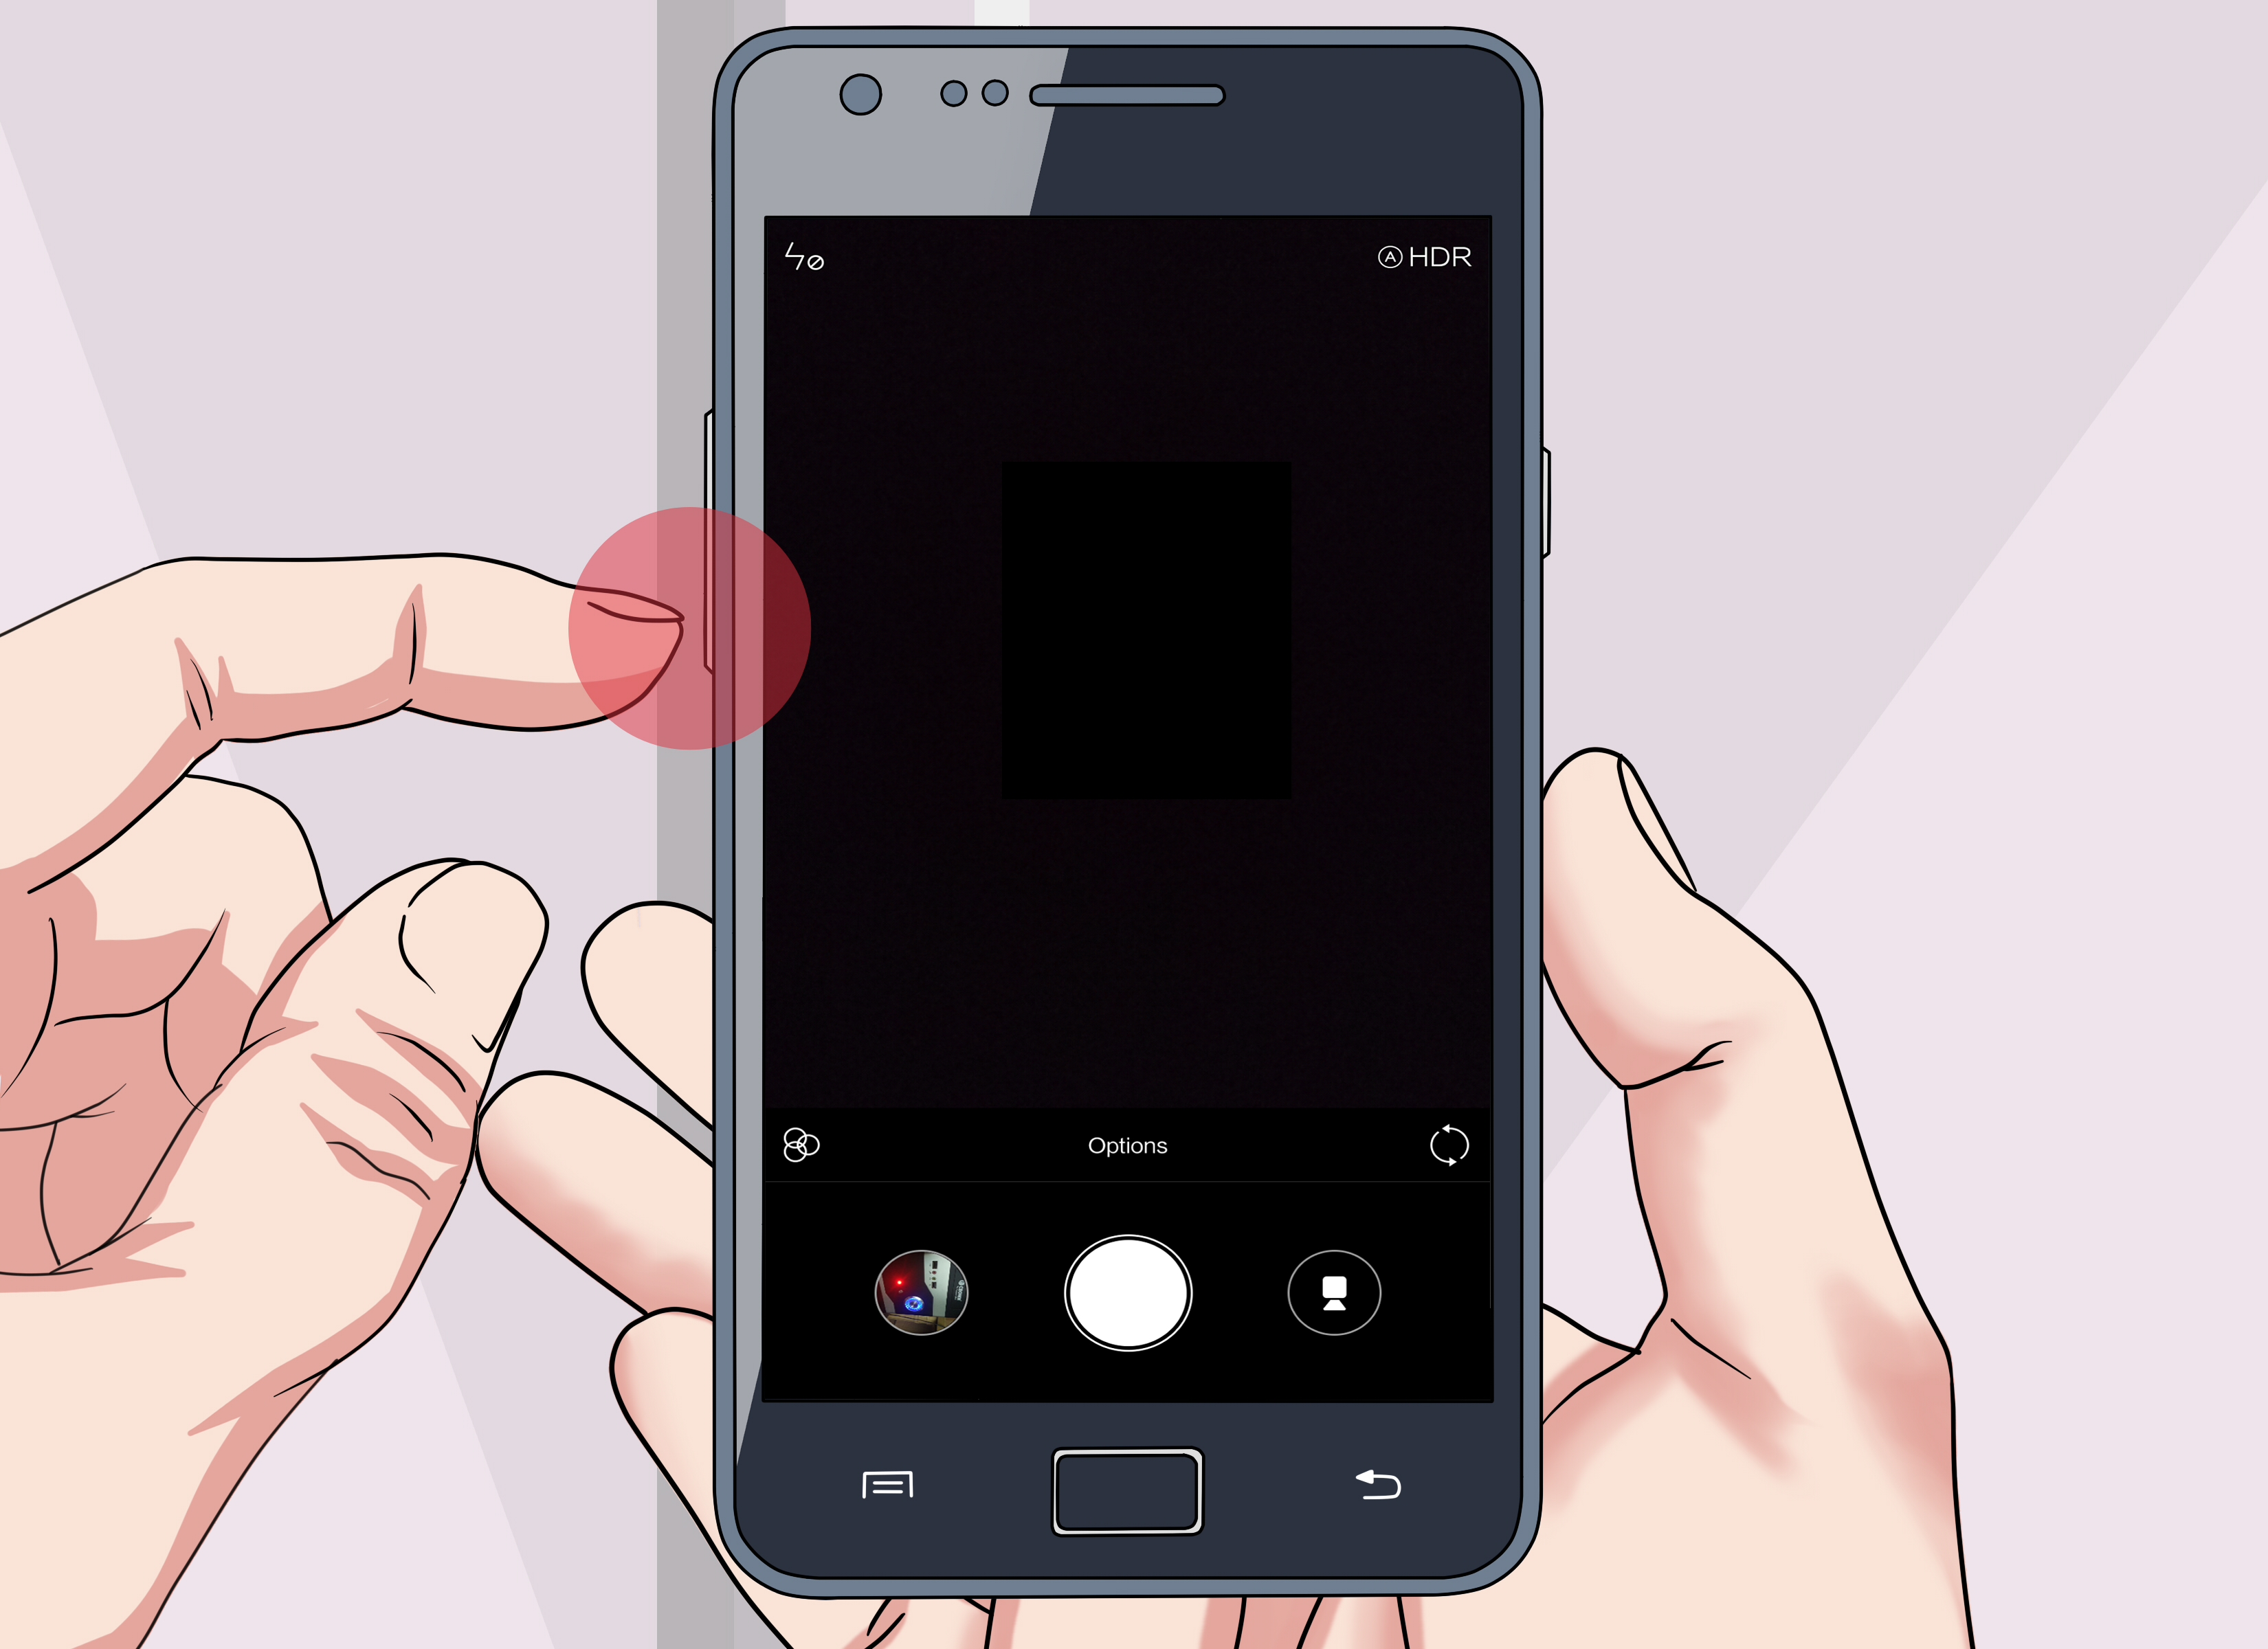
Zooming with the camera on Android sounds simpleuntil you open the Camera app and suddenly see five tiny numbers, a slider, a mysterious flower icon, and a button that looks like it may launch a satellite. Good news: learning how to zoom with the camera on Android is actually easy once you understand what your phone is doing behind the scenes.
Most Android phones let you zoom in three main ways: pinching on the screen, tapping preset zoom buttons, or dragging a zoom slider. Depending on your device, you may also use volume buttons, telephoto lenses, portrait mode, video zoom, or AI-enhanced zoom. Samsung Galaxy, Google Pixel, Motorola, OnePlus, Xiaomi, and other Android phones all handle zoom slightly differently, but the core process is very similar.
This guide walks you through the six basic steps to zoom with your Android camera, explains the difference between optical zoom and digital zoom, and shares practical tips to help your photos look sharp instead of like they were taken through a potato wearing sunglasses.
What Camera Zoom Means on Android
Before jumping into the steps, it helps to know what “zoom” actually means on a smartphone. On Android, zoom usually means making your subject appear closer in the camera preview. Your phone can do this by switching between different lenses, cropping the image, using software processing, or combining multiple camera signals.
Optical Zoom vs. Digital Zoom
Optical zoom uses a dedicated lens, such as a telephoto camera, to capture a closer view with better detail. This usually produces cleaner results because the camera is gathering real image information from the lens.
Digital zoom crops into the image and enlarges what remains. It is convenient, but if you zoom too far, detail can become soft, noisy, or blocky. Many modern Android phones use computational photography to improve digital zoom, but physics still enjoys winning arguments.
That is why zoom buttons such as 0.5x, 1x, 2x, 3x, 5x, or 10x matter. These numbers often represent different camera views. On many phones, 1x is the main camera, 0.5x is the ultra-wide camera, and higher numbers may use a telephoto lens or digital enhancement.
How to Zoom with the Camera on Android: 6 Steps
The exact layout depends on your Android phone model and Camera app version, but the following six steps work for most modern Android devices.
Step 1: Open the Camera App
Start by opening the default Camera app on your Android phone. You can usually find it on the home screen, in the app drawer, or by double-pressing the power button on some devices.
Make sure you are using the regular camera app, not a social media camera inside an app such as Instagram, TikTok, Snapchat, or WhatsApp. Those in-app cameras may have limited zoom controls and may not use your phone’s best camera processing.
For the best results, use the built-in Camera app first. After taking the photo, you can always upload it elsewhere. Your phone’s native camera is usually better at handling zoom, focus, exposure, night mode, HDR, and lens switching.
Step 2: Choose Photo or Video Mode
Once the Camera app is open, choose the mode you want. Most Android camera apps show modes such as Photo, Video, Portrait, Night, Pro, or More.
If you want to take a regular picture, select Photo. If you want to record a clip, select Video. Zoom usually works in both modes, but the maximum zoom level may be different. For example, some phones allow very high zoom for photos but limit zoom while recording video to maintain stability and quality.
In Portrait mode, zoom behavior may also change. Some Android phones automatically use a 2x or 3x perspective for portraits because it creates a more flattering look and better background separation. In Night mode, extreme zoom may be limited because the phone needs more light and stability.
Step 3: Use Pinch-to-Zoom on the Screen
The most common way to zoom on Android is the classic pinch gesture. Place two fingers on the camera preview, then slowly spread them apart to zoom in. Pinch them back together to zoom out.
Think of it like stretching a photo, except you are doing it live before taking the shot. Move slowly for more control. If you spread your fingers too quickly, you may jump past the ideal zoom level and end up staring at a blurry close-up of someone’s left eyebrow.
After you pinch, many Android phones display a zoom slider or zoom scale. This lets you fine-tune the zoom level without repeatedly pinching. If the slider appears, drag it gently left or right until your subject looks properly framed.
Step 4: Tap the Zoom Preset Buttons
Most modern Android phones show zoom preset buttons near the shutter button. These may look like 0.5x, 1x, 2x, 3x, 5x, or similar numbers.
These buttons are often the best way to zoom because they may switch to the most appropriate physical camera lens. For example, tapping 0.5x usually switches to the ultra-wide camera, while tapping 3x or 5x may activate a telephoto lens if your phone has one.
Here is a simple way to understand common zoom numbers:
- 0.5x: Ultra-wide view, useful for landscapes, rooms, group photos, and dramatic wide shots.
- 1x: Standard main camera view, usually the best all-around option.
- 2x: Closer view, often good for food, pets, products, and casual portraits.
- 3x or 5x: Telephoto-style zoom, useful for distant subjects and natural-looking portraits.
- 10x and above: Strong zoom, best used in bright light with steady hands or support.
If you care about image quality, try tapping the preset zoom buttons before using a random pinch level. Presets often match the phone’s lens system better than an awkward in-between zoom number like 7.3x, which sounds precise but may not be pretty.
Step 5: Adjust the Zoom Slider for Fine Control
After tapping a zoom button or pinching the screen, look for a slider, dial, or curved zoom control. Some Android phones let you drag your finger along the zoom scale to choose an exact level.
This is useful when your subject is almost framed correctly but not quite. For example, you may tap 2x for a closer view, then slide to 2.4x to remove distractions from the edges of the frame. That tiny adjustment can turn a messy photo into one that looks intentional.
On Samsung Galaxy phones, you may see lens buttons and a zoom slider. On Google Pixel phones, you may see preset zoom levels and a slider for more precise control. On other Android brands, the zoom tool may appear as a vertical bar, horizontal line, rotating dial, or simple plus/minus control.
When using the slider, keep an eye on image sharpness. If the preview starts looking shaky or muddy, reduce the zoom slightly. A sharp 5x photo is usually better than a shaky 30x photo that looks like evidence from a UFO documentary.
Step 6: Focus, Hold Steady, and Take the Photo
After zooming, tap your subject on the screen to focus. This tells the camera what should look sharp. You may also see an exposure control, often represented by a small sun icon. Slide it up to brighten the image or down to darken it.
Now hold the phone as steady as possible. Zoom makes camera shake more obvious, especially at higher levels. Use both hands, tuck your elbows in, lean against a wall, or place the phone on a stable surface. If your phone has a timer, use a two-second timer to avoid shaking the device when pressing the shutter button.
When everything looks right, tap the shutter button. For video, tap record and move slowly if you need to change zoom while filming. Sudden zooming can look jarring unless you are intentionally going for “breaking news helicopter footage.”
How to Zoom on Popular Android Phones
Android is not one single camera experience. It is more like a big family reunion: everyone is related, but each person has their own way of arranging the chairs. Here is how zoom commonly works on major Android brands.
Samsung Galaxy Phones
On many Samsung Galaxy phones, open the Camera app and choose Photo. You can pinch the screen to zoom, tap the zoom numbers near the bottom, or use the zoom slider that appears. Some Galaxy models also let you set the volume buttons to zoom in and out instead of taking pictures.
Higher-end Galaxy phones may include ultra-wide, wide, telephoto, and periscope-style zoom cameras. If your phone offers strong zoom levels, use them in bright light and keep your hands steady. Samsung’s camera software often enhances distant shots, but the best results still come from good lighting and careful framing.
Google Pixel Phones
On Google Pixel phones, open the Pixel Camera app and use the zoom buttons or pinch gesture. Many Pixel models include software-enhanced zoom features designed to improve detail, especially when shooting at moderate or longer zoom ranges.
Pixel phones are known for computational photography, which means the phone uses software to improve exposure, color, sharpness, and detail. Still, avoid pushing zoom too far unless necessary. The sweet spot is usually a preset zoom level where the phone can use its lens and processing together effectively.
Motorola, OnePlus, Xiaomi, and Other Android Phones
Most other Android phones use the same basic system: open Camera, choose Photo or Video, pinch to zoom, tap zoom presets, and adjust with a slider. Some budget phones rely more heavily on digital zoom, while premium models may include dedicated telephoto hardware.
If your phone does not have many zoom buttons, it may only have a main camera and ultra-wide camera. You can still zoom, but the phone may be cropping digitally. In that case, try taking the photo at 1x and cropping later if quality matters.
Best Practices for Better Android Zoom Photos
Knowing how to zoom is step one. Knowing when to zoom is what separates “nice shot” from “why does that squirrel look like a cloud?” Use these tips to get cleaner, sharper results.
Use Optical Zoom When Available
If your phone has dedicated zoom buttons such as 2x, 3x, or 5x, start there. These presets often produce better results than manually dragging to a random high number. Optical or lens-based zoom generally keeps more detail than heavy digital zoom.
Move Closer When You Can
The best zoom is sometimes your feet. If it is safe and appropriate, physically move closer to your subject instead of relying on extreme digital zoom. This improves detail, reduces shake, and helps the camera capture more light.
Avoid Maximum Zoom Unless Necessary
Just because your phone offers 30x, 50x, or 100x zoom does not mean every photo needs it. Maximum zoom is useful for reading a distant sign, capturing the moon, or checking whether that restaurant line is worth joining. But for beautiful photos, moderate zoom usually looks better.
Use Good Lighting
Zoom works best in bright conditions. Outdoors during the day, your Android phone has enough light to keep shutter speed fast and detail sharp. Indoors or at night, zoomed photos can become noisy or blurry because the camera has less light to work with.
Clean the Lens
This sounds boring, but it matters. Fingerprints on your camera lens can make zoomed photos look hazy. Wipe the lens gently with a microfiber cloth or clean soft fabric. Your future photos will thank you, even if your shirt gets promoted to camera assistant.
Use a Tripod or Stable Surface
For long zoom shots, stability is everything. A small phone tripod can make a huge difference, especially for video, moon photos, sports, wildlife, or concerts where you are far from the action. If you do not have a tripod, brace your phone against a railing, table, wall, or backpack.
Common Android Camera Zoom Problems and Fixes
Camera zoom is usually straightforward, but a few issues can appear. Here are the most common problems and what to do about them.
The Zoom Looks Blurry
Blurry zoom usually happens because of digital cropping, camera shake, low light, or missed focus. Try lowering the zoom level, tapping the subject to focus, cleaning the lens, and holding the phone with both hands.
The Zoom Slider Is Hard to Control
If the slider jumps too quickly, use the preset zoom buttons first. Then make small adjustments. Some phones also respond better when you drag slowly from the zoom number instead of pinching wildly across the screen.
The Camera Will Not Zoom Out
If you cannot zoom out, you may already be at the minimum zoom level. Try tapping 1x or 0.5x if available. If you are in Portrait, Night, Macro, or another special mode, switch back to regular Photo mode.
Zoom Is Not Available in a Certain Mode
Some modes limit zoom. For example, ultra-stabilized video, slow motion, portrait, macro, or night modes may restrict lens switching. Switch to standard Photo or Video mode and try again.
The Phone Switches Lenses Unexpectedly
When zooming, your Android phone may switch between cameras automatically. This can cause a small jump in color, framing, or sharpness. It is normal on multi-camera phones. To reduce the effect, use preset zoom levels and avoid zooming during important video moments unless your phone handles smooth zoom well.
When Should You Use Zoom on Android?
Zoom is useful, but it is not always the best choice. Use it when it improves the photo’s composition or helps capture something you cannot safely approach.
Good Times to Use Zoom
- Photographing a stage, speaker, or performer from a distance
- Capturing architectural details on a building
- Taking portraits with less background distortion
- Photographing pets without disturbing them
- Getting close-up food shots without placing your phone in the soup
- Recording sports, school events, or outdoor activities from the audience
Times to Avoid Zoom
- In very dark rooms
- When your hands are shaky
- When the subject is moving fast
- When 1x already gives a clean composition
- When you can safely move closer instead
Android Camera Zoom Tips for Video
Zooming while recording video requires extra care. A still photo only needs one sharp moment. Video needs every moment to look smooth, which is a bigger challenge.
If you plan to zoom during video, move slowly. Drag the slider gently rather than pinching aggressively. Sudden zoom can make viewers feel like the camera operator just discovered caffeine for the first time.
Also, consider setting your zoom before recording. For example, if you are filming a performance, choose 2x or 3x first, frame the subject, then start recording. This often looks cleaner than zooming in after the video begins.
For long-distance video, use a tripod if possible. Even phones with optical image stabilization can struggle at high zoom levels. The more you zoom, the more every tiny hand movement becomes visible.
Extra Experience: Real-World Lessons from Zooming with an Android Camera
After using Android camera zoom in everyday situations, one lesson becomes obvious: the best zoom level is not always the biggest zoom level. It is the zoom level that gives you the cleanest subject, the least shake, and the most natural-looking image.
For example, when taking photos at a school event or small concert, 2x or 3x often works better than pushing the camera to 20x. At moderate zoom, the subject looks closer, but the phone still keeps decent detail and stable exposure. At extreme zoom, the image may look dramatic in the preview, but the final photo can be soft once you open it in the gallery.
Food photography is another great example. Many people stand too close with the main camera, which can make plates look stretched or awkward. Using 2x zoom and stepping back slightly often creates a more natural look. The dish fills the frame, the background becomes less distracting, and the photo feels more polished. Your sandwich may not become a professional model, but it will at least look like it showed up prepared.
For pet photos, zoom is incredibly useful. If you move too close, the pet may run toward you, look away, or decide the phone is a snack. Using 2x or 3x from a short distance lets you capture more natural expressions. This works especially well near windows, where soft light makes fur, eyes, and little whiskers look sharp.
Travel photos also benefit from smart zoom. Instead of taking every landmark at 1x, try using 3x or 5x to isolate details: a clock tower, a statue, colorful windows, a street sign, or the pattern on an old building. These tighter shots often feel more personal than the same wide photo everyone else takes from the sidewalk.
One of the biggest mistakes is zooming in low light without stabilizing the phone. Indoor events, restaurants, and nighttime streets can make zoomed shots blurry. In those cases, either reduce the zoom or support the phone with both hands. If your Android phone has Night mode, test whether it works well with moderate zoom. Some phones handle it beautifully; others get a little too creative with the details.
Another practical habit is to take two versions of important shots: one at a preset zoom level and one slightly wider. The wider photo gives you more room to crop later, while the zoomed photo gives you the composition you wanted in the moment. This is especially helpful for group photos, travel shots, and anything you cannot easily retake.
Finally, remember that zoom is a composition tool, not a magic telescope. Use it to remove clutter, highlight emotion, frame details, and tell a better visual story. The goal is not simply to get closer. The goal is to make the viewer notice what matters.
Conclusion
Learning how to zoom with the camera on Android takes only a few minutes, but it can make a big difference in your photos and videos. Open the Camera app, choose the right mode, pinch to zoom, tap preset zoom buttons, fine-tune with the slider, then focus and shoot steadily.
For the best image quality, use optical zoom or preset zoom levels whenever possible. Avoid extreme digital zoom unless you truly need it, keep your lens clean, use good lighting, and stabilize your phone. Whether you are photographing pets, food, travel scenes, family events, or a suspiciously photogenic cup of coffee, Android camera zoom gives you more creative control over what appears in the frame.
Note: Camera menus and zoom limits vary by Android phone model, camera hardware, software version, and camera mode. Use this guide as a practical foundation, then test your own phone to find its sharpest zoom settings.