Learning how to put on an alternator belt is one of those car maintenance skills that sounds intimidating until you actually see what is happening under the hood. The belt may look like a rubber spaghetti noodle auditioning for a magic trick, but its job is simple: it transfers engine rotation to the alternator so your vehicle can keep the battery charged and electrical systems happy.
On many modern cars, the alternator is powered by a serpentine belt, which may also run the power steering pump, air conditioning compressor, water pump, and other accessories. On older vehicles, the alternator may have its own V-belt or accessory belt. Either way, the basic idea is the same: route the belt correctly, apply the right tension, make sure it sits squarely in the pulley grooves, and verify that nothing squeals, wobbles, smokes, or performs interpretive dance when the engine starts.
Note: This guide explains the general process for putting on an alternator belt. Always check your vehicle’s service manual, under-hood belt routing diagram, or trusted repair database for the exact belt path, tension specification, and tool requirements for your year, make, model, and engine.
What an Alternator Belt Does
The alternator belt connects the engine’s crankshaft pulley to the alternator pulley. As the engine runs, the crankshaft turns the belt, and the belt spins the alternator. The alternator then generates electrical power to charge the battery and supply the vehicle’s electrical systems. Without a working belt, the alternator cannot do its job, which means the battery warning light may appear, headlights can dim, electronics may act strange, and eventually the car may stall or refuse to restart.
If your vehicle uses one large serpentine belt, a broken or loose belt can affect more than the alternator. Depending on the engine design, it may also interrupt power steering, air conditioning, and cooling system operation. That is why a worn belt is not just a “future me” problem. Future you may be sitting on the shoulder of the road, making strong eye contact with a tow truck.
Signs You May Need to Put on a New Alternator Belt
A belt does not always fail dramatically. Sometimes it whispers before it screams. The most common signs of alternator belt trouble include squealing at startup, chirping while accelerating, a battery light on the dashboard, visible cracking, frayed edges, missing ribs, glazing, or a belt that rides off-center on the pulleys.
A slipping belt can also cause weak charging. If the alternator is not spinning fast enough, your vehicle may run mostly on battery power until the battery loses the argument. In some cases, the belt is not the only villain. A bad belt tensioner, seized idler pulley, misaligned alternator pulley, oil contamination, or leaking coolant can ruin even a brand-new belt. Before replacing the belt, inspect the whole belt drive system so you do not install a fresh belt into an old problem.
Tools and Supplies You May Need
- Correct replacement alternator belt or serpentine belt
- Vehicle belt routing diagram or clear photo of the old belt path
- Socket set or wrench set
- Serpentine belt tool or breaker bar, if your vehicle has an automatic tensioner
- Flashlight or work light
- Gloves and safety glasses
- Belt tension gauge, if your vehicle uses manual belt tensioning
- Owner’s manual or repair manual
The most important “tool” is the correct belt. Belts can look almost identical while being slightly too long, too short, too wide, or designed for a different pulley groove count. Match the belt by year, make, model, engine size, and accessory configuration. If your vehicle had optional air conditioning or different alternator setups, double-check before buying.
Before You Start: Safety First
Park on a flat surface, set the parking brake, turn off the engine, and let the engine cool. Never work near a moving belt. A running engine does not care about your weekend plans, your knuckles, or your favorite hoodie string.
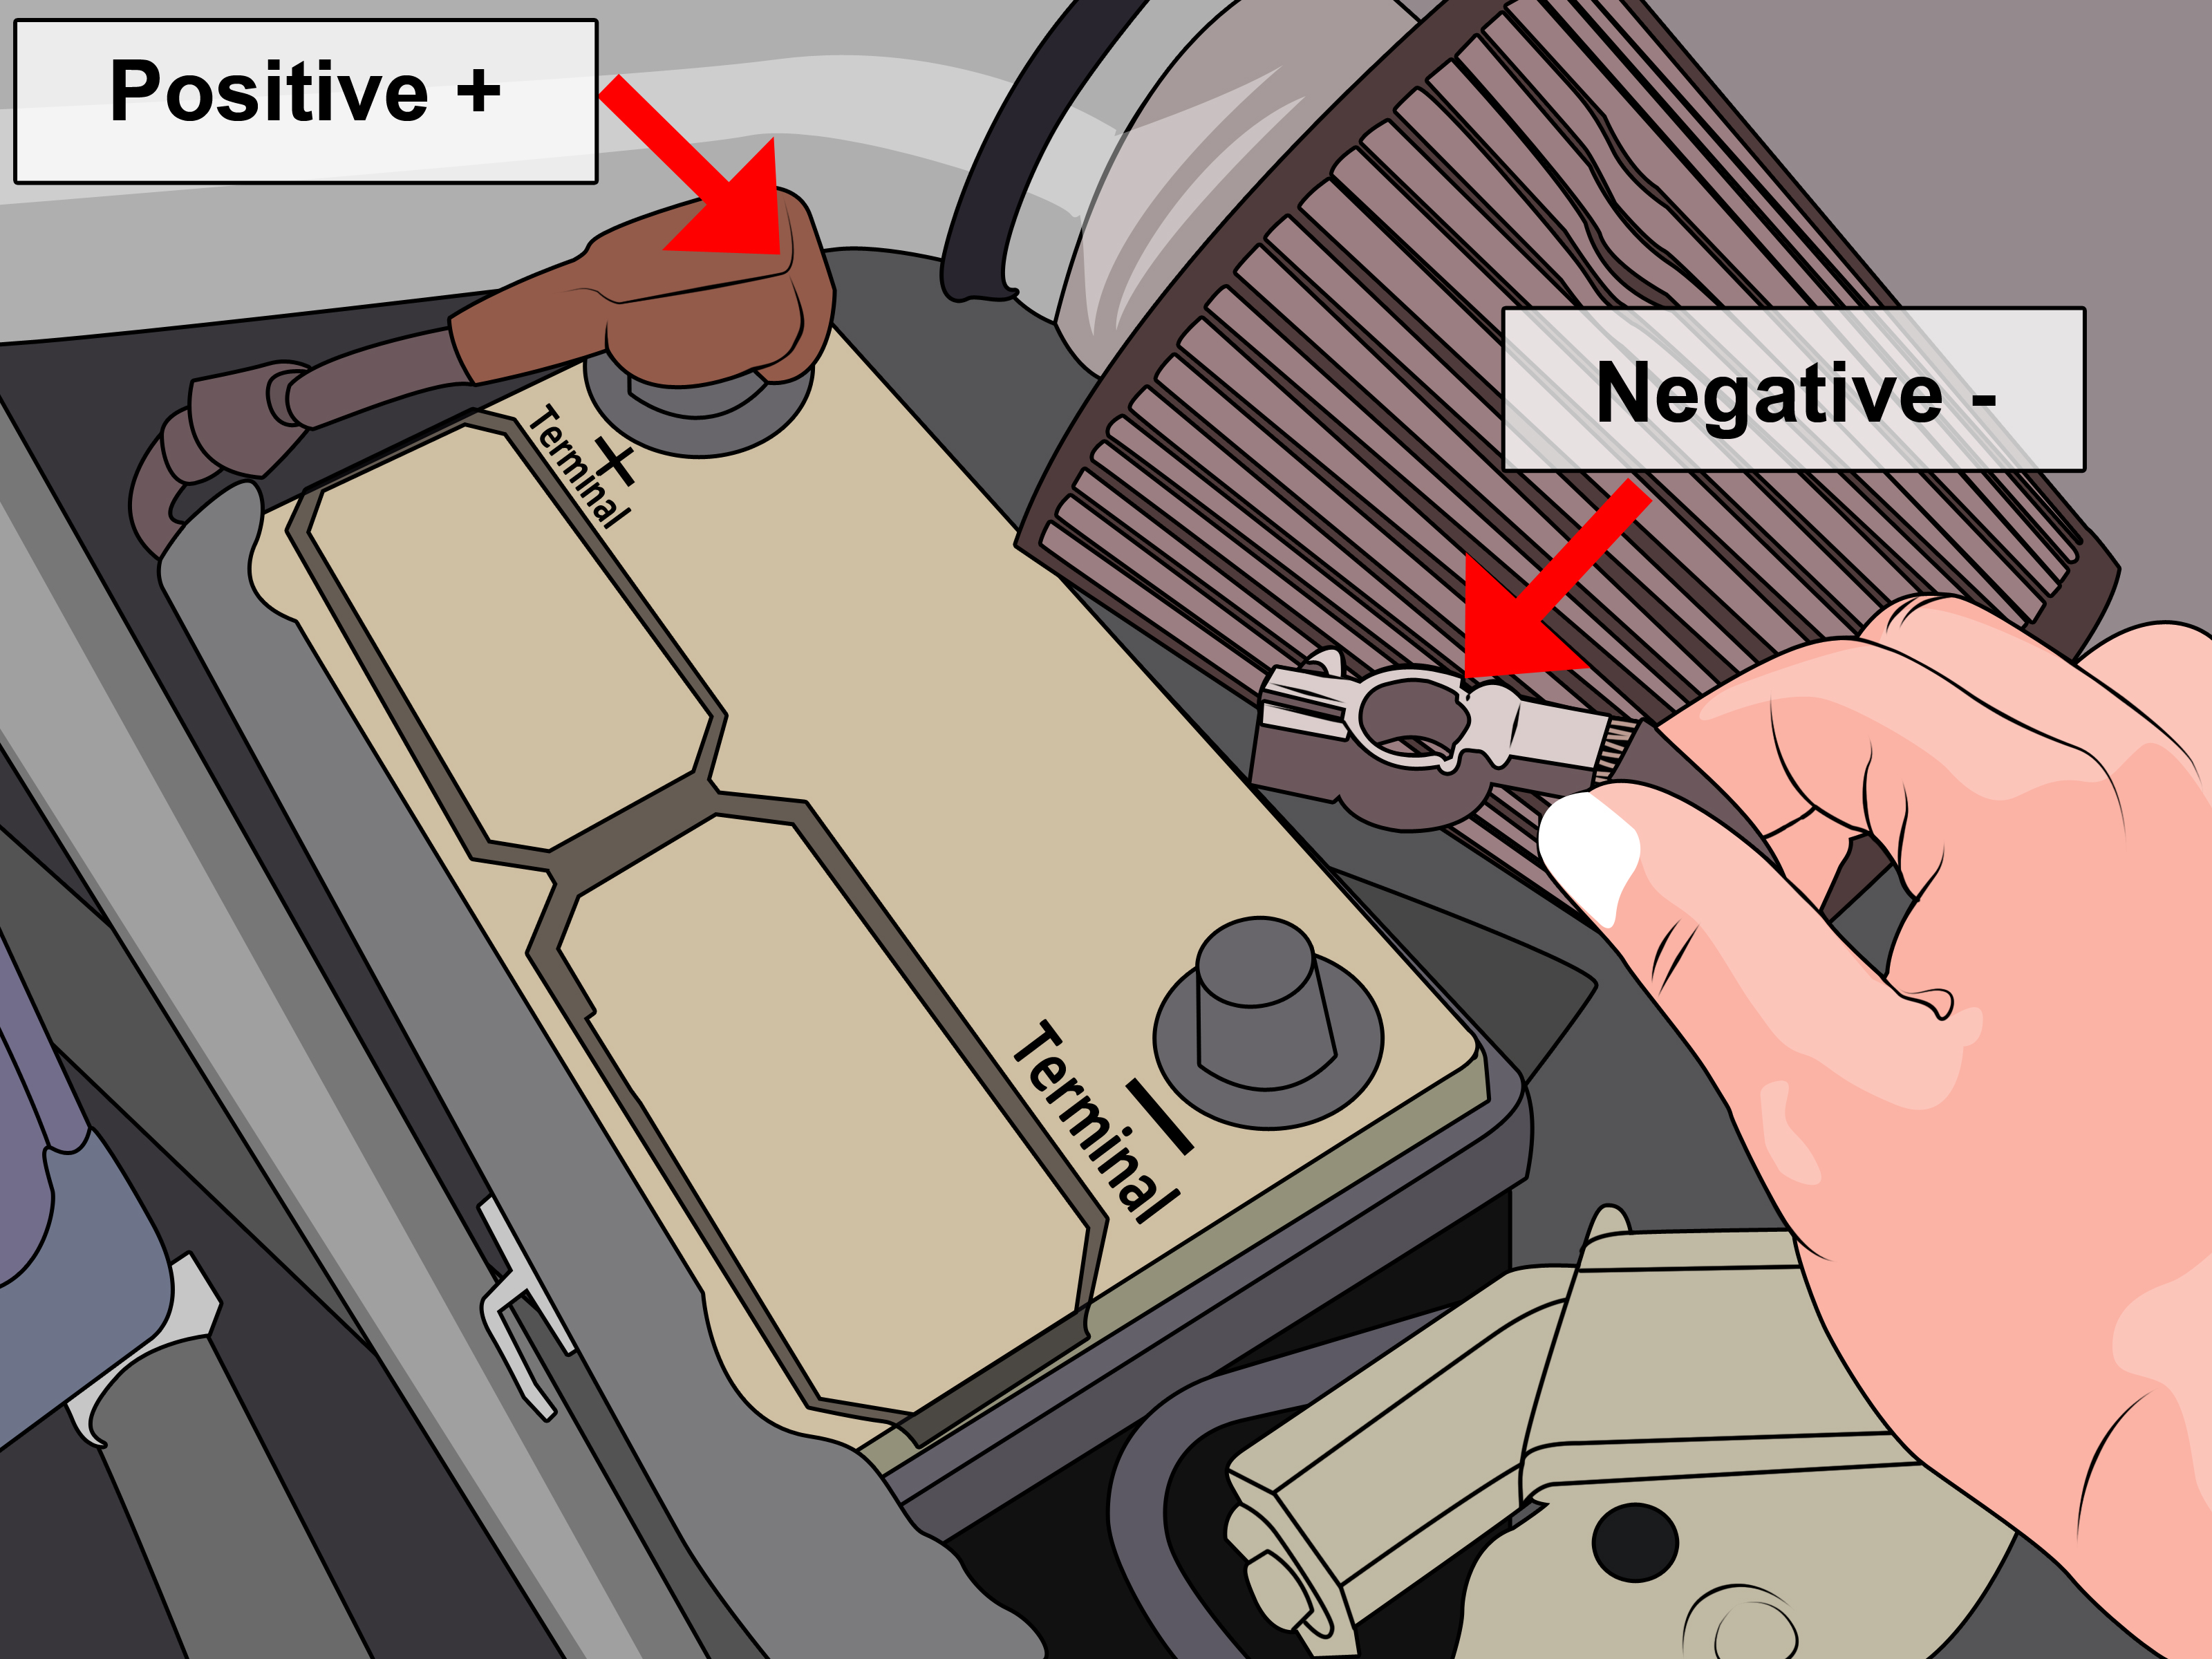
For extra safety, disconnect the negative battery cable if your hands will be near the alternator wiring or if the repair manual recommends it. Keep tools clear of the battery terminals and avoid wearing loose jewelry. The belt area may be tight, especially on front-wheel-drive vehicles, so take your time and use good lighting.
Step-by-Step Guide: How to Put on an Alternator Belt
Step 1: Find the Belt Routing Diagram
Before removing anything, find the belt routing diagram. Many vehicles have a sticker under the hood, near the radiator support, fan shroud, or engine cover. If the sticker is missing, take several photos of the current belt routing from different angles before removing the old belt. If the belt is already gone, use a repair manual or trusted parts database to find the correct diagram.
This step matters because serpentine belts snake around multiple pulleys in a very specific pattern. A belt routed incorrectly may spin the alternator poorly, skip an accessory, rub against the wrong surface, or fly off after startup. It is much easier to take a photo now than to stare at six pulleys later like you are solving an escape room designed by a mechanic.
Step 2: Identify Your Tensioning System
Vehicles usually use one of two belt tension systems: an automatic spring-loaded tensioner or a manual adjustment system. A spring-loaded tensioner has a pulley attached to an arm that moves when you apply a wrench or belt tool. This temporarily relieves tension so you can slide the belt on or off.
Manual systems are common on some older vehicles and certain designs where the alternator itself pivots. In that setup, the alternator mounting bolts are loosened, the alternator is moved inward to remove tension, and then moved outward to tighten the new belt. Some vehicles use an adjustment bolt that moves the alternator gradually.
Step 3: Remove the Old Belt, If Still Installed
If your vehicle has an automatic tensioner, place the correct wrench, socket, or serpentine belt tool on the tensioner fitting. Rotate the tensioner in the direction that relieves belt tension. While holding it, slide the belt off one accessible pulley, usually a smooth idler pulley or the alternator pulley. Slowly release the tensioner after the belt is free.
If your vehicle has manual adjustment, loosen the alternator pivot bolt and the lock bolt on the adjustment bracket. Turn the adjuster bolt, if equipped, or carefully move the alternator inward until the old belt loosens. Remove the belt from the pulleys.
Do not cut the old belt unless it is already destroyed and you are sure you understand the routing. The old belt can be a handy comparison tool for length, rib count, and width.
Step 4: Compare the Old Belt and New Belt
Place the old and new belts side by side. A used belt may be slightly stretched, but the new belt should be very close in length and should match the pulley groove pattern. For a serpentine belt, count the ribs. For a V-belt, compare the width and profile.
If the new belt looks noticeably different, stop and confirm the part number. Trying to “make it fit” is a poor strategy. Belts are not yoga instructors; they should not be forced into positions they were never designed to hold.
Step 5: Inspect the Pulleys, Tensioner, and Alternator
Before installing the new alternator belt, spin the accessible idler pulleys and tensioner pulley by hand. They should rotate smoothly without grinding, wobbling, or sounding like a tiny skateboard full of gravel. Check for pulley misalignment, rust buildup, damaged grooves, oil residue, or coolant contamination.
Look at the alternator pulley as well. If it wobbles, binds, or has damaged grooves, a new belt will not solve the root problem. If your vehicle has an automatic belt tensioner, inspect the tensioner arm movement. It should move smoothly and return firmly. A weak or sticking tensioner can cause squealing, belt slip, or premature belt wear.
Step 6: Route the New Belt Around the Pulleys
Using the routing diagram, begin placing the new belt around the pulleys. On ribbed serpentine belts, the ribbed side of the belt must ride in grooved pulleys, while the smooth back side runs against smooth pulleys. On V-belts, the angled sides of the belt sit inside the V-shaped pulley grooves.
Leave the easiest top pulley for last, often the alternator pulley or a smooth idler pulley. This gives you a reachable final point when you release or apply tension. Keep checking the diagram as you go. If the belt seems too short, do not immediately blame the belt. One pulley may be routed on the wrong side, which can steal several inches of belt length.
Step 7: Release the Tensioner or Tighten the Alternator
For an automatic tensioner, rotate the tensioner again to create slack. Slide the belt over the final pulley, then slowly release the tensioner. Do not let the tensioner snap back. A controlled release protects the tensioner and helps the belt settle into place.
For a manual alternator adjustment system, pull or adjust the alternator outward until the belt reaches the specified tension. Tighten the adjustment lock bolt and pivot bolt securely. If the service manual gives a belt deflection specification, use it. As a rough concept, a properly tensioned manual belt should not be floppy, but it should also not be tight enough to punish alternator bearings. Too loose can squeal and slip; too tight can damage accessories.
Step 8: Check Belt Seating Carefully
This is the step that separates a clean repair from a five-second disaster. Look at every pulley. Every rib must sit inside its matching groove. The belt should be centered, straight, and fully seated. No rib should hang over the edge of a pulley. No section should be twisted.
Use a flashlight and inspect from more than one angle. Tight engine bays can hide mistakes. If the belt is one groove off on the crankshaft pulley, it may appear fine from above but shred itself after startup. A belt that is not fully seated is basically a rubber confetti machine waiting for permission.
Step 9: Start the Engine and Observe
Start the engine and let it idle while you watch the belt from a safe distance. Do not place your hands near the moving belt. The belt should run smoothly with no wobble, flap, squeal, chirp, smoke, or edge wandering. Turn on headlights, the blower motor, and air conditioning for a brief load test if appropriate.
If the belt squeals immediately, shut the engine off and recheck routing, tension, pulley alignment, and contamination. A short chirp during the first second may happen on some vehicles, but continuous noise means something needs attention.
Step 10: Recheck After a Short Drive
After a short drive, turn the engine off and inspect the belt again. Make sure it is still seated correctly and that there are no signs of rubbing or fraying. On some manually tensioned systems, a new belt may seat into the pulley grooves and need a small readjustment after a brief run-in period.
Common Mistakes to Avoid
Installing the Belt Without a Diagram
The classic mistake is removing the belt first and looking for the diagram later. That is like tossing the box for a 1,000-piece puzzle and then pretending you enjoy mystery. Always document the routing before removal.
Forcing the Wrong Belt
If the belt will not fit, do not pry it on with a screwdriver. That can damage the belt, pulley, or your mood. Confirm the part number, routing, and tensioner position. A belt that is slightly wrong can create very loud and very expensive consequences.
Ignoring a Bad Tensioner
A worn tensioner can make a new belt squeal, slip, or walk off the pulleys. If the tensioner is weak, noisy, rusty, cracked, or jerky through its travel, replace it. The belt drive system works as a team. If one teammate is limping, the whole team looks bad.
Contaminating the Belt
Oil, coolant, power steering fluid, and cleaning chemicals can damage rubber belts or cause slipping. If a leak soaked the old belt, fix the leak before installing the new one. Otherwise, the new belt may quickly become shiny, noisy, and useless.
How Tight Should an Alternator Belt Be?
For vehicles with automatic tensioners, you usually do not set belt tension manually. The tensioner is designed to apply the correct force as long as the right belt is installed and the tensioner is healthy.
For manual alternator belt systems, tension must be adjusted according to the service manual. Too little tension causes squealing and weak alternator output. Too much tension can overload alternator bearings, water pump bearings, or other accessory bearings. If your belt uses a manual adjuster and you do not have the specification, use a repair manual or ask a professional technician for the correct procedure.
When to Replace More Than the Belt
Sometimes replacing only the alternator belt is enough. Other times, the belt is just the messenger carrying bad news. Replace or inspect related parts if you notice rough pulley bearings, a wobbling tensioner, misaligned pulleys, repeated belt noise, cracked tensioner stops, or a belt that keeps coming off.
If your vehicle has high mileage, consider replacing the tensioner and idler pulleys along with the belt, especially if they have never been serviced. A complete repair may cost more today but can save you from repeating the job next month while muttering words not approved for family websites.
Can You Drive With a Bad Alternator Belt?
Driving with a failing alternator belt is risky. If the belt only powers the alternator, the vehicle may run for a limited time on battery power, but it will eventually lose electrical power. If the same belt also drives the water pump or power steering pump, the risks increase quickly. You could lose steering assist or overheat the engine.
If the battery warning light appears, the belt squeals constantly, or the belt is visibly damaged, inspect it immediately. If the belt has broken or come off, it is usually safer to stop driving and arrange repair rather than gambling with the cooling system, steering, and battery.
Real-World Experience: What Usually Happens When You Put on an Alternator Belt
In real garage life, putting on an alternator belt rarely goes exactly like the neat diagram suggests. The diagram makes it look like the belt will politely glide into place. The engine bay, however, may have other ideas. There may be a radiator hose in your way, the tensioner may require the arm strength of a medieval blacksmith, and one pulley may be hidden behind a bracket that seems designed by someone who hates elbows.
One of the most useful habits is to take photos before touching the old belt. Take one wide shot, then two closer shots from different angles. Even if there is a belt routing sticker under the hood, a photo of your actual engine can save time. Some vehicles have multiple engines in the same model year, and the diagram you find online may be close but not correct. Close is fine for horseshoes; it is not fine for belt routing.
Another practical lesson is to leave the smoothest, easiest pulley for last. Many beginners try to force the belt over the largest grooved pulley at the end, then wonder why it feels impossible. Usually, the better move is to route the belt around the crankshaft and major grooved pulleys first, then use the tensioner to slip the belt over a smooth idler or alternator pulley last. This reduces the chance of damaging the ribs.
Expect the tensioner to feel stiff. That is normal. What is not normal is a tensioner that moves in jerks, sticks halfway, makes grinding sounds, or does not spring back firmly. If the tensioner behaves like an old screen door in a haunted house, do not ignore it. A new belt cannot compensate for bad tension control.
Manual alternator belts require patience. Tighten the belt gradually, then rotate the engine by hand if the repair manual allows, or run the engine briefly and recheck. New belts can settle. If you tighten the belt, start the car, hear a squeal, and immediately tighten it like you are securing a suspension bridge, you may overdo it. The better approach is to check the specification, adjust carefully, and recheck after a short run.
Finally, listen after the job. A good belt installation is usually boring, and boring is beautiful. The belt should track smoothly, the alternator should charge normally, and the dashboard should remain free of warning lights. If you hear chirping, squealing, or rhythmic slapping, shut the engine off and inspect. Cars often give little warnings before they create big invoices. Pay attention early, and the alternator belt replacement becomes a satisfying driveway win instead of an emergency roadside seminar.
Conclusion
Knowing how to put on an alternator belt is a practical repair skill that can save time, money, and frustration. The key is not brute force; it is preparation. Find the correct belt routing diagram, identify the tensioning system, inspect the pulleys and tensioner, route the belt carefully, seat every rib, and verify smooth operation after startup.
Whether your vehicle uses a modern serpentine belt or an older manual alternator belt, the same rule applies: the belt must fit correctly, run straight, and maintain proper tension. If something squeals, wobbles, or refuses to line up, do not ignore it. A belt is inexpensive compared with an alternator, water pump, tensioner assembly, or tow bill. Treat the belt drive system with respect, and it will quietly keep your battery charged while you enjoy the rare pleasure of fixing something without needing three extra trips to the parts store.