Books are wonderfully photogenicuntil you actually try to photograph one. Suddenly that elegant hardcover behaves like a shiny pancake, the pages curve like tiny ski slopes, the dust jacket reflects your window, and the title somehow looks blurrier than your memory of high school algebra. The good news? Learning how to photograph books is not about owning a Hollywood studio or a camera that costs more than your bookshelf. It is about light, angle, stability, styling, and a little respect for the book itself.
Whether you are shooting books for an online store, a personal blog, a publisher announcement, a library archive, a review website, Bookstagram, or a cozy reading corner that says “I am cultured, but also I own throw pillows,” the same fundamentals apply. The book must be clear, attractive, readable, and presented with intention. A great book photo does not merely show a cover; it tells the viewer why the book is worth noticing.
Note: This guide is written for web publishing and is based on widely used product photography, flat lay photography, marketplace image, and rare-book handling best practices.
Why Book Photography Matters
A book photo has a job. Sometimes that job is commercial: sell the book, show condition, display the cover, and help a buyer make a confident decision. Sometimes the job is editorial: support a review, author interview, reading list, or literary essay. Sometimes the job is social: make people stop scrolling long enough to think, “Fine, I will add one more book to my already-dangerous TBR pile.”
The biggest mistake beginners make is treating books like flat rectangles. A book is not just a cover. It has texture, thickness, page color, spine design, deckled edges, foil stamping, jacket gloss, worn corners, bookmarks, annotations, and sometimes a mysterious coffee stain that may or may not be part of its character. Strong book photography captures these details without turning the image into visual clutter.
Step 1: Decide the Purpose of the Photo
Before touching the camera, decide what the image needs to accomplish. A book photo for Amazon, eBay, or another online marketplace should be clean, accurate, and honest. A book photo for a lifestyle blog can be warmer and more styled. A photo for an archive, library, or research project should prioritize accuracy, legibility, scale, and safe handling. A photo for social media can be moodier, more creative, and more personal.
Common Types of Book Photos
Cover shot: The book is photographed straight on, usually closed, with the title and author easy to read. This is the safest choice for listings and review posts.
Spine shot: Several books are arranged upright or stacked so the spines are visible. This works well for series, collections, shelves, and “what I read this month” content.
Flat lay: The book is photographed from above on a flat surface with props such as coffee, glasses, flowers, pens, candles, or fabric. This is popular for blogs and social media because it creates a story around the book.
Lifestyle shot: The book appears in a real setting: on a desk, beside a chair, in a tote bag, on a nightstand, or in someone’s hands. This makes the book feel usable and emotionally inviting.
Detail shot: The camera focuses on texture, typography, page edges, illustrations, embossing, damage, signatures, or edition details. This is especially helpful for rare books, collectibles, and used book sales.
Step 2: Prepare the Book Before Shooting
A camera is brutally honest. Dust, fingerprints, bent jackets, price stickers, and tiny crumbs will appear with the dramatic confidence of a villain entering a movie. Before photographing, gently clean the book and the shooting area. Use clean, dry hands. If the book is modern and sturdy, wipe glossy covers with a clean microfiber cloth. If the book is old, fragile, valuable, or borrowed from a special collection, do not improvise. Handle it carefully, avoid pressure on the spine, and use supports if the book needs to be opened.
For used books, honesty is better than magic tricks. Photograph worn corners, writing, underlining, torn dust jackets, stains, or library markings. Buyers dislike surprises unless the surprise is free shipping. Clear condition photos build trust and reduce returns.
What to Remove From the Scene
Remove distracting receipts, cables, dirty mugs, random laundry, and anything that steals attention from the book. Props can help, but only if they support the theme. A mystery novel might look great with deep shadows and a fountain pen. A cookbook might pair naturally with ingredients. A finance book beside a banana, however, may raise questions that no caption can answer.
Step 3: Choose the Right Lighting
Lighting is the difference between “beautiful book photo” and “evidence from a basement investigation.” Soft, even light is usually best. The easiest setup is natural window light. Place the book near a large window, but avoid direct sunlight unless you want harsh shadows and blown-out highlights. If the sunlight is too strong, soften it with a sheer curtain, white cloth, or diffusion panel.
If you are using artificial light, choose softboxes, LED panels with diffusion, or a lamp bounced off a white wall or foam board. The goal is to avoid glare, especially on glossy covers, laminated jackets, foil titles, and e-reader screens. Move the light to the side at about a 45-degree angle and use a white reflector opposite the light to fill shadows. A piece of white foam board works surprisingly well and costs less than a dramatic latte.
How to Avoid Glare on Book Covers
Glare happens when the light source reflects directly into the lens. To reduce it, change one of three things: the angle of the book, the position of the light, or the position of the camera. Tilt the book slightly, move the light to the side, or raise the camera. If the cover is extremely glossy, try shooting with diffused window light from the side rather than from the front. A polarizing filter can help on some reflective surfaces, but careful positioning is usually the fastest fix.
Step 4: Pick a Background That Helps the Book
A background should support the book, not audition for the lead role. For sales photos, use a clean white or neutral background. White poster board, mat board, seamless paper, a plain wall, or a clean tabletop can all work. For a professional ecommerce look, curve a piece of poster board from the table up the wall to create a seamless sweep. This removes the hard line where the table meets the background.
For editorial or lifestyle photos, backgrounds can be warmer and more textured. Wood, linen, marble, paper, shelves, desks, blankets, and trays are all useful. Choose colors that complement the cover. A red book on a red blanket may disappear. A blue book on warm wood may pop beautifully. When in doubt, keep the background simple and let the cover design do the talking.
Props: Helpful Friends or Tiny Chaos Agents?
Props should make the story clearer. A bookmark, reading glasses, tea cup, pencil, notebook, flower, candle, or library card can add context. But too many props turn the image into a treasure hunt. If viewers need three seconds to find the book, the setup is too busy. Use odd numbers of props, leave breathing room, and make sure the title remains readable.
Step 5: Stabilize the Camera
Sharpness matters. A blurry book photo makes even a Pulitzer winner look suspicious. Use a tripod whenever possible. For flat lays, use a tripod with a horizontal arm, an overhead phone mount, or a copy stand. For straight-on cover shots, keep the camera parallel to the book to prevent distortion. If the top of the book looks wider than the bottom, the camera is tilted.
If you are using a phone, turn on grid lines. Align the edges of the book with the grid so the photo looks straight. Tap the book cover to set focus, lower the exposure slightly if the cover is bright, and use the timer to avoid camera shake. Many modern phones are excellent for book photography, especially when lighting is good. The phone is not the problem; the ceiling light at midnight probably is.
Recommended Camera Settings
For a dedicated camera, start with ISO 100 or 200 for clean image quality. Use an aperture around f/5.6 to f/8 for a single closed book, or f/8 to f/11 if photographing stacked books or angled pages where more depth of field is needed. Use a tripod so you can choose a slower shutter speed without blur. Shoot in RAW if you plan to edit carefully, especially when color accuracy matters.
For lifestyle photos where you want a soft background, use a wider aperture such as f/2.8 or f/4, but make sure the title remains sharp. Artistic blur is charming; accidentally blurry book titles are just rude.
Step 6: Compose the Shot Like a Story
Composition tells the eye where to go. The simplest composition is centered and straight, ideal for product listings. For blogs and social media, use the rule of thirds: place the book slightly off-center and balance it with a small prop or empty space. Negative space is useful if you plan to add text later for a blog header, Pinterest pin, or newsletter graphic.
Pay attention to edges. Do not crop off a corner by accident unless the crop looks intentional. Leave enough space around the book for the image to breathe. If photographing an open book, make sure the page curve looks natural and the text is not distorted beyond readability. If photographing a stack, align the spines or deliberately stagger them. “Almost aligned” tends to look messy; “clearly intentional” looks designed.
Angles That Work Well for Books
Straight-on: Best for covers, product listings, and catalog images.
Overhead: Best for flat lays, reading scenes, and styled social photos.
Three-quarter angle: Best for showing thickness, spine, page edges, and physical presence.
Close-up macro angle: Best for texture, embossing, signatures, illustrations, and condition details.
How to Photograph Books for Online Selling
If you are selling books online, clarity wins. Start with a clean front cover photo on a neutral background. Add the back cover, spine, title page, copyright page, table of contents if relevant, and any flaws. For collectible books, include close-ups of edition statements, signatures, dust jacket condition, page edges, corners, and binding.
Do not use heavy filters, text overlays, borders, or misleading edits. The goal is not to make the book look like a different book. The goal is to make the actual book easy to evaluate. Brighten the image, straighten it, correct color, and remove background distractions, but do not erase damage that a buyer needs to see.
How to Photograph Books for Blogs and Social Media
For blogs, Bookstagram, Pinterest, and newsletters, think in themes. A summer reading list might use sunlight, linen, citrus, and bright colors. A dark academia novel might use wood, warm shadows, a fountain pen, and a cup of black coffee strong enough to negotiate a publishing contract. A children’s book might use colorful paper, toys, or art supplies.
Keep the book title readable in at least one main image. Beautiful mood shots are useful, but readers still need to know what book you are talking about. Shoot both vertical and horizontal versions. Vertical images perform well on Pinterest and mobile feeds, while horizontal images work better for blog headers and website banners.
How to Photograph Rare, Old, or Fragile Books
Rare and fragile books require a different mindset. The photograph is never more important than the object. Do not force a book to lie flat. Do not press the spine. Do not use heavy objects to hold pages open. Do not use flash if the collection rules prohibit it. Use a book cradle, foam supports, or clean wedges to support the opening angle. If the book only opens comfortably to 90 degrees, photograph it at 90 degrees.
When working in a library, archive, museum, or special collections room, always follow the institution’s photography policy. Some allow handheld cameras or phones with ambient light only. Some prohibit tripods, scanners, flash, or personal lighting. Some require staff-made reproductions. Ask first. Librarians and archivists are not trying to ruin your photo; they are trying to make sure the book survives long enough to be photographed by future people with future cameras and probably future coffee.
Editing Book Photos Without Overdoing It
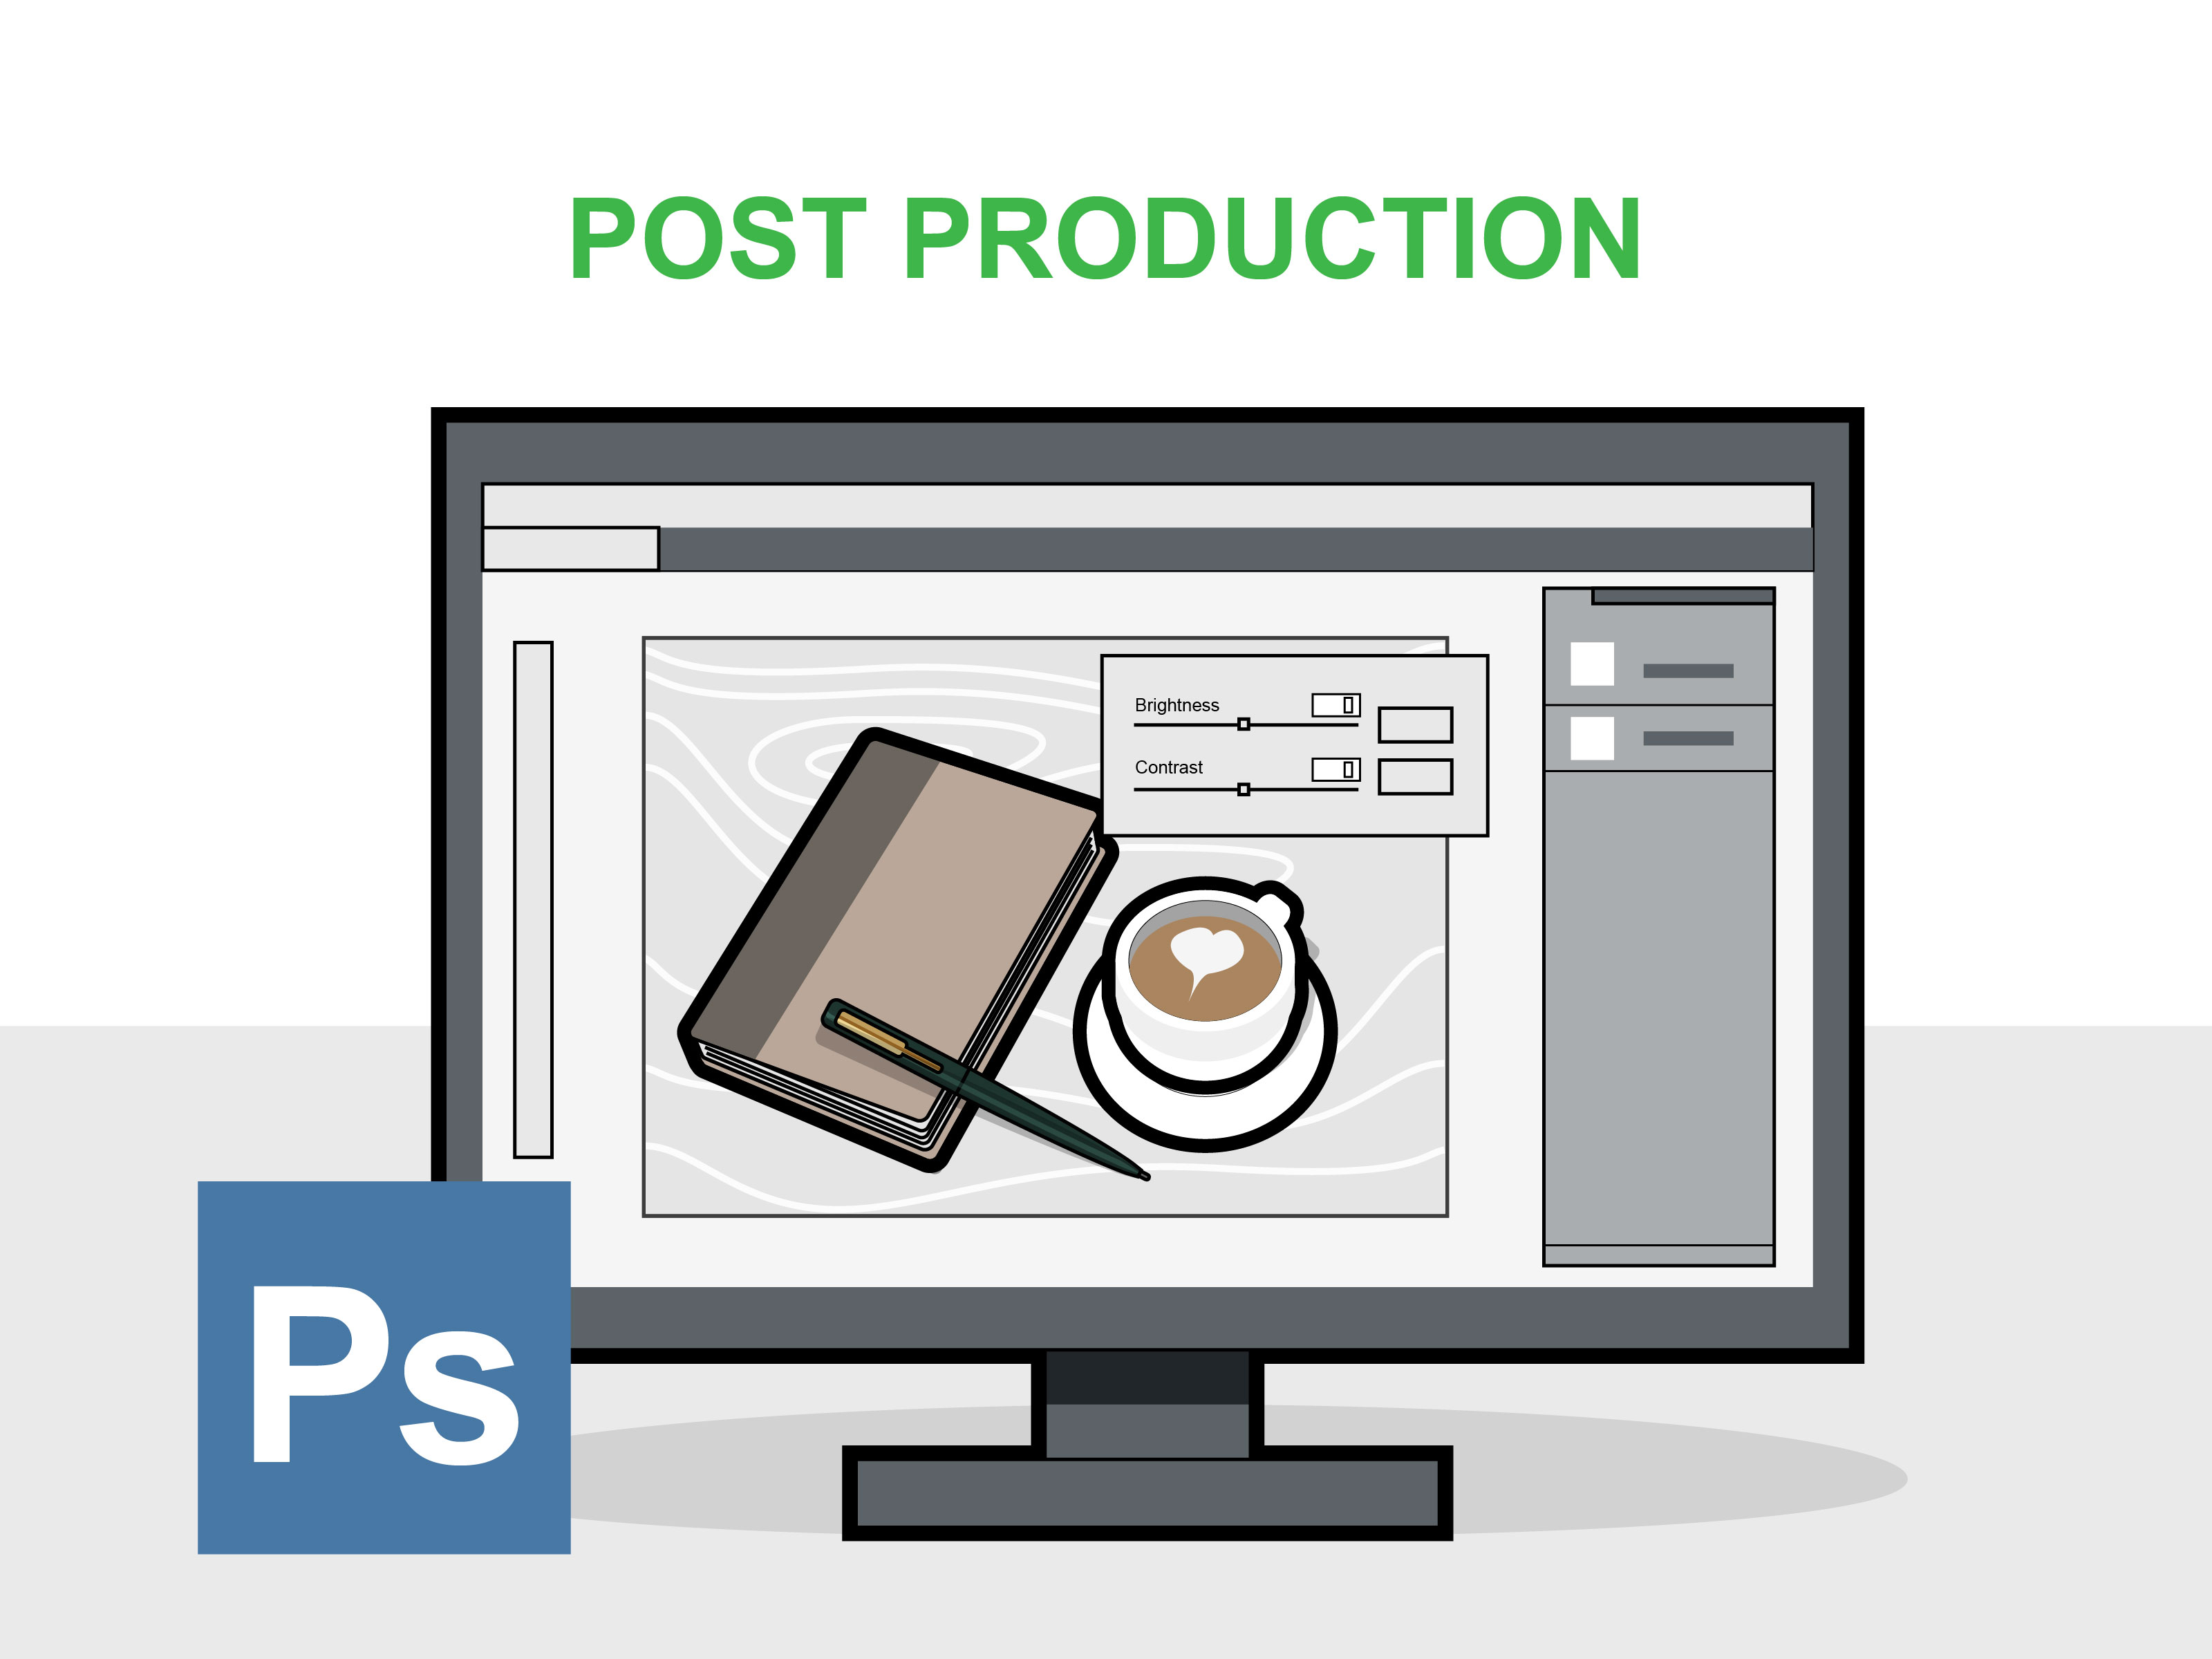
Editing should make the image cleaner, not fake. Start by cropping and straightening. Correct perspective so the book edges look rectangular. Adjust exposure, contrast, highlights, and shadows. Set white balance so white pages look white and cream pages still look naturally cream. Increase sharpness lightly if needed, but avoid crunchy texture. Oversharpened pages look like they are made of cornflakes.
For ecommerce photos, keep colors accurate. If the book cover is teal, do not edit it into navy. If the pages are yellowed, do not make them bright white. For lifestyle photos, you can use warmer tones, gentle contrast, or a consistent preset, but the book should still be recognizable.
Common Book Photography Mistakes
Using direct flash: It creates glare, harsh shadows, and a “caught in the act” feeling.
Shooting under mixed lighting: Window light plus yellow room light can create strange color casts. Turn off competing lights when possible.
Ignoring the spine: For used books and collectible editions, the spine often matters as much as the cover.
Over-styling: Props should not bury the book. This is book photography, not “Where’s Waldo: Candle Edition.”
Forcing pages open: This can damage bindings, especially on older books.
Skipping detail shots: Buyers, collectors, and serious readers often want to see condition, edition, and texture.
A Simple Home Setup for Photographing Books
You can create a reliable book photography setup with a window, a table, white foam board, poster board, a tripod or phone mount, and a clean cloth. Place the table near the window. Put the book on a neutral surface. Use foam board on the shadow side to bounce light back. Set the camera on a tripod. Take one straight cover shot, one angled shot, one spine shot, and two or three details.
For flat lays, stand over the table or use an overhead mount. Arrange the book first, then add props one at a time. Take a test shot after every change. It is easier to remove one distracting spoon now than to wonder later why the spoon became the emotional center of the image.
Extra Experiences and Practical Lessons From Photographing Books
After photographing many kinds of booksfrom glossy new hardcovers to old paperbacks that look like they survived a small weather eventthe most useful lesson is this: books have personalities. A cookbook wants brightness and appetite. A poetry book wants quiet space. A thriller wants tension. A business book wants clean lines and confidence. A vintage book wants texture and respect. If you treat every book the same, the photos will look technically acceptable but emotionally flat.
One practical experience is that glossy covers are often more difficult than old clothbound books. A matte cloth cover usually absorbs light beautifully. A glossy dust jacket reflects windows, lamps, hands, faces, ceiling fans, and sometimes your entire life story. The fix is rarely complicated: move the light, tilt the book, or step slightly to the side. Small angle changes can remove glare faster than editing software can.
Another lesson is that the best prop is often negative space. Beginners tend to add coffee, flowers, pencils, blankets, bookmarks, glasses, and possibly a small decorative pumpkin because the internet said “cozy.” But a strong image may only need the book, a textured background, and one meaningful object. When the setup feels cluttered, remove two things. Then remove one more. The book will usually breathe better.
Color planning also saves time. Before shooting, look at the dominant cover colors. If the cover is green, try warm wood, cream linen, or a muted neutral. If the cover is black, use side light to reveal edges and avoid losing it against a dark background. If the cover is white, underexpose slightly so the design does not blow out. White books can be surprisingly dramatic, but they need careful exposure or they turn into glowing rectangles of mystery.
For social media, shoot more variations than you think you need. Take the clean cover photo, the cozy reading photo, the close-up detail, the hand-held shot, the stack shot, and the messy “currently reading” shot. Later, you may discover that the imperfect photo has the most charm. Web audiences often respond to images that feel lived-in, not sterile. The trick is controlled imperfection: a casually placed bookmark is charming; a background pile of unpaid bills is less charming.
For sellers, the experience is different. Creativity matters less than trust. A buyer wants to know exactly what will arrive. Photograph the flaws clearly. If the dust jacket has a tear, show it. If the pages have notes, show them. If the book is signed, photograph the signature and any authentication details. Good sales photography is not about hiding problems; it is about preventing arguments.
Finally, book photography improves quickly when you repeat the same setup. Choose one reliable corner of your home or studio. Learn when the light is best. Keep your background board, reflector, cloth, and tripod nearby. The less time you spend rebuilding the setup, the more attention you can give to styling and composition. Books are patient subjects. They do not blink, complain, or ask to see the photo every five seconds. Give them good light, a steady camera, and a little dignity, and they will reward you with images that feel thoughtful, useful, and beautiful.
Conclusion
Learning how to photograph books is a mix of technical skill and visual storytelling. You need clean light, stable framing, accurate color, and a background that supports the subject. You also need to understand the purpose of the photo. A marketplace image should be honest and detailed. A blog image should be inviting and readable. A rare-book image should be careful and preservation-minded. A social media image should create mood without hiding the book itself.
The best book photos do not shout. They invite. They make the cover readable, the object desirable, and the reading experience imaginable. With a simple setup, a little patience, and a willingness to move the light three inches instead of blaming the camera, anyone can create book images that look polished, trustworthy, and full of character.