Under-bed space is the mysterious basement of the bedroom. Socks go there to start new lives. Dust bunnies hold tiny committee meetings. And if you are not careful, that long, low stretch beneath your mattress becomes a clutter cave with poor lighting and strong opinions.
The good news: you can turn that wasted space into smooth-rolling, easy-access storage with a simple DIY under-bed drawer. Even better, this project does not require a furniture factory, a master carpenter beard, or a garage full of terrifying tools. With basic wood, small casters, screws, glue, and a little measuring patience, you can build rolling under-bed storage that looks tidy, works hard, and glides out when you need extra blankets, shoes, toys, wrapping paper, seasonal clothes, or whatever else has been staging a rebellion in your closet.
This guide explains how to make under-bed storage that rolls, including design planning, material choices, step-by-step building instructions, finishing tips, organization ideas, and real-life lessons from using this kind of storage every day. The goal is simple: build a low drawer or rolling storage box that fits your bed, protects your stuff, and does not attack your ankles at 2 a.m.
Why Rolling Under-bed Storage Is Worth Making
Under-bed storage is one of the easiest ways to increase bedroom storage without adding another dresser, shelf, cabinet, or “temporary” laundry chair. Beds take up a large footprint, especially in small bedrooms, guest rooms, dorm rooms, and kids’ rooms. The area underneath is often unused or badly used, which is a polite way of saying “full of forgotten things and one suspicious receipt from 2019.”
A rolling drawer solves three common problems. First, it keeps items contained, so your storage does not spread like spilled cereal. Second, it gives you easier access than a regular bin because you can roll it out instead of crawling under the bed like a raccoon in pajamas. Third, it can be customized to fit the exact height, width, and depth of your bed frame.
Store-bought under-bed bins are convenient, but DIY rolling under-bed drawers are stronger, better-looking, and easier to size for awkward spaces. You can make one long drawer, two half-width drawers, shallow trays for shoes, or deeper wooden boxes for blankets and bulky linens. Add handles, labels, dividers, or a pretty painted front, and suddenly your hidden storage has main-character energy.
What to Store Under the Bed
Before cutting wood, decide what the drawer will hold. This matters because heavy items need sturdier materials and more support, while soft items need breathability and dust protection. The best things to store under the bed are items you use occasionally, not daily emergency supplies that require Olympic-level access.
Best items for rolling under-bed storage
Good candidates include seasonal clothing, spare sheets, extra blankets, guest-room bedding, shoes, gift wrap, craft supplies, kids’ toys, off-season accessories, small luggage, and memory items stored in sealed bags. In children’s rooms, rolling drawers are excellent for building blocks, stuffed animals, train sets, doll accessories, or art supplies. In adult bedrooms, they are perfect for closet overflow, especially sweaters, scarves, sandals, and bedding.
Items to avoid storing under the bed
Avoid important paperwork, delicate instruments, electronics, food, candles, anything damp, and sentimental items that could be damaged by dust, insects, humidity, or accidental spills. Also avoid storing extremely heavy objects unless you build a reinforced drawer with a strong bottom and enough casters. A rolling under-bed drawer is useful; it is not a forklift wearing a cute handle.
Measure First, Celebrate Later
Measuring is the most important step in this project. The drawer must fit under your bed with enough clearance to roll smoothly. Do not guess. Guessing is how people create beautiful drawers that live forever in the hallway because they are one quarter inch too tall.
Measure the height from the floor to the lowest part of the bed frame. Then subtract at least 1/2 inch for easy clearance. If your floor is uneven or you have thick carpet, subtract a little more. Next, measure the depth from the front edge of the bed to the back legs or center supports. Finally, measure the width available between bed legs, frame supports, nightstands, or anything else that may block the drawer.
For most beds, a rolling drawer between 5 and 8 inches tall works well. A shallow design is excellent for shoes, gift wrap, and flat linens. A taller drawer works better for blankets, toys, and folded clothes. If your bed sits low, consider bed risers, but only if they are stable, weight-rated, and compatible with your bed frame.
Tools and Materials You Will Need
This project can be made with plywood, pine boards, or repurposed drawers. Plywood is strong and stable, while pine boards are easy to work with and widely available. If you have an old dresser drawer, congratulations: you have already skipped half the project and earned yourself a snack.
Basic tools
- Tape measure
- Pencil
- Saw or pre-cut wood from the hardware store
- Drill or driver
- Sanding block or orbital sander
- Clamps, if available
- Paintbrush or foam roller
- Safety glasses
Materials
- 1/2-inch or 3/4-inch plywood for the base
- 1×6, 1×8, or similar boards for the sides
- Wood glue
- Wood screws or pocket-hole screws
- Four small swivel or fixed casters
- Optional fifth caster for large or heavy drawers
- Drawer pull, rope handle, leather pull, or simple cutout handle
- Paint, stain, polyurethane, or clear sealer
- Felt pads or rubber bumpers
- Labels or dividers, if desired
Choose casters carefully. Low-profile casters keep the drawer short, which matters under a bed. Rubber wheels are gentler on hardwood floors than hard plastic wheels. On carpet, slightly larger casters usually roll better. If the drawer will hold heavy blankets or toys, use casters with a combined load rating comfortably above the expected weight.
Simple Design: The Rolling Box Drawer
The easiest version of rolling under-bed storage is a wooden box with a flat bottom, four sides, and casters attached underneath. Think of it as a drawer that does not need rails. It simply rolls on the floor. This design is forgiving, practical, and perfect for beginners.
For a standard queen bed, you might build two drawers, each about 30 inches wide by 30 inches deep. For a twin bed, one long drawer may work better. The exact size depends on your bed frame, so use your measurements rather than copying a random size from the internet and hoping your bed believes in miracles.
Step-by-Step: How to Make Under-bed Storage That Rolls
Step 1: Plan the drawer size
Write down your maximum available height, width, and depth. Subtract clearance for rolling and handling. If your opening is 7 inches tall, do not build a 7-inch drawer. Build around 6 or 6 1/4 inches tall, including the casters. Remember that caster height counts. A 2-inch caster under a 6-inch box creates an 8-inch total height, which may turn your storage project into a very short coffee table.
Step 2: Cut the base
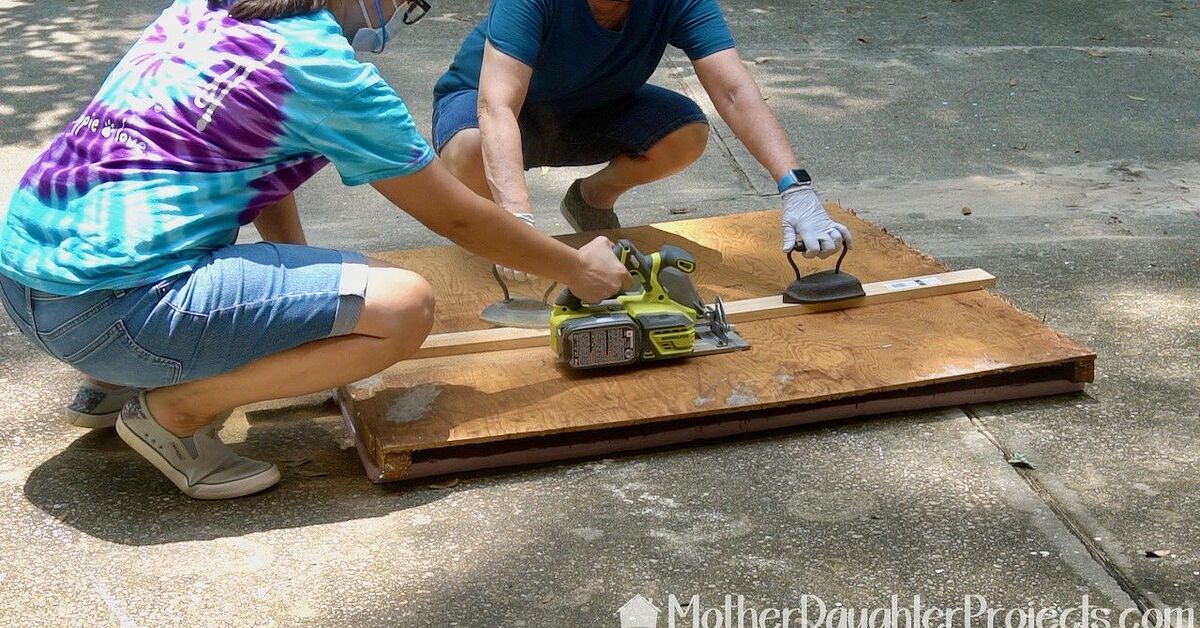
Cut the plywood base to your planned drawer length and width. The base carries the weight, so do not use flimsy material for a large drawer. For light storage, 1/2-inch plywood is usually fine. For heavier items, 3/4-inch plywood offers more strength and less sag.
Sand the edges after cutting. Under-bed drawers are handled often, and nobody wants a splinter from a project that was supposed to improve life. Splinters are not rustic charm; they are tiny wooden betrayal.
Step 3: Cut the side boards
Cut two long side pieces and two short end pieces. If you want the finished drawer to look clean from the front, use the front board to cover the exposed ends of the side boards. Dry-fit everything on the base before attaching anything. This is the part where you discover small measurement mistakes while they are still easy to fix.
Step 4: Assemble the box
Apply wood glue along the edges where the boards meet. Attach the side boards using screws, brad nails, or pocket holes. Keep the corners square as you work. If you have clamps, use them. If not, move slowly and check alignment before driving screws all the way in.
Attach the box sides to the plywood base with glue and screws from underneath or through the sides. Pre-drilling helps prevent splitting, especially near board ends. Wipe away extra glue with a damp cloth before it dries into strange little furniture barnacles.
Step 5: Add support if needed
For a wide drawer, add one or two narrow support strips underneath the plywood base. These strips reduce sag and give casters a stronger mounting surface. For very large drawers, a fifth caster in the center can help carry weight and keep the drawer from bowing. This is especially useful for toy drawers, blanket drawers, or anything likely to become mysteriously heavier over time.
Step 6: Sand the drawer
Sand all surfaces, edges, and corners. Round over sharp edges slightly by hand. This makes the drawer nicer to use and safer around kids, pets, and sleepy adults wandering around with one eye open.
Step 7: Paint, stain, or seal
Finish the drawer before adding the casters if possible. Paint gives the drawer a clean, furniture-like look. Stain highlights the wood grain. Clear polyurethane or water-based sealer protects the surface while keeping a natural style. If the drawer will hold fabric, let the finish cure completely before loading it. Fresh paint and clean sheets should not become roommates too soon.
Step 8: Attach the casters
Flip the drawer upside down. Mark caster placement near the corners, making sure the wheels do not stick out beyond the sides. If the drawer will roll straight in and out, fixed casters can work well. If you want easier steering, use swivel casters. On large drawers, place the casters slightly inward so they do not hit bed legs or trim.
Pre-drill pilot holes, then screw the casters securely into the base or support strips. Check that all wheels touch the floor. If one caster floats in the air like it has better plans, the drawer may wobble. Adjust with thin shims if needed.
Step 9: Add a handle
A handle makes the drawer easier to pull out and gives it a finished look. You can use a metal drawer pull, leather strap, rope loop, wooden knob, or a simple cutout. For a hidden look, paint the handle the same color as the drawer front. For a decorative look, choose hardware that matches your room style.
Step 10: Test the roll
Slide the drawer under the bed and roll it out several times. Check for rubbing, wobbling, scraping, or awkward pulling. If the drawer catches on bedding, raise the bed skirt or shorten the drawer front. If it hits a bed support, adjust placement or make smaller drawers. Testing now saves you from muttering at furniture later.
Design Variations for Different Rooms
For a kids’ room
Make several smaller rolling drawers instead of one giant one. Smaller drawers are easier for kids to pull out and put away. Use picture labels for toys, blocks, dolls, costumes, or art supplies. Bright paint colors can make cleanup feel less like punishment and more like a game where the floor finally wins.
For a guest room
Use under-bed storage for extra sheets, pillows, towels, and blankets. Add breathable fabric bags inside the drawer to keep linens grouped and fresh. Label each bag by bed size or season so guests do not have to perform a linen treasure hunt.
For a small apartment
Focus on seasonal storage. Pack away winter sweaters, boots, holiday decor, or spare bedding. Clear labels are important because small-space storage works best when you know what is hidden where. Otherwise, under-bed storage becomes a very flat attic.
For shoes
Build a shallow tray-style drawer with dividers. Low sides make shoes easy to see and grab. Add a washable liner or thin mat inside the drawer to catch dirt. Your future self will appreciate not discovering mystery gravel near the bed.
How to Keep Under-bed Storage Clean
The area under a bed naturally collects dust. Rolling drawers help because they are easy to remove for cleaning, but you still need a simple maintenance routine. Vacuum under the bed once a month or whenever the dust bunnies begin forming a neighborhood association. Wipe the drawer tops and fronts with a microfiber cloth. If storing fabric, use clean, dry items only.
For linens and seasonal clothes, consider breathable fabric bags inside the drawer. For items that need stronger dust protection, use lidded containers or zippered organizers that fit inside the wooden drawer. Clear containers make contents easy to identify, while labels help when containers are not transparent.
Common Mistakes to Avoid
Making the drawer too tall
This is the classic mistake. Always include caster height in your measurement. Leave enough clearance so the drawer rolls smoothly even when loaded.
Using weak plywood
Thin plywood may sag under weight. If the drawer is wide or intended for heavy storage, use thicker plywood and add support strips.
Skipping sanding
Rough edges catch fabric and hands. Sanding is not glamorous, but neither is snagging your favorite blanket on a splintery corner.
Choosing the wrong wheels
Tiny hard wheels may struggle on carpet. Oversized wheels may make the drawer too tall. Match the caster to your floor surface and drawer height.
Forgetting the bed supports
Many bed frames have center legs or cross supports. Measure around them. If one large drawer will not fit, make two smaller drawers instead.
Budget-Friendly Tips
You can save money by repurposing old drawers, leftover plywood, reclaimed boards, or salvaged hardware. A discarded dresser drawer can become rolling under-bed storage with sanding, paint, casters, and a new pull. Just make sure the drawer is sturdy and not too tall.
Another budget trick is using simple pine boards for the sides and plywood only for the bottom. If the drawer front is the only visible part, spend your effort there. Paint the front neatly, add attractive hardware, and keep the rest practical. Under the bed is not judging your joinery. It is dark down there.
Organization Ideas After You Build It
A good drawer is only half the victory. The inside needs a plan too. Use fabric bins, cardboard dividers, small baskets, or labeled pouches to separate items. For clothes, organize by season or category. For kids’ toys, sort by type. For gift wrap, add long dividers for rolls, ribbon, tape, tags, and gift bags.
Do not overfill the drawer. If you have to sit on it to make things fit, it is no longer storage; it is a wooden suitcase with emotional issues. Leave enough room to see and remove items easily.
Real-Life Experiences: What You Learn After Living With Rolling Under-bed Storage
After using rolling under-bed storage for a while, you start to notice what works beautifully and what quietly annoys you. The first lesson is that access matters more than capacity. A massive drawer sounds amazing until it is packed like a moving truck and requires a heroic tug every time you need one pillowcase. Two medium drawers are often better than one enormous drawer because they are lighter, easier to steer, and less likely to hit bed supports.
The second lesson is that labels are not just for hyper-organized people with matching jars. Labels save time. When several drawers look the same, a small label on the front prevents the classic under-bed shuffle: pull one drawer, wrong drawer; push it back, pull the next drawer, still wrong; sigh dramatically; question your life choices. A simple label such as “winter clothes,” “guest bedding,” or “gift wrap” makes the whole system feel smarter.
The third lesson is that flooring changes everything. On hardwood or tile, rolling drawers glide easily, sometimes too easily if excited children discover them. On thick carpet, small casters can drag. In that case, larger low-profile wheels or a smoother bottom surface may help. If your floor is delicate, rubber wheels and felt bumpers are worth using. The goal is storage, not a slow-motion floor-scratching documentary.
The fourth lesson is that dust protection matters. Even a beautiful wooden drawer will collect dust under a bed. If you store linens or clothes, put them in breathable zippered bags or washable fabric cubes inside the drawer. This gives you the strength and style of a wooden rolling box with the cleanliness of a protected container. It also makes seasonal swaps easier because you can lift out one fabric bag instead of unloading the entire drawer piece by piece.
The fifth lesson is that handles should be comfortable. A tiny decorative knob might look charming, but if the drawer is heavy, your fingers will file a complaint. A wide pull, rope handle, leather strap, or cutout grip is easier to use. If the drawer is for kids, choose a handle that is simple and safe, with no sharp corners or snag-prone hardware.
The sixth lesson is that the drawer front affects the whole room. Even though the storage lives under the bed, the front edge is visible whenever you look across the floor. A clean painted front can make the project look intentional rather than improvised. Matching the drawer front to the bed frame, wall color, or bedding creates a calm look. For farmhouse style, stained wood works well. For a modern bedroom, a flat painted front with simple hardware looks crisp. For a kid’s room, color is allowed to have fun. The drawer can be blue, yellow, green, or whatever shade makes cleanup seem less tragic.
The final lesson is that rolling under-bed storage changes habits. When storage is easy to access, people are more likely to use it. Shoes get returned. Blankets have a home. Gift wrap stops leaning in a closet like a group of tired pool noodles. The space under the bed becomes useful instead of mysterious. And once you build one rolling drawer, you may start looking at every empty space in your home and thinking, “Could that roll too?” This is normal. This is how DIY people are made.
Conclusion
Learning how to make under-bed storage that rolls is one of the most rewarding small DIY projects for a bedroom. It saves space, reduces clutter, and gives you custom storage without buying another bulky piece of furniture. The basic formula is simple: measure carefully, build a sturdy low box, attach the right casters, add a comfortable handle, and finish it in a style that suits your room.
Whether you use your rolling under-bed drawer for linens, shoes, toys, seasonal clothes, or gift wrap, the key is to make it easy to access and easy to maintain. Keep it organized, avoid overloading it, and clean under the bed regularly. Do that, and the space beneath your mattress will finally become useful instead of suspicious.
Note: This article is original, written in standard American English, and synthesized from practical DIY woodworking, home improvement, and home organization best practices.