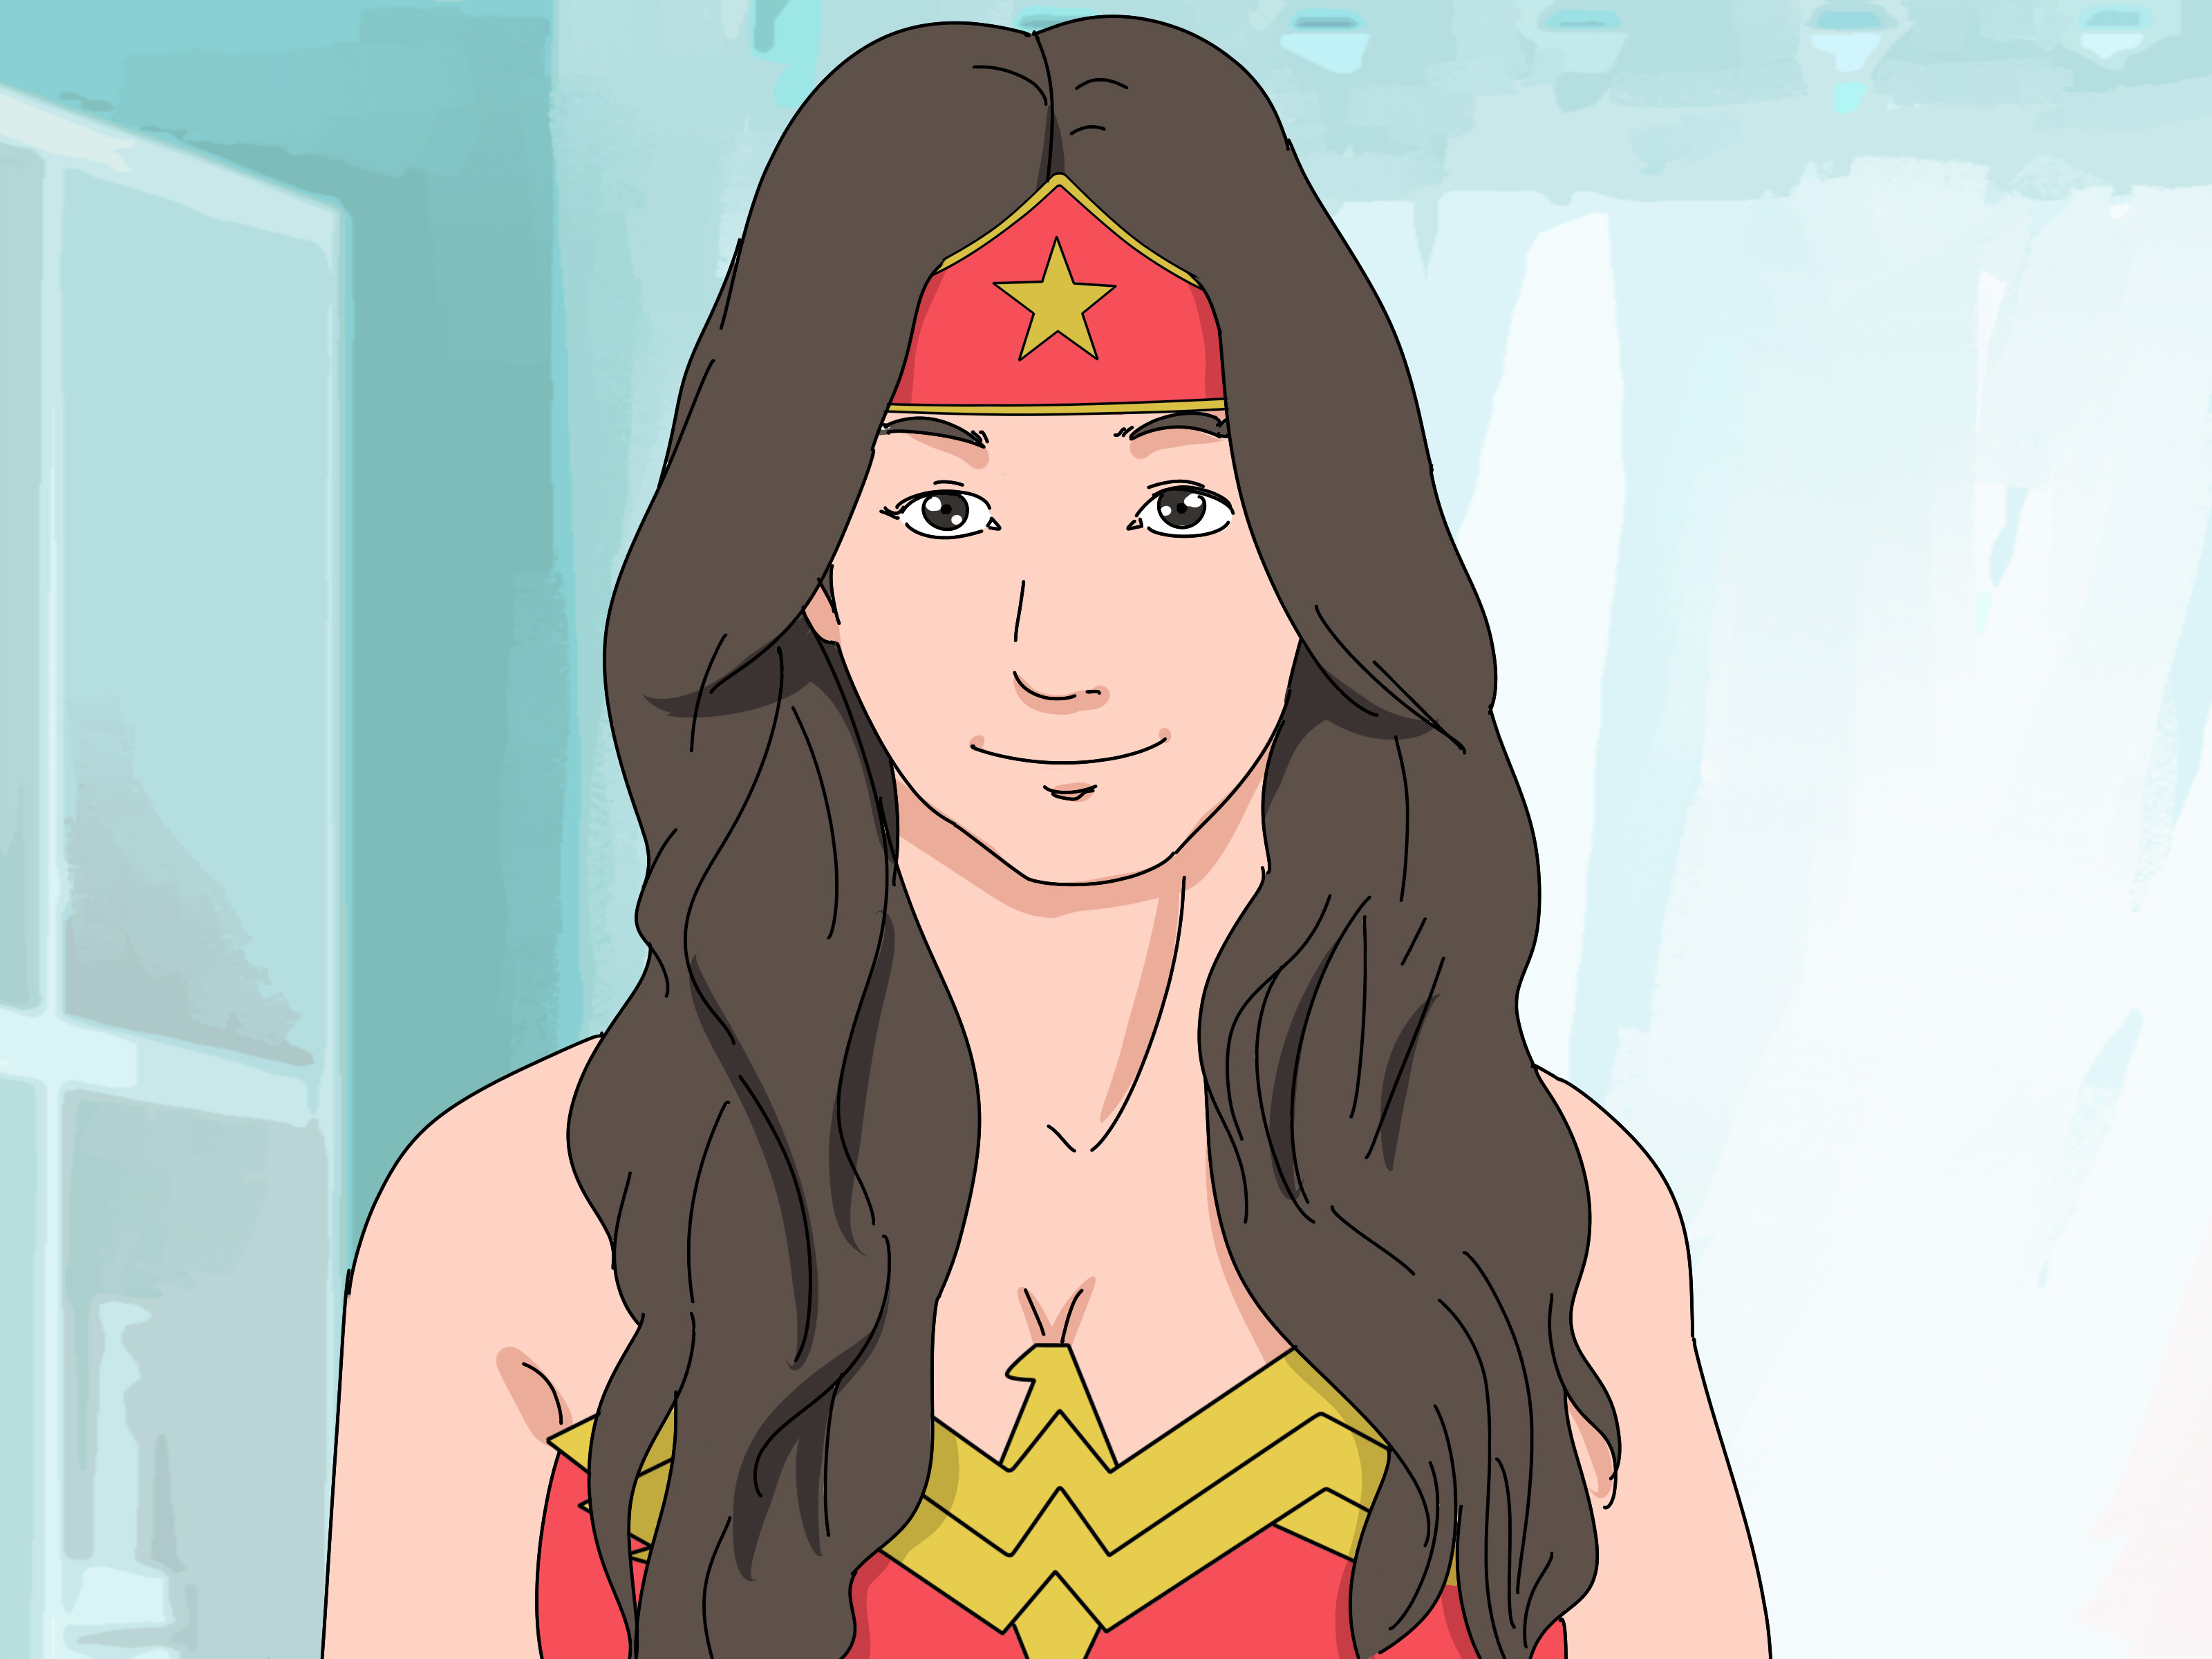
Editorial note: This article is written for safe DIY costume crafting and is source-informed by official Wonder Woman character details, cosplay foam-building best practices, U.S. costume-safety guidance, and cosmetic safety recommendations. Wonder Woman’s iconic look commonly includes a tiara, bracelets, lasso, red-and-gold bodice, blue lower piece, boots, and heroic metallic accents. U.S. safety guidance recommends costumes that fit well, do not drag, allow clear vision, and use reflective details for visibility when worn at night.
Making a Wonder Woman costume is one of those DIY projects that feels heroic before you even pick up the scissors. You are not just assembling fabric, foam, paint, and a slightly suspicious amount of hot glue. You are building a look that says, “I came prepared, I brought snacks, and yes, I absolutely know how to pose with one hand on my hip.”
The good news? You do not need a Hollywood wardrobe department, a metal workshop, or an invisible jet parked in the driveway. A great Wonder Woman costume can be made from affordable craft-store materials, thrifted clothing, basic sewing supplies, and a few clever shortcuts. Whether you want a classic comic-inspired outfit, a movie-style warrior look, or a comfortable Halloween costume you can actually walk, sit, and eat nachos in, this guide walks you through the process step by step.
Below, you will learn how to make a Wonder Woman costume with a red-and-gold top, blue skirt or shorts, metallic bracers, a tiara, belt, boots, and a safe decorative lasso. The focus is on a wearable, budget-friendly DIY costume that looks polished without becoming a full-time job. Because let’s be honest: the costume should be powerful, but the project should not defeat you before the party starts.
Understanding the Wonder Woman Costume Look
Before cutting fabric or painting foam, it helps to understand the core visual language of Wonder Woman’s outfit. Across comics, television, animation, and films, the costume changes, but the recognizable elements remain surprisingly consistent: red, blue, gold, silver, stars, a tiara, wrist bracers, a bold belt, and a heroic silhouette.
For a DIY version, you do not need to copy any single screen costume exactly. In fact, trying to recreate every tiny armor panel can turn a fun weekend project into a dramatic origin story. Instead, focus on the elements people recognize instantly:
- A red top or bodice with a gold eagle or “W” design
- A blue skirt, shorts, or leggings with white or silver stars
- Gold or silver wrist bracers
- A gold tiara with a red star
- A gold belt
- Red boots or boot covers
- A safe decorative lasso accessory
Once these pieces are in place, the costume reads as Wonder Woman immediately. The details can be as simple or elaborate as your time, budget, and patience allow.
Materials You Will Need
You can make this costume with beginner-friendly supplies. Choose flexible, lightweight materials whenever possible so the final outfit feels comfortable instead of crunchy. Wonder Woman may be able to fight gods, but even she would not enjoy a costume that pinches under the arms.
Basic Costume Base
- Red tank top, fitted T-shirt, corset-style top, or leotard
- Blue skirt, athletic shorts, skater skirt, leggings, or fitted pants
- Gold craft foam or metallic faux leather sheets
- Silver craft foam for bracers, or gold foam for a warmer comic-book style
- White adhesive felt, iron-on vinyl, or fabric paint for stars
- Red shoes, boots, or sneakers
- Gold ribbon, elastic, or faux leather trim
- Hook-and-loop tape, snaps, fabric glue, or hot glue
Tools and Finishing Supplies
- Scissors and craft knife
- Measuring tape
- Pencil or washable marker
- Cardstock for templates
- Hot glue gun or strong fabric glue
- Acrylic paint or flexible metallic paint
- Paintbrushes or sponge brushes
- Elastic cord or ribbon for securing accessories
- Optional: clear flexible sealer for foam pieces
If the costume is for a child or will be worn outdoors at night, add reflective tape in discreet places such as the belt edge, skirt hem, boot backs, or treat bag. Visibility may not sound glamorous, but neither does being invisible to traffic. Safety wins.
Step 1: Choose Your Costume Style
The easiest way to make a Wonder Woman costume is to decide your version before shopping. There are three popular approaches:
Classic Comic Style
This version uses a bright red top, blue bottoms with white stars, a gold belt, silver bracers, and red boots. It is colorful, instantly recognizable, and easier to make because the shapes are bold and simple.
Movie-Inspired Warrior Style
This look uses deeper red, bronze-gold armor details, darker blue or leather-like bottoms, and more textured accessories. It feels dramatic and grown-up but takes more time because the armor pieces need layering, shading, and shaping.
Comfortable Party or Halloween Style
This version prioritizes movement. Think red shirt, blue skater skirt or leggings, foam tiara, wrist cuffs, and sneakers with boot covers. It is perfect for school events, conventions, family parties, or any situation where you need to sit down without negotiating with your costume.
For most DIY makers, a hybrid style works best: classic colors, modern metallic accessories, and comfortable clothing as the base.
Step 2: Make the Red and Gold Bodice
The top is the visual anchor of the costume. Start with a red tank top, leotard, or fitted shirt. If you want a no-sew Wonder Woman costume, choose a top that already fits well and decorate it. If you enjoy sewing, you can add panels, trim, or structured fabric for a more armor-like shape.
Create the Gold Chest Emblem
Use cardstock to sketch a bold “W” shape or eagle-inspired design. Keep the design wide enough to be visible but simple enough to cut cleanly. Once the paper template looks balanced, trace it onto gold craft foam, metallic faux leather, or gold heat-transfer vinyl.
For a quick version, glue the emblem directly to the front of the top using fabric glue. For a more durable version, stitch around the edges by hand or machine. If using craft foam, remember that it is less washable than fabric. Attach it in a way that allows spot cleaning rather than tossing the whole top into the washing machine and hoping for mercy.
Add Gold Trim
Gold trim along the neckline and waist instantly makes the top look more finished. You can use ribbon, bias tape, elastic trim, or strips of gold faux leather. Measure carefully, glue or stitch slowly, and check that the fabric still stretches enough to put on comfortably.
A helpful trick is to try the top on before attaching every edge permanently. Fabric stretches on a body differently than it behaves on a table, because tables rarely breathe, dance, or reach for cupcakes.
Step 3: Make the Blue Bottoms with Stars
Wonder Woman’s lower costume piece can be adapted for comfort and modesty. Blue shorts are traditional, but a blue skirt, leggings, or athletic skort can work beautifully. Choose what makes you feel confident and able to move.
Using a Skirt
A blue skater skirt or pleated skirt gives the costume a fun, wearable shape. Add white or silver stars using adhesive felt, iron-on vinyl, or fabric paint. Space the stars unevenly for a more natural look. Too-perfect rows can make the costume look like patriotic graph paper.
Using Shorts or Leggings
Blue shorts create a classic silhouette, while leggings are excellent for colder weather or family-friendly events. If using leggings, place stars mostly on the outer thighs and lower legs so they remain visible when you walk.
Star Application Tips
Cut stars from felt using a paper template, or use a star-shaped craft punch if your material is thin enough. Fabric paint also works, but place cardboard inside the garment first so paint does not bleed through. Let everything dry fully before wearing.
Step 4: Make Wonder Woman Bracers
The bracers are one of the most iconic parts of the costume. They are also beginner-friendly because they are small, symmetrical, and forgiving. Craft foam is ideal because it is lightweight, flexible, and easy to cut.
Measure and Cut
Measure around your wrist and forearm. Draw a tapered rectangle on paper: narrower at the wrist, wider at the forearm. The bracer should cover the top and sides of the forearm but not squeeze it. Trace the template onto silver or gold craft foam and cut two matching pieces.
Shape and Decorate
Gently curve the foam around your forearm. You can add decorative lines with thin strips of foam, metallic tape, or paint. For a more polished finish, apply a flexible sealer and then metallic acrylic paint. Foam often looks better with multiple thin coats instead of one thick coat. One thick coat tends to announce, “I panicked.”
Fasten Safely
Attach elastic loops, ribbon ties, or hook-and-loop tape so the bracers can open and close. Avoid anything sharp, rigid, or uncomfortable. The goal is costume magic, not forearm jail.
Step 5: Make the Tiara
A Wonder Woman tiara is a small piece with big impact. The classic version is gold with a red star in the center. You can make it from craft foam, cardstock covered in metallic tape, faux leather, or lightweight plastic.
Cut the Tiara Shape
Draw a long, shallow crown shape on cardstock first. The center should rise to a point or gentle peak. Hold the paper template to your forehead and adjust the size before cutting the final material. Once satisfied, trace it onto gold craft foam.
Add the Red Star
Cut a small red star from felt, vinyl, foam, or cardstock and attach it to the center. If stars are not your spiritual gift, print a simple star outline, trace it, and pretend geometry was your idea all along.
Secure the Tiara
Glue elastic to the back ends so the tiara can sit around your head. You can also attach it to a headband for easier wear. A headband is especially helpful for kids or long events because it reduces slipping.
Step 6: Make the Gold Belt
The belt connects the red top and blue bottom visually, making the costume look intentional rather than assembled from laundry day. Use gold craft foam, faux leather, wide ribbon, or metallic elastic.
Measure your waist and cut a strip long enough to overlap at the back. Add a center “W” or eagle shape with another layer of foam. For closure, use hook-and-loop tape or snaps. If the belt rides up or twists, attach small hidden safety stitches to the costume base or add elastic at the back.
For a movie-inspired style, layer narrower strips over the belt to create armor lines. Add shading with brown or bronze acrylic paint along the edges. This simple paint trick gives flat foam more depth.
Step 7: Create Boot Covers or Upgrade Shoes
Red boots are iconic, but you do not need to buy a new pair. Red sneakers, ankle boots, or even comfortable flats can be transformed with boot covers.
No-Sew Boot Covers
Use red felt or stretch fabric. Wrap it around your lower leg and shoe, mark the shape, and cut two mirror-image pieces for each boot cover. Glue or sew the back seam, then add elastic under the shoe to keep the cover in place. Add a white or gold stripe down the front for a classic comic-book look.
Painted Shoe Option
If you have old shoes you do not mind changing, use flexible fabric or leather paint. Clean the shoes first, paint in thin layers, and let them dry completely. Do not paint the soles; slippery soles are not heroic.
Step 8: Add a Safe Decorative Lasso
Wonder Woman’s lasso is instantly recognizable, but for a real-world costume, keep it decorative and safe. Use soft gold rope, braided cord, or metallic trim. Coil it and attach it to the belt with a loose loop or clip.
Do not make the lasso overly long, heavy, or tight. For children, keep it short and decorative only. A costume accessory should never create a tripping or tangling hazard. The best DIY lasso says “iconic superhero,” not “why is the dog wrapped around the coffee table?”
Step 9: Fit, Comfort, and Safety Checks
A costume can look amazing in the mirror and still become annoying after twenty minutes. Before wearing it out, do a full test run. Walk, sit, bend, reach, and climb stairs. If anything pokes, slides, scratches, or restricts movement, fix it now.
Important Fit Checks
- The skirt, shorts, or leggings should allow easy walking.
- The top should stay secure without constant adjusting.
- Bracers should not dig into the wrist or elbow.
- The tiara should not block vision or slide over the eyes.
- Boot covers should not drag under the shoes.
- Any accessories should be soft, lightweight, and easy to remove.
If the costume will be worn at night, add reflective tape or bright accents in clever places. A small strip on the back of the belt or boots can improve visibility without ruining the design.
Step 10: Hair, Makeup, and Final Styling
You do not need a full beauty routine to complete the costume. Wonder Woman styling usually works best when it looks confident and clean. Loose waves, a ponytail, or a simple headband-friendly hairstyle all work well.
For makeup, keep it comfortable and skin-safe. Use cosmetics intended for the face, avoid craft paint on skin, and test new products on a small area first. A red lip, defined brows, and light shimmer can support the look without requiring professional makeup skills.
For younger costume wearers, skip heavy makeup entirely and let the tiara, bracers, and colors do the work. A confident pose is free, washable, and surprisingly effective.
Budget-Friendly Wonder Woman Costume Ideas
You can make this costume inexpensively by building around items you already own. A red athletic top, blue shorts, and sneakers can become the foundation. Gold gift ribbon can become trim. Foam sheets can become bracers, tiara, and belt. White felt can become stars.
Thrift stores are excellent for costume bases. Look for red tops, blue skirts, metallic belts, red boots, or faux leather accessories. Even if the color is not perfect, paint and trim can pull everything together.
Estimated DIY Budget
- Low-budget version: $15–$30 using clothes you already own
- Mid-range version: $35–$60 with new base clothing and craft supplies
- Detailed cosplay-style version: $75+ with specialty foam, sealers, paints, and structured pieces
The smartest place to spend money is usually the base clothing. If the top and bottom fit well, the whole costume looks better. Accessories can be made cheaply and still look fantastic.
Common Mistakes to Avoid
Using Materials That Are Too Stiff
Cardboard can work for a quick photo costume, but it bends, creases, and dislikes humidity with theatrical intensity. For wearable accessories, craft foam is usually better.
Skipping the Test Fit
Never wait until the event to try everything together. Costume pieces can shift once layered. Test the full outfit at least one day before wearing it out.
Overloading the Costume with Details
Details are fun, but too many can make the costume heavy or messy. Choose a few strong features: clean chest emblem, neat bracers, bold tiara, and polished belt.
Forgetting Comfort
If you cannot walk, sit, or breathe comfortably, the costume needs editing. Wonder Woman is powerful because she can move. Your costume should let you do the same.
Experience Notes: What Actually Helps When Making a Wonder Woman Costume
After making and studying plenty of DIY superhero costumes, one lesson stands above the rest: start with the silhouette, not the details. Many beginners spend hours perfecting the tiara or painting tiny lines on bracers, then realize the top does not fit or the skirt does not match. The big shapes matter first. Red upper half, blue lower half, gold center accents, metallic wrists, and tiarathat is the costume language. Once that reads clearly, the small details become bonus points.
Another practical experience: craft foam is your best friend, but only if you treat it like foam and not enchanted metal. It bends, dents, and absorbs paint differently than plastic. Thin coats of paint look much better than thick coats. If you want a metallic finish, test your paint on a scrap piece first. Some paints dry beautifully; others stay tacky longer than expected and collect dust, hair, and mysterious particles from the universe.
For the chest emblem, flexible materials usually outperform stiff ones. A gold foam “W” may look great when the shirt is flat, but it can pop loose when the wearer moves. Metallic stretch fabric, faux leather, or heat-transfer vinyl often sits better on clothing. If foam is the only option, attach it at key points rather than gluing every millimeter. That gives the shirt a little room to stretch.
The bracers are where many DIY costumes suddenly look impressive. Even simple silver foam cuffs can transform the outfit. The trick is symmetry. Make one paper template, then use it for both arms. Add the same trim to each bracer. If one side is a little imperfect, do not panic. Once worn, nobody will inspect your forearms like a museum curator.
Boots are another area where comfort should defeat perfection. Tall red boots look amazing, but if they hurt, they will ruin the event. Boot covers over sneakers are often the better choice, especially for Halloween, school events, conventions, or long parties. You can make covers from red felt or stretchy fabric and add white or gold front stripes. From a normal viewing distance, they read as boots, while your feet enjoy not staging a rebellion.
For children’s costumes, keep everything lighter, softer, and shorter. Avoid long dangling accessories, heavy belts, tight cuffs, or pieces that block vision. Reflective tape can be hidden along the back of the belt, the treat bag, or the lower edge of the costume. It may not be part of the fantasy design, but it is part of real-world superhero behavior.
If you are making the costume for a themed party, choose durability over screen accuracy. People remember the overall look, not whether the belt angle matches a specific comic issue. If you are making it for cosplay photos, spend more time on painted shadows, layered foam, and clean edges. A little dark shading along gold foam can create depth that photographs beautifully.
One underrated tip: pack a tiny repair kit. Bring a few safety pins, a small roll of fashion tape, extra hook-and-loop tape, and a travel-size glue option if appropriate for the venue. Costumes fail in small ways: a star peels, a strap loosens, a tiara slips. A repair kit turns a potential disaster into a thirty-second bathroom fix.
Finally, remember that confidence finishes the costume. You can have the most perfect handmade armor in the room, but if you are uncomfortable, it shows. Choose a version of Wonder Woman that fits your body, your event, your crafting skill, and your comfort level. The best DIY Wonder Woman costume is not necessarily the most complicated one. It is the one that makes you stand taller, smile bigger, and feel like you could calmly handle a villain, a crowded party, and a snack table all in the same evening.
Conclusion
Learning how to make a Wonder Woman costume is less about copying every detail and more about capturing the character’s unmistakable energy: bold colors, strong shapes, metallic accents, and confident styling. With a red top, blue bottoms, gold trim, foam bracers, a tiara, belt, boot covers, and a safe decorative lasso, you can create a costume that is affordable, comfortable, and instantly recognizable.
The best part is that this DIY project can be customized for almost anyone. Want a classic comic look? Go bright and playful. Prefer a warrior-inspired costume? Add layered foam and bronze shading. Need something practical for Halloween night? Choose leggings, sneakers, reflective details, and soft accessories. Your version can be simple, dramatic, sparkly, or wonderfully over-the-top. That is the power of DIY: you get to build the hero your way.