Every Minecraft player eventually learns one universal truth: your inventory fills up faster than a creeper can ruin your front porch. One minute you are calmly collecting wood, stone, seeds, flowers, and “just one more stack” of cobblestone. The next minute, your pockets are full, your hotbar looks like a yard sale, and you are deciding whether a single feather deserves a permanent place in your life.
That is where the chest comes in. A chest in Minecraft is one of the first storage blocks most players craft, and it remains useful from your very first dirt hut to your fully automated late-game base. Whether you play Java Edition, Bedrock Edition, Survival, or a friendly multiplayer world, knowing how to make a chest in Minecraft is essential for organizing items, protecting resources, and keeping your adventure from turning into inventory chaos.
This step-by-step guide explains the Minecraft chest recipe, the materials you need, how to craft and place a chest, how to make a double chest, and how to use chests more efficiently. We will also cover common mistakes, smart storage tips, and real gameplay experiences that can help you build a cleaner, better-organized world.
Quick Answer: Minecraft Chest Recipe
To make a chest in Minecraft, you need 8 wooden planks and a crafting table. Open the 3×3 crafting grid and place one plank in every slot except the center. The empty middle square is important. Once the pattern is correct, a chest will appear in the result box.
Chest Crafting Pattern
| Wood Plank | Wood Plank | Wood Plank |
| Wood Plank | Empty | Wood Plank |
| Wood Plank | Wood Plank | Wood Plank |
That is it. Eight planks around the outside, nothing in the center. Minecraft crafting may sometimes feel mysterious, but this recipe is refreshingly simplelike making a wooden box without the instruction manual getting eaten by a zombie.
Materials Needed to Make a Chest
The materials for a Minecraft chest are easy to find, especially in a new world. You only need two things:
- 8 wooden planks
- 1 crafting table
You can use most types of planks for the recipe, including oak, spruce, birch, jungle, acacia, dark oak, mangrove, cherry, bamboo, crimson, and warped planks. The final chest looks like a normal chest regardless of which plank type you use. In other words, a chest made from cherry planks will not become pink, and a chest made from warped planks will not look like it came from an alien garage sale. It is still the classic Minecraft chest design.
Step 1: Collect Wood from a Tree
Before you can make a chest, you need wood. Walk up to a tree and break the log blocks. In Survival mode, you can punch the tree with your hand, although using an axe is faster. If you are just starting out, punching a tree is completely normal. It is practically Minecraft tradition.
Once you collect logs, open your inventory crafting grid and turn the logs into wooden planks. Each log gives you planks, and those planks become the base material for many beginner recipes, including crafting tables, sticks, tools, doors, fences, and of course, chests.
Step 2: Make a Crafting Table
A chest requires a 3×3 crafting grid, which means you need a crafting table. Your inventory only has a smaller 2×2 crafting grid, and that is not enough for the chest recipe.
To make a crafting table, place four wooden planks in your 2×2 inventory crafting grid. Once the crafting table appears, move it to your hotbar, place it on the ground, and interact with it. This opens the full 3×3 crafting menu.
Step 3: Place 8 Planks Around the Crafting Grid
Now comes the main step. Open the crafting table and place wooden planks in every square except the center. The top row should have three planks, the middle row should have one plank on the left and one on the right, and the bottom row should have three planks.
If the chest does not appear, check the pattern carefully. The center square must be empty. If you fill all nine slots, you will not get a chest. Minecraft is very particular about recipes. It does not accept “close enough,” even if you worked really hard and your character is hungry.
Step 4: Move the Chest to Your Inventory
When the chest appears in the result box, drag it into your inventory or hotbar. Congratulationsyou have crafted one of the most useful blocks in Minecraft. It may not sparkle like diamonds or explode like TNT, but it will save your sanity every time your inventory starts screaming for help.
Step 5: Place and Open the Chest
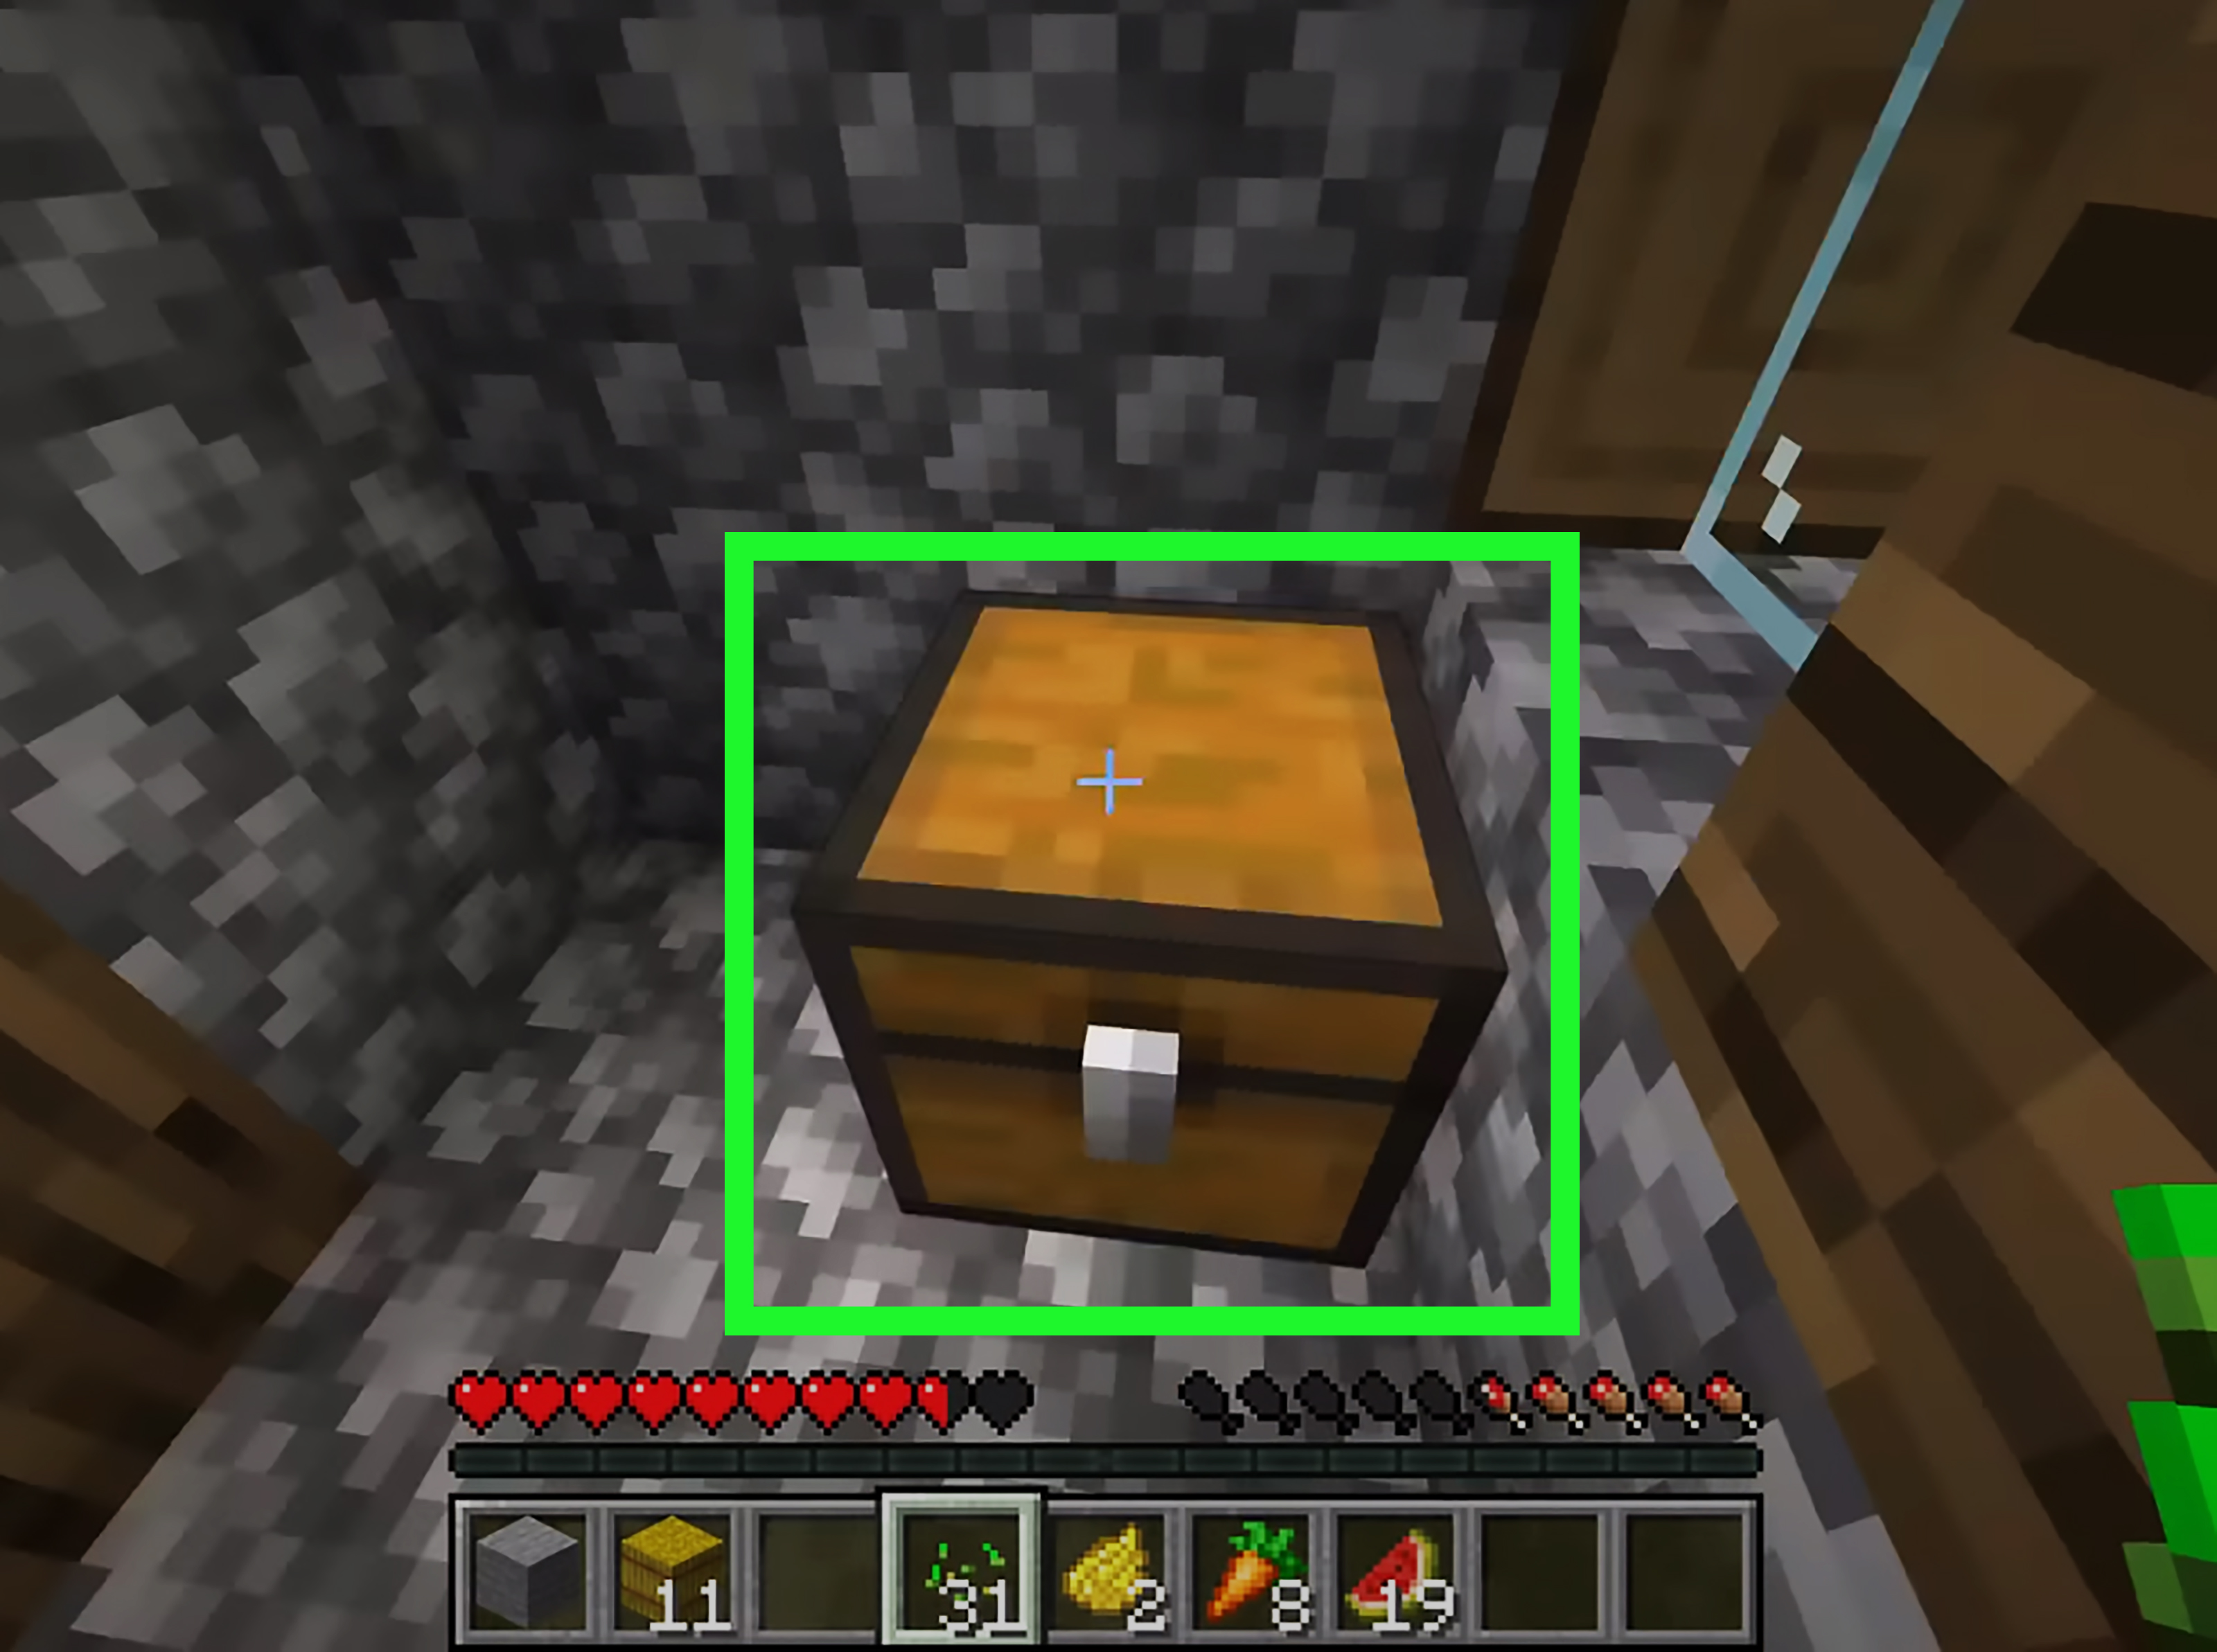
Select the chest in your hotbar and place it on a solid surface. Then interact with it to open the storage interface. A single chest gives you 27 storage slots, which is the same number of slots as your main inventory, not counting the hotbar. That makes it incredibly useful for early-game storage.
You can store almost any regular item inside a chest: blocks, tools, food, armor, ores, mob drops, farming supplies, spare weapons, maps, books, and building materials. If you do not need something immediately but want to keep it for later, put it in a chest. Your future self will thank youunless you forget which chest you used, in which case your future self will wander around opening 47 boxes like a confused raccoon.
How to Make a Double Chest in Minecraft
A single chest is helpful, but a double chest is where storage starts to feel luxurious. To make a double chest, craft two regular chests and place them side by side. When placed correctly, they connect into one larger chest with 54 storage slots.
There is no separate crafting recipe for a double chest. You do not craft it in the crafting table. You simply place two chests next to each other in the world. This is one of the easiest ways to expand your storage area without needing complicated redstone, rare materials, or a degree in Minecraft engineering.
Double Chest Tips
- Place two chests directly next to each other horizontally.
- Use double chests for bulk storage, such as stone, dirt, wood, and farming items.
- Leave enough room above the chest so it can open.
- Use signs, item frames, or labels to remember what each chest contains.
Why You Need Chests Early in Minecraft
Chests are not just convenient; they are survival tools. In the early game, your inventory fills up quickly because everything feels important. You collect wood, stone, coal, seeds, wool, raw food, saplings, flowers, and random blocks you swear you will use “later.” Spoiler: you might use them later, but you do not need to carry them all while exploring a cave.
A chest lets you safely store resources near your base. If you die far from home, items stored in your chest stay where they are. This makes chests especially helpful before mining trips, Nether visits, ocean exploration, or any adventure involving suspicious darkness and too many skeletons.
Best Uses for Chests in Minecraft
1. Store Building Materials
Builders need lots of blocks. Chests make it easy to separate stone, wood, glass, terracotta, concrete, wool, and decorative blocks. If you are building a castle, village, modern house, or underground base, organized chests keep your project moving smoothly.
2. Save Valuable Items
Diamonds, emeralds, enchanted books, armor, and rare loot should not be carried around casually. Keep valuable items in a safe chest at your base. For extra security in multiplayer worlds, hide your valuables or use server protection systems if available.
3. Organize Food and Farming Supplies
Store wheat, carrots, potatoes, seeds, sugar cane, pumpkins, melons, and animal products in a farming chest. This makes cooking, breeding animals, and trading with villagers much easier.
4. Prepare for Mining Trips
Create a mining chest with torches, pickaxes, food, ladders, buckets, spare armor, and blocks. Before going underground, grab what you need. After returning, unload ores, stone, coal, redstone, lapis, and other materials into storage.
5. Build a Sorting System
Once you have hoppers, redstone, and enough resources, chests can become part of automatic item sorting systems. These systems move items into specific chests automatically. They are not required for beginners, but they are amazing for players who enjoy technical builds.
Common Mistakes When Crafting a Chest
Using the 2×2 Inventory Grid
The chest recipe needs a 3×3 crafting grid. If you are trying to craft a chest in your inventory and nothing happens, make a crafting table first.
Filling the Center Slot
The center slot must stay empty. The correct recipe uses eight planks around the outside of the grid.
Expecting Different Wood Chests
Using different wood types does not create different-looking regular chests. The standard chest keeps the same appearance no matter which planks you use.
Blocking the Chest Lid
In many cases, a chest needs space above it to open. If you place a solid block directly above it, you may not be able to access it. Slabs, stairs, and transparent blocks can behave differently depending on placement and version, but beginners should keep the top clear to avoid frustration.
Chest vs. Barrel: Which Is Better?
Both chests and barrels store items, but they work differently. A chest can combine with another chest to form a double chest, while a barrel stays single-sized. Barrels can often be opened even when a block is above them, which makes them useful in tight spaces. Chests, however, are classic, easy to craft, and better for large storage walls because double chests provide more room.
For most players, the best answer is to use both. Chests are excellent for main storage rooms, while barrels are great for decoration, compact builds, fishing huts, kitchens, workshops, and villager job blocks.
Chest vs. Ender Chest
A regular chest stores items in one location. An ender chest works differently: its contents are connected to the player, meaning you can access the same personal storage from any ender chest you open. Ender chests are more advanced because they require rarer materials, including obsidian and an eye of ender.
For beginners, regular chests are the priority. Later, ender chests become extremely useful for carrying valuable items across long distances. Think of a regular chest as your home closet and an ender chest as your magical private backpack that refuses to explain its physics.
How to Organize Your Minecraft Chests
Good chest organization saves time. Instead of dumping everything into random boxes, divide your storage into categories. A simple beginner storage room might include separate chests for stone, wood, food, farming, tools, armor, mob drops, ores, redstone, and valuables.
Use item frames on the front of chests to show what belongs inside. Place a cobblestone block on the stone chest, a log on the wood chest, wheat on the farming chest, and a diamond or emerald on the valuables chest if you enjoy making burglars feel personally invited. In single-player, this is harmless. In multiplayer, maybe use something less obvious.
Smart Storage Room Ideas
A storage room does not need to be fancy, but it should be easy to use. Place double chests in rows with walking space between them. Add signs or item frames. Keep frequently used items near the entrance and rare items farther back. If you build underground, add good lighting so mobs do not spawn while you are sorting your gravel collection at midnight.
For a clean design, combine chests with barrels, trapdoors, lanterns, slabs, and stairs. Wood-heavy storage rooms feel warm and classic, while stone-brick storage rooms feel sturdy and medieval. In a modern base, you can hide chests behind walls or build sleek storage corridors.
Can You Find Chests Naturally?
Yes, chests can appear naturally in many generated structures throughout Minecraft. You may find loot chests in places like villages, dungeons, mineshafts, desert temples, jungle temples, shipwrecks, buried treasure sites, strongholds, woodland mansions, bastion remnants, ancient cities, and other structures depending on your version and world generation.
These chests often contain useful loot such as food, tools, armor, ingots, books, saddles, name tags, music discs, and rare materials. Still, crafting your own chest is much more reliable than wandering the world hoping a desert temple has exactly what you need. Exploration is fun, but storage should not depend entirely on luck.
Beginner Example: Your First Chest Setup
Imagine you spawn in a plains biome near oak trees. A good first-day plan might look like this:
- Break three or four logs.
- Turn the logs into wooden planks.
- Craft a crafting table.
- Craft basic wooden tools.
- Collect stone and make stone tools.
- Use eight planks to craft a chest.
- Place the chest inside your temporary shelter.
- Store extra blocks, seeds, saplings, and tools before mining.
This setup gives you a safer start. Instead of carrying every item into a cave, you only bring what you need. If a skeleton gets lucky, you lose less. If you return safely, you have a chest waiting for your new resources.
Advanced Tips for Using Chests
Use Shulker Boxes Later
In the late game, shulker boxes become portable storage. They are crafted using a chest and shulker shells. Unlike regular chests, shulker boxes keep their contents when broken, making them incredibly useful for large projects and long journeys.
Connect Chests to Hoppers
Hoppers can move items into and out of chests. This is useful for farms, smelters, item sorters, and collection systems. For example, you can place a hopper above a chest to collect items automatically from a farm.
Use Trapped Chests Carefully
A trapped chest looks similar to a regular chest but sends a redstone signal when opened. It is useful for traps, secret doors, and redstone builds. Do not confuse it with a regular chest when organizing storage, unless your goal is to prank yourself.
Personal Gameplay Experience: What Chests Teach You About Minecraft
The first chest you craft in Minecraft feels small, but it quietly changes the way you play. Before that moment, every item is a decision. Do you keep the seeds? Do you drop the rotten flesh? Do you really need 27 blocks of dirt? The answer is usually “not right now,” but Minecraft players are natural collectors. We see a stack of random blocks and think, “This could be useful someday.” Chests make that habit manageable.
One of the best habits I learned from using chests is to create storage before starting big projects. If you are building a house, make a temporary project chest nearby. Fill it with logs, planks, stairs, slabs, glass, torches, food, and tools. This prevents constant trips back to your main base. It also keeps the build site clean, which is helpful because nothing kills creative energy faster than searching through your inventory for one missing stair block while standing on unfinished scaffolding.
Another useful experience is sorting items immediately after adventures. When you return from mining, do not dump everything into one chest and promise to organize it later. That promise is how storage rooms become haunted museums of confusion. Instead, take one minute to sort ores, stone, coal, redstone, mob drops, and tools into separate chests. It feels slightly boring in the moment, but it saves huge amounts of time later.
Chests also teach you to think in systems. At first, one chest is enough. Then you need a double chest. Then you need a wall of double chests. Then you add item frames. Then you build a storage room. Eventually, you may start experimenting with hoppers and automatic sorters. That simple wooden box becomes the beginning of better planning, better building, and better resource management.
For multiplayer worlds, chests become even more important. Shared storage can help a team build faster, but it can also turn into chaos if nobody agrees where things go. A good rule is to create community chests for common materials and private chests for personal items. Label everything clearly. If you share a base with friends, organization is not just usefulit is peacekeeping. Nobody wants a dramatic server argument over missing diamonds and suspiciously well-equipped neighbors.
My favorite storage strategy is to build in layers. Near the entrance of a base, keep everyday chests for food, tools, torches, and blocks. In the main storage room, keep bulk materials like stone, wood, dirt, sand, and ores. In a hidden or protected area, keep rare items, enchanted gear, and backup equipment. This setup keeps your world practical without making storage feel like homework.
The biggest lesson is simple: make more chests than you think you need. Minecraft always gives you more items. A short mining trip becomes six stacks of cobblestone. A farming session becomes a small wheat empire. A building project somehow produces leftover stairs, slabs, fences, doors, buttons, and emotional damage. Extra storage keeps the game fun instead of frustrating.
So, when you craft your first chest, do not think of it as just a box. Think of it as the beginning of your Minecraft headquarters. It is where your spare tools sleep, where your diamonds hide, where your questionable amount of dirt waits patiently, and where your next adventure begins.
Conclusion
Learning how to make a chest in Minecraft is one of the most important beginner skills in the game. The recipe is simple: use eight wooden planks in a crafting table, leave the center slot empty, and move the chest into your inventory. From there, you can place it, open it, and start storing items safely.
A single chest gives you 27 slots, while two chests placed side by side create a double chest with 54 slots. That extra space makes a huge difference, especially as your world grows and your resource collection gets wildly out of hand. With smart organization, labels, storage rooms, and later-game upgrades like hoppers and shulker boxes, chests can support everything from small starter homes to massive survival bases.
In short, the Minecraft chest is simple, cheap, and endlessly useful. Craft one early, organize often, and never underestimate the power of a well-labeled storage wall.