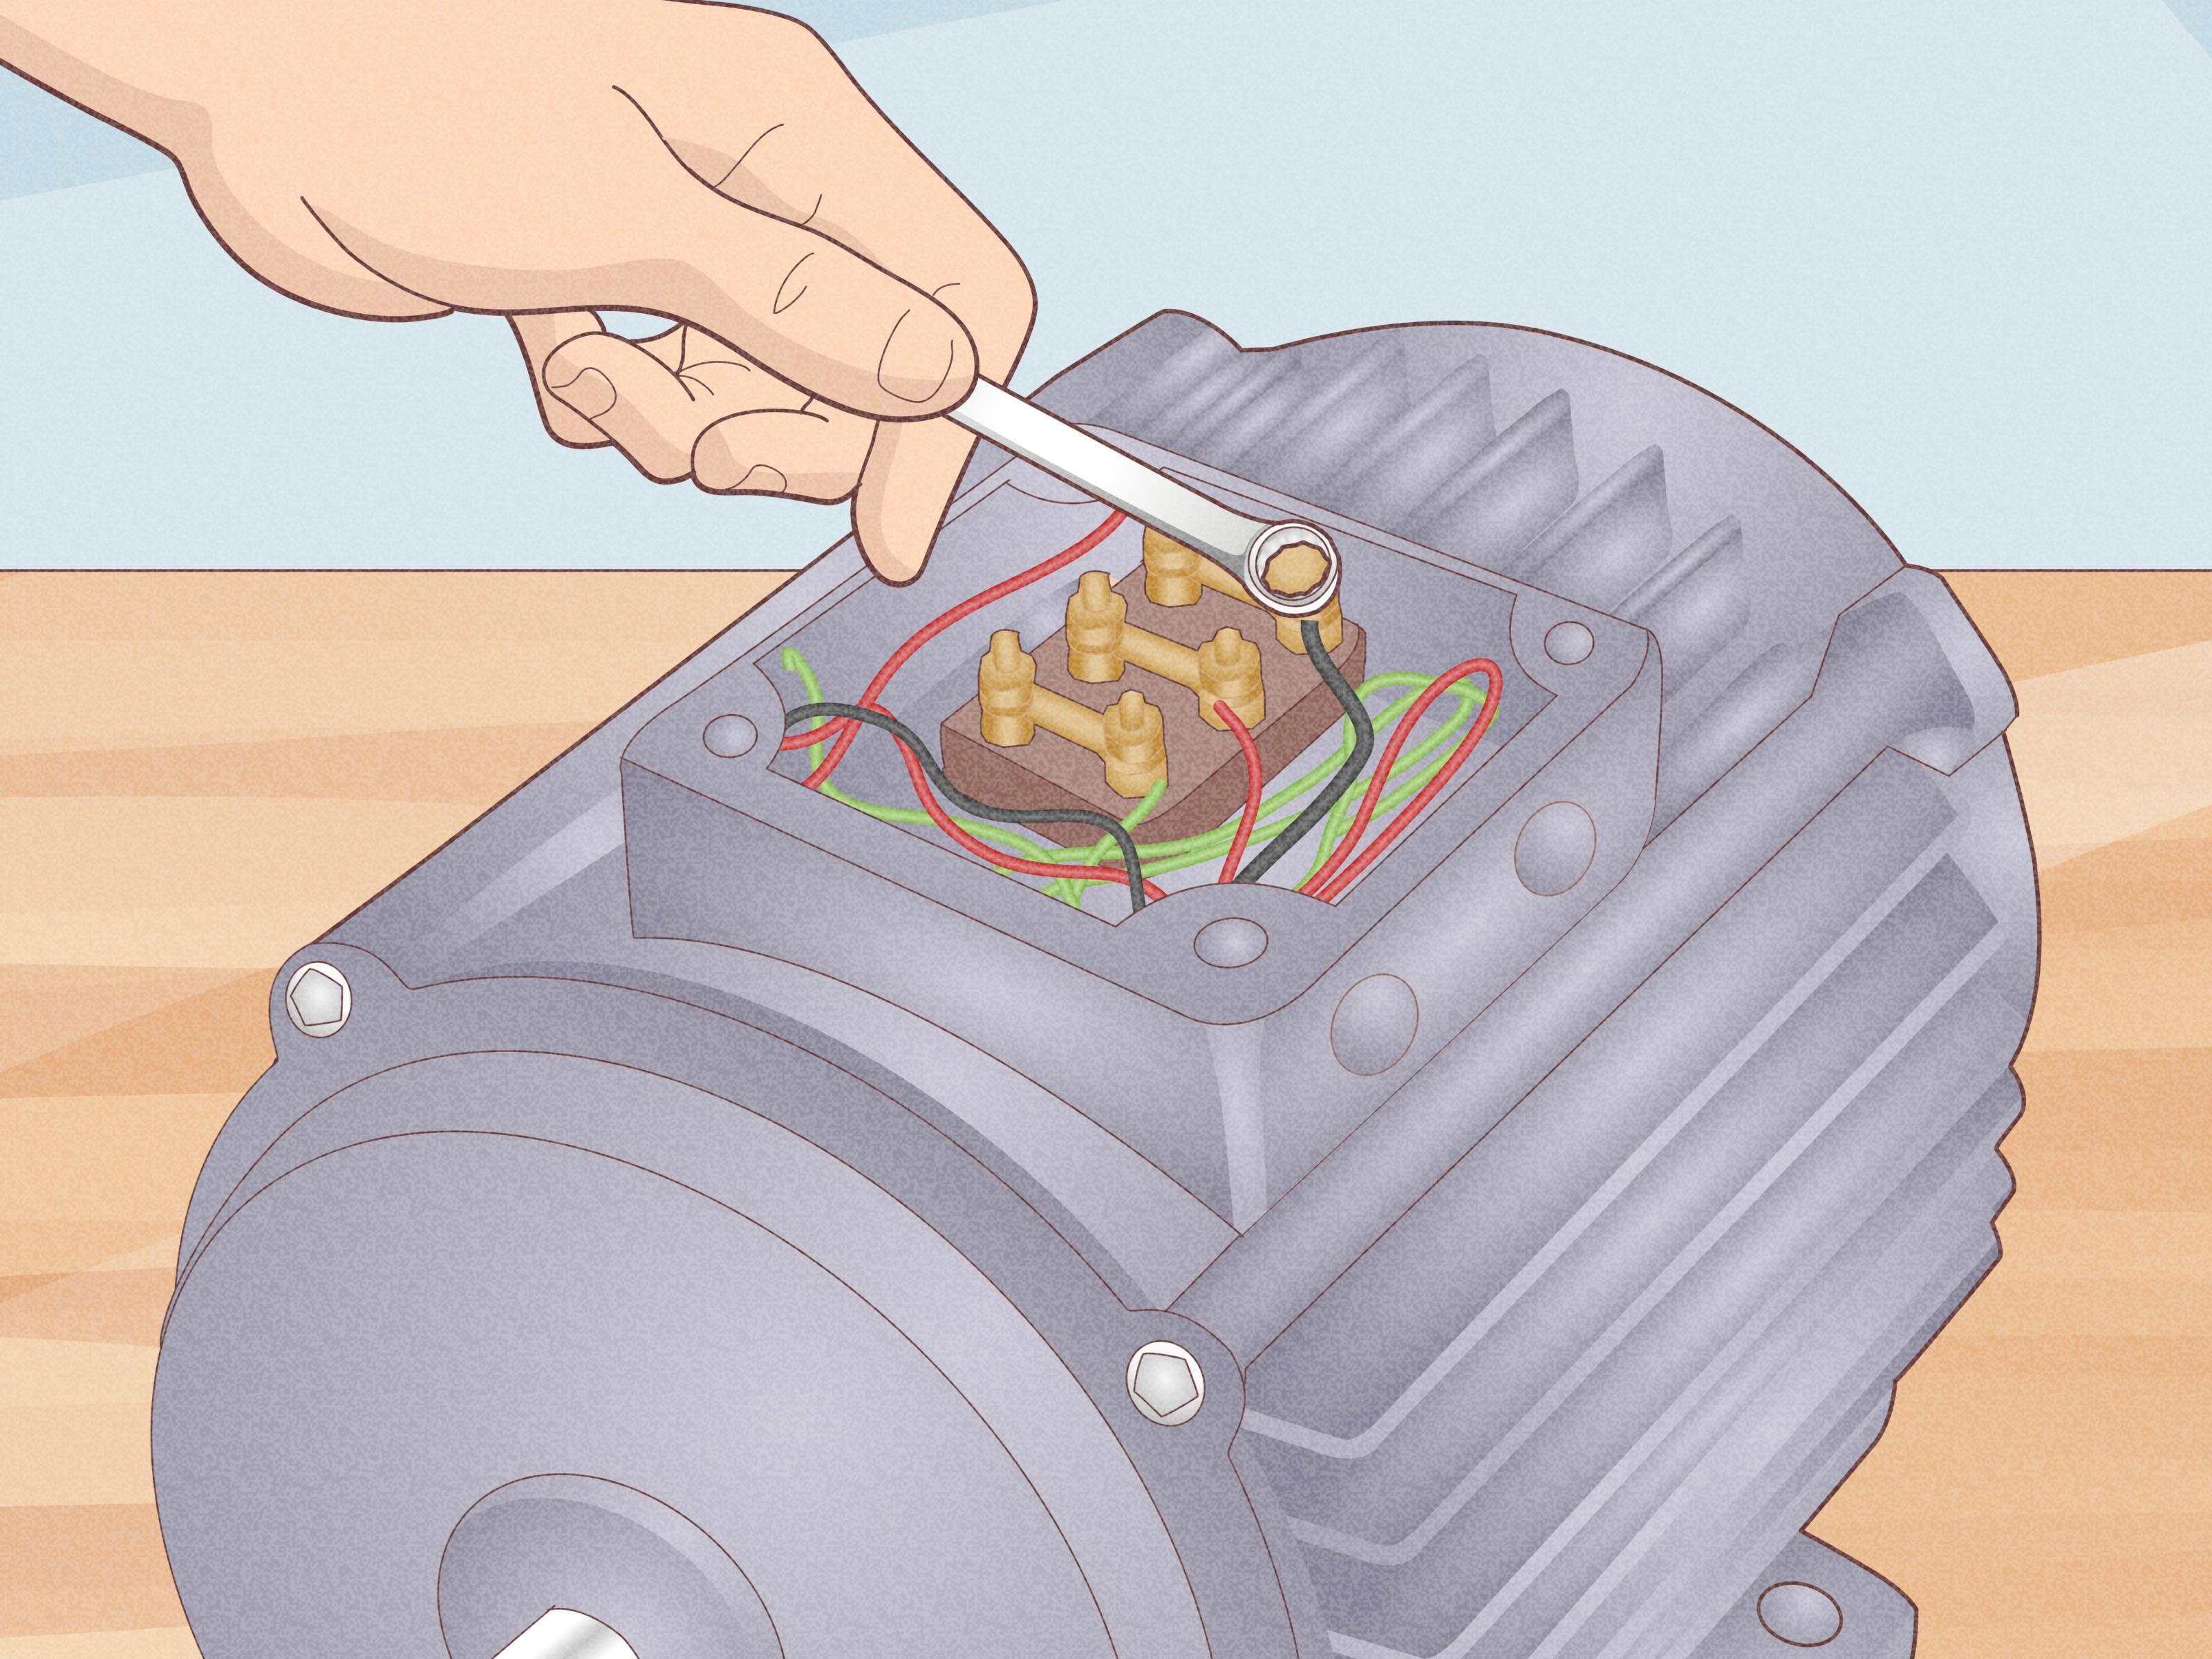
Electric motors are the workhorses of garages, workshops, HVAC systems, pumps, compressors, and factory floors. They are also magnets for dust, grease, lint, moisture, and mystery grime that seems to appear out of nowhere like it pays rent. The good news is that cleaning an electric motor is not complicated when you follow the right process. The less-fun news is that doing it carelessly can shorten motor life, damage insulation, contaminate bearings, or create a safety hazard.
If you want to clean an electric motor the smart way, the goal is simple: remove contamination without driving dirt deeper into the machine, damaging the windings, or introducing moisture where it does not belong. That means using the right tools, respecting the motor’s enclosure type, and treating safety like the main character, not a cameo. In this guide, you will learn how to clean an electric motor step by step, what tools to use, what mistakes to avoid, and what experienced technicians tend to notice while they are already elbow-deep in motor dust.
Why Cleaning an Electric Motor Matters
An electric motor runs best when it can breathe, stay cool, and keep contaminants away from critical parts. Dirt buildup blocks airflow, traps heat, and can raise operating temperatures. Oil and grime can cling to the housing, cooling fins, and fan cover, which makes heat removal less effective. In open-style motors, contamination can reach windings and insulation. In dirty or damp environments, that can lead to insulation breakdown, corrosion, vibration issues, and bearing trouble.
In plain English: a dirty motor runs hotter, ages faster, and is more likely to fail when you least need extra drama in your day. Regular cleaning is one of the simplest preventive maintenance habits you can build.
Before You Clean: Know What Kind of Motor You Have
Open Drip Proof (ODP) Motors
ODP motors use air moving through the motor for cooling. They work well in cleaner, drier environments, but they are more vulnerable to dust and debris getting inside. These motors usually need more careful internal cleaning because their ventilation openings are part of the design, not a flaw.
Totally Enclosed Fan Cooled (TEFC) Motors
TEFC motors are better suited to dusty or dirty environments because the housing is more sealed, and an external fan moves air over the frame. They still get dirty, especially around the fan cover, cooling fins, shaft area, and terminal box, but the cleaning process usually focuses more on the exterior than the internal windings.
Washdown or Specialty Motors
Some motors are designed for wet cleaning, food processing, or corrosive environments. Others definitely are not. That is why “just spray it with water and hope for the best” is not maintenance advice. It is a plot twist. Always check the nameplate, enclosure type, and manufacturer instructions before using water, detergent, or solvents.
Safety First: The Step You Never Skip
Before cleaning an electric motor, disconnect power completely and verify that the motor cannot restart unexpectedly. Use proper lockout/tagout procedures if the motor is part of installed equipment. If the motor is connected to driven equipment, make sure all stored energy sources are addressed as well. This is especially important in industrial settings where someone else can flip a switch and turn your cleaning project into a terrible idea.
Wear safety glasses, gloves appropriate for the task, and a dust mask or respirator when dealing with heavy debris. If you use compressed air, protect yourself from flying dirt. If you use a solvent or detergent, follow the manufacturer’s handling instructions and make sure the area is properly ventilated.
Tools and Supplies You Will Actually Use
- Soft brush or bristle brush
- Vacuum with a non-metallic nozzle or brush attachment
- Clean, dry, lint-free cloths
- Low-pressure, oil-free compressed air
- Mild nonconductive cleaner or approved solvent for grease on exterior surfaces
- Screwdrivers or hand tools for covers and guards
- Flashlight for inspection
- Insulation resistance tester or multimeter, if you are qualified to use one
- PPE such as eye protection, gloves, and dust protection
Avoid wire brushes, dirty rags, mystery solvents from the back shelf, and any “it should probably be fine” product that is not approved for electrical equipment. Motors deserve better than vibes-based chemistry.
How to Clean an Electric Motor Step by Step
1. Shut It Down and Confirm It Is Safe
Start by disconnecting power. Lock out the disconnect if the motor is installed in a system. Verify zero energy before touching the motor, terminals, fan area, or housing. Let the motor cool if it has been running. Cleaning a hot motor is uncomfortable, and some cleaners should never be used on hot surfaces.
2. Do a Quick Inspection Before You Touch the Dirt
Take a minute to look for cracked conduit fittings, missing gaskets, oil leaks, loose terminal box covers, damaged fan guards, worn seals, or unusual discoloration. If the motor already shows signs of burned insulation, melted leads, heavy moisture contamination, or mechanical damage, cleaning alone will not solve the problem. That is a repair-shop conversation, not a rag-and-vacuum conversation.
3. Clean the Exterior First
Wipe down the outside of the motor housing with a dry, lint-free cloth. On TEFC motors, pay special attention to the cooling fins, fan shroud, end bells, and terminal box. Exterior buildup is often the easiest thing to remove and the biggest reason the motor runs hotter than it should.
If there is greasy residue on the outside, use a cloth lightly dampened with an approved cleaner or solvent that will not harm paint or insulation systems. Do not flood the surface. The goal is to lift grime, not marinate the motor.
4. Use a Brush and Vacuum for Dry Dirt
For dust, lint, and loose debris, a soft bristle brush plus vacuum is the safest starting point. Brush gently and vacuum at the same time so the contamination leaves the motor instead of getting redistributed like confetti at a bad party. This method is especially useful for accessible winding surfaces, vents, and fan covers.
If the motor is open-style and accessible for inspection, brushing and vacuuming are usually better first choices than blasting debris with air. They give you control and reduce the chance of pushing dirt deeper into the machine.
5. Use Compressed Air Carefully, Not Heroically
Compressed air can help remove dry dirt from crevices, but this is where people get overconfident. Use only clean, dry, oil-free air and keep the pressure low. For general cleaning, do not exceed manufacturer limits, and do not aim the air in a way that drives debris deeper into the windings, bearings, or insulation. Short, controlled bursts beat the full “leaf blower audition” every time.
Direct the airflow outward from the motor whenever possible. If a cloud of dust erupts like the motor has been storing 2007 inside it, stop and improve your dust control. You want the dirt gone, not orbiting you.
6. Clean the Fan, Guard, and Air Passages
Many electric motor overheating problems are not caused by the windings themselves but by blocked airflow. Remove lint, dust cakes, oily buildup, and shop fuzz from the fan blades, fan cover, and ventilation openings. On TEFC motors, this area is maintenance gold. A clean fan path helps restore cooling performance without touching the internals much at all.
7. Clean Internal Windings Only When Appropriate
If you are dealing with an open motor and the windings are visibly dusty but otherwise dry and intact, stick to gentle methods first: lint-free wiping where accessible, soft brushing, vacuuming, and careful low-pressure air. Do not use a wire brush. Do not scrape insulation. Do not jab at tied windings with a screwdriver because curiosity got the better of you.
If the windings are oily, heavily contaminated, or have been exposed to water, cleanup becomes more technical. In those cases, the correct approach may involve approved detergents, controlled washing, drying, insulation testing, and sometimes reconditioning. That is often best handled by a qualified motor shop rather than improvised on-site.
8. Check Bearings, Shaft, and Seals While You Are There
Cleaning time is inspection time. Turn the shaft by hand if safe and practical. It should move smoothly without grinding, binding, or wobbling. Look for grease leakage around bearing housings, dirt packed around the shaft, or signs that contamination has worked past the seal area. Cleaning the outside of a failing bearing will not save it, but it may help you catch the issue before the motor announces it with a scream.
9. Dry Everything Thoroughly
If you used any damp cloths, approved cleaners, or moisture-based methods allowed by the motor design, the motor must be fully dry before it goes back into service. This is not the moment for impatience. Residual moisture can reduce insulation resistance and increase the risk of electrical failure. When a motor has been wet or washed internally, insulation testing is often part of the return-to-service process.
10. Reassemble and Run a Post-Cleaning Check
Reinstall covers, guards, and access panels. Make sure fasteners are tight, airflow paths are unobstructed, and nothing was left inside the motor housing. Restore power and observe startup. Listen for unusual noise, check for vibration, and confirm the motor is not running hot. A successful cleaning job should leave the motor cleaner, cooler, and slightly less offended by its work environment.
What Not to Do When Cleaning an Electric Motor
- Do not clean a motor while it is energized.
- Do not use wire brushes on windings or insulation.
- Do not blast high-pressure air into the motor.
- Do not use solvents that can damage paint, insulation, or seals.
- Do not soak a standard motor with water unless the design and procedure specifically allow it.
- Do not wipe internal parts with a lint-shedding rag.
- Do not ignore grease leakage, burned smells, or damaged insulation just because the motor “still runs.”
- Do not over-lubricate bearings after cleaning. More grease is not more wisdom.
Special Cleaning Situations
If the Motor Got Wet
If the motor has been exposed to rain, flooding, washdown overspray, or condensation, stop and assess before restarting it. Moisture can compromise insulation, contaminate bearings, and promote corrosion. A wet motor may need disassembly, controlled cleaning, drying, insulation resistance testing, and bearing service. Restarting it immediately can turn a recoverable problem into a replacement order.
If the Motor Lives in a Dusty Shop
Sawmills, woodworking shops, textile areas, agricultural buildings, and dusty manufacturing spaces can load a motor with debris quickly. In these environments, shorter cleaning intervals make sense. Monthly visual checks and frequent cleaning of external airflow paths may do more for motor life than one heroic annual cleanup.
If the Motor Is in Food or Washdown Service
Use the cleaning method that matches the motor’s rating. Washdown-duty motors are built differently from standard-duty motors. Check seals, conduit entries, gaskets, and drain provisions. Even a motor designed for washdown should not be treated like a driveway.
If the Motor Uses Brushes or Produces Carbon Dust
Some DC and specialty motors create carbon dust that needs different handling. In these cases, follow the manufacturer’s service instructions closely. Carbon dust is conductive, messy, and not something to casually smear around with a rag.
How Often Should You Clean an Electric Motor?
There is no one-size-fits-all cleaning schedule. The right interval depends on the motor enclosure, duty cycle, ambient temperature, humidity, contamination level, and how much downtime costs when the motor fails. In cleaner indoor environments, visual inspections and occasional cleaning may be enough. In dirty, wet, or high-load service, you may need regular scheduled cleaning and inspection.
A practical rule is this: clean based on condition, not guilt. If vents are blocked, the frame is caked with grime, or dust is building around windings and fan passages, it is time.
Common Signs a Motor Needs Cleaning or More Than Cleaning
| Symptom | What It May Mean |
|---|---|
| Motor runs hotter than normal | Blocked airflow, dirty fins, fan cover packed with debris, overload, or bearing trouble |
| Dust visible inside vents or terminal box | Cleaning overdue, poor sealing, or dirty environment |
| Grease on housing or near shaft | Seal issue, over-greasing, or bearing wear |
| Burned smell or discoloration | Insulation overheating or electrical fault |
| Noise or rough shaft rotation | Bearing damage, contamination, or alignment problems |
| Trips after washdown or damp weather | Moisture intrusion and possible insulation resistance problem |
Practical Experiences and Lessons From the Field
One of the most useful things people learn about electric motor cleaning is that the dirtiest-looking motor is not always the sickest one, and the shiny one is not always healthy. A TEFC motor can look rough on the outside but clean up beautifully with nothing more dramatic than a vacuum, brush, and patient attention to the cooling fins. Meanwhile, an ODP motor that looks only mildly dusty can hide contamination deep inside, where heat and moisture have been working overtime. The lesson is simple: appearance matters, but inspection matters more.
Another common experience is discovering that “cleaning” often turns into “detective work.” You start by removing dust, then notice oily streaks near the bearing housing. You wipe that away and realize the grime is sticky because it has been mixing with escaped grease for months. Then you rotate the shaft and hear a faint roughness. Suddenly the cleaning job has done its real job: it revealed a problem before the motor failed during production, on the hottest day of the month, right when everyone is already annoyed.
Technicians also learn quickly that airflow is everything. A motor does not need to be packed solid with dirt to run too hot. Sometimes a thin felt-like layer of lint over the fan cover or a crust of oily dust on the fins is enough to reduce cooling and raise temperatures. Cleaning those areas can produce surprisingly noticeable results. The motor runs cooler, the smell improves, and the housing stops feeling like it is auditioning to be a toaster.
There is also a strong practical lesson about restraint. Many people assume that more force means better cleaning. In reality, the best motor cleaning jobs are usually the least dramatic ones. Gentle brushing, vacuuming, lint-free wiping, and controlled air do the job without pushing contaminants deeper into the machine. The “power washer and optimism” approach is how a simple maintenance task becomes a repair estimate.
Experience also teaches that documentation is underrated. When maintenance teams note how dirty a motor was, what was cleaned, whether insulation readings changed, and whether vibration or noise was present, patterns start to emerge. Maybe one motor always loads up with dust because of its location near a belt guard. Maybe another keeps getting wet because a washdown hose pattern hits the conduit entry. Once those patterns are visible, cleaning stops being reactive and becomes strategic.
Finally, seasoned people tend to say the same thing: cleaning an electric motor is not glamorous, but it pays back. It improves cooling, supports reliability, and creates a perfect moment to catch leaks, looseness, bearing wear, damaged leads, and moisture problems before they grow into expensive surprises. In other words, cleaning is not just housekeeping. It is one of the cheapest ways to buy a motor more time.
Conclusion
Knowing how to clean an electric motor properly comes down to a few smart habits: disconnect the power, identify the motor type, remove dry debris gently, clean airflow paths thoroughly, use compressed air with caution, avoid harsh tools and random chemicals, and inspect as you go. A clean motor runs cooler, lasts longer, and gives you fewer unpleasant surprises. That is a pretty solid return for a maintenance task that mostly involves patience, dust, and resisting the urge to overdo it.
If the motor is badly contaminated, wet, oily inside, or showing signs of insulation or bearing damage, cleaning may be only the first chapter. In that case, bring in a qualified motor technician or service center. There is no shame in calling for backup. Electric motors are tough, but they are not fans of guesswork.