Quick reality check: a piano is basically a giant wooden (or polyester-coated) dust magnet with 88 tiny handprints waiting to happen. Clean it the wrong way and you can turn “Chopin in C-sharp minor” into “Creaking in Sticky Major.” The good news: you don’t need fancy sprays, mystery oils, or the bravery of an antique-restoration show. You need patience, the right cloths, and a strong commitment to not letting moisture drip between the keys.
This guide walks you through exactly how to clean a piano safelykeys, case, pedals, and the places dust loves to hidewithout damaging the finish or the action. It’s written for upright pianos, grand pianos, and most acoustic instruments. If you have a digital piano, you’ll also find a few extra “do this, not that” notes because electronics and liquids have never been friends.
What you’ll need (simple, safe supplies)
- 2–3 clean, lint-free microfiber cloths (or soft cotton/cheesecloth)
- Distilled water (helps avoid mineral spots)
- A small bowl or spray bottle (for dampening clothsnever the piano)
- Optional: a tiny drop of mild dish soap (for grime, not daily dust)
- Optional: hydrogen peroxide (3%) or a manufacturer-approved disinfectant method for shared instruments
- Soft detailing brush (like a clean makeup brush) for crevices
- Cotton swabs for tight corners (use dry or barely damp)
Before you start: know what you’re cleaning
Most modern piano keys are plastic (acrylic). Older pianos may have ivory keytops, and some have wood sharps (black keys) that are painted or lacquered. Case finishes vary too: high-gloss “mirror” pianos often have a polyester finish; many uprights and grands have lacquer or satin finishes. These details matter because the safest “one-size-fits-most” method is light moisture + gentle wiping + immediate drying, while harsh chemicals, solvents, and excess water are the fastest route to expensive regret.
How to clean a piano: 11 steps
Step 1: Pick the right moment (and set the piano up for success)
Choose a time when the piano is cool and out of direct sunlight. Heat and sun make cleaners evaporate unevenly and can leave streaks. If you’re cleaning a grand, close the lid to protect the soundboard and strings from drifting dust. If you’re cleaning an upright, close the top lid and fallboard when you’re not actively cleaning the keys.
Step 2: Wash your hands, remove jewelry, and clear the “piano shelf”
Oils from skin are the #1 reason keys look dull and cabinets get fingerprint art. Wash hands first. Remove rings or bracelets that could scratch a high-gloss finish. Then remove anything sitting on the piano (photos, metronomes, candles, the mystery cup that definitely shouldn’t be there). A clean surface is easier to wipe, and you won’t accidentally “polish” around crumbs.
Step 3: Dry dust the cabinet gently
Start with a dry microfiber cloth. Dust the top, music desk, fallboard, and front panels using light pressure. Think “petting a shy cat,” not “scrubbing a cast-iron skillet.” For corners and carved details, use a soft detailing brush to lift dust, then catch it with the cloth.
Step 4: Never spray the pianodampen the cloth instead
If you need more than dusting, lightly dampen a cloth with distilled water. The cloth should be barely dampno drips, no shine, no “it could water a plant.” Spraying directly risks moisture seeping into seams, under the keybed, or into the action, where swelling and sticking can happen.
Step 5: Clean the white keys (one section at a time)
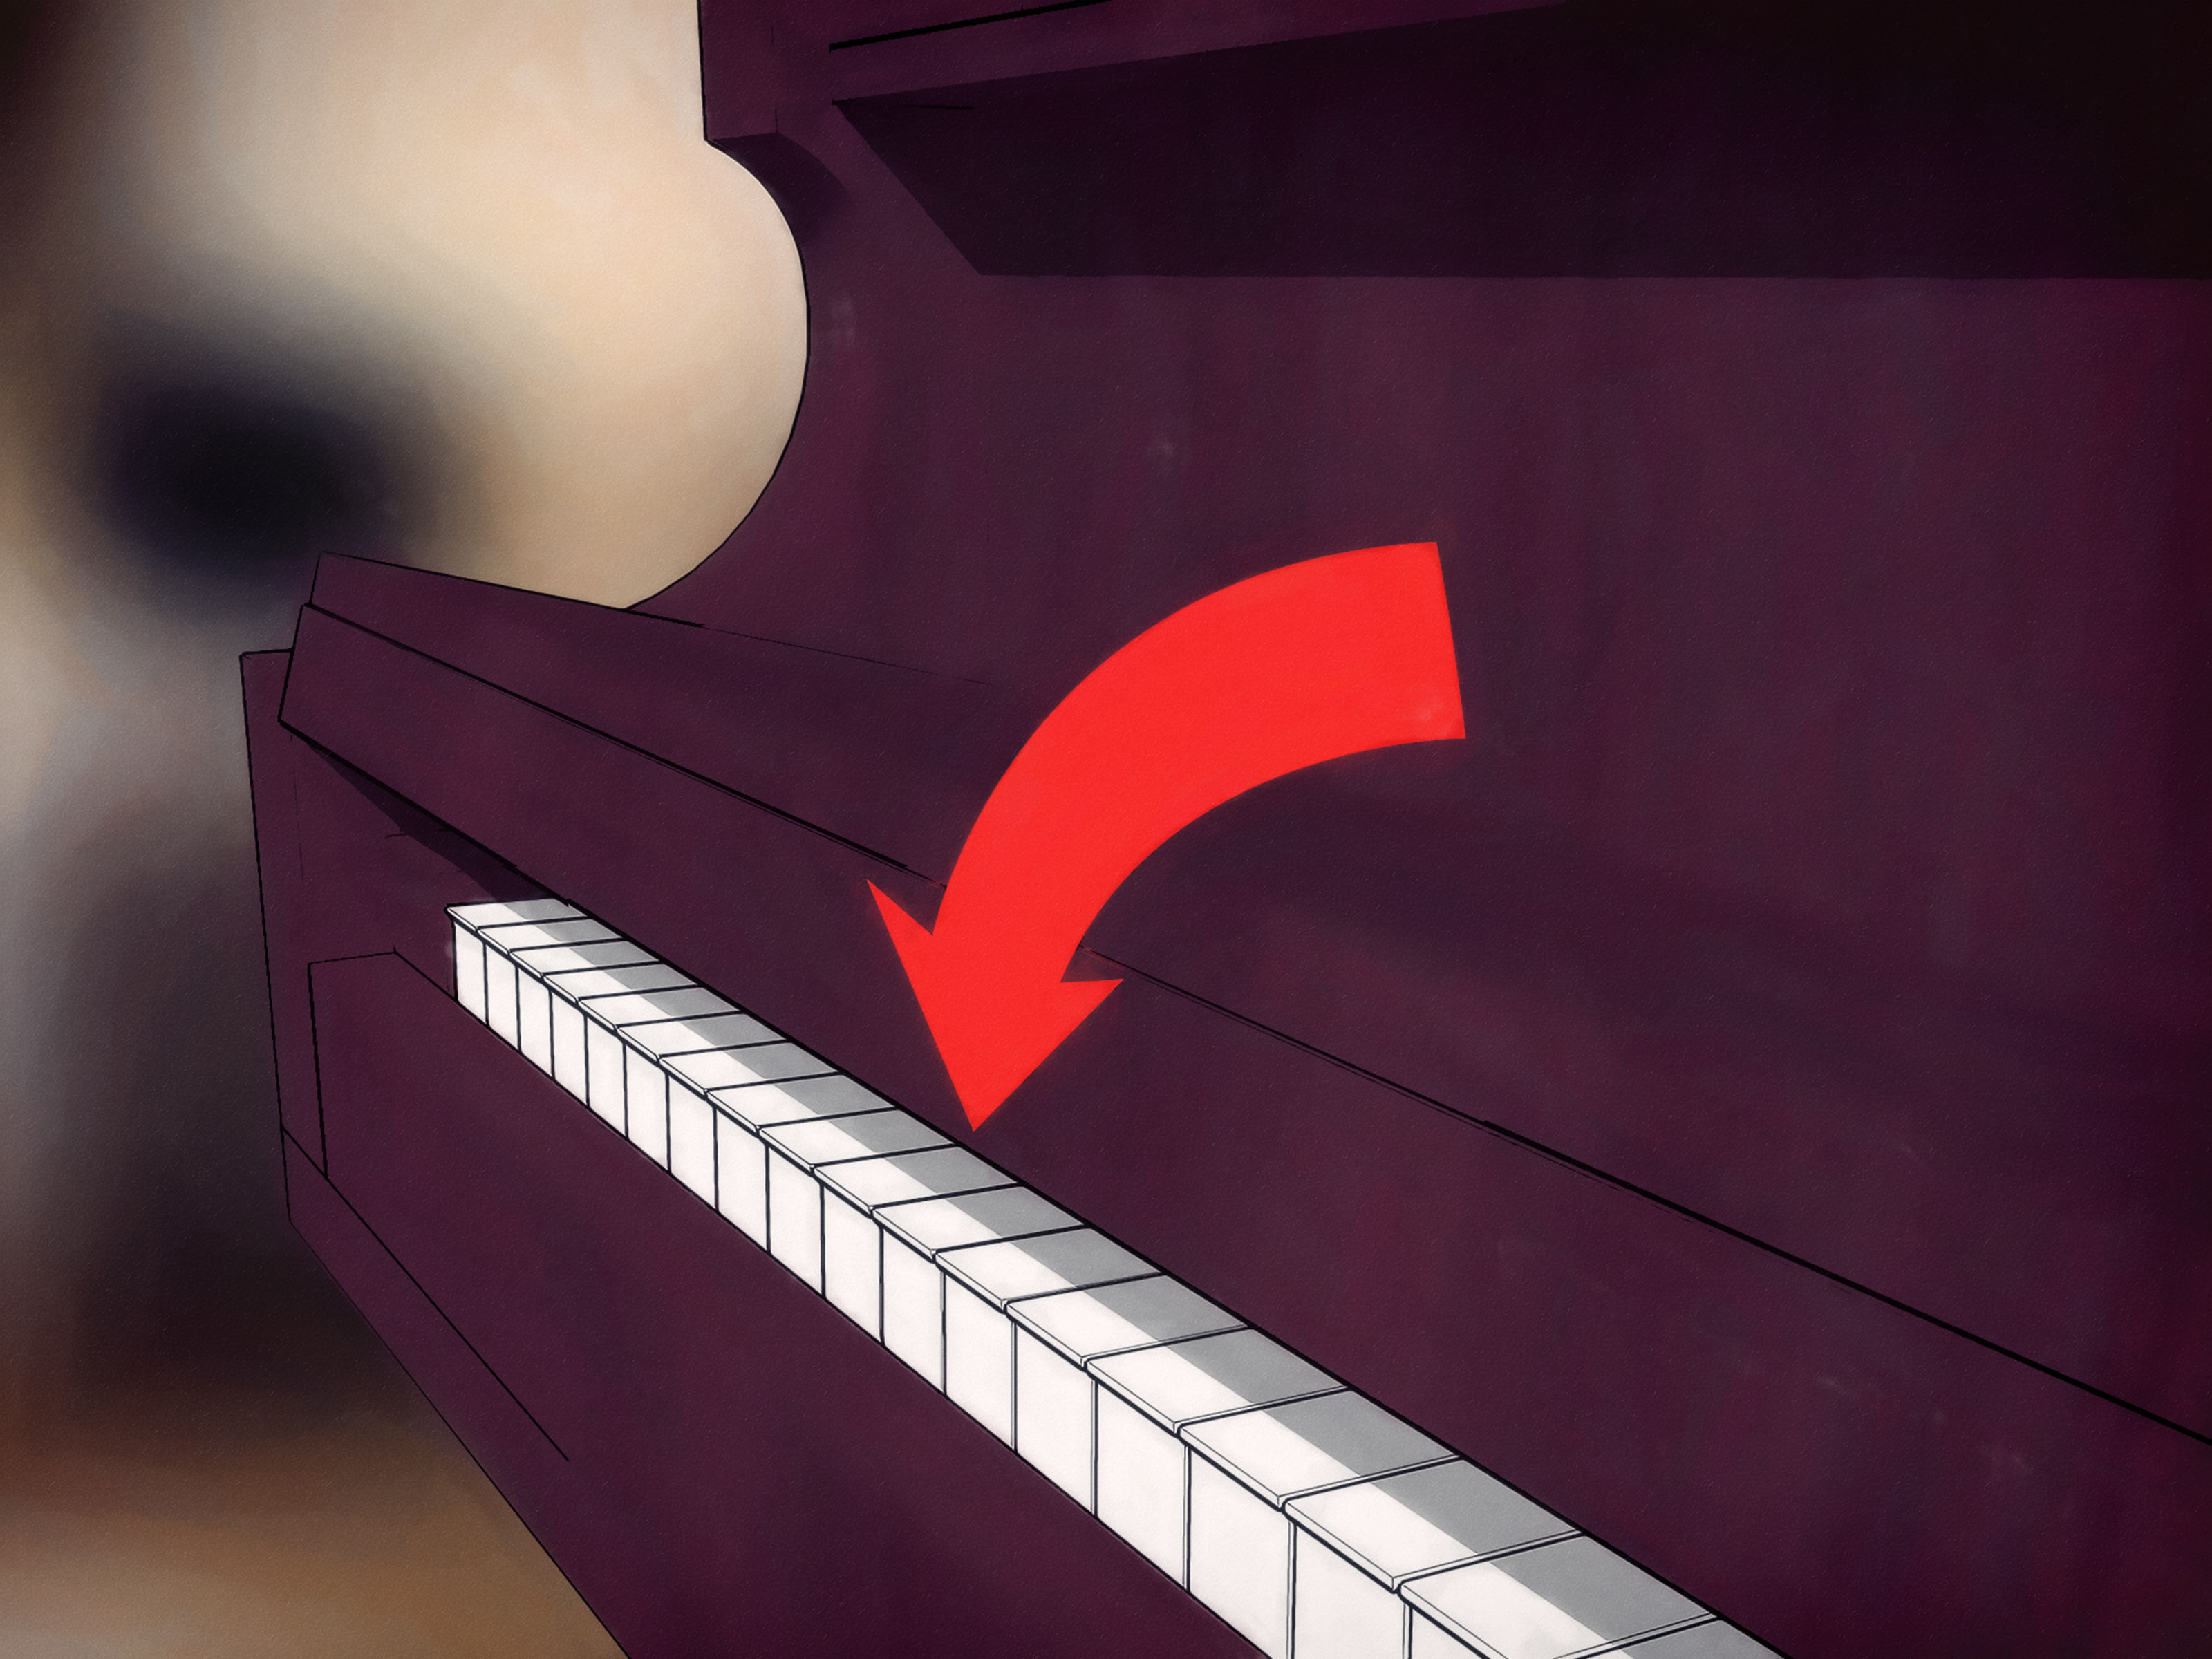
Open the fallboard and work in small sections (10–12 keys). Using a barely damp cloth, wipe each white key from back to front (toward you). This direction helps keep moisture away from gaps between keys. Immediately follow with a dry cloth to remove remaining moisture and prevent streaks.
Tip: If the keys are only slightly smudged, plain water is often enough. If they’re genuinely grimy, add a tiny drop of mild dish soap to the damp cloth, wipe, then wipe again with a water-only cloth, and dry.
Step 6: Clean the black keys with a separate cloth
Use a second cloth for black keys. Some older black keys (especially wood sharps with lacquer/paint) can be more sensitive, and using a separate cloth also reduces the chance of dark residue transferring onto white keys. Use the same back-to-front motion, minimal moisture, and immediate drying.
Step 7: Handle stains, stickiness, and “mystery smudges” safely
For sticky residue (think soda mist, candy fingers, or “my kid was helping”), resist the urge to escalate to household cleaners. Start with water. If needed, use a mild soap solution on the clothnot directly on the keysand wipe gently. Avoid abrasive pads, paper towels, and anything with bleach, ammonia, citrus oils, or strong solvents. If a stain doesn’t budge, stop and ask a piano technician; aggressive cleaning can permanently dull or scratch keytops.
For ivory keys: be extra cautious. Use a very lightly damp cloth, wipe gently, and dry immediately. Ivory can absorb moisture and discolor. Many technicians recommend keeping ivory exposed to some indirect light to reduce yellowing, but avoid harsh sunlight.
Step 8: Disinfecting keys (only when you actually need to)
If the piano is shared (school, studio, church, rehearsal space), disinfecting can make sense. The safest approach is to follow the manufacturer’s guidance or your piano technician’s recommendation. Common professional advice includes using hydrogen peroxide (3%) on a cotton pad to wipe keytops, or carefully using certain alcohol-based disinfectants in diluted formwhile avoiding bleach-based products and anything that leaves a residue. Whatever method you use, keep liquids controlled (damp pad, not wet), wipe back-to-front, and allow surfaces to dry fully before playing.
At home, regular handwashing and routine cleaning are usually enough. Over-disinfecting can be harder on surfaces than everyday playing.
Step 9: Clean the fallboard, music desk, and exterior panels
Once keys are clean and dry, close the fallboard to protect them. Then wipe the exterior panels with a dry cloth. For fingerprints, use a barely damp cloth followed by a dry one. If you have a high-gloss finish, use ultra-light pressure to avoid “micro-swirls.” If the finish is satin or lacquer, avoid aggressive rubbing on sharp edges and corners, where finishes can wear through faster.
Furniture polish warning: many piano brands and technicians caution against generic furniture polishespecially products containing silicone or waxbecause they can build up, attract dust, and complicate future refinishing.
Step 10: Shine the pedals and hardware (without turning it into a chemistry experiment)
Pedals collect dust and shoe marks. Wipe them with a dry cloth first. If they’re brass, a small amount of brass polish on a cloth (never on the floor, never dripping) can brighten thembut be careful not to get polish on wood or carpet. Many people skip polish entirely and simply wipe pedals clean; that’s perfectly fine for routine care. If you do polish, buff thoroughly so residue doesn’t transfer to shoes (or into a light-colored rug that did nothing to deserve this).
Step 11: Set a maintenance rhythm (and know when to call a pro)
A good schedule beats one heroic cleaning marathon:
- Weekly: quick dusting of cabinet; wipe keys if needed.
- Monthly: more thorough key cleaning; check pedals and crevices.
- Seasonally: review humidity/temperature placement (away from vents, radiators, and direct sun); consider a room humidifier/dehumidifier as needed.
- 1–2 times per year: professional tuning and inspection; ask your technician about deep cleaning areas you shouldn’t reach.
If keys feel sticky, uneven, or sluggish after cleaning, stop using the piano and contact a technician. That can be a sign moisture reached the keybed or actionsomething you want fixed sooner rather than later.
Common mistakes that can damage a piano
- Spraying liquid directly onto keys or the cabinet (it can seep into seams).
- Using bleach, ammonia, or abrasive cleaners (they can dull finishes and damage keytops).
- Using paper towels on high-gloss finishes (micro-scratches happen fast).
- Soaking a cloth and “letting it dry naturally” (moisture between keys is the enemy).
- Using silicone-heavy furniture polish (build-up + refinishing nightmares).
- Trying to vacuum or “detail” the interior action without training (one snagged felt = a bad day).
Special notes for digital pianos and keyboards
Digital pianos usually want less moisture, not more. Many manuals recommend cleaning with a dry cloth and avoiding liquids and solvents. If you need to remove grime, use a very slightly damp cloth, wrung out thoroughly, and keep moisture away from seams, buttons, speakers, and power connections. When in doubt, check the owner’s manual.
Bonus: the “my piano is always dusty” prevention plan
Dust prevention is the cleaning hack nobody sells in a bottle:
- Keep the keyboard covered and the lid closed when not in use.
- Place the piano away from open windows, vents, and high-traffic snack zones.
- Use a soft room duster nearby so “quick wipe” becomes a habit.
- Consider an air purifier if your room is dusty or you have pets who believe the piano is a warm throne.
Experiences from the real world: what actually happens when people clean pianos
There’s the “perfect cleaning routine” and then there’s real liferecitals, kids, roommates, and the occasional enthusiastic houseguest with a lemon-scented wipe. Here are a few real-world patterns piano techs and teachers routinely see, and the practical lessons you can steal without learning them the hard way.
1) The studio piano that gets played by everyone. In shared spaces, the keys can look dull within days because different hands leave different oils. The best routine isn’t aggressive scrubbing; it’s consistency. Many studios keep a soft cloth in the bench and do a quick back-to-front wipe at the end of the day. When disinfecting is needed (flu season, lots of students), controlled methods like a lightly dampened pad are usednever a full-on “spray and pray.” The surprising lesson: a gentle daily habit keeps you from needing harsh products later.
2) The high-gloss grand that looks clean… until you turn on the lights. High-gloss finishes are gorgeous, but they’re also honest. They don’t hide fingerprints; they frame them like modern art. People often overcompensate by rubbing harder, which creates fine swirl marks that show up under lamps. The fix is boring but effective: use a super-soft microfiber cloth, minimal pressure, and small sections. If you’re using any finish cleaner, apply it to the cloth, not the piano, and buff with a second dry cloth. The lesson: the softer your touch, the better the shine.
3) The “sticky octave” mystery. Sometimes one section of keys feels tacky even after wiping. This is often a clue that something got between the keyssugary residue, a spill, or even cleaning moisture that wicked downward. People then try “stronger cleaner,” which can make the surface worse or push moisture deeper. In real practice, the safe move is to stop, keep the lid closed to reduce dust, and call a technician if the stickiness persists. The lesson: when playability changes, cleaning is no longer a DIY project.
4) The inherited upright with ivory keys that look yellow. Owners are understandably tempted to go full science experiment: whitening toothpaste, baking soda, strong peroxide, you name it. But ivory is porous, and harsh methods can create uneven color or micro-cracks. The more conservative approach is gentle cleaning, consistent handwashing before playing, and letting the keys get some indirect light over time. If deep restoration is desired, professionals can advise on safe, gradual options. The lesson: with antiques, “slow and gentle” wins.
5) The well-meaning furniture polish incident. This one is common: someone grabs all-purpose furniture polish to make the piano “nice and shiny.” It looks great for a week… then it starts attracting dust like a magnet, and later, a technician groans because silicone residue can complicate repairs and refinishing. The lesson: pianos aren’t coffee tables. If you’re unsure, stick to dry dusting and a barely damp cloth, or use products specifically intended for pianos.
Bottom line: the best piano cleaning routine is calm, minimal, and repeatable. If you remember just three thingsuse soft cloths, keep moisture tiny, and dry immediatelyyou’re already cleaning like someone who plans to own the piano for the long haul.