Your office chair is not just a chair. It is the tiny cockpit where emails are launched, spreadsheets are wrestled into submission, and coffee-fueled decisions are made. When it is adjusted badly, your body knows. Your shoulders creep toward your ears. Your lower back starts filing complaints. Your wrists feel like they have joined a very dramatic theater group.
The good news is that learning how to adjust an office chair for ergonomics is simple once you know the order. You do not need a medical degree, a fancy standing desk, or a chair that looks like it was designed by NASA for a moon accountant. You need to fit the chair to your body, then fit your desk, keyboard, mouse, and monitor around that seated position.
This guide walks you through seat height, seat depth, lumbar support, armrests, recline, foot support, and workstation alignment. By the end, your chair should feel less like furniture and more like a loyal coworker that never steals your lunch.
What Does an Ergonomic Office Chair Setup Really Mean?
Ergonomics means designing your workspace to fit you, rather than forcing your body to adapt to a desk setup that seems personally offended by human anatomy. A proper ergonomic office chair setup supports neutral posture: feet supported, thighs comfortable, lower back supported, shoulders relaxed, elbows close to the body, wrists straight, and head balanced over the spine.
Neutral posture does not mean sitting like a statue at a museum. It means your body is supported in a way that reduces unnecessary strain. You can still shift, recline slightly, stretch, and move. In fact, movement is part of good ergonomics. The best posture is often the next posture.
Step 1: Start by Sitting All the Way Back
Before touching a lever, sit fully back in your chair. Your hips should be close to the backrest, not perched on the front edge like you are waiting for your name to be called at the DMV. Sitting back lets the chair actually do its job: support your spine and distribute your weight.
If you always lean forward, your backrest becomes decorative. That is fine for throw pillows, not office equipment. Slide your hips back, relax your shoulders, and place your feet on the floor or a footrest. This is your starting position.
Step 2: Adjust Seat Height First
Seat height is the foundation of office chair ergonomics. Raise or lower the chair until your feet rest flat on the floor or on a footrest. Your thighs should be roughly parallel to the floor, and your knees should be around hip level or slightly lower.
The quick seat-height test
Sit back in the chair and check three things:
- Your feet are fully supported.
- Your thighs feel supported without pressure behind the knees.
- Your shoulders stay relaxed when your hands reach the keyboard.
If your desk is too high, you may need to raise your chair so your elbows can work comfortably at the desk surface. In that case, use a footrest. Dangling feet may look harmless, but over time they can create pressure under the thighs and make sitting feel oddly exhausting.
If your desk is too low and cannot be adjusted, raising the desk with sturdy risers may be better than lowering your chair into a curled-up shrimp posture. Your goal is not simply “feet flat.” Your goal is feet supported, back supported, and arms relaxed at work height.
Step 3: Set the Seat Depth
Seat depth controls how much of your thighs are supported. A seat that is too deep pushes into the backs of your knees. A seat that is too shallow leaves your thighs unsupported and may encourage you to slump.
Here is the classic test: sit all the way back, then check the space between the front edge of the chair and the backs of your knees. Aim for about two to three finger widths. That small gap helps prevent pressure behind the knees while still giving your thighs enough support.
What if your chair does not have seat-depth adjustment?
If the seat is too deep, try adding a lumbar cushion or a firm pillow behind your lower back so you can sit forward slightly while still supported. If the seat is too short, the chair may simply be the wrong size for your body. No amount of motivational desk quotes can fix furniture that does not fit.
Step 4: Adjust Lumbar Support
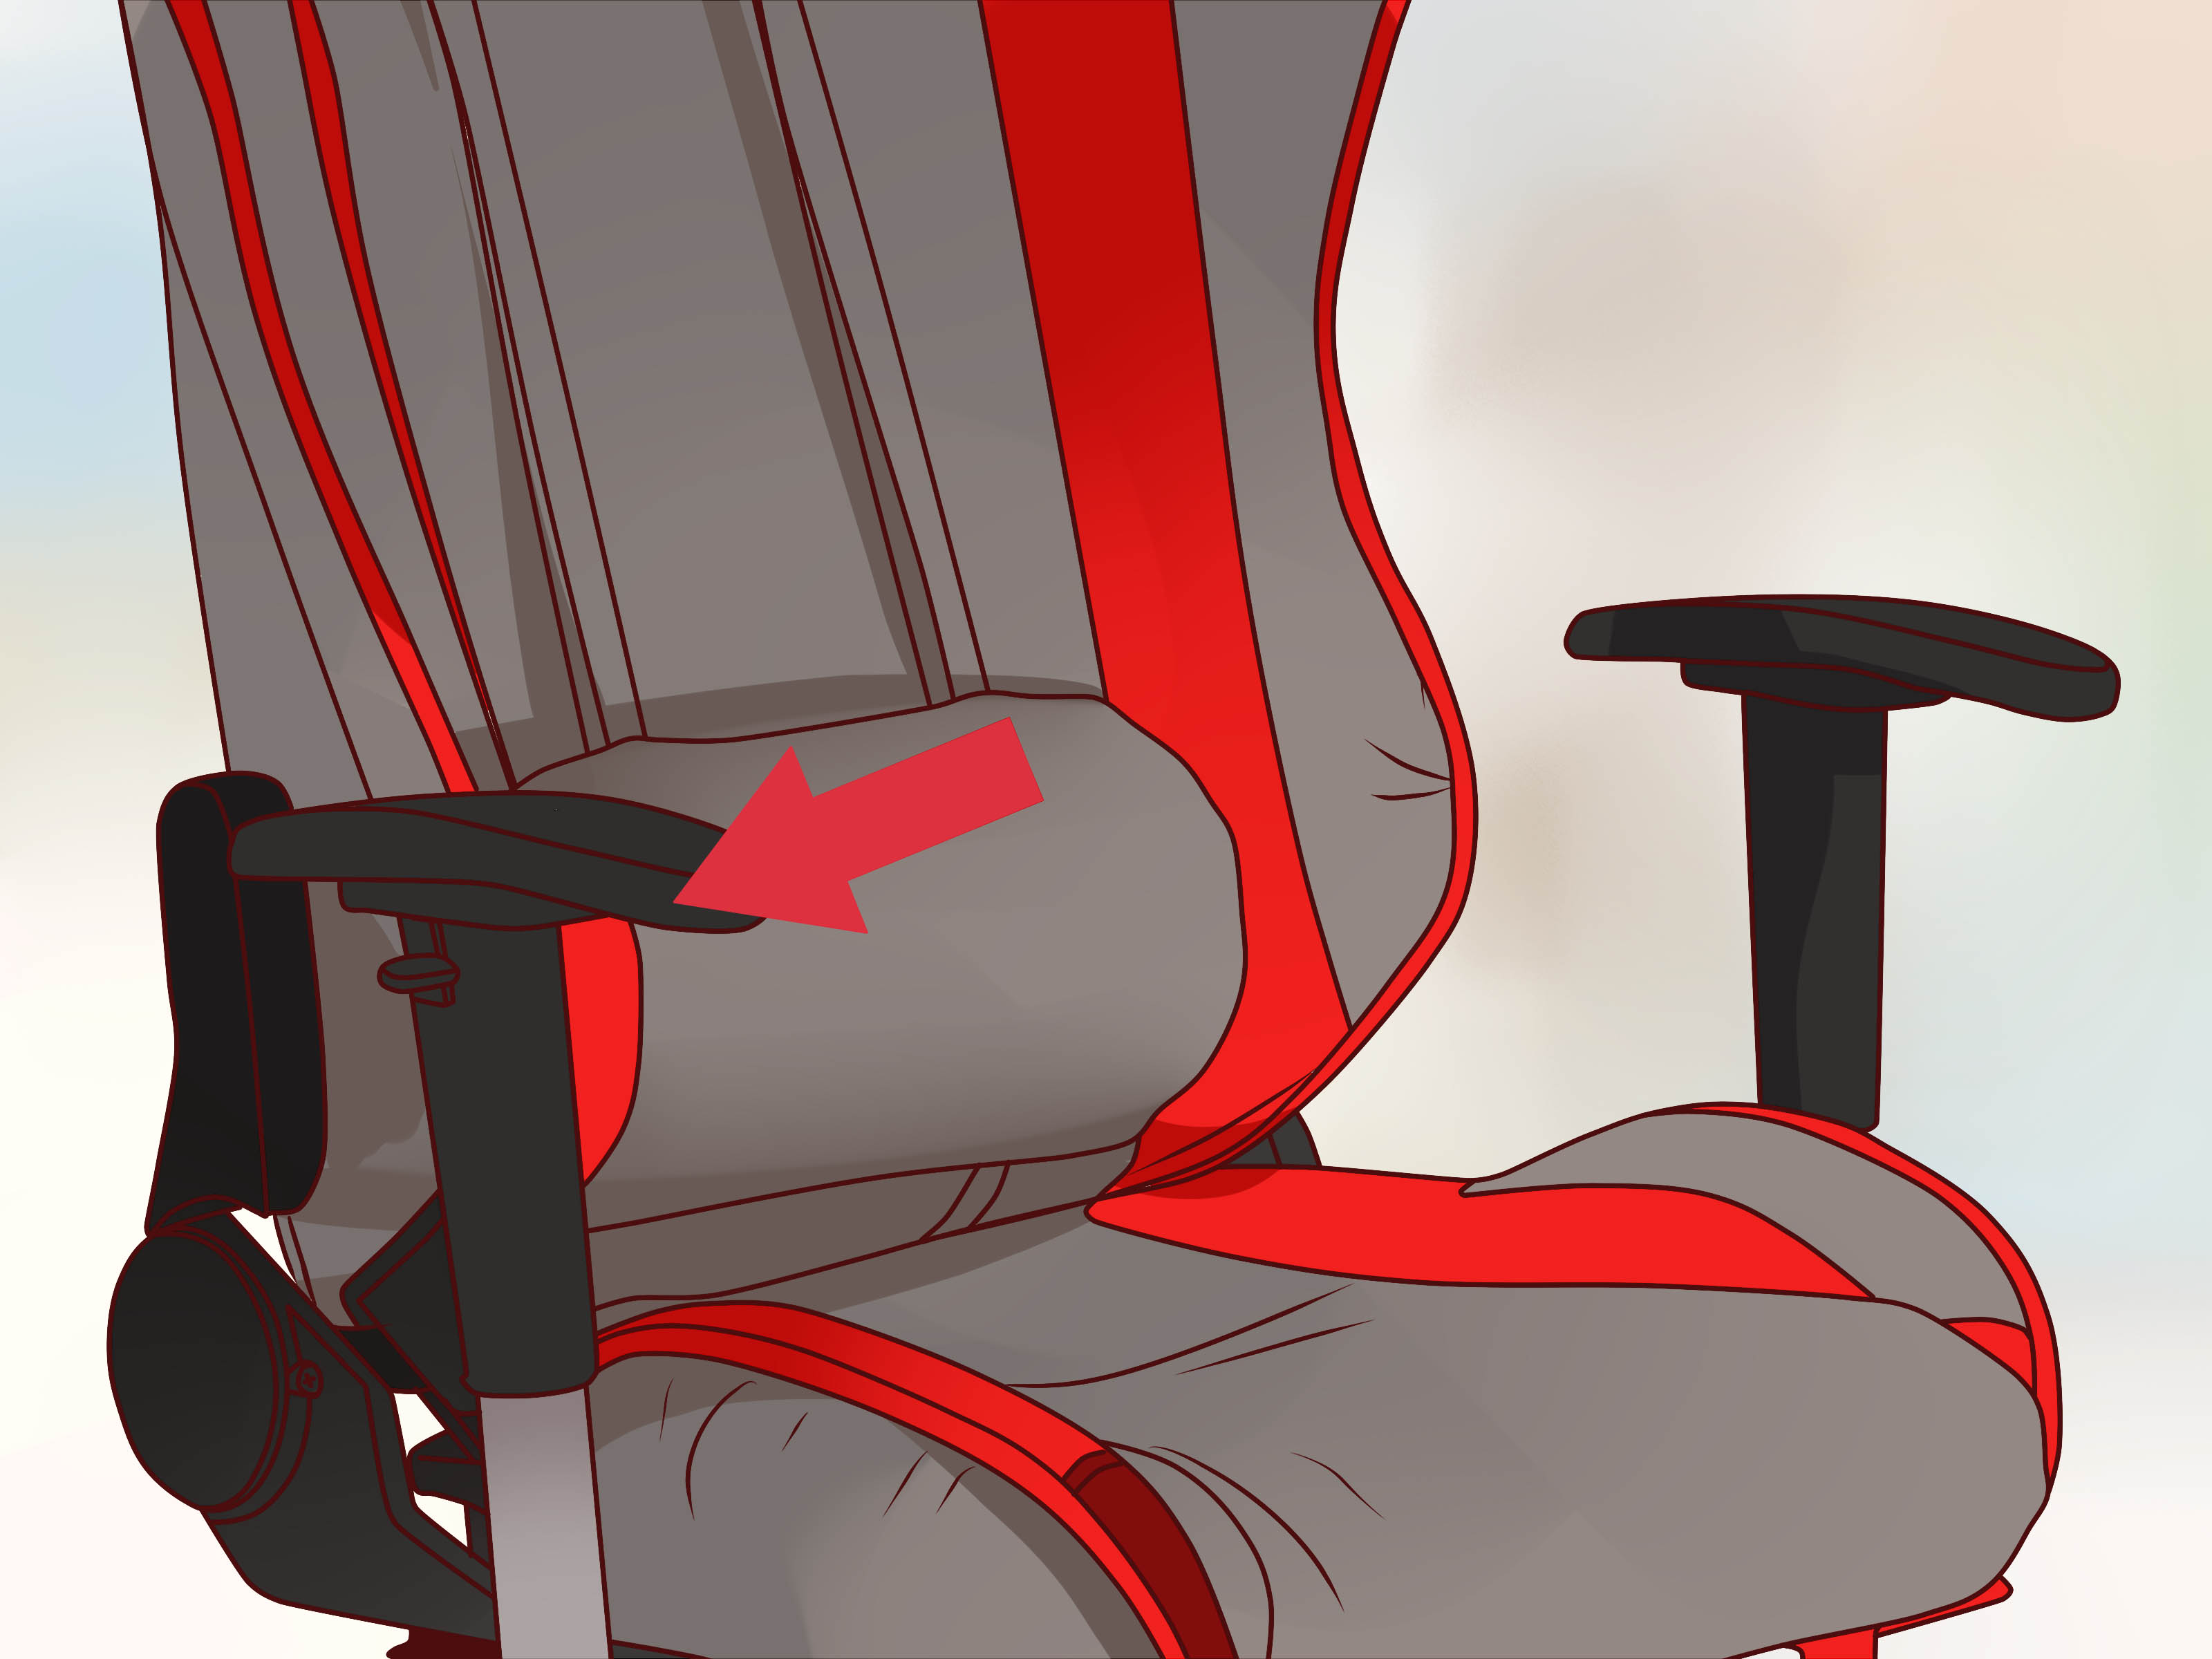
Your lower back has a natural inward curve. Lumbar support helps maintain that curve while you sit. Adjust the lumbar support so it fits into the small of your back, usually around belt-line height. It should feel supportive, not like a plastic fist trying to win an argument with your spine.
If your chair has an adjustable backrest, move it up or down until it supports the curve of your lower back. If the chair has adjustable lumbar depth, increase or decrease the pressure until you feel gentle support. Too little support can lead to slumping; too much can push you into an exaggerated arch.
DIY lumbar support
No lumbar adjustment? Roll a towel and place it behind your lower back. A small cushion can work too. The important part is positioning: the support should help you sit upright without forcing you forward.
Step 5: Fine-Tune the Backrest Angle
Many people think ergonomic sitting means locking the backrest at a perfect 90-degree angle. In reality, a slight recline is often more comfortable. Try setting the backrest so your torso is gently open, somewhere around a slightly reclined position rather than bolt upright.
Your back should stay supported while your shoulders remain relaxed. If reclining makes you reach for the keyboard like you are trying to grab the last slice of pizza across a conference table, bring the keyboard and mouse closer or reduce the recline.
Some chairs also have tilt tension. Adjust it so the chair moves with you but does not fling you backward like a surprise amusement-park ride. A little motion can help reduce static posture during long work sessions.
Step 6: Adjust the Armrests
Armrests are helpful only when they help. Adjust them so your elbows rest close to your sides, your shoulders stay relaxed, and your forearms are lightly supported. Your elbows should be bent around 90 degrees or slightly more open.
Armrests that are too high cause shoulder shrugging. Armrests that are too low make you lean sideways. Armrests that are too wide make you reach outward like a penguin trying to type. If the armrests stop you from getting close to your desk, lower them or remove them if possible.
The armrest rule
Your armrests should not carry your entire upper body weight. Think “gentle support,” not “leaning tower of productivity.” Your shoulders should feel soft and low, not braced.
Step 7: Match the Chair to the Keyboard and Mouse
Once your chair supports your body, check the keyboard and mouse. Your keyboard should be close enough that your upper arms stay near your torso. Your elbows should be at about desk height, and your wrists should remain straight rather than bent sharply up, down, or sideways.
Place the mouse on the same level as the keyboard and close enough that you do not reach. Reaching for the mouse hundreds of times a day may seem tiny, but tiny movements become big annoyances when repeated for months.
If your keyboard tray is too low, your shoulders may relax but your wrists may bend. If it is too high, your shoulders rise. Adjust the chair, keyboard surface, or desk until your arms feel neutral.
Step 8: Check Foot Support
Foot support is one of the most overlooked parts of an ergonomic chair setup. Your feet should rest flat on the floor or on a stable footrest. If your chair is raised to match a tall desk, a footrest is not optional; it is the missing puzzle piece.
A proper footrest does not need to be fancy. A stable platform, a small step, or even a sturdy box can work temporarily. Avoid balancing your feet on chair legs or casters. That can reduce comfort, affect posture, and make you look like you are preparing to launch yourself across the room.
Step 9: Align the Monitor After the Chair Is Set
Your chair adjustment affects your eye level, so monitor placement comes after chair height. Place the monitor directly in front of you, roughly an arm’s length away. The top of the screen should be at or slightly below eye level for most users.
If you wear bifocals or progressive lenses, you may need the screen slightly lower so you can read without tipping your chin up. Chin-lifting all day is a sneaky route to neck tension.
For dual monitors, place the primary screen directly in front of you. If you use both equally, center them together so the seam is in front of you. If one screen gets 80 percent of your attention, give that one the throne.
Step 10: Make Room Under the Desk
Even a beautifully adjusted office chair can fail if the space under your desk is packed with boxes, cables, bags, old snacks, and mysterious office artifacts. You need enough clearance for your knees, thighs, and feet.
Remove clutter under the desk so you can sit close to your work. If your chair cannot roll in, you will reach forward. If you reach forward, your backrest becomes useless. If your backrest becomes useless, your lower back may begin composing angry poetry.
Common Office Chair Adjustment Mistakes
Mistake 1: Setting the chair too low
A low chair may make your feet feel grounded, but it can raise your knees, round your back, and force your wrists into awkward angles. If your elbows sit below the desk surface, raise the chair and add foot support.
Mistake 2: Ignoring the seat pan
If the chair edge presses behind your knees, adjust the seat depth. Pressure in that area can make your legs feel uncomfortable or restless.
Mistake 3: Using armrests as a crutch
Armrests should support relaxed arms, not hold your shoulders hostage. If your neck feels tight, check whether the armrests are too high.
Mistake 4: Leaning toward the screen
If you lean forward to read, move the monitor closer, increase font size, or check your prescription. Do not solve a screen problem with a spine problem.
Mistake 5: Thinking one setup works forever
Your chair may need small changes depending on shoes, desk height, task, or whether someone else used it. Shared chairs should be adjusted every time, just like car seats.
Quick Ergonomic Office Chair Checklist
- Sit fully back in the chair.
- Feet are flat on the floor or supported by a footrest.
- Thighs are roughly parallel to the floor.
- There is a two- to three-finger gap behind the knees.
- Lumbar support fits the lower back.
- Shoulders are relaxed.
- Elbows stay close to the body.
- Wrists are straight while typing or using the mouse.
- Monitor is directly in front of you at a comfortable viewing height.
- You can change posture and take short movement breaks.
How Often Should You Readjust Your Chair?
Check your chair whenever something changes: a new desk, new shoes, a different keyboard, a shared workspace, or a new ache that was not invited to the meeting. A 30-second chair check at the beginning of the day can prevent hours of fidgeting later.
Also remember that ergonomic comfort is not only about the chair. Take short breaks, change posture, stand, stretch, and give your eyes a rest. Even the best chair cannot turn eight uninterrupted hours of sitting into a spa treatment.
Conclusion
Learning how to adjust an office chair for ergonomics is one of the easiest ways to improve comfort at work. Start with the seat height, support your feet, adjust seat depth, position lumbar support, set armrests correctly, and then align your keyboard, mouse, and monitor around your seated posture.
The best ergonomic office chair setup is not stiff or complicated. It is personal, adjustable, and realistic. Your chair should help you sit with less strain, move more naturally, and finish the day without feeling like your desk won a wrestling match.
Real-World Experiences: What Actually Happens When You Adjust Your Chair
The first time many people adjust an office chair properly, they realize they have been sitting in “survival mode” for years. The chair was too low, the desk was too high, the armrests were blocking the body from getting close to the keyboard, and the monitor was positioned like a distant lighthouse. No wonder the shoulders were tense by lunch.
One common experience is the “footrest revelation.” A person raises the chair to match the desk, notices their feet dangling, and assumes that is just the price of being productive. Then they add a footrest. Suddenly the thighs relax, the lower back feels steadier, and the chair feels less like a bar stool at a very boring restaurant. The change is small, but the body notices immediately.
Another frequent moment comes from adjusting lumbar support. Many office workers sit on the front half of the chair because the seat pan feels too deep or the backrest feels too far away. Once a lumbar cushion or seat-depth adjustment brings support to the lower back, they can sit fully back for the first time. The difference is not dramatic like fireworks. It is quieter: less fidgeting, fewer shoulder rolls, and less end-of-day stiffness.
Armrests also teach surprisingly strong lessons. People often believe armrests are automatically ergonomic because they came attached to the chair. But when armrests are too high, the shoulders lift all day. When they are too wide, the elbows drift away from the body. When they hit the desk, the worker sits too far back and reaches forward. Lowering or removing armrests can make the entire workstation feel more natural.
Home offices create their own adventures. Kitchen chairs, dining tables, and laptops can work for a short email session, but they are rarely kind during a full workday. A rolled towel, an external keyboard, a laptop stand, and a stable footrest can transform a temporary setup. It may not look like a design magazine, but comfort beats aesthetics when your neck is negotiating a peace treaty with your screen.
The most useful habit is a morning reset. Before starting work, sit back, plant your feet, relax your shoulders, place your hands on the keyboard, and scan for tension. If something feels off, adjust it immediately. Waiting until pain appears is like waiting until smoke fills the kitchen before checking the toast.
Over time, ergonomic chair adjustment becomes less of a technical task and more of a body-awareness routine. You learn what relaxed shoulders feel like. You notice when your mouse is too far away. You catch yourself leaning forward and bring the screen closer instead. The chair becomes part of a system, and that system works best when it supports movement, comfort, and common sense.
Note: This article is written for general educational purposes and is based on established ergonomic principles from reputable workplace health, medical, and university safety guidance. For persistent pain, numbness, tingling, or work-related injury concerns, consult a qualified healthcare professional or workplace ergonomics specialist.