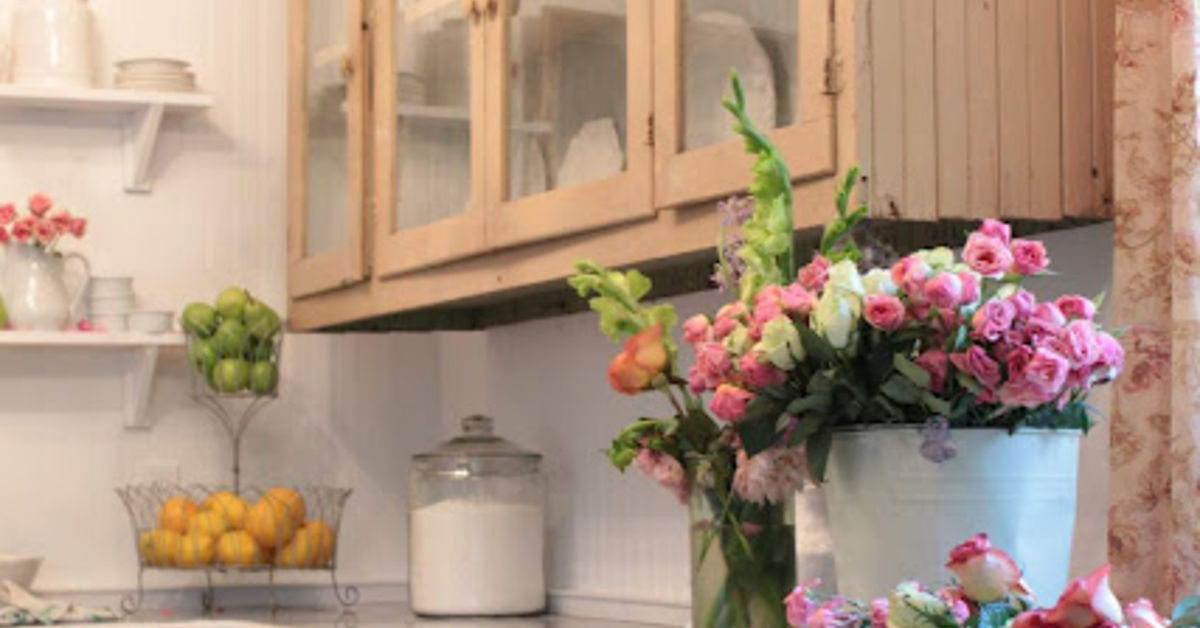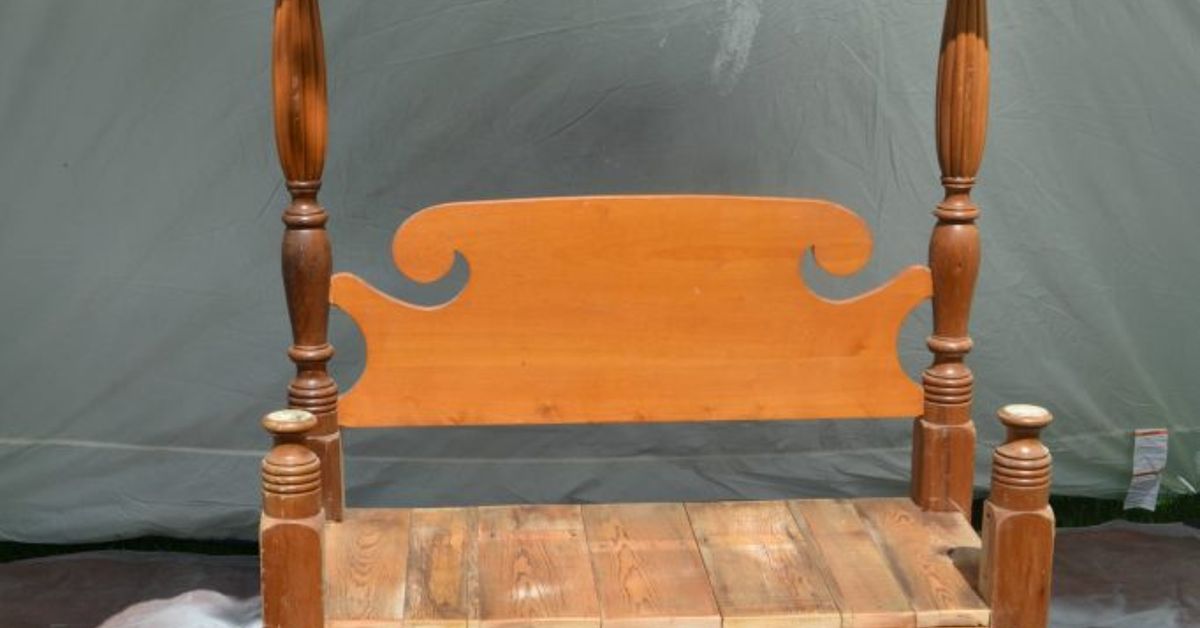
There are DIY projects that save money, DIY projects that save space, and DIY projects that make your neighbors squint and say, “Hold on… that used to be a bed?” This one does all three. If you want a smart upcycling project with real charm, learning how to build a bench from a headboard set is one of the best weekend builds you can tackle.
A headboard bench has instant personality. The headboard becomes the backrest, the footboard usually donates material for the arms or front detail, and fresh lumber creates the hidden structure that makes the whole thing sturdy enough for actual sitting instead of “decorative only, please don’t touch.” The result can work on a porch, in an entryway, at the foot of a bed, or anywhere your house needs a little extra seating and a lot more character.
Best of all, this is the kind of project that rewards creativity. You can keep the original patina for a vintage look, paint it for a crisp cottage style, stain it for a more traditional finish, or add a cushion if you want your bench to feel a little more “sit and stay awhile” and a little less “admire me from a respectful distance.”
Why Build a Bench from a Headboard Set?
Turning an old bed into a bench is practical, budget-friendly, and surprisingly satisfying. You are repurposing furniture that might otherwise head to the curb, and you are creating a piece that feels custom because, well, it is. Unlike flat-pack furniture, a DIY headboard bench has quirks, curves, and detailing that usually cost much more when bought new.
This project also gives older furniture a second life without forcing you to preserve every original part exactly as it was. That is the sweet spot for upcycling. You keep the beautiful bits, strengthen the weak points, and create something more useful for modern life. An old full-size or twin bed is often a great candidate because the proportions work well for a two-person bench.
Another perk: this project scales. Want a simple painted bench for the front porch? Easy. Want a more polished indoor version with wood filler, stain, upholstery, and hidden storage baskets underneath? Also doable. Once you understand the structure, you can adapt the design to your space and style.
Choose the Right Headboard Set First
Not every old bed frame deserves a heroic second act. Some are solid wood gems. Some are one loose bolt away from becoming expensive firewood. Before you build a bench from a headboard set, inspect it carefully.
Look for these green flags
- Solid wood construction: This is the gold standard because it handles cutting, sanding, screws, and refinishing better than flimsy alternatives.
- A headboard with visual interest: Spindles, curves, panels, carved posts, or arches give the finished bench a built-in backrest design.
- A matching footboard: This often provides the material for the arms or side panels, which helps the bench look intentional instead of cobbled together.
- Straight, stable parts: Minor wear is fine. Serious twisting, rot, or structural cracks are not.
Proceed with caution if you see these
- Heavy particleboard or MDF components that are already swollen, cracked, or crumbling.
- Loose joints that cannot be tightened or repaired.
- Metal sections that require tools or fabrication skills you do not have.
- Very ornate shapes that make it difficult to create square, stable arms and a seat frame.
If the piece has old paint and may date to before 1978, do not charge in with aggressive sanding like a DIY action hero. Older painted furniture can present lead paint concerns, so use lead-safe precautions and test when appropriate. Safety is not glamorous, but neither is hazardous dust floating through your house.
Plan the Bench Dimensions Before You Cut Anything
The most common mistake in a repurpose old bed frame project is getting excited, making one dramatic cut, and only then wondering how deep the seat should be. The answer: plan first, saw second.
For comfort, aim for a bench seat height in the neighborhood of 16 to 18 inches from the floor and a seat depth of about 15 to 18 inches. If you plan to add a cushion, factor in the compressed thickness so the bench does not end up feeling awkwardly tall. For many headboard bench builds, an 18-inch seat depth is a practical target because it feels chair-like without swallowing your hallway or porch.
Also think about location. A narrow entryway bench might need a shallower depth. A porch bench can be slightly roomier. An end-of-bed bench should visually fit the bed instead of looking like it wandered in from another room and decided to stay.
Tools and Materials You Will Likely Need
- Headboard and footboard set
- 1x boards, 2x boards, or plywood for the seat frame and support structure
- Seat boards or plywood for a solid bench top
- Wood screws or deck screws
- Wood glue
- Drill/driver
- Pilot and countersink bits
- Miter saw, circular saw, or jigsaw depending on the cuts
- Clamps
- Orbital sander and sandpaper
- Wood filler or caulk for small cosmetic gaps
- Primer, paint, stain, and/or protective topcoat
- Optional cushion, upholstery foam, batting, and fabric
You do not need a dream workshop the size of a small aircraft hangar. A basic saw, a drill/driver, clamps, and a sander will handle a lot of the work. What matters more than fancy gear is taking accurate measurements, drilling pilot holes when needed, and keeping the build square while assembling the frame.
How to Build a Bench from a Headboard Set
1. Disassemble the bed and identify the best parts
Remove the rails, hardware, and any pieces that will not be used. In most builds, the headboard becomes the back of the bench. The footboard is often cut into two matching sections to form the bench arms or side panels. Set aside the prettiest pieces. Those are your stars. Everything else is supporting cast.
2. Mock up the finished bench
Stand the headboard upright and position the cut footboard sections at the sides. This dry layout helps you confirm the proportions before committing to final cuts. It also lets you spot problems early, like arm pieces that are too tall, too short, too deep, or hilariously uneven.
3. Build the hidden inner frame
This is where the magic happens. The vintage bed parts create the look, but the new lumber creates the strength. Build a rectangular seat frame that connects the two sides and fastens securely to the headboard. Use quality screws and glue where appropriate, and make sure the frame stays square. Pilot holes are especially helpful near edges and on harder woods because they reduce splitting, screw wandering, and stripped heads.
4. Attach the side pieces
Once the inner frame is connected to the headboard, attach the arm sections cut from the footboard. Check that both sides sit evenly and align visually from the front. If one side is off, the whole bench will look like it had a rough morning. Clamps help hold the parts in place while you fasten them.
5. Add the front support and seat structure
Install a front rail between the arm sections and any additional internal supports needed for strength. Then add seat boards or a plywood top. If the bench will live outdoors, leaving small gaps between seat boards can help with water runoff. If the bench is for indoors and you want a cleaner top, use plywood and top it with a cushion or upholstered seat.
6. Test the bench for wobble before finishing
Do this now, not after you have lovingly painted everything. Set the bench on a flat surface and test for rocking, twisting, or weak connections. Reinforce the frame if needed with additional bracing, corner blocks, or stronger fasteners. A pretty bench that wobbles is just furniture with trust issues.
7. Fill, sand, and smooth
Fill visible holes, dents, or gaps where needed. Then sand the entire piece. If you plan to stain bare wood, sand in the direction of the grain and work up to a finer grit for a smoother finish. If you plan to paint, sanding still matters because it helps the primer and paint adhere better and makes the finished bench look more intentional.
8. Prime, paint, or stain the bench
For a painted bench, primer is your friend. It improves adhesion and helps even out patchy surfaces. After priming, lightly sand and remove dust before painting. For a stained bench, make sure you are working with bare, open wood pores because stain will not penetrate through an existing sealed finish. Apply your stain evenly, wipe away the excess, and let it dry fully before adding a clear protective topcoat.
9. Add comfort details
At this point, the bench is structurally complete, but now you get to decide what kind of personality it will have. Add an upholstered cushion, tie-on pillows, felt pads on the feet, or a wax or polyurethane topcoat depending on how the bench will be used. For a bedroom or entryway bench, a cushion can make the piece look finished and feel more comfortable. For a porch bench, exterior-rated finishes and fabrics are the smarter move.
Mistakes to Avoid in a Headboard Bench DIY Project
- Ignoring the final seat height: A bench that is too tall or too deep can look nice but feel wrong every time you sit down.
- Using decorative parts as structure: The old bed components should not carry all the weight by themselves. Build a real frame inside.
- Skipping pilot holes: This is especially risky near edges and in older, dry wood.
- Rushing surface prep: A beautiful finish starts with filling, sanding, dust removal, and patience.
- Forgetting location: An indoor painted bench may not survive porch weather. An outdoor bench needs better fasteners and protection.
- Not checking for old lead paint: If the furniture is old enough, treat that possibility seriously.
Design Ideas for Your Finished Bench
One of the best things about this upcycled furniture project is how many directions it can go. A single headboard set can become almost any style depending on the finish.
Farmhouse bench
Paint it white, cream, sage, or black. Lightly distress the edges if that is your thing. Add a neutral cushion and a striped lumbar pillow, and suddenly your hallway looks like it charges admission.
Traditional wooden bench
If the bed has beautiful wood grain, stain it instead of painting it. This works especially well with oak or mahogany-style pieces that already have depth and detail.
Cottage or coastal bench
Use soft blues, sea-glass green, or warm white. A slatted seat and simple woven pillow can make the bench feel relaxed without looking sloppy.
Bedroom bench
Place it at the foot of the bed with a padded seat. This works especially well if the headboard shape echoes your existing bedroom style. It becomes both a conversation piece and a practical place to throw decorative pillows at night. We all know that pillow migration is real.
Entryway bench
If you need a place to sit while putting on shoes, this is a smart use of the design. Slide baskets underneath for scarves, dog leashes, umbrellas, or the mysterious single glove that appears every winter and belongs to no one.
Is Storage Worth Adding?
Yes, if your space needs it. While many headboard bench builds are simple open-bottom designs, you can add baskets, cubbies, or a lift-top seat if you want the bench to work harder. Storage benches are especially useful in bedrooms and entryways because they combine seating with space-saving function.
That said, do not force storage if it complicates the structure too much for your skill level. A clean, sturdy bench is always better than a wobbly bench with “secret storage” that feels like a trap door from a cartoon.
How Much Does It Cost?
The cost depends on how much material you already have and how fancy you get with the finish. If the headboard set is a thrift-store find and you keep the design simple, the build can be fairly affordable. Fresh lumber for the seat frame, screws, filler, paint or stain, and sandpaper are the main expenses. Upholstery, premium paint, or specialty topcoats add more.
Still, compared with buying a custom wood bench, a bench from a headboard set is often a budget-friendly way to get a one-of-a-kind piece that looks far more expensive than it is.
Real-World Experiences Building a Bench from a Headboard Set
In real life, this project rarely begins with perfect conditions. It usually starts with someone spotting an old bed frame at a thrift store, in a garage, at the curb, or in a family member’s attic and thinking, “That could be cute.” This is the exact kind of optimism that either creates a beautiful bench or leaves you standing in the driveway with a drill, three screws, and a deep respect for professional carpenters.
But most DIYers who tackle this project discover something important very quickly: the emotional payoff is bigger than expected. A headboard bench does not feel like generic furniture. It feels personal. Sometimes the bed belonged to a grandparent. Sometimes it came from a first apartment. Sometimes it was just an old set that had good bones and deserved better than a landfill ending. Once it becomes a bench, it is no longer just reused wood. It becomes a story you can sit on.
The building experience itself tends to swing between confidence and comedy. First, there is the measuring stage, where you feel very responsible and capable. Then there is the “why are these two side pieces not the same height when I absolutely measured them the same?” stage. Then comes the frame assembly, where clamps become your best friends and a level suddenly feels like a life coach. Somewhere in the middle, you will probably step back, look at the half-built piece, and wonder whether you are making heirloom furniture or inventing a new category of porch sculpture.
Then the bench starts to come together. The moment the headboard stands upright as a backrest and the seat frame locks everything into place, the whole project clicks. It finally looks like a bench instead of a confusing pile of nostalgia and lumber. That moment is powerful. It is also the moment many people realize they are more capable than they thought.
Finishing brings its own lessons. Paint can hide a lot, but not bad prep. Stain can look rich and beautiful, but only if the wood is sanded and cleaned properly. And old furniture loves to surprise you with hidden dings, mystery finish residue, and hardware holes in exactly the wrong place. You learn to adapt. You fill. You sand again. You repaint the part you were definitely sure did not need a second coat. Congratulations, you are now having the authentic DIY experience.
Once finished, though, a headboard bench often becomes the piece people notice first. Guests ask where it came from. You get to say you made it. That sentence alone is worth a lot. Even better, the bench usually gets used. It becomes a place to tie shoes, drop bags, read on the porch, fold laundry, or pretend you are going to sit quietly for five minutes before the rest of life barges in. In other words, it earns its keep.
That is why this project sticks with people. It is not just about building a bench. It is about transforming something familiar into something useful, beautiful, and just a little bit brag-worthy. And honestly, if a retired headboard can come back as the best seat in the house, that is a comeback story we can all admire.
Conclusion
If you want a furniture makeover that combines charm, practicality, and real DIY satisfaction, build a bench from a headboard set. Start with a sturdy bed, plan your proportions carefully, build a strong inner frame, and take the finishing work seriously. That combination is what turns a clever idea into a bench you will actually keep for years.
The beauty of this project is that it does not have to be perfect to be wonderful. A few old marks, a little patina, and a hand-built feel are part of the appeal. When done well, a DIY bench from a headboard is more than recycled furniture. It is a custom piece with history, function, and enough personality to steal the show in any room.