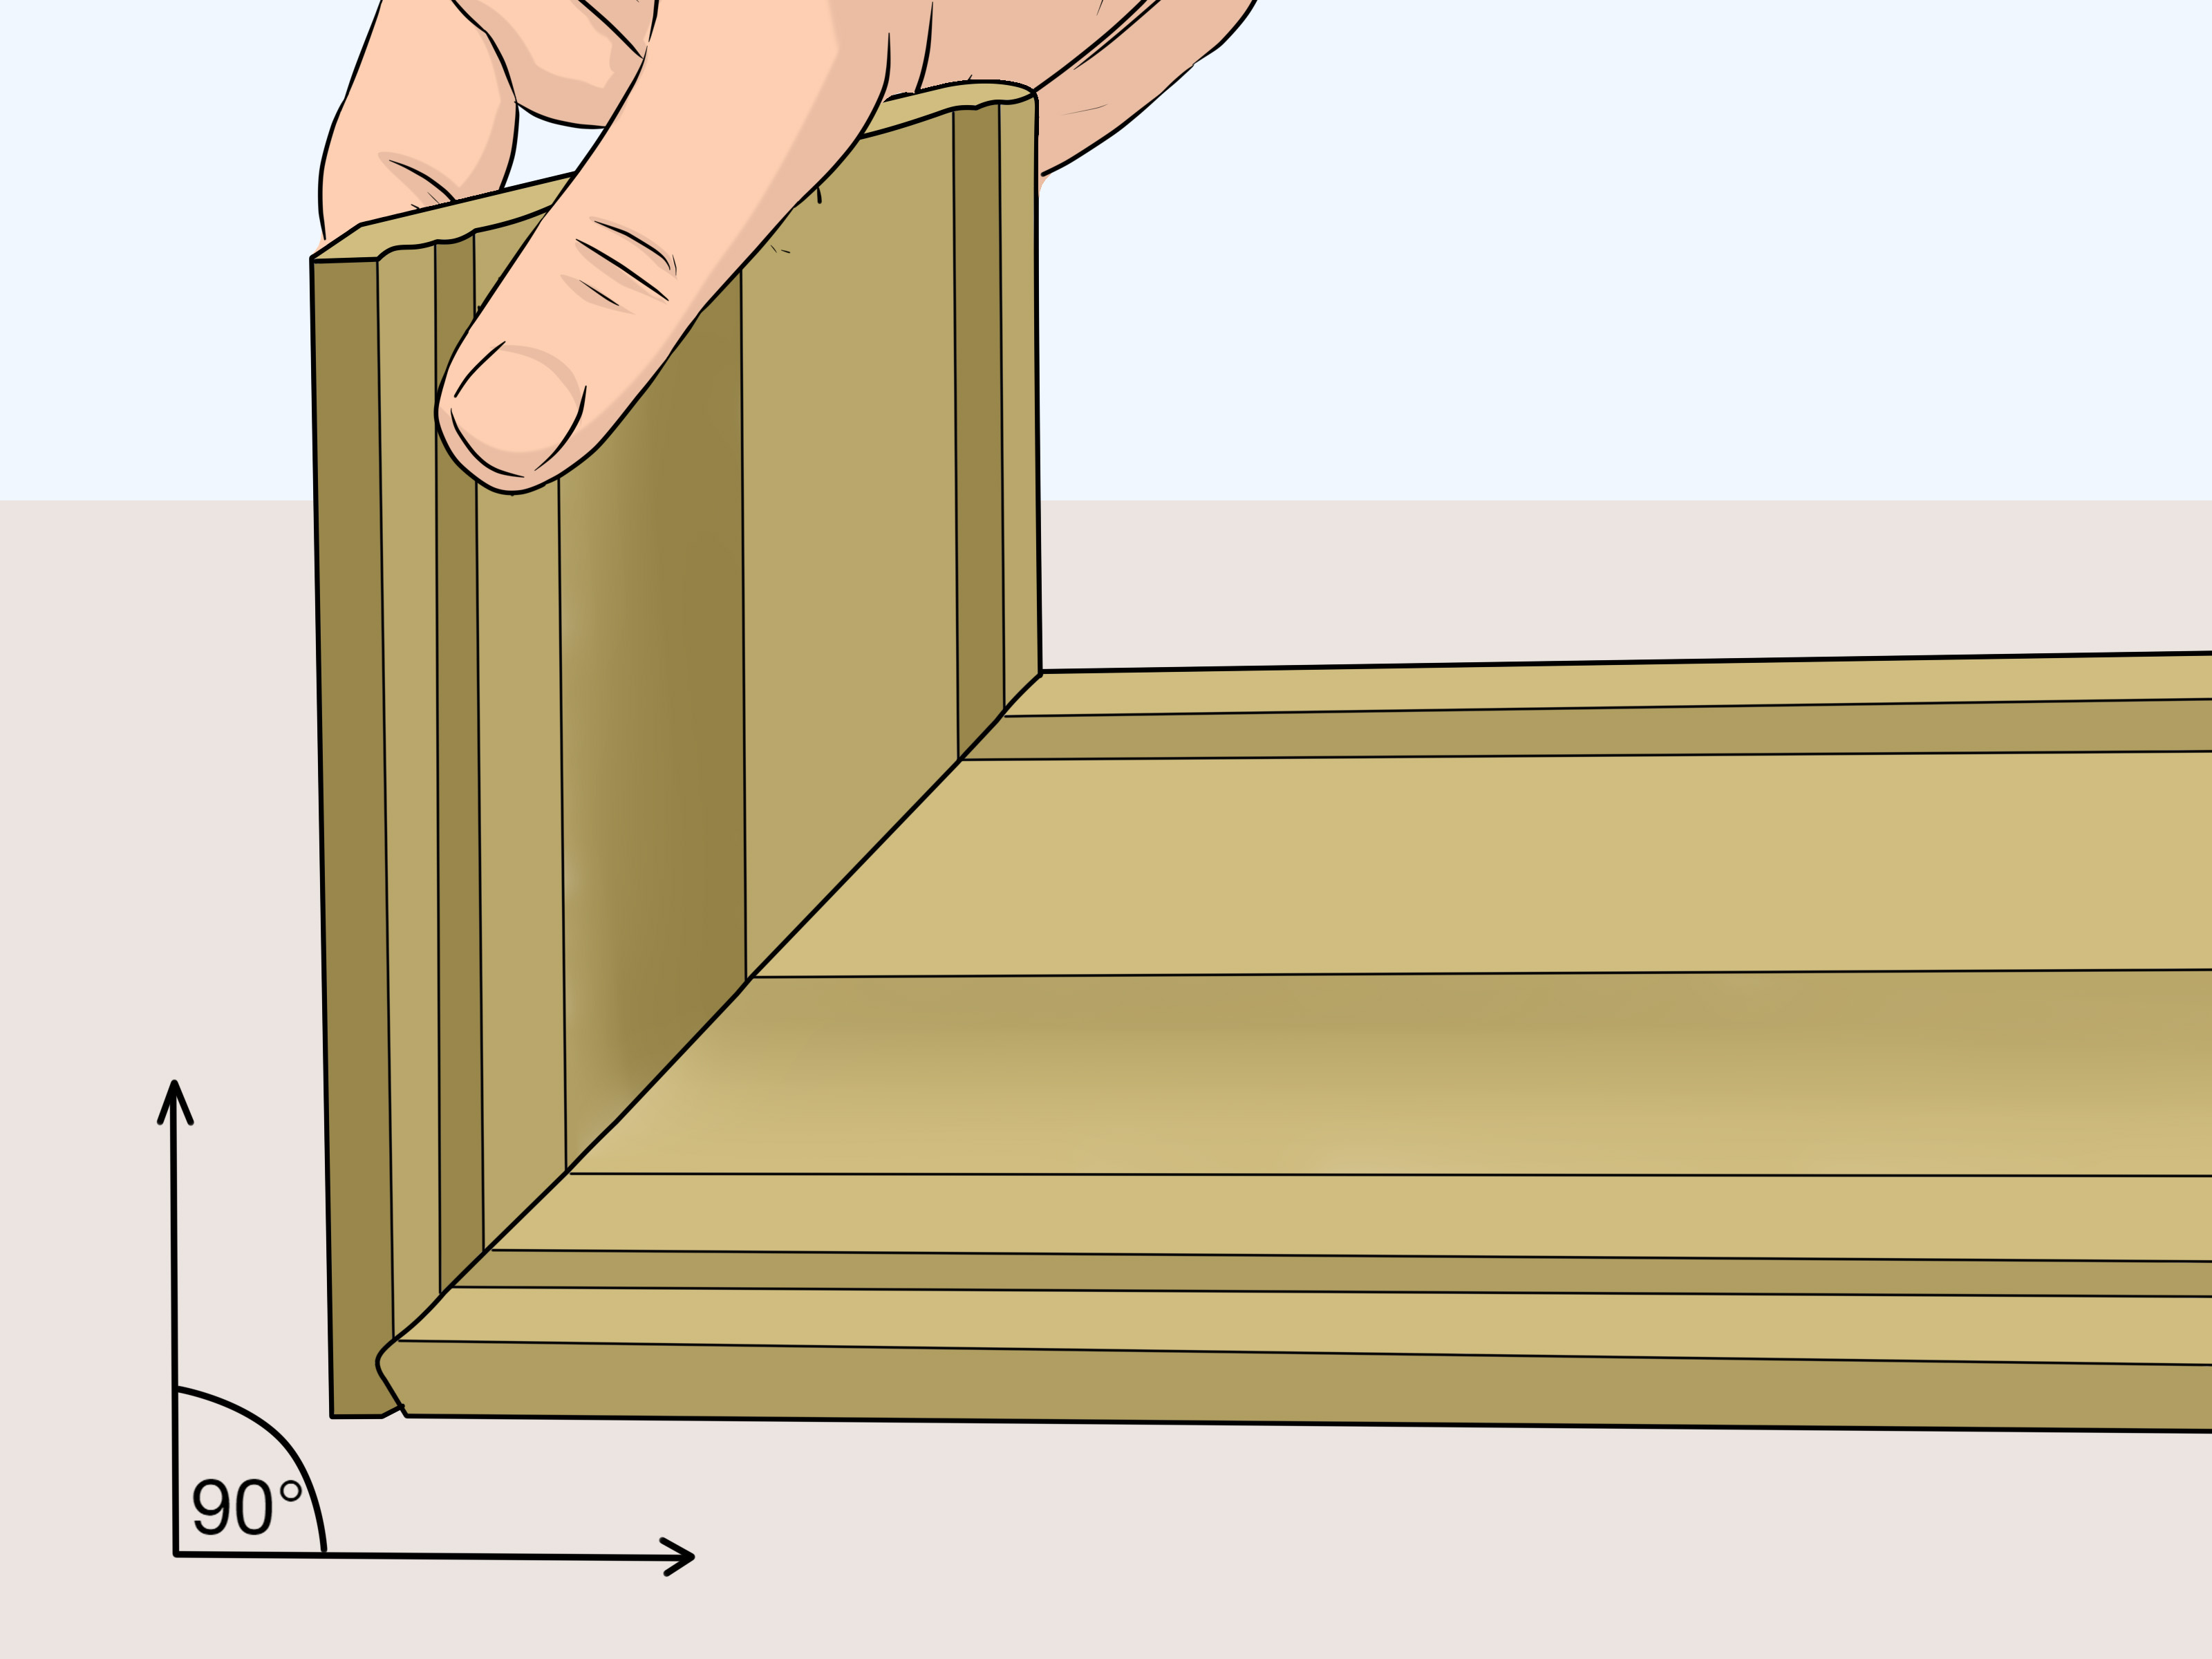
Crown molding has a magical way of making a room look more expensive, more polished, and more grown-up. It is basically the trim equivalent of putting on a tailored blazer. The catch? Inside corners can turn even a confident DIYer into someone whispering, “Why is wood doing this to me?” Fortunately, cutting crown molding inside corners is not black magic. It is mostly geometry, patience, and refusing to panic after the first practice cut.
If you want crisp inside corners, the secret is understanding when to use a simple miter cut and when to use a coped joint. Most experienced trim carpenters prefer coping for inside corners because walls are often not perfectly square, and seasonal movement can make mitered inside corners open up over time. That does not mean you need a wizard hat. You just need the right setup, a clean process, and a willingness to practice on scrap before touching the good piece.
What You Need Before You Start
Gather your tools first so you are not balancing a 12-foot stick of molding while hunting for a pencil. A typical setup includes crown molding, a tape measure, a miter saw, a coping saw, a pencil, sandpaper or a fine file, safety glasses, hearing protection, a stud finder, wood glue, caulk, and a brad nailer or finish nails. A coping saw is the hero for inside corners, while a miter saw helps you make the angle that creates the profile line you will follow.
Also, identify your molding’s spring angle if you are cutting it flat on the saw. Many common crown profiles use a 38/52 spring angle, but not all do. If you skip that detail, your cuts may look precise on the saw and chaotic on the wall. That is a great way to spend a Saturday saying things you should not say around fresh paint.
How to Cut Crown Molding Inside Corners in 15 Steps
Step 1: Measure the Wall Carefully
Measure the full length of the wall where the molding will go. Write the number down immediately. Trusting your memory while working with multiple walls is how one piece becomes “approximately right,” which is another way of saying “firewood.” Measure at least twice, especially in older homes where walls may bow or corners may not be perfectly square.
Step 2: Decide Which Piece Will Be Square-Cut and Which Will Be Coped
For a typical inside corner, one piece of crown molding is installed with a square-cut end tucked tightly into the corner. The mating piece gets the coped cut. This method lets the profiled face of one board wrap neatly over the face of the other. It is more forgiving than trying to force two mitered ends to behave in a less-than-perfect room.
Step 3: Mark the Ceiling Edge and Wall Edge
Before making any cut, identify which side of the molding touches the ceiling and which side touches the wall. Mark the back lightly with pencil. This prevents the classic beginner mistake of flipping the board and cutting a beautiful but completely useless mirror image.
Step 4: Set Up the Molding in the Correct Orientation
There are two common cutting methods: nested against the saw fence or laid flat with compound settings. Many DIYers cut crown molding “upside down and backward” when nesting it against the fence to match the installed spring angle. However you choose to do it, be consistent. Make a reference mark on the saw table or use a jig so every piece sits in the exact same position.
Step 5: Cut the First Piece With a Square End
The first piece that dies into the inside corner usually gets a simple square cut on the end that reaches the corner. Cut the opposite end as needed for the next joint or wall length. Test-fit it against the wall and ceiling before fastening. This piece becomes the “background” for the coped piece that comes next.
Step 6: Cut a 45-Degree Inside Miter on the Second Piece
Now take the piece that will be coped and make a 45-degree inside miter cut on the end that will meet the corner. This cut is not the final joint. It creates a clean profile line on the face of the molding, which becomes your cutting guide for the coping saw. Think of it as drawing the map before taking the road trip.
Step 7: Darken the Profile With a Pencil
Use a sharp pencil to darken the profile edge created by the miter cut. This makes the coping line easier to see, especially on primed MDF or light-colored wood. It sounds small, but this one trick saves a surprising amount of squinting, guessing, and accidental overcutting.
Step 8: Cope Along the Profile Slowly
Using a coping saw, follow the profile line carefully. The goal is to remove the waste behind the face profile while preserving the visible front edge. Go slow around tight curves and decorative details. Crown molding profiles love to look simple from six feet away and suspiciously complicated once a saw is involved.
Step 9: Back-Cut the Waste
As you cope, angle the saw slightly backward so you remove more material behind the profile than at the front edge. This is called back-cutting. It helps the visible front edge fit tightly against the mating molding without the hidden wood behind it getting in the way. A little back-cutting is good. Turning the piece into a fragile crescent moon is not.
Step 10: Refine the Coped Edge
After the rough cope is done, use a file, rasp, utility knife, or fine sandpaper to clean up the cut. This is where good joints become great joints. Tiny bumps and fuzz on the back side can prevent the face from seating fully, so spend a few minutes tuning the edge instead of forcing it into place and hoping caulk will raise it like a miracle worker.
Step 11: Test-Fit Before Cutting the Other End
Hold the coped piece in place against the installed square-cut piece. Check the fit at the face, the ceiling line, and the wall line. If the profile does not close tightly, remove it and trim only the areas that are binding. Do not start sanding random spots like you are guessing on a game show. Small, deliberate refinements work much better.
Step 12: Adjust for Out-of-Square Corners
If the corner is slightly off 90 degrees, coping still gives you a better chance of a tight fit than a standard miter. You may need to ease the cope a little more in specific areas. In old houses, one part of the profile may touch while another leaves a gap. That is normal. Sneak up on the fit. Trim a little, test a little, repeat until the joint closes cleanly.
Step 13: Cut the Opposite End to Length
Once the inside corner fit looks good, mark the other end of the piece for length. Then make the final cut for the next joint, whether that is another inside corner, an outside corner, or a scarf joint on a long wall. It is smart to leave the board slightly long and shave down if needed rather than cutting it short and inventing new vocabulary.
Step 14: Install the Molding Securely
Apply a little wood glue at the joint if appropriate, then nail the molding into wall studs and ceiling framing or backing. Keep the molding aligned to its intended spring angle as you fasten it. Do not let one end drift while you nail the other, or your beautifully cut corner will suddenly fit like two strangers at a family reunion.
Step 15: Caulk, Fill, and Finish the Joint
Even a well-cut inside corner may need a tiny touch of caulk along the wall or ceiling due to paint texture, framing irregularities, or minor surface waves. Fill nail holes, sand lightly, and paint or stain as needed. The goal is not to fake bad work. The goal is to make good trim look finished, intentional, and crisp from every angle in the room.
Common Mistakes to Avoid
The biggest mistake is assuming every inside corner should be mitered the same way. In real houses, walls are often out of square, and inside miters tend to show gaps sooner than coped joints. Another common mistake is failing to keep the molding oriented consistently on the saw. Crown molding has a way of punishing confidence without preparation. A third mistake is skipping practice cuts. Scrap pieces are much cheaper than replacing a full-length section you already primed, painted, and bragged about.
DIYers also get into trouble by ignoring the profile itself. A crown profile is not just an angled board. It has curves, shoulders, beads, and edges that all have to meet convincingly. If you rush the coping stage, the joint might look acceptable from the floor but terrible from a ladder. And yes, your ladder will absolutely tell on you.
Pro Tips for Cleaner Inside Corners
Use a sharp blade on your miter saw to reduce tear-out. Label every piece with its location before cutting. Make a simple crown molding jig if your saw setup does not hold the profile securely. Cut test pieces from offcuts until you understand how your molding behaves. If you are working with painted trim, small touch-ups are easy, but stain-grade molding demands much tighter cutting because the joint will not be hidden by caulk and paint.
When possible, install the longest and straightest pieces first. If a room has one especially visible corner, practice on a less obvious corner before tackling the “main character” wall. And remember: trim carpenters get neat results because they test-fit constantly, not because they were born with supernatural hand-eye coordination.
Conclusion
Cutting crown molding inside corners becomes much less intimidating once you break it into a repeatable process. Measure carefully, keep the molding oriented correctly, use a miter cut to reveal the profile, and cope the mating piece for a tighter fit. That approach works because it respects real-world walls, not imaginary perfect ones. Follow these 15 steps, refine each fit before installation, and your corners can look sharp enough to make the whole room feel custom.
Real-World Experiences: What People Learn After Actually Doing It
The first real lesson most people learn when cutting crown molding inside corners is that theory sounds much easier than a 14-foot board swinging around a room. On paper, the process is simple: measure, cut, cope, install. In practice, you are balancing trim, checking ladder placement, squinting at a pencil mark, and trying not to ding the ceiling with the opposite end of the molding. The good news is that nearly everyone gets better quickly after the first few attempts.
One common experience is discovering that the room is not as square as it looked. A corner that appears perfectly normal can be slightly open at the top or tight at the bottom. This is exactly why coping wins so many fans. People who begin with mitered inside corners often notice tiny gaps right away, especially near the ceiling line. After switching to coped joints, they usually find the fit is more forgiving and stays tighter once the molding is nailed in place.
Another frequent experience is realizing that the saw setup matters almost as much as the cut itself. Many beginners make a correct cut in the wrong orientation. They place the molding on the miter saw one way for the first piece and a slightly different way for the second piece. The result is a pair of cuts that are individually neat and collectively useless. After one or two of these mistakes, most people start marking “ceiling” and “wall” on the back of each board, and suddenly life becomes much less dramatic.
People also learn that coping is not about speed at first. It is about accuracy. The first coped joint often feels awkward because the profile has little dips and curves that seem designed by a mischievous architect. But after a few practice cuts, the process becomes more intuitive. You start to see which areas need to stay crisp on the face and which areas can be hollowed out behind the profile. That is usually the moment confidence kicks in.
There is also a nearly universal moment when someone test-fits a piece, sees a tiny gap, and assumes the whole thing is ruined. Usually it is not. Minor adjustments with a file or sandpaper can transform an almost-good fit into a professional-looking joint. The people who get the best results are rarely the ones who nail everything up fastest. They are the ones who keep taking the piece down, shaving a little more, and checking again until the profile closes cleanly.
Finally, many DIYers come away surprised that patience matters more than fancy gear. Expensive tools help, sure, but careful measuring, labeled parts, good lighting, and practice on scrap often make the bigger difference. By the end of the project, most people say the same thing: the first corner was stressful, the second was manageable, and by the third or fourth, crown molding stopped feeling impossible and started feeling oddly satisfying. That is when you know you have crossed over from “confused homeowner” to “person who now critiques trim in other people’s houses.”