Restoring a toilet bowl is not exactly the kind of home project people brag about at brunch. Nobody says, “Come over and see my dazzling porcelain achievement,” unless they have truly run out of conversation topics. Still, a stained, dull, mineral-crusted toilet bowl can make an otherwise clean bathroom feel like it belongs in a roadside gas station from a horror movie. The good news? Most toilet bowls can be restored with patience, the right cleaner, a little science, and zero dramatic plumbing music.
This guide explains how to restore a toilet bowl in 14 practical steps, from identifying stains to removing hard water rings, rust marks, mineral deposits, odors, and dull buildup. It also covers what not to do, because a toilet bowl can forgive many things, but steel wool and mystery chemical cocktails are not among them.
The main goal is simple: bring the toilet bowl back to a cleaner, brighter, fresher condition without damaging the porcelain glaze, ruining tank parts, or accidentally turning your bathroom into a chemistry lab with regrets.
Why Toilet Bowls Get Stained in the First Place
Before restoring a toilet bowl, it helps to understand what caused the problem. Toilet stains are usually not random. They are tiny crime scenes left behind by water, minerals, bacteria, cleaners, and time. Hard water leaves calcium and magnesium deposits. Iron in water can create orange or reddish-brown rust stains. Manganese may leave gray or black streaks. Pink or reddish film may come from airborne bacteria that thrive in moist places. Mildew, organic grime, and limescale can also join the party, because apparently your toilet bowl has a more active social life than expected.
Cleaning the wrong stain with the wrong product wastes effort. Bleach may lighten organic stains, but it is not the best solution for mineral buildup. Acidic cleaners, vinegar, or citric acid are often better for hard water and rust stains. A wet pumice stone can help with stubborn deposits, but only when used carefully on suitable porcelain. Restoration is less about attacking the bowl and more about choosing the right tool for the stain.
Tools and Supplies You May Need
You do not need a professional janitorial cart or a superhero cape. Most toilet bowl restoration jobs require a few common supplies:
- Rubber gloves
- Toilet brush with firm bristles
- White vinegar or cleaning vinegar
- Baking soda
- Citric acid powder or a commercial limescale remover
- Toilet bowl cleaner suitable for porcelain
- Pumice cleaning stone designed for toilets
- Old towels or paper towels
- Bucket or cup for removing water from the bowl
- Soft cloth or sponge
- Replacement flapper or fill valve if the toilet keeps running
One important warning: never mix cleaning products. Do not mix bleach with vinegar, ammonia, toilet bowl cleaner, or any mystery bottle under the sink that lost its label during the previous administration. Use one method at a time, rinse thoroughly, and ventilate the room.
How to Restore a Toilet Bowl: 14 Steps
Step 1: Inspect the Toilet Bowl Like a Detective
Start by looking closely at the stains. Are they brown, orange, black, gray, yellow, pink, or chalky white? Are they under the waterline, around the rim, or streaking down from the flush holes? Orange and brown often suggest iron or rust. White or gray crust usually points to hard water minerals. Pink film may be bacterial residue. Black stains can come from manganese or mildew, depending on where they appear.
This quick inspection helps you avoid using a cleaner that sounds powerful but does very little. A toilet bowl does not need random aggression. It needs a diagnosis.
Step 2: Ventilate the Bathroom
Open a window, turn on the exhaust fan, and keep the bathroom door open if possible. Even mild cleaners can smell strong in a small bathroom. If you use bleach-based disinfectants or commercial descalers, ventilation becomes even more important. Good airflow protects your lungs and makes the project more pleasant, or at least less like being trapped inside a lemon-scented submarine.
Step 3: Put on Gloves and Protect Nearby Surfaces
Wear rubber gloves before touching cleaners or stained water. Move rugs, towels, toilet paper, and decorative baskets away from the toilet. If cleaner splashes onto painted walls, metal hinges, wood flooring, or natural stone, it may cause discoloration or damage. Keep the restoration focused on the bowl, not the entire bathroom ecosystem.
Step 4: Turn Off the Water and Lower the Bowl Water Level
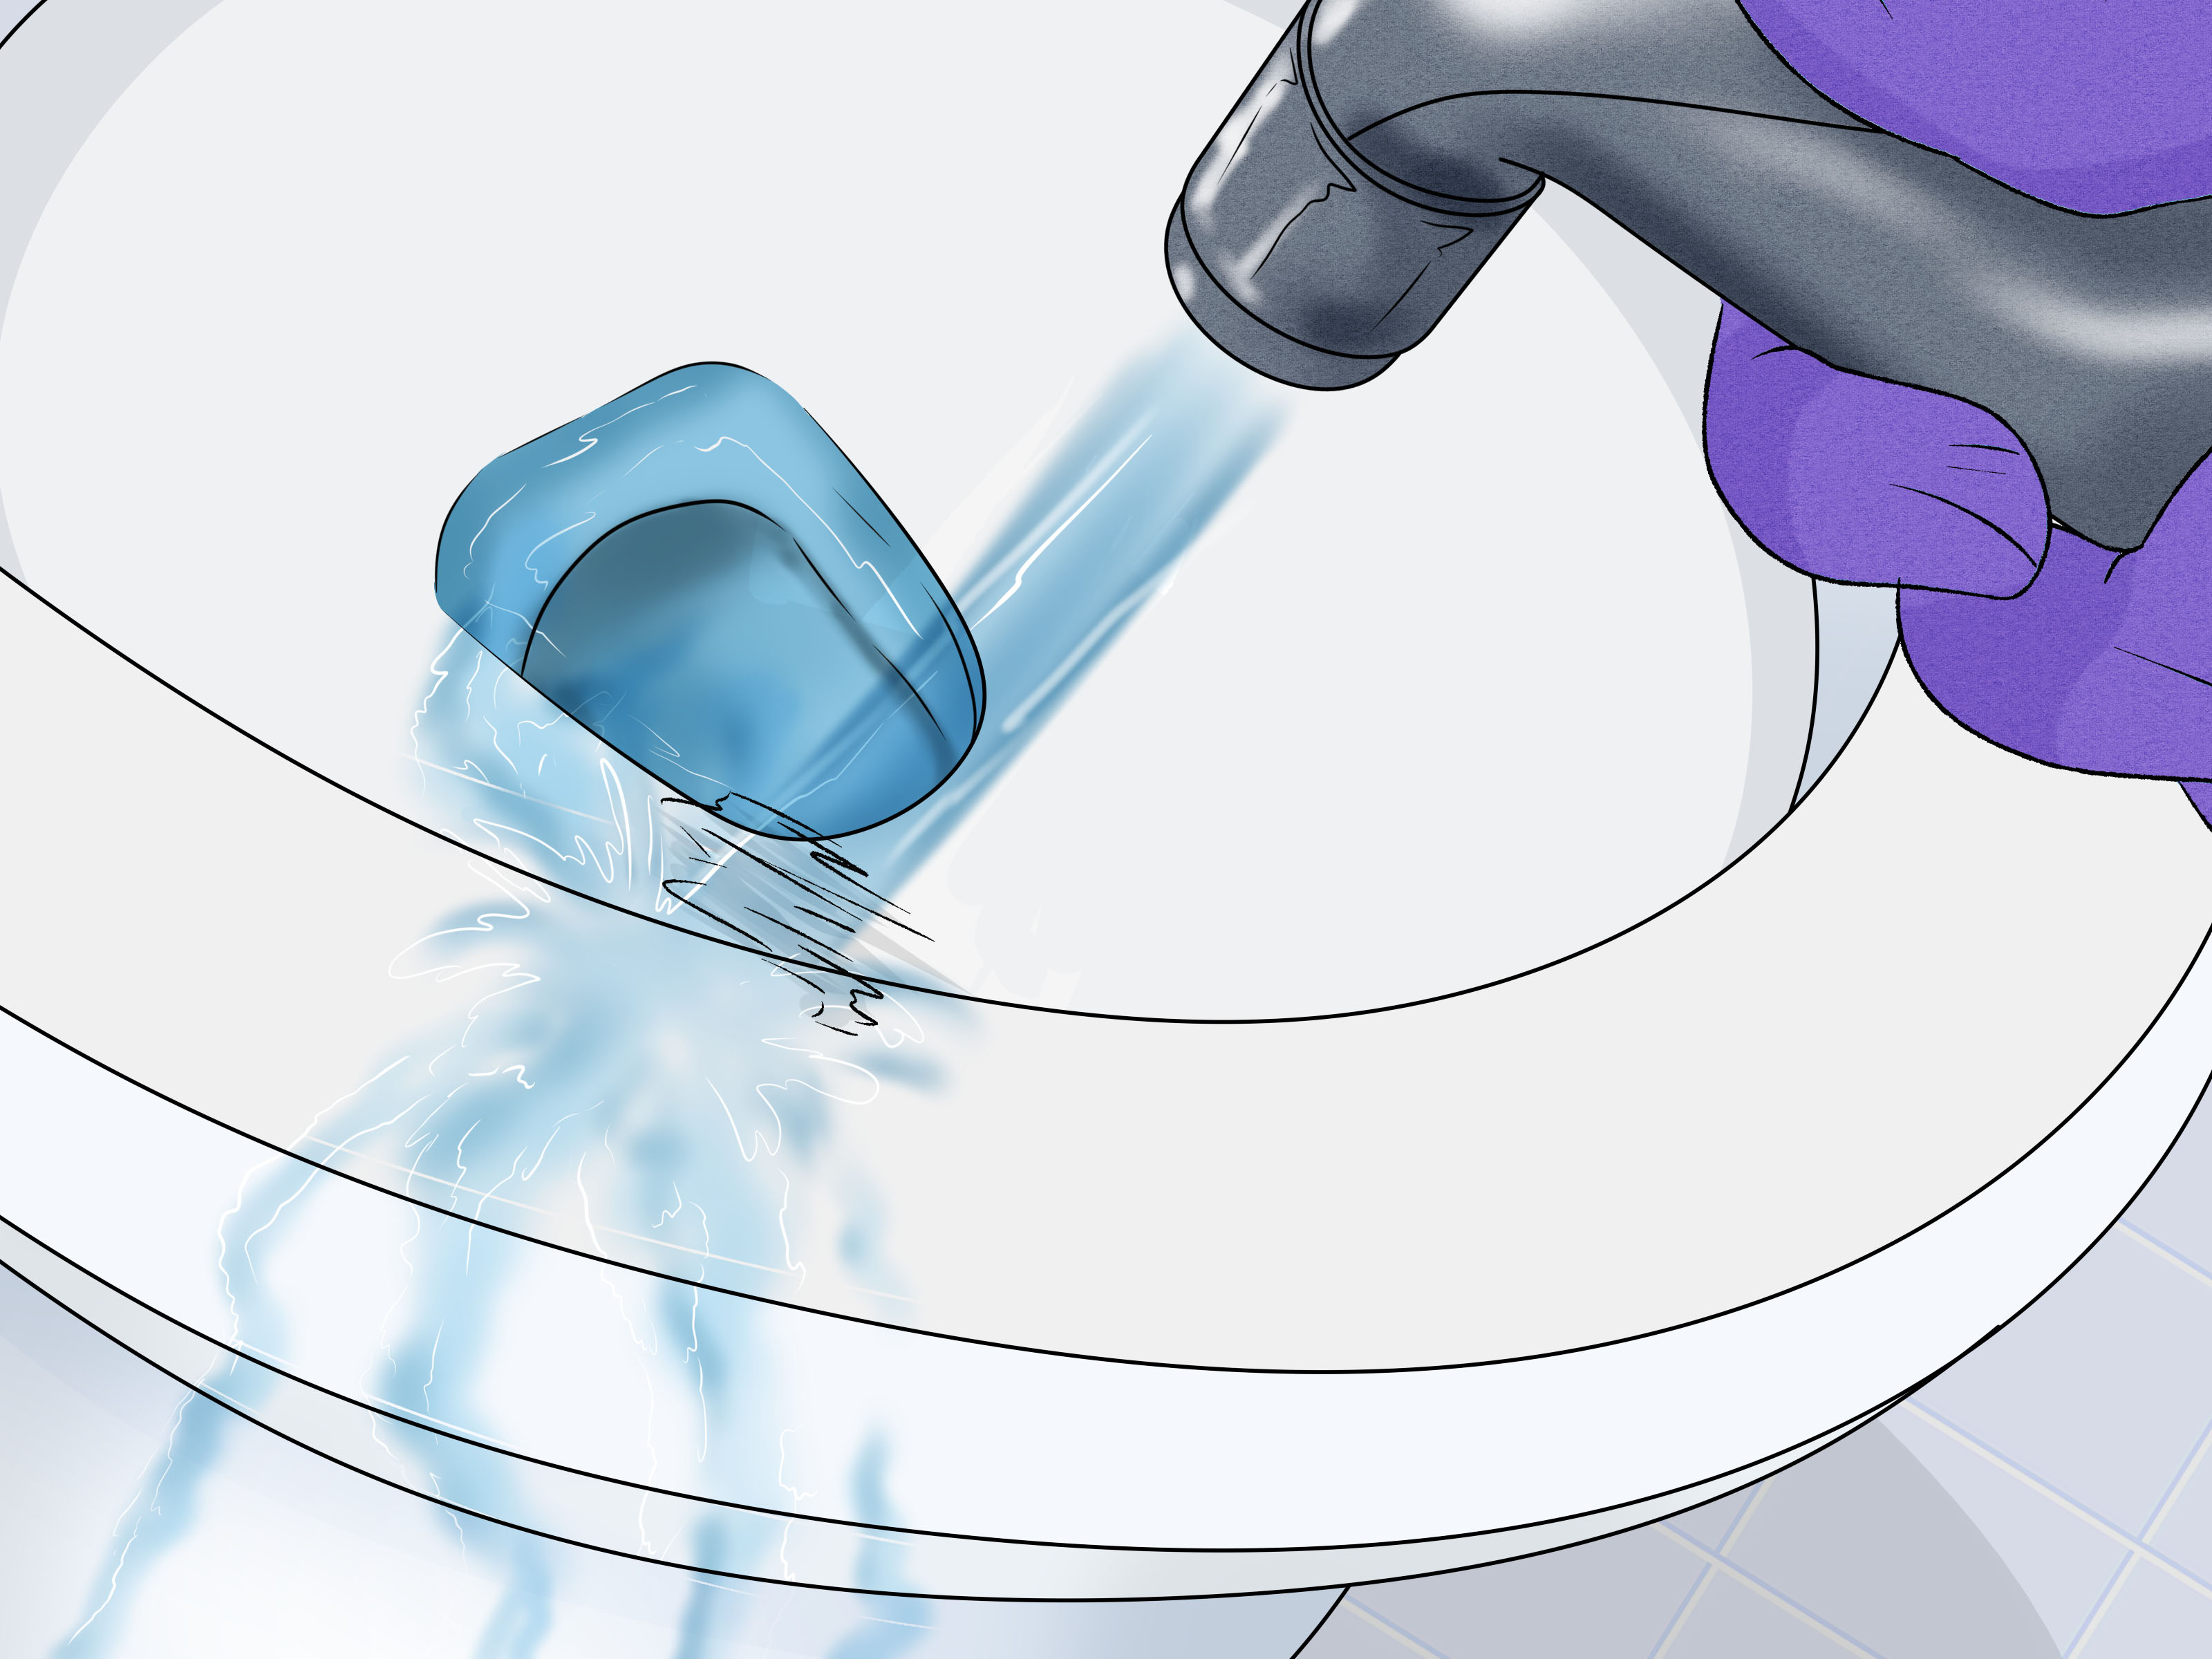
For serious stains, turn the toilet shutoff valve clockwise until it stops. Flush once to remove most of the water. If water remains in the bowl, use a small cup, sponge, or plunger to lower the level further. Less water means your cleaner stays stronger and contacts the stain directly.
This step is especially helpful for hard water rings, rust marks, and mineral crust below the waterline. Trying to dissolve heavy limescale through a full bowl of water is like trying to season soup by waving salt near the pot.
Step 5: Start With a Gentle Vinegar Soak
Pour white vinegar into the bowl, aiming for stained areas. For stains near the rim, soak paper towels in vinegar and press them against the stained surface. Let the vinegar sit for 30 minutes to several hours, depending on the severity of the buildup. Vinegar helps dissolve mineral deposits and deodorize the bowl.
After soaking, scrub with a toilet brush. If the stains fade, repeat the process. Restoration is often a series of polite negotiations, not one heroic scrub.
Step 6: Add Baking Soda for Mild Stains and Odors
For light staining and odor, sprinkle baking soda into the bowl after the vinegar has had time to work. It will fizz, which is satisfying, though not magical. The fizzing action can help loosen grime, while baking soda provides mild abrasion without the harshness of steel wool or gritty scouring powders.
Scrub the bowl thoroughly, especially under the rim and around the waterline. Flush when finished, unless you have turned off the water. In that case, turn the water back on first, let the tank refill, and then flush.
Step 7: Use Citric Acid for Tough Mineral Deposits
If vinegar is too gentle for the job, citric acid can be more effective against hard water scale and mineral stains. Sprinkle citric acid powder onto wet stained areas, or dissolve it in warm water according to product directions. Let it sit, then scrub.
Citric acid is popular because it attacks mineral buildup without the intensity of some harsh acid cleaners. Still, treat it with respect. Wear gloves, avoid splashes, and do not mix it with bleach or other cleaners.
Step 8: Choose a Commercial Toilet Bowl Cleaner When Needed
For heavy stains, a commercial toilet bowl cleaner may be appropriate. Look for one designed for porcelain or vitreous china. Gel cleaners can cling to the bowl surface longer, giving the ingredients more time to work on stains. Follow the label exactly, including wait time and rinsing instructions.
Do not use toilet bowl cleaner on the seat, lid, tank exterior, metal hinges, countertops, tubs, or sinks unless the label specifically says it is safe. Many bowl cleaners are formulated for the inside of the bowl only. The porcelain may be tough; your toilet seat hardware is not auditioning for a survival show.
Step 9: Remove Rust Stains With the Right Product
Rust stains usually need an acid-based rust remover or a cleaner labeled for iron stains. These products are different from general disinfectants. Apply the product to the stain, allow it to work as directed, and scrub with a toilet brush. If you have well water or old pipes, rust may return unless the water issue is addressed.
Avoid using bleach on rust stains. Bleach can sometimes make rust discoloration more stubborn. It may make the bowl smell “clean,” but smell is not the same thing as stain removal.
Step 10: Use a Wet Pumice Stone for Stubborn Rings
A toilet-safe pumice stone can remove hard mineral rings and rough deposits when cleaners alone fail. The key word is wet. Wet the stone and the porcelain before scrubbing. Use gentle pressure and keep the stone wet the entire time. Test a small hidden area first if you are unsure about the surface.
Never use a dry pumice stone. Never use steel wool. Never attack the bowl like you are sanding a boat. The goal is to remove deposits, not scratch the glaze. Once the porcelain glaze is damaged, stains can cling more easily in the future.
Step 11: Clean Under the Rim
The area under the rim is where many toilet bowl restoration projects lose the battle. Mineral deposits and grime can hide in the rim jets, causing streaks after every flush. Apply cleaner under the rim and scrub with an angled toilet brush. For mineral buildup, a vinegar-soaked paper towel can be tucked under the rim for a longer soak.
If the toilet has a weak or uneven flush, clogged rim jets may be part of the problem. Mineral deposits can block water flow, leaving stains behind even after cleaning.
Step 12: Check the Tank for Problems
A restored bowl will not stay restored if the tank keeps feeding it rusty water, mineral-heavy drips, or blue chemical tablet residue. Remove the tank lid and inspect the inside. Look for a warped flapper, a fill valve that does not shut off, mineral buildup, or crumbling rubber parts.
If the toilet runs between flushes, the flapper or fill valve may need replacement. A running toilet wastes water and can create constant streaking in the bowl. Replacement parts are usually inexpensive, and many are designed for simple DIY installation.
Step 13: Avoid In-Tank Cleaning Tablets
In-tank tablets seem convenient, but many plumbers and manufacturers warn that they can damage rubber seals, flappers, and other working parts. They may also hide problems by tinting the water while failing to remove deeper buildup under the rim or inside the bowl.
If you want a clean toilet, manual cleaning is still the gold standard. Yes, this is unfair. We have self-driving cars, but the toilet brush remains employed.
Step 14: Rinse, Flush, Repeat, and Maintain
After the main restoration work, rinse the bowl thoroughly. Flush several times if needed. Check whether stains remain. For deep mineral deposits, you may need more than one session. Do not jump from one chemical to another without rinsing well between methods.
Once the bowl looks restored, maintain it weekly. Scrub under the rim, clean the waterline, and treat early mineral stains before they become permanent-looking geology. If hard water is a recurring problem, consider a water softener or targeted treatment system. Prevention is much easier than chiseling limescale like an archaeologist in rubber gloves.
Common Toilet Bowl Restoration Mistakes
Mixing Cleaners
This is the big one. Never mix bleach with vinegar, ammonia, acidic toilet cleaners, rust removers, or other chemicals. Dangerous fumes can form quickly. Use one cleaner, rinse thoroughly, and only then consider another method.
Using Steel Wool or Harsh Abrasives
Steel wool can scratch porcelain and damage the glaze. Once scratched, the surface holds stains more easily. Use a toilet brush, soft scrub pad, or wet pumice stone designed for toilet bowls instead.
Ignoring the Tank
If the bowl keeps staining after cleaning, the tank may be the source. A bad flapper, corroded parts, or a constantly running fill valve can send a steady stream of water into the bowl. Restoration should include both cleaning and troubleshooting.
Using Hot Water
Pouring very hot water into a cold toilet bowl can risk cracking the porcelain due to sudden temperature change. Use room-temperature or mildly warm water when needed, and avoid dramatic boiling-water experiments.
Best Cleaners for Different Toilet Bowl Stains
Hard Water Rings
Use vinegar, citric acid, a limescale remover, or a wet pumice stone for stubborn deposits. Lowering the water level makes these methods more effective.
Rust Stains
Use a rust remover labeled for toilets or hard water iron stains. Avoid bleach because it is usually not the best choice for rust.
Black or Gray Streaks
Try an acidic cleaner for possible manganese or mineral deposits. If the stain is above the waterline and slimy, it may be organic growth, which calls for cleaning and disinfecting.
Pink Film
Scrub thoroughly and clean more often. Pink residue often appears in damp areas and returns when surfaces stay moist and neglected.
Yellow Stains
Use vinegar, baking soda, or a toilet bowl cleaner appropriate for porcelain. If yellowing is caused by minerals, an acidic cleaner may work better than a standard disinfectant.
When to Repair Instead of Restore
Cleaning can do a lot, but it cannot fix every toilet bowl problem. If the porcelain is cracked, the glaze is badly worn, the toilet leaks at the base, or stains return immediately after cleaning, you may need repairs. A leaking flapper, failing fill valve, or damaged wax ring may be involved. If water appears around the base of the toilet, stop using it and address the leak quickly to prevent floor damage.
If the bowl has permanent scratches or the glaze has been etched by years of harsh cleaners, replacement may be more practical than restoration. A new WaterSense-labeled toilet can also reduce water use compared with older models, especially if the current toilet wastes water through frequent leaks or inefficient flushing.
How Often Should You Restore a Toilet Bowl?
A full restoration should not be a weekly event. If you maintain the bowl properly, deep restoration may only be needed occasionally. For most homes, weekly cleaning keeps stains under control. In hard water areas, a monthly vinegar or citric acid treatment can help prevent buildup. Households with well water, older plumbing, or high mineral content may need more frequent attention.
The best schedule is the one that prevents stains from becoming dramatic. Once mineral rings harden, they require more effort. Think of maintenance as telling the stains, “Not today, tiny bathroom villains.”
Extra Experience: What Restoring a Toilet Bowl Teaches You in Real Life
Anyone who has restored a neglected toilet bowl learns a few things quickly. First, the job is rarely as bad as it looks. A toilet with brown rings, gray streaks, and crusty mineral deposits can seem hopeless at first glance. But once you lower the water level and apply the right cleaner, the stains often begin to loosen. The first scrub may not deliver perfection, but it usually proves that progress is possible.
Second, patience beats brute force. Many people start by scrubbing harder, which only wears out their arm and annoys the porcelain. Letting vinegar, citric acid, or a proper toilet cleaner sit on the stain gives chemistry time to do the heavy lifting. The brush should finish the work, not perform the entire opera.
Third, the waterline tells a story. If the same ring keeps returning, the home probably has hard water. If orange streaks come back after a few days, iron may be present. If the toilet runs quietly between flushes, a flapper may be leaking. A stained bowl is not always a cleaning failure; sometimes it is a plumbing clue wearing a very unattractive disguise.
Fourth, tools matter. A cheap, weak toilet brush can make a simple job feel impossible. A brush with firm bristles and an angled head reaches under the rim better. A toilet-safe pumice stone can feel almost miraculous on mineral rings, but only if it is kept wet and used carefully. Gloves also matter. This is not the moment to prove toughness with bare hands. The toilet does not award medals.
Fifth, regular maintenance is far less annoying than major restoration. A two-minute weekly scrub prevents the kind of buildup that later demands soaking, scraping, muttering, and questioning your life choices. Cleaning under the rim is especially important because that hidden area can send dirty-looking streaks down the bowl even after the visible surface has been scrubbed.
Another useful lesson is that “clean smell” and “clean surface” are not the same thing. Strong fragrance can make a bathroom smell fresh while stains remain untouched. A good restoration focuses on removing the actual deposit, not simply covering it with pine, lavender, or “mountain waterfall thunder breeze,” whatever that is supposed to mean.
Finally, restoring a toilet bowl can be oddly satisfying. It is practical, inexpensive, and visible. You start with a bowl that looks tired and embarrassing, then end with one that looks brighter, cleaner, and cared for. No one may applaud, but you will know. And the next time a guest uses the bathroom, you will not feel the need to shout through the door, “We were just about to clean that!”
Conclusion
Learning how to restore a toilet bowl is really about combining smart stain identification, safe cleaning habits, and consistent maintenance. Start gently with vinegar or baking soda, move to citric acid or a porcelain-safe cleaner for tougher buildup, and use a wet pumice stone only when necessary. Avoid mixing chemicals, skip harsh abrasives, and check the tank if stains or running water keep coming back.
A restored toilet bowl will not make your bathroom famous, but it will make it cleaner, fresher, and far more pleasant. In the world of home maintenance, that is a quiet victory worth flushing for.