Few things feel more like autumn than finding a perfect maple leaf, holding it up to the light, and thinking, “Yes, this belongs in a frame, not under somebody’s sneaker.” The trouble is that leaves are temporary little masterpieces. Today they are glowing red, golden yellow, and pumpkin orange. Tomorrow they are curled, crunchy, and roughly the color of old cereal.
The good news is that you can preserve leaf color at home with simple, affordable methods. Whether you want to make framed botanical art, decorate a fall table, create a leaf garland, build a nature journal, or save a leaf from a memorable walk, the right technique can help keep that color around longer.
This guide focuses on three reliable ways to preserve leaf color: pressing leaves, sealing leaves with wax, and soaking leaves in glycerin. Each method has its own personality. Pressing gives you flat, elegant leaves for art. Wax keeps leaves bright and craft-ready. Glycerin makes leaves soft and flexible, like nature’s version of leatherminus the dramatic price tag.
Why Leaf Color Fades After You Pick It
Before choosing a preservation method, it helps to understand what you are trying to protect. Leaves get their colors from natural pigments. Chlorophyll gives leaves their green color during the growing season. As daylight shortens and temperatures cool, chlorophyll breaks down, allowing yellow and orange pigments called carotenoids to show through. Red and purple colors often come from anthocyanins, pigments that can form when sugars become trapped in the leaf.
Once a leaf falls or is picked, it loses moisture quickly. Its cells begin to collapse, pigments break down, and the leaf curls or browns. Sunlight, heat, oxygen, and humidity all speed up the fading process. That is why a leaf left on a sunny windowsill usually looks less like fall magic and more like a sad cornflake by the end of the week.
The goal of preserving leaves is not to freeze time perfectly. No home method can keep a leaf looking freshly fallen forever. Instead, preservation slows drying, reduces brittleness, and helps the leaf hold more of its original shape and color.
Before You Start: Pick the Right Leaves
The best preserved leaves begin with good leaf selection. Look for leaves that are colorful, fresh, and mostly dry. Avoid leaves that are wet, moldy, torn, or already crumbling at the edges. A leaf that is halfway to dust cannot be rescued by wax, glycerin, positive thinking, or a motivational podcast.
Choose Leaves at Peak Color
For the brightest results, collect leaves when they have reached strong fall color but before they become brittle. Freshly fallen leaves often work well, especially if they still feel flexible. You can also gently pick leaves from low branches, but avoid damaging trees or taking large amounts from one plant.
Clean and Dry Them Gently
Brush off dirt with a soft cloth. If the leaf is dusty, rinse it lightly and pat it dry with a towel. Let it air-dry for a short time before preserving. Extra moisture can cause spotting, mildew, or uneven results, especially when pressing.
Sort by Purpose
Flat leaves are best for pressing, journaling, bookmarks, and framed art. Flexible leaves are better for wreaths, garlands, centerpieces, and crafts that need movement. Thick leaves may take longer to dry or absorb glycerin, while thin leaves may become fragile faster.
Way 1: Press Leaves for Flat, Lasting Color
Pressing is the classic method, and for good reason. It is inexpensive, simple, and great for preserving leaf shape. If you want leaves for scrapbooks, wall art, greeting cards, herbarium-style displays, or school projects, pressing is the most practical place to start.
What You Need
- Fresh, colorful leaves
- Absorbent paper, such as newspaper, printer paper, or blotting paper
- A heavy book or flower press
- Extra weight, such as more books
- Optional: parchment paper to protect book pages
How to Press Leaves
Place each leaf between two sheets of absorbent paper. Arrange the leaf so it lies flat, with the stem and edges positioned the way you want them to dry. Put the paper packet inside a heavy book or between the boards of a flower press. Add weight on top and leave the leaves in a warm, dry place.
Check the leaves after one week. If the paper feels damp, replace it with dry paper. Most leaves need one to two weeks to dry completely, depending on thickness and moisture. When finished, the leaves should be flat, dry, and easy to handle with care.
Best Uses for Pressed Leaves
Pressed leaves are ideal for framed botanical prints, handmade cards, nature journals, bookmarks, resin projects, and simple wall art. They also work beautifully on white or cream paper because the contrast makes the color stand out.
Pros and Cons
The biggest advantage of pressing is simplicity. You probably already have everything you need. Pressed leaves also store easily and look neat. The downside is that they can become brittle. Reds may darken, greens often fade, and the finished leaf will not feel flexible.
Pro Tips for Better Pressing
Press leaves as soon as possible after collecting them. The faster you remove moisture, the better the color usually holds. Use clean, dry paper and keep leaves away from direct sunlight. If you are pressing several leaves, leave space between them so moisture can escape evenly. For a more polished display, press leaves with their best side facing up and avoid overlapping stems.
Way 2: Preserve Leaves with Wax for Bright Fall Crafts
Wax preservation is the cheerful, crafty cousin of pressing. It helps seal the surface of the leaf, adds a light protective coating, and keeps leaves looking brighter longer than untreated leaves. Waxed leaves are especially good for garlands, window displays, table decor, and kid-friendly fall crafts when an adult handles the hot tools.
Option A: Wax Paper and Iron Method
This method uses the wax already on wax paper. It is quick, inexpensive, and perfect when you want leaves that are slightly sealed but still flat.
What You Need
- Fresh leaves
- Wax paper
- Two thin towels or cloths
- An iron
- Scissors
How to Do It
Place one towel on your work surface. Lay a sheet of wax paper on top, arrange the leaves with space between them, and cover them with a second sheet of wax paper. Put another towel over the wax paper. Using a warm iron, press gently for a few seconds at a time. The heat softens the wax and helps it transfer around the leaf.
Let the sheet cool completely. Then cut around each leaf, leaving a thin sealed border if you want extra protection. You can also leave the whole sheet intact for window art.
Option B: Beeswax Dip Method
For a richer coating, dip leaves into melted beeswax. This creates a lovely finish and can help leaves remain more flexible than simple book pressing.
What You Need
- Fresh, dry leaves with stems
- Beeswax
- A double boiler or heat-safe melting setup
- Tongs or tweezers
- Wax paper for drying
How to Do It
Melt beeswax gently using low heat. Do not let it boil. Hold each leaf by the stem, dip it into the melted wax, lift it out, and let the excess drip off. Place the leaf on wax paper to cool. Work slowly and carefully, because hot wax is not the kind of fall memory anyone wants to preserve.
Best Uses for Waxed Leaves
Waxed leaves look beautiful in garlands, wreaths, mobiles, place settings, seasonal centerpieces, and window decorations. The slight sheen can make reds, yellows, and oranges look warmer, especially in soft indoor light.
Pros and Cons
Wax is fast and visually satisfying. It gives leaves a finished look and helps reduce curling. However, waxed leaves are not completely permanent. They can still fade over time, especially in direct sun. The iron method makes leaves flatter, while the beeswax method may keep more natural texture.
Pro Tips for Wax Preservation
Use leaves that are dry on the surface but not brittle. Too much moisture can cause uneven wax coverage. For the cleanest result, test one leaf before doing a whole batch. If the wax looks cloudy or chunky, the temperature may be too low. If the leaf darkens dramatically, the wax may be too hot or the leaf may be too delicate.
Way 3: Preserve Leaves with Glycerin for Flexibility
Glycerin preservation is the best choice when you want leaves that stay soft and pliable. Instead of simply drying the leaf, glycerin replaces some of the water inside the leaf tissue. The result is a leaf that bends more easily and feels less fragile.
This method is especially useful for leaves that will be handled, shaped, or arranged in wreaths and garlands. It is not always the best method for keeping the brightest red color, because some leaves may darken or shift toward brownish tones. Still, for flexibility and long-term decorative use, glycerin is hard to beat.
What You Need
- Fresh leaves or small leafy branches
- Vegetable glycerin or liquid glycerin
- Warm water
- A shallow pan or container
- A second dish or weight to keep leaves submerged
- Paper towels
How to Preserve Leaves with Glycerin
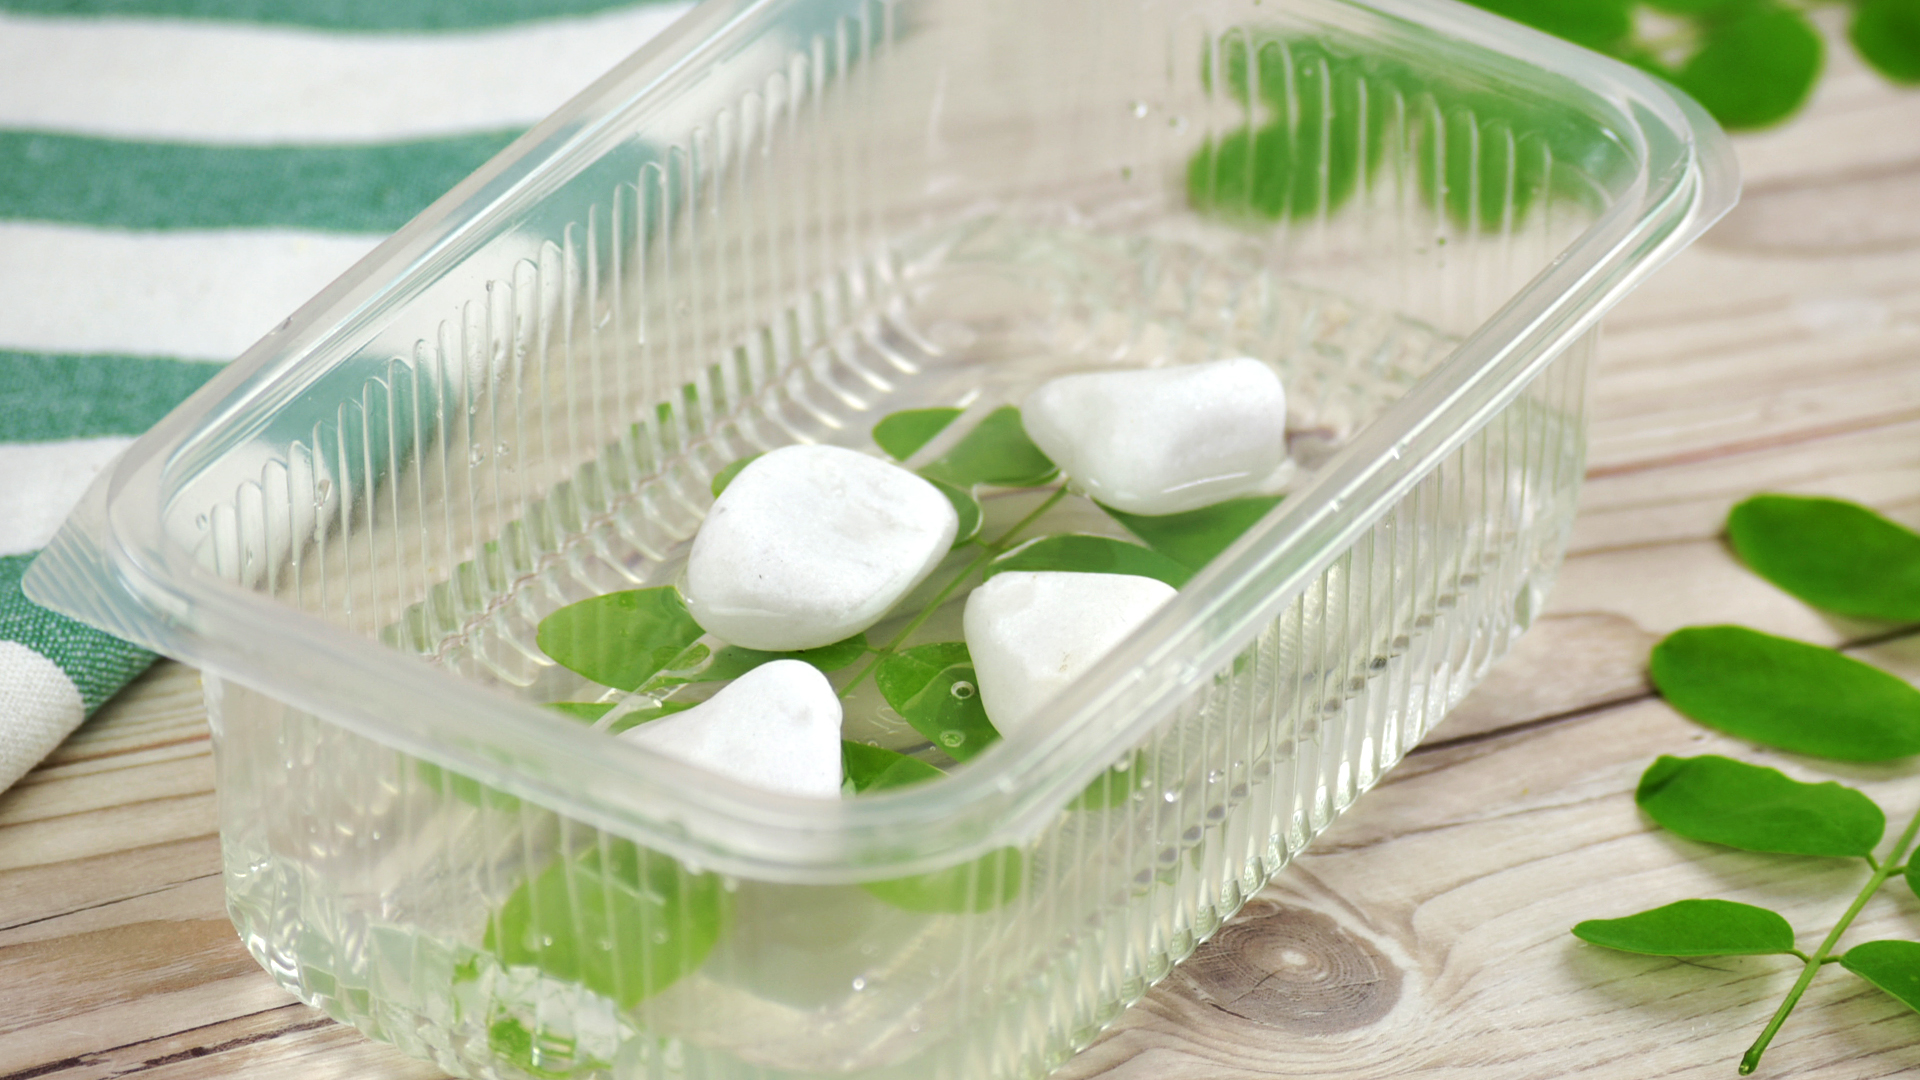
Mix one part glycerin with two parts warm water. Stir until combined. Place the leaves in the solution and make sure they are fully submerged. Use a small plate or another light weight to keep them under the liquid.
Let the leaves soak for three to five days. Thicker leaves may need more time. When they feel soft and flexible, remove them from the solution and blot them dry with paper towels. Let them finish drying on a flat surface.
Preserving Leafy Branches
For small branches, cut the stem ends at an angle and lightly crush the cut ends so they can absorb liquid more easily. Place the stems in a vase filled with the glycerin solution. Keep the cut ends submerged and allow the branch to take up the mixture over several days or weeks. This method works well for branches used in arrangements.
Best Uses for Glycerin-Preserved Leaves
Glycerin-preserved leaves are excellent for wreaths, swags, garlands, table arrangements, and crafts that need a natural drape. They are also easier to handle than pressed leaves, making them a good option for projects where leaves may be tied, layered, or gently bent.
Pros and Cons
The main benefit is flexibility. Glycerin-treated leaves feel more durable and less papery. The trade-off is color change. Yellow leaves often respond nicely, while red leaves can become muted. If exact color is your top priority, test a small batch before preserving your favorites.
Pro Tips for Glycerin Success
Use fresh leaves that have not dried out. Keep leaves fully submerged, and do not rush the process. After drying, store them away from strong sunlight. If the leaves feel sticky, gently wipe them with a damp cloth and let them air-dry again.
Which Leaf Preservation Method Is Best?
The best method depends on your project. If you want flat, elegant leaves for art, choose pressing. If you want bright, decorative leaves for seasonal crafts, choose wax. If you want leaves that bend without snapping, choose glycerin.
Choose Pressing If You Want:
- Flat leaves for frames, journals, cards, or bookmarks
- A low-cost method with no special supplies
- A clean botanical look
Choose Wax If You Want:
- Bright leaves for garlands, windows, and table decor
- A quick weekend craft
- A light protective coating and subtle shine
Choose Glycerin If You Want:
- Flexible leaves for wreaths and arrangements
- Leaves that can be handled more easily
- A natural look with softer texture
Common Mistakes That Make Leaf Color Fade Faster
Using Leaves That Are Already Too Dry
Once a leaf is brittle, preservation becomes much harder. Start with leaves that still feel alive and flexible. A crunchy leaf may still look pretty in a bowl, but it will not survive much handling.
Leaving Leaves in Direct Sunlight
Sunlight fades pigments quickly. Display preserved leaves away from bright windows if you want the color to last longer. Indirect light is your friend.
Skipping the Drying Step
Moisture trapped inside paper, wax, or storage containers can cause mold or dark spots. Make sure leaves are dry before storing or framing them.
Expecting Perfect Permanence
Preserved leaves are still natural materials. Their colors will soften over time. Think of preservation as extending the beauty, not creating a museum-grade force field.
Creative Ideas for Preserved Leaves
Once you know how to preserve leaf color, you can use your leaves in dozens of projects. Frame pressed leaves on textured paper for simple wall art. Make a fall garland with waxed leaves and twine. Add glycerin-preserved leaves to a wreath with pinecones, dried grasses, or ribbon. Use small leaves as gift tags, place cards, or scrapbook accents.
For a modern look, arrange one dramatic leaf in the center of a white mat and frame it in a thin black or wood frame. For a cozy farmhouse style, layer several preserved leaves in a shadow box with acorns and handwritten labels. For kids’ crafts, wax paper leaf sheets can become sun catchers, bookmarks, or seasonal window panels.
You can also create a “color map” of your neighborhood by preserving leaves from different trees and labeling each one. Maple, oak, birch, sweetgum, dogwood, and ginkgo leaves all bring different shapes and shades. It is part art project, part science lesson, and part excuse to take a walk when your inbox is acting dramatic.
Real-Life Experience: What Actually Works When Preserving Leaf Color
In real life, preserving leaves is less like a perfect craft video and more like a tiny science experiment conducted on your kitchen table. Some leaves behave beautifully. Others act like they have signed a contract to curl, brown, and embarrass you in front of your glue stick. The trick is to test, adjust, and not take one failed leaf personally.
One of the most useful lessons is that timing matters more than fancy supplies. The best leaves are usually collected during a narrow window: after the color has fully developed but before the leaf dries out. A freshly fallen maple leaf that still bends slightly will usually preserve better than one that has spent three days on the sidewalk being stepped on by joggers, dogs, and one suspiciously heavy stroller.
Pressing is the easiest method to love because it feels calm and old-fashioned. You tuck leaves into paper, stack books on top, and wait. It is wonderfully low-tech. The surprise is that different leaves dry at different speeds. Thin leaves may be ready in a week, while thicker ones may need more time and fresh paper. If you forget to change damp paper, the color can dull or spots may appear. A little patience makes a big difference.
Wax preservation gives faster results and feels more instantly rewarding. The wax paper method is especially fun because the leaves look display-ready almost immediately. It works best when the iron is warm enough to soften the wax but not so hot that it cooks the leaf. Too much heat can darken delicate leaves. Too little heat leaves the paper barely sealed. A test leaf is the hero of this process. Sacrifice one average leaf so the perfect one can live its best decorative life.
Beeswax dipping creates a more natural, handcrafted finish. The leaves can look beautiful, but the process is a little messier. Wax drips, stems break, and at least one leaf will probably fold in half at the worst possible moment. Still, when it works, the result is gorgeous: a soft sheen, rich color, and a leaf that feels stronger than it did before. It is a great method for garlands and wreaths.
Glycerin is the method that surprises people most. The leaves do not always stay as bright as expected, but they become wonderfully flexible. If your goal is a wreath that will not shatter when you move it from the table to the door, glycerin is worth trying. The leaves may shift into warmer, darker tones, which can actually look elegant in arrangements. Think antique autumn rather than fresh-from-the-tree fireworks.
Another lesson: storage matters. Preserved leaves last longer when kept dry, flat or gently supported, and away from direct sunlight. A shoebox lined with tissue paper works well for pressed or waxed leaves. Glycerin-treated leaves can be stored loosely so they do not crease. Avoid plastic bags unless the leaves are completely dry, because trapped moisture can undo all your careful work.
Finally, the best projects usually mix methods. Press the most beautiful flat leaves for frames. Wax the colorful medium-sized leaves for garlands. Use glycerin for branches and leaves that need movement. That way, every leaf gets the treatment that suits it best. It is a little like assigning seats at Thanksgiving dinner: when everyone is placed correctly, the whole thing goes much better.
Conclusion
Learning how to preserve leaf color is a simple way to keep a piece of the season long after the trees have gone bare. Pressing leaves gives you clean, flat keepsakes for art and journaling. Wax sealing helps maintain brightness for crafts and decorations. Glycerin soaking keeps leaves flexible for wreaths, garlands, and arrangements.
The best method depends on what you want to make. For framed art, press. For quick decor, wax. For flexible designs, use glycerin. Start with fresh, colorful leaves, protect them from direct sun, and remember that natural materials will always change a little. That is part of their charm. After all, autumn is famous for being dramatic, beautiful, and gone too soonbasically nature’s limited-edition collection.