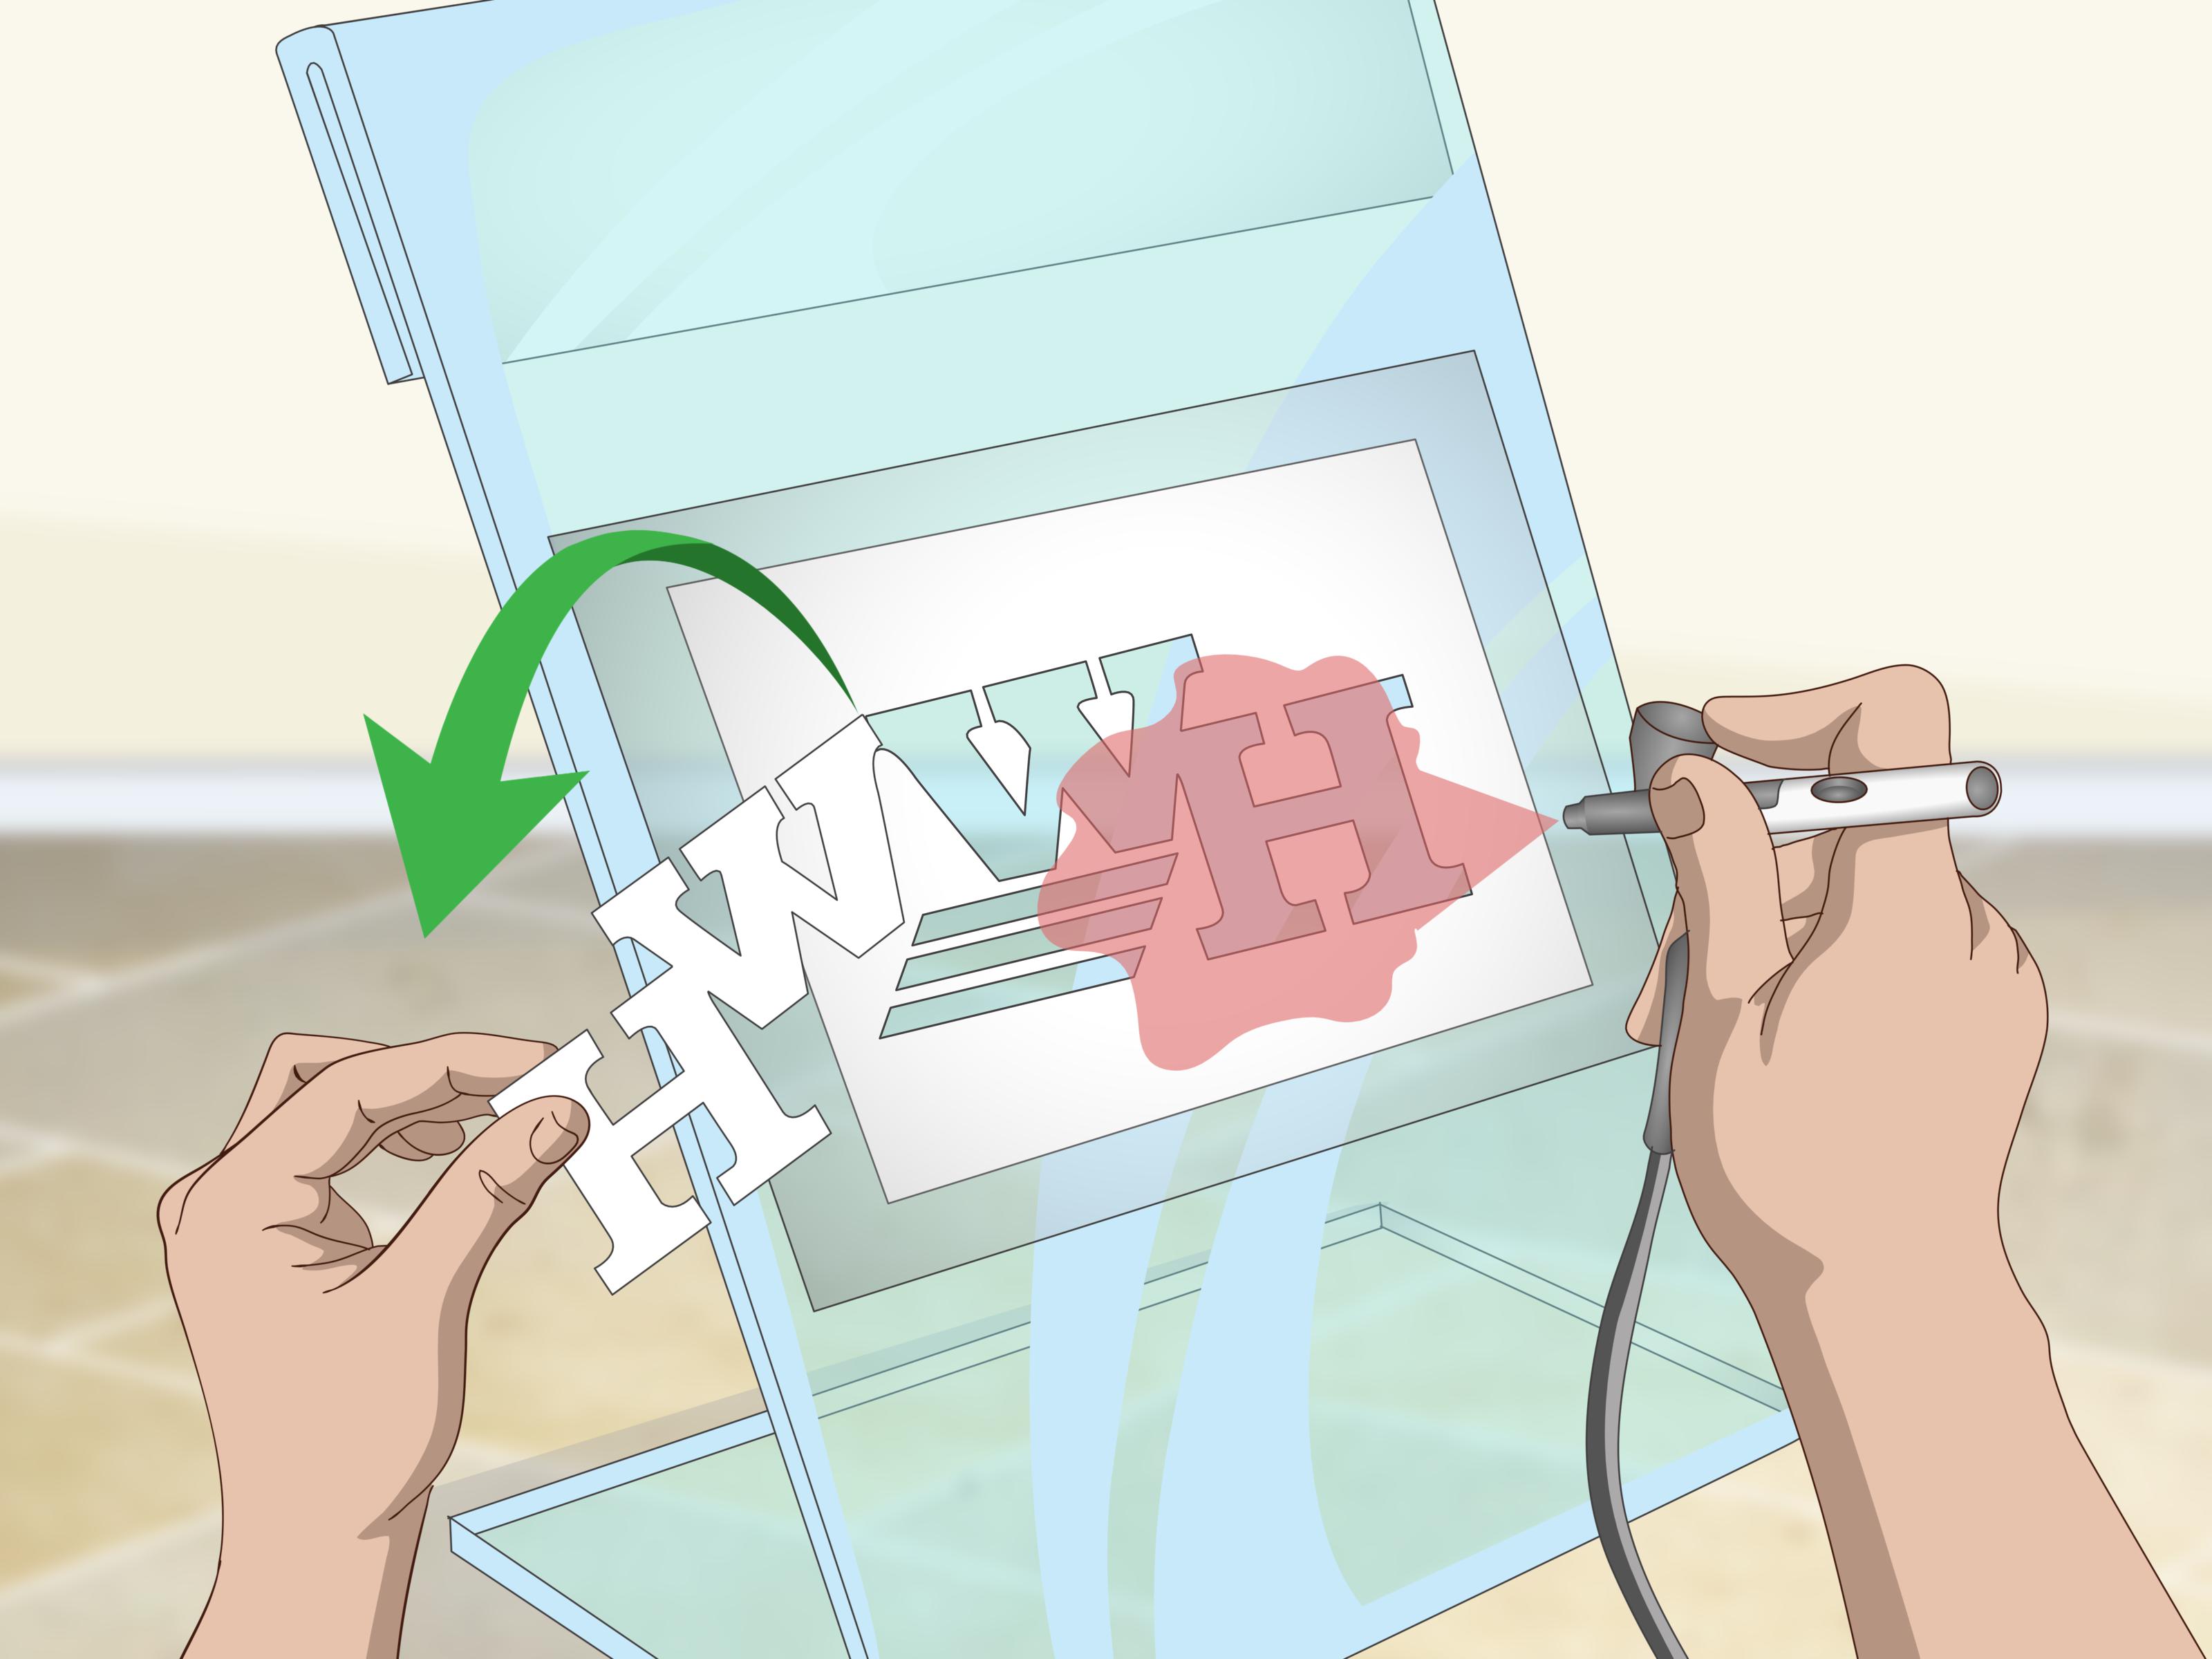
Airbrush stencils are wonderfully sneaky tools. A plain sheet of paper, plastic film, or adhesive vinyl can turn a drifting cloud of paint into crisp lettering, sharp graphics, realistic textures, and repeatable patterns. Better yet, you do not need an industrial laser cutter, a warehouse full of equipment, or the patience of a medieval manuscript artist to make one.
This guide explains three practical ways to make airbrush stencils: hand-cut paper stencils for quick projects, reusable plastic stencils for repeated designs, and adhesive stencils made with masking film or a digital cutting machine. You will also learn how to design stable stencil shapes, avoid paint bleed, control overspray, and choose the right method for your surface.
An airbrush naturally produces a soft-edged mist. A stencil, template, mask, or frisket interrupts that mist and creates a controlled edge. It also captures much of the overspray, although surrounding areas still need protection because airborne paint has a remarkable talent for visiting places where it was not invited.
What Makes a Good Airbrush Stencil?
A successful stencil is more than a picture with holes cut into it. It must remain physically connected after the unwanted areas are removed. Every important shape needs enough material around it to prevent tearing, shifting, or flapping under air pressure.
Understand positive and negative shapes
The open areas of a stencil allow paint to reach the surface. The solid areas block the paint. Depending on the design, you may use either the cutout sheet or the pieces removed from it.
- Positive stencil: Paint passes through the openings and creates the visible design.
- Negative mask: A solid shape covers part of the surface while paint is sprayed around it.
- Layered stencil: Two or more separate masks create highlights, shadows, outlines, or multiple colors.
Add bridges to enclosed shapes
Letters such as A, B, D, O, P, and R contain enclosed centers called islands. Without narrow connecting strips, those centers fall out during cutting. These strips are called bridges. Add them wherever an interior section must remain attached to the main stencil.
Bridges should be wide enough to survive cutting and spraying but not so wide that they dominate the finished image. For a small hand-cut stencil, a bridge around 1/16 to 1/8 inch wide is often a sensible starting point. Larger signs and reusable templates can support wider bridges.
Simplify before cutting
Tiny hair strands, microscopic corners, and five hundred individual dragon scales may look impressive on a screen, but they can become confetti when cut from paper. Reduce unnecessary detail, enlarge narrow openings, round fragile corners, and combine nearby shapes when possible.
For photographs or shaded artwork, convert the image into a high-contrast silhouette or a limited number of tonal layers. Vector-tracing software can turn pixel-based artwork into editable paths, but the result usually needs cleanup before it becomes a practical stencil. Adobe notes that automatic tracing quality depends heavily on the source image and the selected settings.
Basic Tools and Materials
You will not need every item for every method, but the following supplies cover most homemade airbrush stencil projects:
- Printed or hand-drawn stencil design
- Cardstock, acetate, polyester film, Mylar, stencil vinyl, or frisket film
- Sharp hobby knife or precision craft knife
- Spare blades
- Self-healing cutting mat
- Metal ruler for straight cuts
- Low-tack painter’s tape
- Repositionable spray adhesive, when suitable
- Transfer tape for adhesive vinyl designs
- Digital cutting machine for machine-cut stencils
- Paper, masking film, or drop cloths for overspray protection
A sharp blade is safer and more controllable than a dull one because it requires less force. Precision-knife manufacturers offer blades intended for detailed cutting and cutting mats designed to protect the work surface. Even so, the basic rule remains undefeated: always cut away from your fingers.
Method 1: Make a Quick Paper or Cardstock Stencil
Paper and cardstock stencils are inexpensive, fast, and ideal for practice pieces, temporary graphics, cake-board experiments, model work, T-shirts, illustration, and one-off signs. They are also forgiving. When a paper stencil fails, it usually costs less than a fancy coffee and teaches more than the coffee would.
Step 1: Choose the right paper
Ordinary printer paper works for basic testing, but it absorbs moisture and may curl after several passes. Medium-weight cardstock holds its shape better and can often be reused a few times if the paint is applied lightly.
For cleaner results, choose smooth cardstock rather than heavily textured craft paper. The flatter the stencil lies against the work, the less opportunity paint has to creep underneath it.
Step 2: Prepare the design
Print the image directly on the cardstock or attach a paper printout to the cardstock with removable tape. A light application of repositionable adhesive can also hold a printed pattern temporarily, but test the adhesive first. Some spray adhesives create a strong bond, while repositionable formulas are specifically intended to allow lightweight materials to be lifted and positioned again.
Mark every area that must be removed. Check all enclosed shapes for bridges before cutting. This five-minute inspection can prevent the classic moment when the center of a letter O drops onto the floor and immediately joins a secret society beneath the workbench.
Step 3: Cut from the smallest details outward
- Place the cardstock on a cutting mat.
- Install a fresh blade in the craft knife.
- Cut small internal openings first.
- Rotate the stencil instead of twisting your wrist into uncomfortable angles.
- Use a metal ruler for long straight edges.
- Remove the cut pieces with tweezers or the knife tip.
For curves, use a smooth continuous cutting motion whenever possible. Repeated short chops can create a serrated edge that appears in the painted result. Professional airbrush training materials similarly recommend continuous cuts and light blade pressure when cutting masking film.
Step 4: Position and spray
Secure the outer edges with low-tack tape. For detailed designs, apply a very light coating of repositionable adhesive to the back of the stencil and allow it to become tacky according to the product instructions. Press the stencil flat without stretching it.
Hold the airbrush as close to perpendicular to the stencil as practical. Spraying sharply from the side can force paint beneath the edge. Begin with several light passes instead of one wet pass. Excess paint creates pooling, runs, fuzzy edges, and the famous airbrush “spider,” which resembles a tiny paint explosion with commitment issues.
When to use this method
Choose a paper stencil when you need speed, low cost, large simple shapes, or a prototype before cutting a more durable version. Avoid it for very wet applications, strongly curved surfaces, or production runs requiring dozens of identical impressions.
Method 2: Make a Reusable Mylar or Plastic Stencil
Reusable plastic is the best choice when you plan to repeat a design on multiple objects. Polyester stencil film, often called Mylar, resists moisture, cleans more easily than paper, and maintains thin bridges better over repeated use.
Commercial reusable stencil films are available in several thicknesses. A thin film bends around modest curves and cuts easily, while thicker material is more durable but may not conform closely to irregular surfaces. Professional airbrush templates commonly use solvent-resistant Mylar, and reusable polyester stencil products are valued for flexibility, clarity, and repeated use.
Step 1: Select the thickness
- Thin film: Better for fine details, small designs, and curved objects.
- Medium film: A versatile choice for signs, furniture, models, helmets, and craft production.
- Thicker film: Better for bold shapes and frequent handling, but harder to cut manually.
Before buying a large roll, test a small sheet with your knife or cutting machine. Material described as “plastic” can behave very differently depending on its composition and thickness.
Step 2: Transfer the design
Place the transparent or translucent film over a printed pattern and tape both layers to the cutting mat. Alternatively, trace the image onto the film with a fine permanent marker.
Leave a generous border around the design. A wider border gives you room for tape, catches more overspray, and makes the stencil easier to hold without placing your fingers in the spray zone.
Step 3: Cut carefully
Use a sharp blade and several controlled passes rather than trying to force the knife through thick film in one heroic attack. Keep the blade upright so the cut does not become excessively beveled.
For circles and smooth curves, turn the material gradually while keeping your cutting hand in a comfortable position. Remove small sections as you work, but do not pull aggressively on areas that have not been fully cut.
Step 4: Strengthen fragile areas
Inspect thin bridges by gently flexing the stencil. If a connection appears weak, widen it before using the stencil. For multi-part graphics, add alignment marks outside the artwork. Small triangles, crosses, or corner marks help position each color layer consistently.
Step 5: Use and clean the reusable stencil
Secure the stencil with low-tack tape, magnets, stencil weights, or a compatible repositionable adhesive. Spray light coats and avoid building a thick ridge of paint around the openings.
Clean the stencil soon after use with a cleaner compatible with both the paint and the plastic. Do not assume every solvent is safe for every film. Strong solvents may cloud, soften, curl, or permanently distort some plastics. Follow the paint, cleaner, and stencil manufacturers’ instructions.
When to use this method
A reusable plastic stencil is excellent for logos, workshop signs, camouflage patterns, model details, custom automotive graphics, repeating wall motifs, fabric designs, and texture effects. It is less suitable when the design must seal tightly against a compound curve or heavily textured surface.
Method 3: Make an Adhesive Vinyl or Frisket Stencil
Adhesive stencil material produces some of the cleanest edges because it sticks directly to the surface. It is especially useful for lettering, small details, curved panels, helmets, tumblers, illustration board, glass, smooth wood, and layered graphics.
Low-tack frisket films are specifically made for airbrushing and masking. They are designed to remain flat without fluttering, cut cleanly, and peel away with less risk of damaging the artwork beneath them.
Option A: Cut adhesive film by hand
- Clean and dry the project surface.
- Apply the film gradually, smoothing from the center outward.
- Remove air bubbles with a soft squeegee or clean cloth.
- Place the design over the film or draw directly on it.
- Cut with extremely light pressure.
- Lift only the areas that will receive paint.
- Save removed sections on the backing sheet if they will be replaced later.
The goal is to cut the masking film without carving into the surface beneath it. This is particularly important on paper, fresh paint, automotive panels, and delicate coatings. Airbrush training instructions recommend applying frisket gradually, smoothing out bubbles, cutting with a sharp blade, and peeling the exposed section slowly.
Option B: Cut stencil vinyl with a digital machine
A Cricut, Silhouette, or similar cutting machine can reproduce intricate stencil designs quickly. The general workflow is straightforward:
- Create or import the design into the machine’s software.
- Convert the artwork into clean cut paths.
- Resize it and add registration marks if multiple layers are needed.
- Select the correct stencil-film material setting.
- Run a small test cut.
- Cut the complete design.
- Weed away the sections that should receive paint.
- Apply transfer tape when the design contains separate letters or pieces.
- Burnish the stencil firmly to the surface.
- Peel away the transfer tape at a low angle.
Cricut’s official instructions recommend applying stencil film to a clean, dry surface and burnishing from the center toward the edges. Its transfer-tape guidance also emphasizes weeding, burnishing, and supporting large designs during application.
Stencil films are available with different adhesive strengths. Low-tack removable paint-mask films are intended to stay in place during spraying while reducing residue and surface damage. Some are translucent, making alignment easier because the underlying surface remains visible.
Remove the stencil at the right time
Do not automatically wait until the paint is completely hard. Depending on the coating, removing the mask while the paint is touch-dry but not fully cured may reduce the chance of lifting a brittle paint edge. However, the correct timing varies by paint system, surface, temperature, and film. Always test the complete process on scrap material first.
When to use this method
Choose adhesive film when edge sharpness and close surface contact matter most. It is usually the strongest option for fine lettering and layered images, but it may not be reusable. It can also lift weak paint, paper fibers, or uncured finishes if its tack is too strong.
How to Airbrush Through a Stencil Without Paint Bleed
Prepare the surface
Dust, grease, moisture, and loose paint prevent a stencil from sealing correctly. Clean the surface using a method compatible with the material and allow it to dry fully.
Test your paint and airflow
Use airbrush-ready paint or reduce it according to the paint manufacturer’s technical guidance. Thick paint may clog the airbrush, while over-thinned paint can run beneath the stencil. Test the spray on scrap material before approaching the actual project with the confidence of someone who has definitely read the instructions.
Airbrush control depends on several interacting factors, including air pressure, paint flow, distance from the work, and trigger movement. Light, controlled spray produces better stencil edges than flooding the opening.
Spray light coats
Begin with a faint tack coat. Allow it to settle, then add color gradually. Several thin passes are safer than one heavy pass. Keep the airbrush moving before paint begins flowing and continue moving briefly after releasing the paint to reduce buildup at the ends of each stroke.
Control the spray angle
Aim toward the center of the stencil openings rather than directly into an exposed edge. On a curved object, rotate the piece or reposition your hand so the airbrush remains as perpendicular as possible.
Mask beyond the stencil
A narrow stencil border will not stop all airborne mist. Cover nearby surfaces with masking paper or film. Iwata’s training guidance specifically warns that unused stencil openings and surrounding areas should be covered to prevent ghost shapes and unwanted overspray.
Common Stencil-Making Mistakes
Forgetting bridges
If the middle of a letter disappears during weeding, the design needed a bridge or a separate floating mask. Repair the digital file before cutting another copy.
Using too much adhesive
A heavy coat of spray adhesive can leave residue or bond the stencil too firmly. Use a repositionable product only when compatible with the surface, apply it lightly, and follow its ventilation and application instructions.
Cutting with a dull blade
Dull blades pull and tear. Replace the blade as soon as it begins dragging, especially when cutting tight corners or thin film.
Spraying too wet
Wet paint collects along stencil edges and can flow underneath. Reduce paint volume, move faster, increase drying time between passes, or adjust the paint according to its technical instructions.
Choosing the wrong stencil material
Cardstock may curl on wet projects, thick Mylar may resist curved surfaces, and aggressive vinyl may damage delicate finishes. Match the stencil to the surface, paint, level of detail, and number of repetitions required.
Airbrush Safety and Workspace Setup
Use an adequately ventilated workspace and follow the safety data sheet for every paint, reducer, cleaner, and adhesive. Water-based paint should not be treated as permission to breathe the mist. Keep food, drinks, pets, children, and open flames away from the spray area.
A suitable spray booth can help capture airborne particles and overspray. Respiratory protection must be selected for the actual hazard, used correctly, and fitted properly. OSHA notes that ventilation and good work practices are central to reducing exposure to vapors and particulates, while formal respirator use requires correct selection, fit testing, medical evaluation, and training in occupational settings.
Arts and crafts work can involve solvents, pigments, metals, and other hazardous substances, including materials used in airbrush painting. Product labels and current safety data should take priority over generic advice.
Practical Experience Notes: Lessons From Realistic Stencil Projects
The following workshop-style observations summarize the kinds of lessons that repeatedly emerge during hands-on airbrush stencil projects.
The first stencil is usually a prototype
A design may look perfect on a computer and still behave strangely after cutting. Thin connections become weaker than expected, tiny openings refuse to weed cleanly, and a graceful curve can turn into a staircase when printed too small. Treating the first version as a test removes much of the frustration. It is easier to widen a bridge or simplify a corner when the first stencil was never expected to become a family heirloom.
One particularly useful habit is to print the design on ordinary paper at its final size before cutting anything expensive. This reveals whether text is readable, details are large enough, and the entire graphic fits the intended object. Holding the printout against a helmet, sign, model, or panel often exposes proportion problems that were invisible on the screen.
Cardstock teaches excellent spray control
Paper stencils are not glamorous, but they quickly reveal poor spraying habits. If the airbrush is aimed sideways, the paper edge lifts. If the paint is too wet, the cardstock darkens and curls. If airflow is excessive, narrow bridges flutter. Those failures are useful because they point directly to the technique that needs adjustment.
During practice, the cleanest results usually come from an almost disappointingly light first pass. The color may look too pale at first, but the next passes build density without flooding the stencil. Patience feels slow for approximately thirty seconds and then becomes much faster than repairing a smeared graphic.
Reusable stencils need generous borders
A common early mistake is trimming a reusable stencil close to the artwork. The compact sheet looks tidy, but it provides little protection from overspray and almost nowhere to place tape or fingers. Leaving two or three inches of material around the design can make the stencil easier to position and reduce the amount of extra masking needed.
Registration marks also transform layered work. Without them, lining up a second color can become a guessing game involving squinting, nudging, and increasingly creative vocabulary. Two or three simple marks outside the finished image make each layer far more predictable.
Adhesive film rewards surface preparation
Adhesive stencils can create beautifully crisp edges, but only when the surface is clean and stable. Dust forms miniature tunnels beneath the film. Oil from fingertips weakens adhesion. Fresh paint can lift when the mask is removed. A small test patch answers these questions before the main artwork is placed at risk.
When applying a large adhesive stencil, exposing the entire sticky backing at once is rarely the calmest strategy. Peeling back a short section, anchoring one edge, and smoothing the film gradually gives air bubbles somewhere to escape. Working from the center outward with a scraper or soft squeegee further improves contact.
Cleaning is easier before the paint becomes geology
Reusable stencils are much easier to maintain when cleaned shortly after spraying. Dried paint accumulates along the openings, slowly changing the dimensions of the design. Fine text becomes thicker, narrow gaps become smaller, and eventually the stencil produces a noticeably different image.
The same principle applies to the airbrush. Flushing it between colors and cleaning it at the end of a session reduces clogs and inconsistent spray patterns. Official airbrush training guidance emphasizes cleaning both between color changes and after the work period.
The best method depends on the job
No single stencil material wins every contest. Cardstock is excellent for rapid experiments. Reusable polyester is efficient for repeated graphics. Adhesive film gives superior contact and detail on smooth or curved surfaces. Many successful projects use all three: paper for planning, Mylar for recurring texture, and adhesive frisket for the final sharp details.
The real skill is not merely cutting a neat hole in a sheet. It is choosing a material that cooperates with the paint, surface, design, and number of repetitions. Once those decisions are right, the airbrush becomes easier to control and the stencil stops behaving like an unpredictable piece of office stationery.
Conclusion
Learning how to make airbrush stencils opens the door to repeatable logos, sharp lettering, realistic textures, layered illustrations, decorative patterns, and custom graphics. Begin with a paper stencil when speed and simplicity matter. Move to Mylar or polyester film for reusable designs. Choose adhesive vinyl or frisket when you need close surface contact and especially crisp edges.
Regardless of the method, the fundamentals remain consistent: simplify the artwork, add bridges, cut with a sharp blade, secure every edge, protect against overspray, and build the color with light passes. Test the complete system on scrap material before spraying the final object. That small rehearsal can save a surprising amount of sanding, repainting, and dramatic staring into the distance.