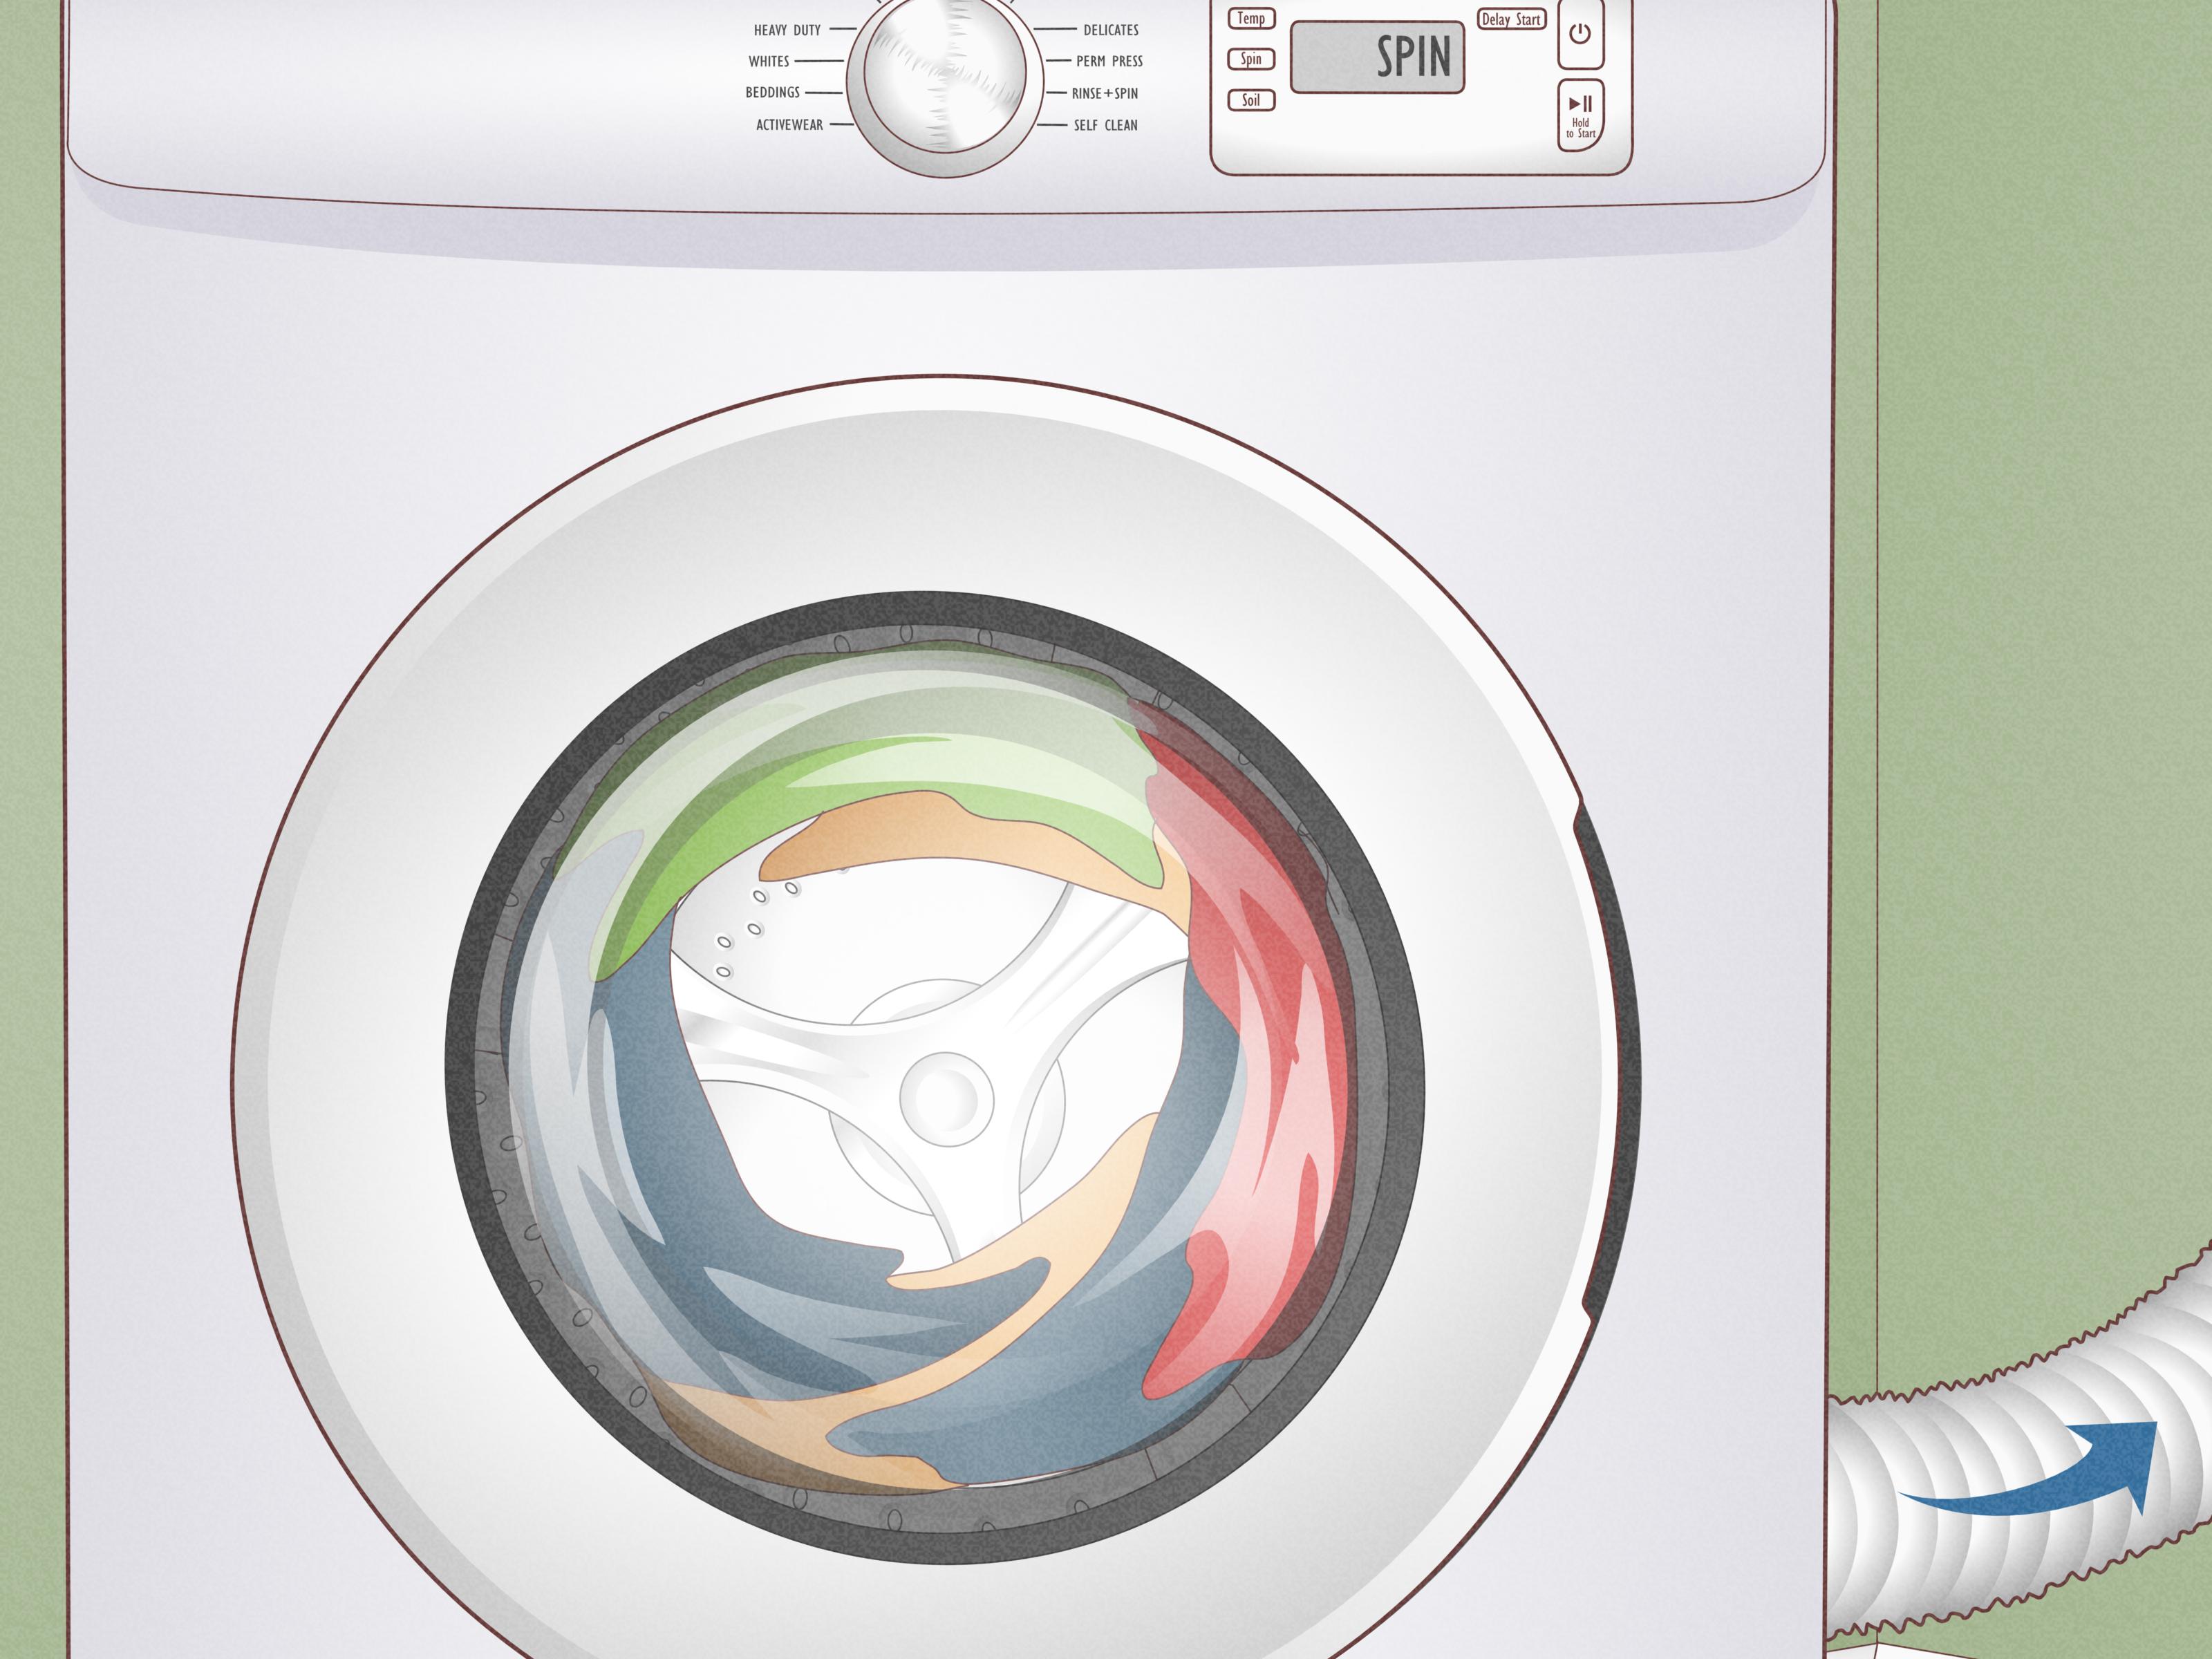
Dryers are wonderful little time-savers. You toss in a mountain of damp laundry, press a button, and wait for warm, fluffy results. But when the dryer vent gets clogged, that helpful machine turns into a slow, sweaty, lint-breathing drama queen. Clothes take forever to dry, the laundry room feels like a sauna, and your energy bill starts acting suspicious.
Cleaning a clogged dryer vent is one of those home maintenance jobs that sounds more intimidating than it really is. The good news is that, in many homes, it is a straightforward project you can handle with basic tools, some patience, and a willingness to battle a truly disrespectful amount of lint.
In this guide, you will learn simple ways to unclog a dryer vent in 10 practical steps, plus the warning signs to watch for, safety tips to follow, and real-world experiences homeowners often have before and after a proper cleaning. If your dryer has been taking two cycles to do the job of one, this is your sign to stop negotiating with lint and start removing it.
Why a Clogged Dryer Vent Is a Bigger Deal Than It Looks
A dryer vent does one simple but essential job: it carries hot, moist air and lint particles out of your dryer and outside your home. When that airflow gets restricted, everything becomes harder for the machine. Drying times increase, heat builds up, moisture lingers, and lint collects where it absolutely should not.
That means a clogged vent is not just a minor inconvenience. It can reduce dryer efficiency, make clothes come out hotter than usual, and put extra strain on the appliance. In some cases, it can also create a fire risk. That is why dryer vent cleaning is one of the smartest and simplest pieces of routine home care.
Just as important, unclogging the vent can help your dryer perform better. Better airflow usually means shorter drying times, less wear on fabrics, and less energy wasted on repeated cycles. Your dryer gets to work smarter, and you get to stop asking why one towel load took all afternoon.
Signs Your Dryer Vent May Be Clogged
Before you grab a vacuum and a vent brush, it helps to know what a blockage usually looks like in real life. Common signs include:
- Clothes take much longer than normal to dry
- Items feel unusually hot at the end of a cycle
- The dryer itself is hot to the touch
- Your laundry room feels warm or humid
- You notice a musty or slightly burnt smell
- Lint is collecting around the dryer or near the outdoor vent opening
- The exterior vent flap does not open properly when the dryer runs
If you are seeing two or three of those signs at once, your dryer vent is probably not “a little dirty.” It is more likely auditioning for a clog-related intervention.
Simple Ways to Unclog a Dryer Vent: 10 Steps
Step 1: Turn Off the Dryer and Unplug It
Start with safety. Turn the dryer off and unplug it from the wall. If you have a gas dryer, shut off the gas supply before you start moving anything around. This is not the moment for heroic shortcuts.
You want the machine fully off before disconnecting the vent hose or reaching behind it. Dryers may look harmless when they are just standing there, but they are still major appliances with electrical components, heat, and sometimes gas connections. Treat them with respect and maybe a little suspicion.
Step 2: Pull the Dryer Away From the Wall Carefully
Move the dryer slowly and gently so you do not crush the vent hose, damage the wall, or yank loose a connection. If the space is tight, rocking the dryer a little from side to side while pulling can help.
This step is also a great chance to inspect the area behind the dryer. You may find lint buildup on the floor, around the back panel, or near the vent connection. That dusty fluff is not decorative. Vacuum it up before it spreads any farther.
Step 3: Disconnect the Dryer Vent Hose
Once you can access the back of the dryer, loosen the clamp that secures the vent hose. Depending on your setup, you may need a screwdriver or simply your hands. Carefully disconnect the hose from the dryer and, if possible, from the wall side as well.
This is usually the moment when people discover the clog is not mysterious at all. It is right there. Staring at you. In lint form.
Look inside the hose and remove any obvious clumps by hand. If the duct is crushed, torn, or made of old plastic or vinyl material, it may be smarter to replace it rather than keep fighting with it.
Step 4: Vacuum Out Loose Lint and Debris
Use a vacuum with a hose attachment to remove as much loose lint as possible from both the dryer outlet and the vent hose. Reach into the wall connection carefully if it is accessible, but do not force the vacuum where it cannot go.
This step matters because lint often collects near connection points first. Even if the entire duct is not packed solid, a heavy layer near the ends can still restrict airflow. A shop vacuum works especially well here, but a household vacuum with attachments can also do the job.
Step 5: Use a Dryer Vent Brush to Break Up Stubborn Blockages
For deeper cleaning, use a dryer vent brush or a dryer vent cleaning kit. Feed the brush into the vent hose and rotate it gently to loosen lint stuck to the walls of the duct. Work from both ends if you can.
This is one of the best simple ways to unclog a dryer vent because it handles the lint that vacuum suction alone may miss. Go slowly and keep control of the brush. The goal is to remove debris, not turn your vent line into an archaeological dig site.
If your vent run is unusually long, has several bends, or goes through a ceiling or roof, this is where DIY may hit its limits. A vent brush can do a lot, but it cannot perform miracles in a maze.
Step 6: Clean the Exterior Vent Opening
Head outside and locate the vent cap where the dryer exhaust exits your home. Remove lint, dirt, leaves, or any debris around the opening. Check whether the flap or louvers move freely.
Exterior vent covers are easy to forget, but they are often part of the problem. Even if the indoor section looks decent, the outside cap can be blocked by lint buildup, nesting material, or general outdoor grime. If the flap cannot open properly, moist air gets trapped in the system instead of escaping.
Step 7: Inspect the Lint Screen and Lint Screen Housing
Cleaning the lint trap after every load is great, but it is not the whole story. Over time, fabric softener and dryer sheet residue can coat the screen and reduce airflow. Wash the screen with warm water, a little soap, and a soft brush if it looks filmy.
Then vacuum the lint screen housing, which is the slot where the screen sits. A surprising amount of lint slips past the screen and settles in that narrow space. This hidden buildup can affect performance even when the visible screen looks clean enough to win an award.
Step 8: Reconnect the Vent Properly
Once everything is clean, reconnect the vent hose securely. Make sure the duct is not kinked, crushed, or stretched awkwardly. A straighter, smoother path helps the dryer exhaust air more efficiently.
If you are replacing old ducting, rigid or flexible metal venting is the better choice for most standard vented dryers. It handles heat better and supports proper airflow. A neat connection here can make a real difference in how well your dryer works.
Step 9: Test the Dryer and Check Airflow
Plug the dryer back in, restore the gas supply if needed, and run the dryer for a few minutes on an air or heat setting. Go outside and check the exterior vent flap while the dryer is running.
You want to see the flap open easily and feel a steady stream of exhaust air. If the airflow still seems weak, the vent may remain partially blocked somewhere deeper in the line. That is your clue that the issue may be farther along the duct than your tools can reach.
Step 10: Set a Cleaning Routine So the Clog Does Not Come Back
Congratulations: you have officially won a battle against lint. Now the goal is to avoid a rematch every month.
Clean the lint filter after every load, inspect the vent system regularly, and deep-clean the vent at least once a year. If you do laundry often, dry lots of pet bedding or towels, or notice drying times increasing again, check it sooner. How to clean a dryer vent is useful knowledge, but not needing an emergency clean-out is even better.
When to Call a Professional
DIY dryer vent cleaning works well in many homes, especially when the duct run is short and easy to reach. But some situations call for professional help:
- The vent run is very long or has multiple sharp turns
- The duct travels through a ceiling, crawlspace, or roof exit
- You suspect a nest, damaged duct, or hidden obstruction
- The dryer still overheats or dries poorly after cleaning
- You smell something burning
A professional dryer vent cleaner has tools designed for deeper, more complex systems. Sometimes the smartest move is not doing more DIY. It is knowing when your dryer vent has become somebody else’s problem.
Common Mistakes to Avoid
When people try to unclog a dryer vent hose, they sometimes create a second problem while fixing the first. Avoid these common mistakes:
- Forgetting to unplug the dryer first
- Crushing the vent hose when pushing the dryer back
- Ignoring the outside vent cap
- Assuming the lint screen alone counts as full maintenance
- Using damaged or outdated vent material
- Skipping routine checks until drying times become ridiculous
In other words, do not spend 30 minutes cleaning the vent just to shove the dryer back into a bent metal accordion and undo your own good work.
Extra Tips for Better Dryer Vent Maintenance
If you want your dryer to stay efficient between deep cleanings, a few habits go a long way. Shake out heavily linted items like towels or pet blankets before loading them. Do not overload the dryer, because packed clothes release more moisture and make the machine work harder. Keep the area around the dryer reasonably clean so lint does not pile up behind it and sneak into places it does not belong.
Also, pay attention to changes. If your dryer suddenly needs two cycles instead of one, do not just assume your laundry has become emotionally complicated. Most of the time, reduced airflow is sending a pretty obvious message.
Real-World Experiences With a Clogged Dryer Vent
One of the most common experiences people report is not realizing there is a vent problem until laundry day starts taking forever. At first, it is easy to blame the load. Maybe the towels were extra thick. Maybe the jeans were too heavy. Maybe the dryer was “just having a day.” But when one normal-sized load starts taking two or three cycles, that is usually the moment suspicion moves from the clothes to the vent.
Another common experience is heat. Homeowners often describe the dryer as feeling hotter than usual, the laundry room becoming stuffy, or freshly dried clothes coming out almost too warm to handle. That extra heat is not a sign of better drying performance. It is often a sign that the hot air is struggling to escape properly.
People are also frequently surprised by how much lint hides in places they never think to check. The lint screen gets all the attention, but the real shock often happens behind the dryer, inside the vent hose, or at the outside vent cap. What looked like a “small airflow issue” can turn out to be a felt-like tunnel of dust, fuzz, hair, and mystery fibers that seem to have formed their own civilization.
After cleaning the vent, many people notice immediate improvements. Clothes dry faster. The dryer sounds less strained. The laundry room feels cooler. Some even realize they had been running double cycles for so long that they forgot what normal drying time was supposed to feel like. That is the sneaky thing about a clogged vent: it often gets worse slowly, so the problem feels normal until it is gone.
There is also a satisfaction factor that should not be underestimated. Few household tasks deliver such a dramatic before-and-after moment with such simple tools. You clear out the lint, reconnect the duct, run a test cycle, and suddenly the dryer behaves like it remembered its purpose in life. It is a deeply rewarding home-maintenance victory, right up there with unclogging a vacuum hose or finally fixing a cabinet door that has been crooked since the previous administration.
That said, some experiences also teach an important lesson: not every clog is easy to solve with a basic brush and vacuum. In homes with long vent runs, roof exits, or awkward bends, people sometimes clean the obvious sections and still have weak airflow. When that happens, calling a professional is not giving up. It is a practical next step. A partially blocked or damaged duct hidden deep in the system will not respond to wishful thinking.
Homeowners with pets also tend to learn faster than everyone else. Pet hair mixes with lint in a way that creates larger, denser clumps, especially if the dryer is used often for blankets, throws, or beds. Families who do lots of laundry, especially with towels, athletic wear, or bedding, also find that their vents need more frequent attention than a low-use household.
Over time, the biggest takeaway is usually this: dryer vent maintenance is much easier when it is routine. When people check the vent regularly, clean the lint screen properly, and pay attention to performance changes, the job stays manageable. When it is ignored for too long, it becomes a sweaty, dusty event that inspires dramatic sighing and several trips for extra vacuum attachments.
So yes, unclogging a dryer vent is a maintenance task. But for many homeowners, it is also a small lesson in how everyday appliances quietly ask for help long before they fail. The trick is listening before your dryer starts yelling in hot towels and two-hour cycles.
Conclusion
If you have been wondering how to unclog a dryer vent without turning the project into an all-day saga, the answer is simple: work safely, clean thoroughly, check both ends of the vent, and make the job part of your regular routine. A clear vent helps your dryer run better, dry faster, and work more safely. And honestly, anything that makes laundry less annoying deserves a standing ovation.
SEO Tags
Note: This article is for routine household maintenance. If your dryer vent is damaged, extra long, routed through difficult spaces, or still has weak airflow after cleaning, contact a qualified dryer vent professional.