There is a special kind of holiday magic that happens when a simple strip of ribbon becomes a Christmas tree ornament. One minute it is sitting in a craft drawer looking innocent. The next minute, it is curled, folded, glued, beaded, tied, fluffed, and proudly dangling from a branch like it has been preparing for its big Broadway debut since July.
A Ribbon Christmas Tree Ornament is one of the easiest handmade decorations you can make, but do not let “easy” fool you. This little craft can look rustic, elegant, modern, farmhouse, vintage, kid-made, boutique-worthy, or delightfully over-the-top depending on the ribbon you choose. Satin ribbon gives it shine. Velvet ribbon makes it feel cozy and expensive. Burlap ribbon says, “I own a wooden crate and know what a pinecone is.” Metallic ribbon brings the sparkle, while plaid ribbon practically smells like cinnamon cocoa and snow boots.
Best of all, ribbon Christmas tree ornaments are affordable, customizable, and beginner-friendly. You can make them with leftover ribbon scraps, cinnamon sticks, twine, beads, buttons, wood slices, or even a few materials rescued from last year’s gift wrapping avalanche. They also make thoughtful handmade gifts, classroom crafts, stocking stuffers, gift toppers, and family keepsakes.
What Is a Ribbon Christmas Tree Ornament?
A ribbon Christmas tree ornament is a handmade decoration shaped like a miniature Christmas tree using ribbon as the main material. The design may be flat, layered, looped, folded, wrapped, or tied onto a central base. Some versions use a cinnamon stick or twig as the tree trunk. Others use wire, beads, foam cones, wooden craft sticks, or embroidery thread to create a more structured ornament.
The most popular version uses short strips of ribbon tied around a stick, with the longest strips at the bottom and the shortest at the top. When trimmed into a triangle shape, the ribbons resemble evergreen branches. Add twine for hanging and a tiny star, button, or bead at the top, and suddenly you have a handmade ornament that looks charming instead of “I panicked near the glue gun.”
Why Ribbon Ornaments Are So Popular
They Are Budget-Friendly
Holiday decorating can get expensive quickly. Between lights, wreaths, ornaments, wrapping paper, and the mysterious extra extension cord that vanishes every December, costs add up. Ribbon ornaments solve that problem beautifully. You can make several ornaments from one roll of ribbon, especially if you mix in scraps from previous projects.
They Work With Any Christmas Style
Ribbon is one of the most flexible holiday materials. A red velvet ribbon ornament looks classic. A buffalo plaid ribbon tree feels rustic. Gold mesh ribbon gives the ornament a glam finish. Green satin ribbon creates a traditional Christmas look, while white and silver ribbon can fit a snowy winter theme. Because ribbon comes in so many textures, patterns, and widths, it lets you match your ornament to almost any tree design.
They Are Great for All Skill Levels
You do not need to be a professional crafter to make a ribbon Christmas tree ornament. You need patience, scissors, and the ability to not glue your fingers together. Even children can help with safer versions that use pre-cut ribbon and craft glue instead of hot glue. Adults can elevate the design with wired ribbon, pearl beads, metallic cord, or carefully finished edges.
Best Materials for Making Ribbon Christmas Tree Ornaments
The right materials make the project easier and the final ornament more polished. Here are the supplies worth gathering before you begin.
Ribbon
Ribbon is the star of the show, so choose it with intention. Wired ribbon holds shape well and is excellent for looped or folded designs. Satin ribbon gives a smooth, shiny finish. Grosgrain ribbon has a ribbed texture that is sturdy and easy to tie. Velvet ribbon feels soft and luxurious. Burlap ribbon works beautifully for rustic or farmhouse Christmas decorations.
For small ornaments, ribbon between 3/8 inch and 1 inch wide is usually easiest to manage. For larger ornaments, you can use ribbon up to 2.5 inches wide, especially if you are creating folded loops or layered pieces.
Cinnamon Sticks, Twigs, or Craft Sticks
A cinnamon stick makes an excellent trunk because it adds structure and a cozy holiday scent. A straight twig gives the ornament a natural woodland look. A wooden craft stick works well for a clean, kid-friendly version. If you want a more polished ornament, paint the craft stick brown, gold, white, or green before adding ribbon.
Twine, Cord, or Narrow Ribbon for Hanging
Every ornament needs a hanger. Twine adds rustic charm. Metallic cord adds sparkle. Narrow satin ribbon creates a softer finish. Make sure the hanging loop is long enough for the ornament to sit freely on the branch instead of hiding inside the tree like it owes someone money.
Decorative Extras
Small stars, beads, bells, buttons, sequins, mini bows, and tiny pom-poms can turn a simple ornament into something memorable. Use these details sparingly. The goal is festive, not “craft drawer explosion at the North Pole.”
How to Make a Classic Scrap Ribbon Christmas Tree Ornament
This is the easiest and most loved version of the ribbon Christmas tree ornament. It is perfect for beginners, families, classrooms, and anyone who has ever saved ribbon scraps because “they might be useful someday.” Congratulations, today is that day.
Supplies
- One cinnamon stick, twig, or wooden craft stick
- Several ribbon strips in green, plaid, white, red, gold, or mixed colors
- Twine or narrow ribbon for hanging
- Scissors
- Hot glue or craft glue
- Optional: small star, bead, button, or bell
Step 1: Cut the Ribbon
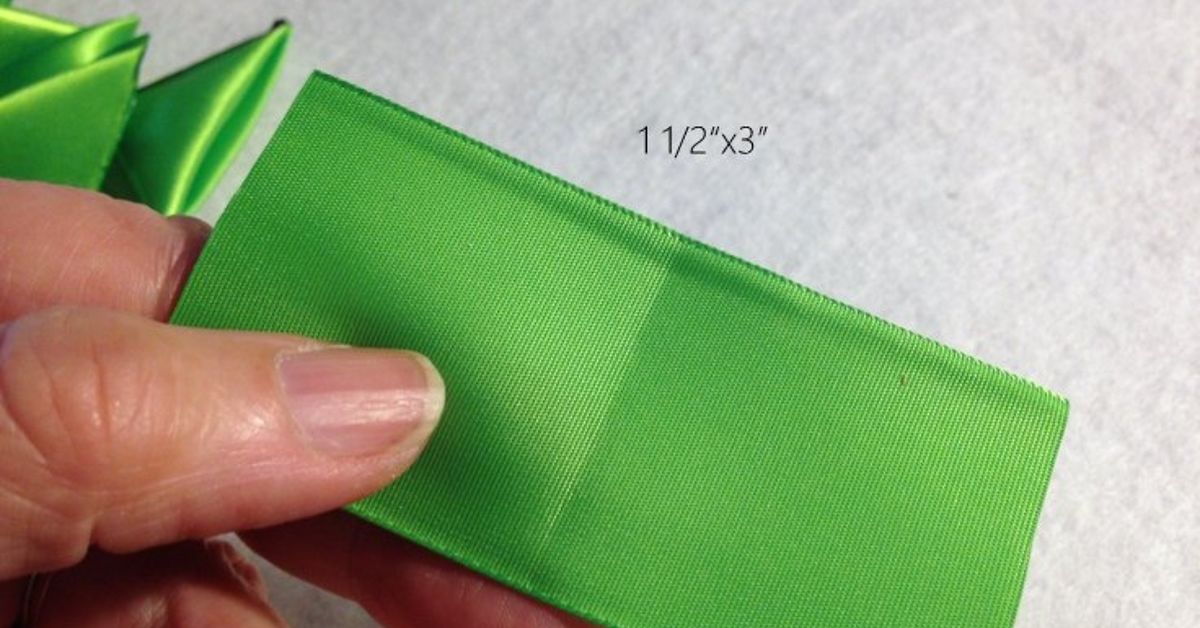
Cut ribbon into strips between 4 and 7 inches long. You will need longer strips for the bottom of the tree and shorter strips near the top. Do not worry if the pieces are not perfect. A handmade ornament should have personality. Perfect symmetry is for snowflakes and people who fold fitted sheets without crying.
Step 2: Tie the Ribbon Around the Trunk
Begin near the bottom of the cinnamon stick or twig. Tie the longest ribbon strip around the trunk in a simple knot. Push it gently into place. Continue tying ribbon strips above it, gradually using shorter pieces as you move upward.
Step 3: Shape the Tree
Once the trunk is covered with ribbon knots, use scissors to trim the ribbon ends into a Christmas tree shape. The bottom should be wide, and the top should narrow to a point. Trim slowly. You can always cut more, but you cannot magically reattach a ribbon corner unless you are a wizard with fabric glue.
Step 4: Add the Hanger
Glue or tie a loop of twine to the top of the ornament. If the trunk is a cinnamon stick, you can wrap the twine around the top and secure it with glue. Let the glue dry fully before hanging.
Step 5: Decorate the Top
Add a small wooden star, bead, button, or bow to the top of the tree. This finishing detail gives the ornament a more complete look and helps hide glue or knots.
Design Ideas for Ribbon Christmas Tree Ornaments
Rustic Farmhouse Ribbon Tree
Use burlap ribbon, buffalo plaid ribbon, natural twine, and a cinnamon stick trunk. Add a small wooden star or tiny pinecone at the top. This version looks beautiful on a tree decorated with wood beads, dried orange slices, bells, and warm white lights.
Elegant Velvet Ribbon Ornament
Choose deep green, burgundy, navy, or ivory velvet ribbon. Pair it with gold cord and pearl beads. Velvet instantly makes the ornament feel rich and cozy, like it belongs in a holiday movie where everyone owns matching mugs.
Classic Red and Green Ornament
Use alternating red and green ribbon strips with a little gold accent ribbon mixed in. This design is cheerful, timeless, and easy to coordinate with traditional Christmas decorations.
Winter Wonderland Ribbon Tree
Use white, silver, pale blue, and sheer ribbon. Add a snowflake charm or crystal bead at the top. This version works especially well on flocked trees or trees decorated with icy metallic ornaments.
Memory Ribbon Ornament
Use ribbon saved from birthdays, weddings, baby showers, school events, or meaningful gifts. A memory ribbon ornament turns scraps into keepsakes. It is a sweet way to preserve small moments that might otherwise end up in a drawer next to 47 mystery buttons.
Tips for Making Your Ornament Look Professional
Small details make a big difference. First, use sharp scissors so the ribbon ends look clean. Dull scissors can fray ribbon and make the ornament look messy. Second, seal the ends of ribbon that frays easily. You can use a tiny amount of clear craft glue on the edges, or choose ribbon that naturally holds its shape better, such as grosgrain or wired ribbon.
Third, keep the color palette focused. Two or three ribbon styles usually look more polished than eight competing patterns. For example, green velvet, ivory satin, and gold metallic ribbon create a beautiful combination. Red plaid, burlap, and natural twine create a cozy farmhouse look.
Fourth, vary texture instead of using too many colors. A mix of satin, velvet, and metallic ribbon in similar tones creates depth without visual chaos. Finally, let the ornament dry flat before hanging. Hot glue sets quickly, but a few extra minutes can prevent slipping, sagging, or the dreaded “ornament lands in the dog bed” situation.
Ribbon Christmas Tree Ornament as a Gift
Handmade ornaments make wonderful small gifts because they feel personal without requiring a dramatic speech. You can give ribbon Christmas tree ornaments to teachers, neighbors, coworkers, grandparents, friends, or holiday party hosts. Tie one onto a wrapped present as a gift topper, or place several in a small kraft box with tissue paper.
For a more meaningful gift, write the year on the back of a wooden tag and attach it to the ornament. You can also make ornaments in school colors, wedding colors, baby’s first Christmas colors, or a family’s favorite holiday theme. Personalized ornaments often become the decorations people look for first when they open the Christmas storage bins each year.
Safety and Crafting Notes
If children are making ribbon ornaments, choose child-safe scissors and use craft glue instead of hot glue. Adults should handle hot glue guns, wire cutters, and any small embellishments that could be choking hazards for younger children. If you use cinnamon sticks, keep in mind that they may shed slightly, so shake off loose bits before packing the ornaments away.
For long-term storage, place ribbon ornaments in a small box or ornament tray instead of crushing them under heavier decorations. Ribbon can bend, flatten, or crease if packed too tightly. A little tissue paper can help preserve the shape until next Christmas.
Common Mistakes to Avoid
One common mistake is using ribbon that is too wide for a tiny ornament. Wide ribbon can overwhelm the design and make the tree look bulky. Another mistake is tying every ribbon strip the same length. A tree shape needs gradual size changes, so start long at the bottom and go shorter as you move up.
Using too much glue is another classic issue. A small dot is usually enough. Large blobs of glue can show through ribbon or create stiff, lumpy areas. Also, avoid mixing too many bold patterns in one ornament. Plaid, polka dots, glitter stripes, snowflakes, and candy canes can all be cute separately, but together they may look like the ornament got dressed in the dark.
Creative Ways to Use Ribbon Christmas Tree Ornaments
These ornaments are not limited to the Christmas tree. Hang them on garlands, wreaths, cabinet knobs, stocking hooks, wrapped gifts, wine bags, holiday baskets, or place settings. You can use them as name tags for a Christmas dinner table by attaching a small paper tag to the hanger. They also look lovely tied around napkins with a sprig of greenery.
Mini ribbon tree ornaments can be added to handmade cards or scrapbook pages. Larger versions can be attached to a wall hanging or used as part of a holiday banner. Once you know the basic method, it becomes easy to adjust the size and style for different decorating projects.
Experience Notes: What Making Ribbon Christmas Tree Ornaments Teaches You
Making a ribbon Christmas tree ornament is one of those crafts that looks simple from the outside but teaches you a surprising amount once you sit down and actually do it. The first thing you learn is that ribbon has opinions. Satin ribbon slips around like it has somewhere else to be. Burlap behaves, but it sheds little fibers like holiday confetti. Wired ribbon is cooperative, but only if you shape it gently. Velvet ribbon looks gorgeous, but it attracts every speck of lint in the room like it is collecting evidence.
The second thing you learn is that small imperfections often make the ornament better. The slightly uneven knot, the ribbon end trimmed at a tiny angle, the cinnamon stick that is not perfectly straightthese details give the ornament warmth. Store-bought decorations can be beautiful, but handmade ornaments carry a different kind of charm. They remind people that someone sat at a table, made a little mess, and cared enough to create something by hand.
One helpful experience is to cut more ribbon strips than you think you need. It is easier to choose from a small pile of prepared pieces than to stop every thirty seconds and cut another strip. Arrange the strips from longest to shortest before tying. This keeps the shape balanced and prevents the top of the tree from accidentally becoming wider than the bottom. A Christmas tree ornament should not look like it skipped leg day.
Another practical lesson is to test your color combination before gluing or tying everything permanently. Lay the ribbons beside each other on the table. If the colors look good together flat, they will probably look good on the ornament. If one ribbon is shouting louder than the others, save it for a different design. A little contrast is wonderful, but too much contrast can make the ornament feel busy.
When crafting with a group, especially children or beginners, prepare a sample ornament first. A finished example helps everyone understand the goal without needing a long explanation. It also reduces the number of times someone asks, “Is mine supposed to look like this?” The answer, by the way, is usually yes. Handmade trees are allowed to have personality.
Ribbon Christmas tree ornaments also make crafting feel less wasteful. Many people save ribbon from gift packages, floral arrangements, party favors, and old decorations. Turning those scraps into ornaments gives them a second life. A small piece of ribbon from a wedding gift, a baby shower, or a special Christmas morning can become part of a keepsake that returns year after year.
The best experience of all is seeing the ornament on the tree. On the table, it may look cute. On a branch, surrounded by lights, it suddenly looks magical. The ribbon catches the glow, the cinnamon stick adds texture, and the whole piece feels like it belongs. That is the quiet joy of handmade Christmas decor: it does not have to be expensive or complicated to feel meaningful.
Conclusion
A Ribbon Christmas Tree Ornament is proof that beautiful holiday decor does not need to be complicated. With ribbon, a simple trunk, a hanger, and a few decorative details, you can create an ornament that feels personal, festive, and full of charm. Whether your style is rustic farmhouse, elegant velvet, classic red and green, or sparkling winter white, ribbon gives you endless room to play.
This craft is affordable, beginner-friendly, and perfect for using leftover materials. It works as a family activity, a handmade gift, a classroom project, or a cozy weekend craft while holiday music plays in the background. The finished ornament may be small, but it carries a big dose of Christmas spirit. And honestly, any project that turns ribbon scraps into tree-worthy treasure deserves a permanent spot in the holiday craft hall of fame.
Note: This article was developed from real craft and holiday decorating practices commonly recommended by established American home, craft, lifestyle, and retail resources, then rewritten in an original, publication-ready style.