Few kitchen moments are more dramatic than staring through the oven door and wondering, “Are these cookies done, or am I about to create either raw dough pucks or tiny edible bricks?” Cookie doneness sounds simple until you realize that different cookies finish in different ways. A soft chocolate chip cookie should not look like a crisp shortbread. A pale sugar cookie may be fully baked without much color at all. And dark cookies, like chocolate or ginger molasses, can hide their doneness like they’re working undercover.
If you want consistently great cookies, the trick is not relying on one sign alone. Time matters, but appearance matters too. Texture matters. Pan heat matters. Even the kind of cookie sheet you use can change how fast the bottoms brown. The good news is that once you learn a few universal cues, you can test almost any kind of cookie for doneness with far more confidence and far less panic.
This guide breaks down how to tell when cookies are ready, how different cookie styles behave in the oven, what mistakes cause underbaking or overbaking, and how to train your eyes to spot the sweet spot. Because nobody deserves to lose a heroic batch of cookies to one extra minute.
Why Cookie Doneness Is So Easy to Get Wrong
Cookies are sneaky. Many styles continue to set after they leave the oven, especially when they rest on the hot baking sheet for a few minutes. That means a cookie can look slightly soft in the center but still finish beautifully as it cools. On the other hand, if you wait until every cookie looks fully firm all the way through, you may have already crossed into overbaked territory.
The second problem is that not all cookies brown the same way. Sugar cookies can be done while still quite pale. Oatmeal cookies often look more rugged and golden. Thin lace cookies need deep browning for crispness. Dark chocolate cookies can make visual cues nearly useless, so texture becomes more important.
That is why the best bakers use a combination of timing, sight, touch, and common sense instead of one dramatic toothpick moment. Cookies are not cake, and they do not all follow one rule.
The Universal Cookie Doneness Checklist
1. Start checking at the minimum bake time
Always begin checking when the recipe says to check, not three minutes later when you suddenly remember the oven exists. A lot of cookies go from “perfectly soft” to “why do they sound like coasters?” very quickly. If a recipe says 8 to 10 minutes, check at 8. Then check every minute after that if needed.
2. Look at the edges first
The edges are your best early clue. For many cookies, done means the edges look set, dry, and lightly golden. “Set” is the key word here. The border should no longer look wet or glossy. If the outer ring still looks shiny or slack, the cookie probably needs more time.
3. Read the center correctly
The center of a soft cookie usually should not look identical to the edge. For chewy drop cookies, a slightly softer center is often ideal. It should look mostly set, not wet. Think “soft pillow” rather than “lava zone.” If the center still looks raw and shiny like unbaked dough, keep baking. If it looks soft but stable, you are likely close.
4. Use the gentle touch test
Lightly tap the edge or top of one cookie. If your fingertip leaves a deep dent and the dough clings to your finger, it is not done. If the surface springs back a bit or feels dry on top, it is much closer. Be gentle. You are testing cookies, not interrogating them.
5. Try the spatula lift test
Slide a thin spatula under the edge of one cookie and lift slightly. If the cookie sags dramatically in the middle, it probably needs more time. If it lifts in a flatter, more stable way, the structure is set enough to come out. This is especially useful when tops are deceptive.
6. Check the bottoms when needed
If your oven runs hot or your pans brown quickly, peek at the bottom of a cookie from the outer edge of the tray. A lightly golden bottom usually means the cookie is in good shape. A dark brown bottom means you are in danger of bitter, overdone results even if the top still looks innocent.
7. Let carryover cooking do its job
Many cookies should rest on the hot baking sheet for 2 to 10 minutes after baking, depending on the recipe and thickness. This short rest helps them finish setting without drying out in the oven. Pulling them at the right moment often means taking them out when the center still seems just a touch softer than the final texture you want.
How to Test Different Types of Cookies for Doneness
Chocolate Chip and Other Drop Cookies
These are the classic “golden edges, soft center” cookies. The edges should look set and lightly browned, while the centers can still appear a little soft. If you want chewy cookies, remove them when they look just shy of fully firm in the middle. If you want crispier cookies, leave them in a minute or two longer until the center looks more fully set.
One warning: big bakery-style cookies often fool people. Because they are thick, the center may still look soft even when the structure is ready. In that case, trust the set edges, a lightly puffed top, and the brief cooling period on the pan.
Sugar Cookies and Cutout Cookies
Sugar cookies are often done before they brown much. Look for edges that are firm and dry, with maybe the faintest blush of color underneath. If you wait for strong golden color on top, especially with cutouts, you may end up with overly crisp cookies instead of tender ones.
For decorated cookies, shape matters too. If the edges are still soft and spreading, the cookies need more time. If the outlines hold and the tops look dry, they are likely ready.
Peanut Butter Cookies
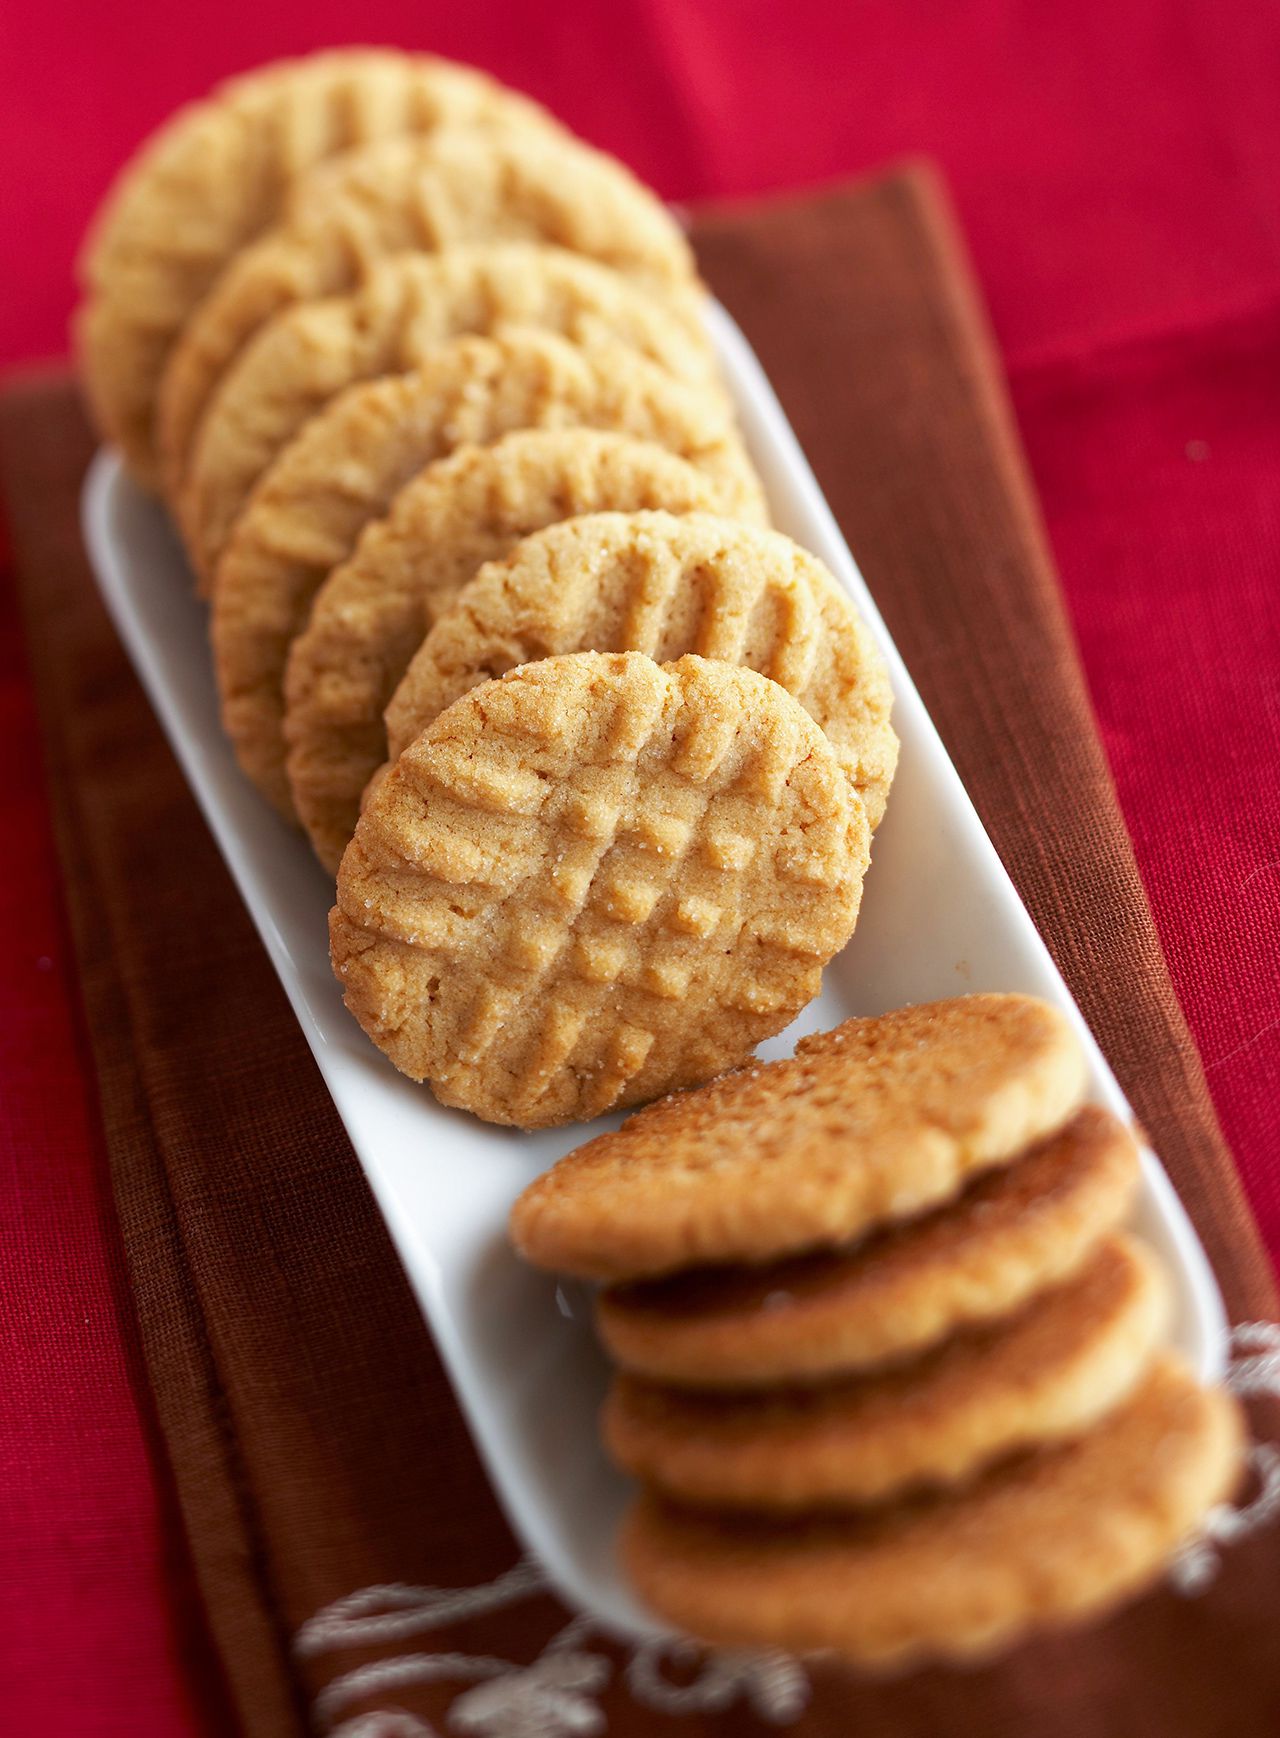
Peanut butter cookies usually look set around the edges and slightly puffed, with the signature crisscross pattern becoming more defined. The edges may turn lightly golden or light brown. The center should not look wet, but it can still be somewhat soft right out of the oven.
Oatmeal, Raisin, and Heavier Mix-In Cookies
These cookies often have a rougher surface, so the “shiny center” clue can be harder to spot. Focus on the edges, the color, and the overall structure. They should look a bit golden, feel set on top, and not collapse like a folding chair when nudged. Because oats hold moisture, these cookies can seem soft at first and then firm up nicely as they cool.
Shortbread and Butter Cookies
Shortbread is usually done when the dough looks dry and firm, with pale tops and slightly more color at the edges or bottoms. You generally do not want deep browning unless the recipe aims for a crisper finish. If shortbread browns too much, it can lose that delicate, buttery quality and taste drier than intended.
Dark Cookies: Chocolate, Molasses, and Gingerbread
Dark dough hides color changes, so visual cues alone are unreliable. Instead, look for surface texture. Chocolate cookies often develop cracks or a more matte finish when ready. Molasses and ginger cookies should look puffed, set around the edges, and less wet on top. Lightly tapping the surface helps here: done cookies feel soft but not gooey.
Lace Cookies and Thin Crisp Cookies
These are the opposite of soft-baked drop cookies. They usually need deeper golden brown edges and an evenly browned surface to crisp properly. Pull them too early and they may cool into floppy sugar glass instead of a delicate snap. With these cookies, color matters more than with pale sugar cookies.
Bar Cookies and Brownie-Style Cookies
If your “cookie” lives in a pan and gets cut into squares, doneness depends on texture goals. Cake-like bars often benefit from a toothpick that comes out with a few moist crumbs. Fudgier bars should not come out dry. For brownie cookies, look for cracked tops and set edges with soft centers. In other words, yes, these cookies also enjoy being dramatic.
What Done, Underdone, and Overdone Usually Look Like
- Underdone: shiny or wet-looking center, dough sticking to your finger, edges still pale and slack, cookie bending too much when lifted.
- Done: edges set, top mostly dry, center soft but stable, cookie firms as it cools, bottom lightly golden.
- Overdone: deep brown bottoms, hard edges, dry top, crumbly or brittle texture, cookie keeps hardening after cooling.
Common Mistakes That Ruin Cookie Doneness
Relying on color alone
This is the biggest trap. Pale cookies can be done. Dark cookies can hide doneness. Learn to combine color with texture and structure.
Baking unevenly sized cookies
If half the tray contains tiny scoops and the other half contains cookie boulders, doneness will be chaos. Use a cookie scoop for even portions so cookies finish at roughly the same time.
Ignoring your oven’s personality
Some ovens run hot, some run cold, and some seem committed to emotional unpredictability. An oven thermometer helps you know whether 350°F really means 350°F.
Using dark pans without adjusting
Dark sheets can brown cookie bottoms faster. Lighter-colored aluminum pans usually bake more evenly and make it easier to avoid overbrowning before the centers are ready.
Baking too many sheets at once
Crowding the oven can reduce even airflow and lead to mixed results. One sheet at a time is often the safest move when precision matters.
Tasting raw dough to “check” doneness
That is not a doneness test. Raw flour and raw eggs can carry harmful bacteria, so the safe move is to judge by baking cues, not by sneaking spoonfuls of uncooked dough.
Best Tools for Testing Cookie Doneness
- Timer: because “I’ll just remember” is a dangerous fantasy.
- Oven thermometer: useful for verifying your oven temperature.
- Light-colored baking sheet: helps cookies bake more evenly.
- Parchment paper: promotes cleaner release and gentler bottom browning.
- Cookie scoop: keeps sizes uniform.
- Thin spatula: perfect for the lift test.
- Cooling rack: stops residual steam from making bottoms soggy.
How to Build Your Own Doneness Instinct
The best way to get better is to observe one recipe closely. Bake one tray, check it at the minimum time, and then compare cookies baked for one minute more and one minute less. Notice the difference in edge color, top texture, and final chew once cooled. This tiny side-by-side experiment teaches more than vague baking intuition ever will.
You can even make a “test cookie” before baking the whole batch. This is a smart move when the dough seems unusually soft, the cookies are oversized, or you are working with a new oven. One sample cookie can tell you if you need to chill the dough longer, flatten the dough a little, or shave a minute off the bake time.
Eventually, you stop asking, “Are these done?” and start saying, “Ah yes, the edges are set, the center is relaxed but not reckless, and this batch has entered its glory era.” That is when you know you have become a real cookie person.
Common Baking Experiences That Teach Cookie Doneness Fast
One of the most common experiences home bakers have is pulling cookies too early because they expect them to look fully finished in the oven. The tray comes out, everyone cheers, and then five minutes later the cookies sink into shiny little puddles that seem to whisper, “You believed in us too soon.” That experience teaches an important lesson: soft does not mean raw, but raw usually still looks wet. Once you have seen that difference a few times, you never quite forget it.
Another classic experience happens with sugar cookies. A lot of people wait for dramatic golden tops because that is how they judge many other baked goods. Then they discover that their once-cute cutout stars are now crunchy little boomerangs. It is a surprisingly useful lesson. Pale cookies can be completely done, and if you decorate cookies regularly, learning to trust set edges instead of big color changes feels like unlocking a baking superpower.
Chocolate cookies create a different kind of confusion. Because the dough is dark, there is often no clear visual signal that screams, “Take me out now.” Bakers usually learn by texture here. The first few times, they may overbake because they keep waiting for more obvious browning. Then one lucky batch comes out with just-set tops, slightly soft centers, and that rich, brownie-like chew. Suddenly the baker realizes that matte finish, cracked tops, and a gentle spring are better clues than color. The cookie has spoken.
Thick chocolate chip cookies also have a way of humbling people. A baker checks the tray, sees centers that still look soft, and gives them two extra minutes “just to be safe.” The result is often a cookie that tastes good but misses that gooey middle everyone wanted. After that, many bakers learn to pull thick cookies while the centers still seem slightly underdone, then let the hot baking sheet finish the job. That tiny shift in confidence can turn a decent batch into a truly bakery-style one.
Then there is the experience of discovering that your oven cannot be trusted. Many bakers think they have suddenly forgotten how to make cookies, when the real issue is that the oven runs hotter than expected. One batch has dark bottoms and pale tops. Another tray bakes unevenly from left to right. The moment an oven thermometer enters the story, everything starts making sense. It is not glamorous, but it is one of the most satisfying baking revelations around.
Finally, almost every cookie lover has had the magical experience of getting it exactly right: golden edges, tender center, perfect cooling time, and a cookie that bends slightly before breaking in the most beautiful way. That batch becomes the mental standard. From then on, doneness is no longer just a number on a timer. It becomes a combination of sight, feel, smell, and memory. And that is really what experienced baking isless guessing, more noticing, and a lot more good cookies.
Conclusion
If you want to test any kind of cookie for doneness, stop looking for one universal sign and start reading the whole cookie. Check at the minimum bake time. Watch the edges for structure. Read the center for softness versus rawness. Use a gentle touch or spatula lift when color is misleading. Let residual heat finish the bake when the cookie is nearly there. Most of all, remember that different cookie styles have different goals. A pale sugar cookie, a chewy chocolate chip cookie, and a crisp lace cookie should not all leave the oven looking the same.
Once you understand that, cookie doneness becomes far less mysterious. You stop overbaking out of fear, stop underbaking out of wishful thinking, and start pulling trays with real confidence. Your reward is better texture, better flavor, and fewer sad baking monologues delivered to the oven window.