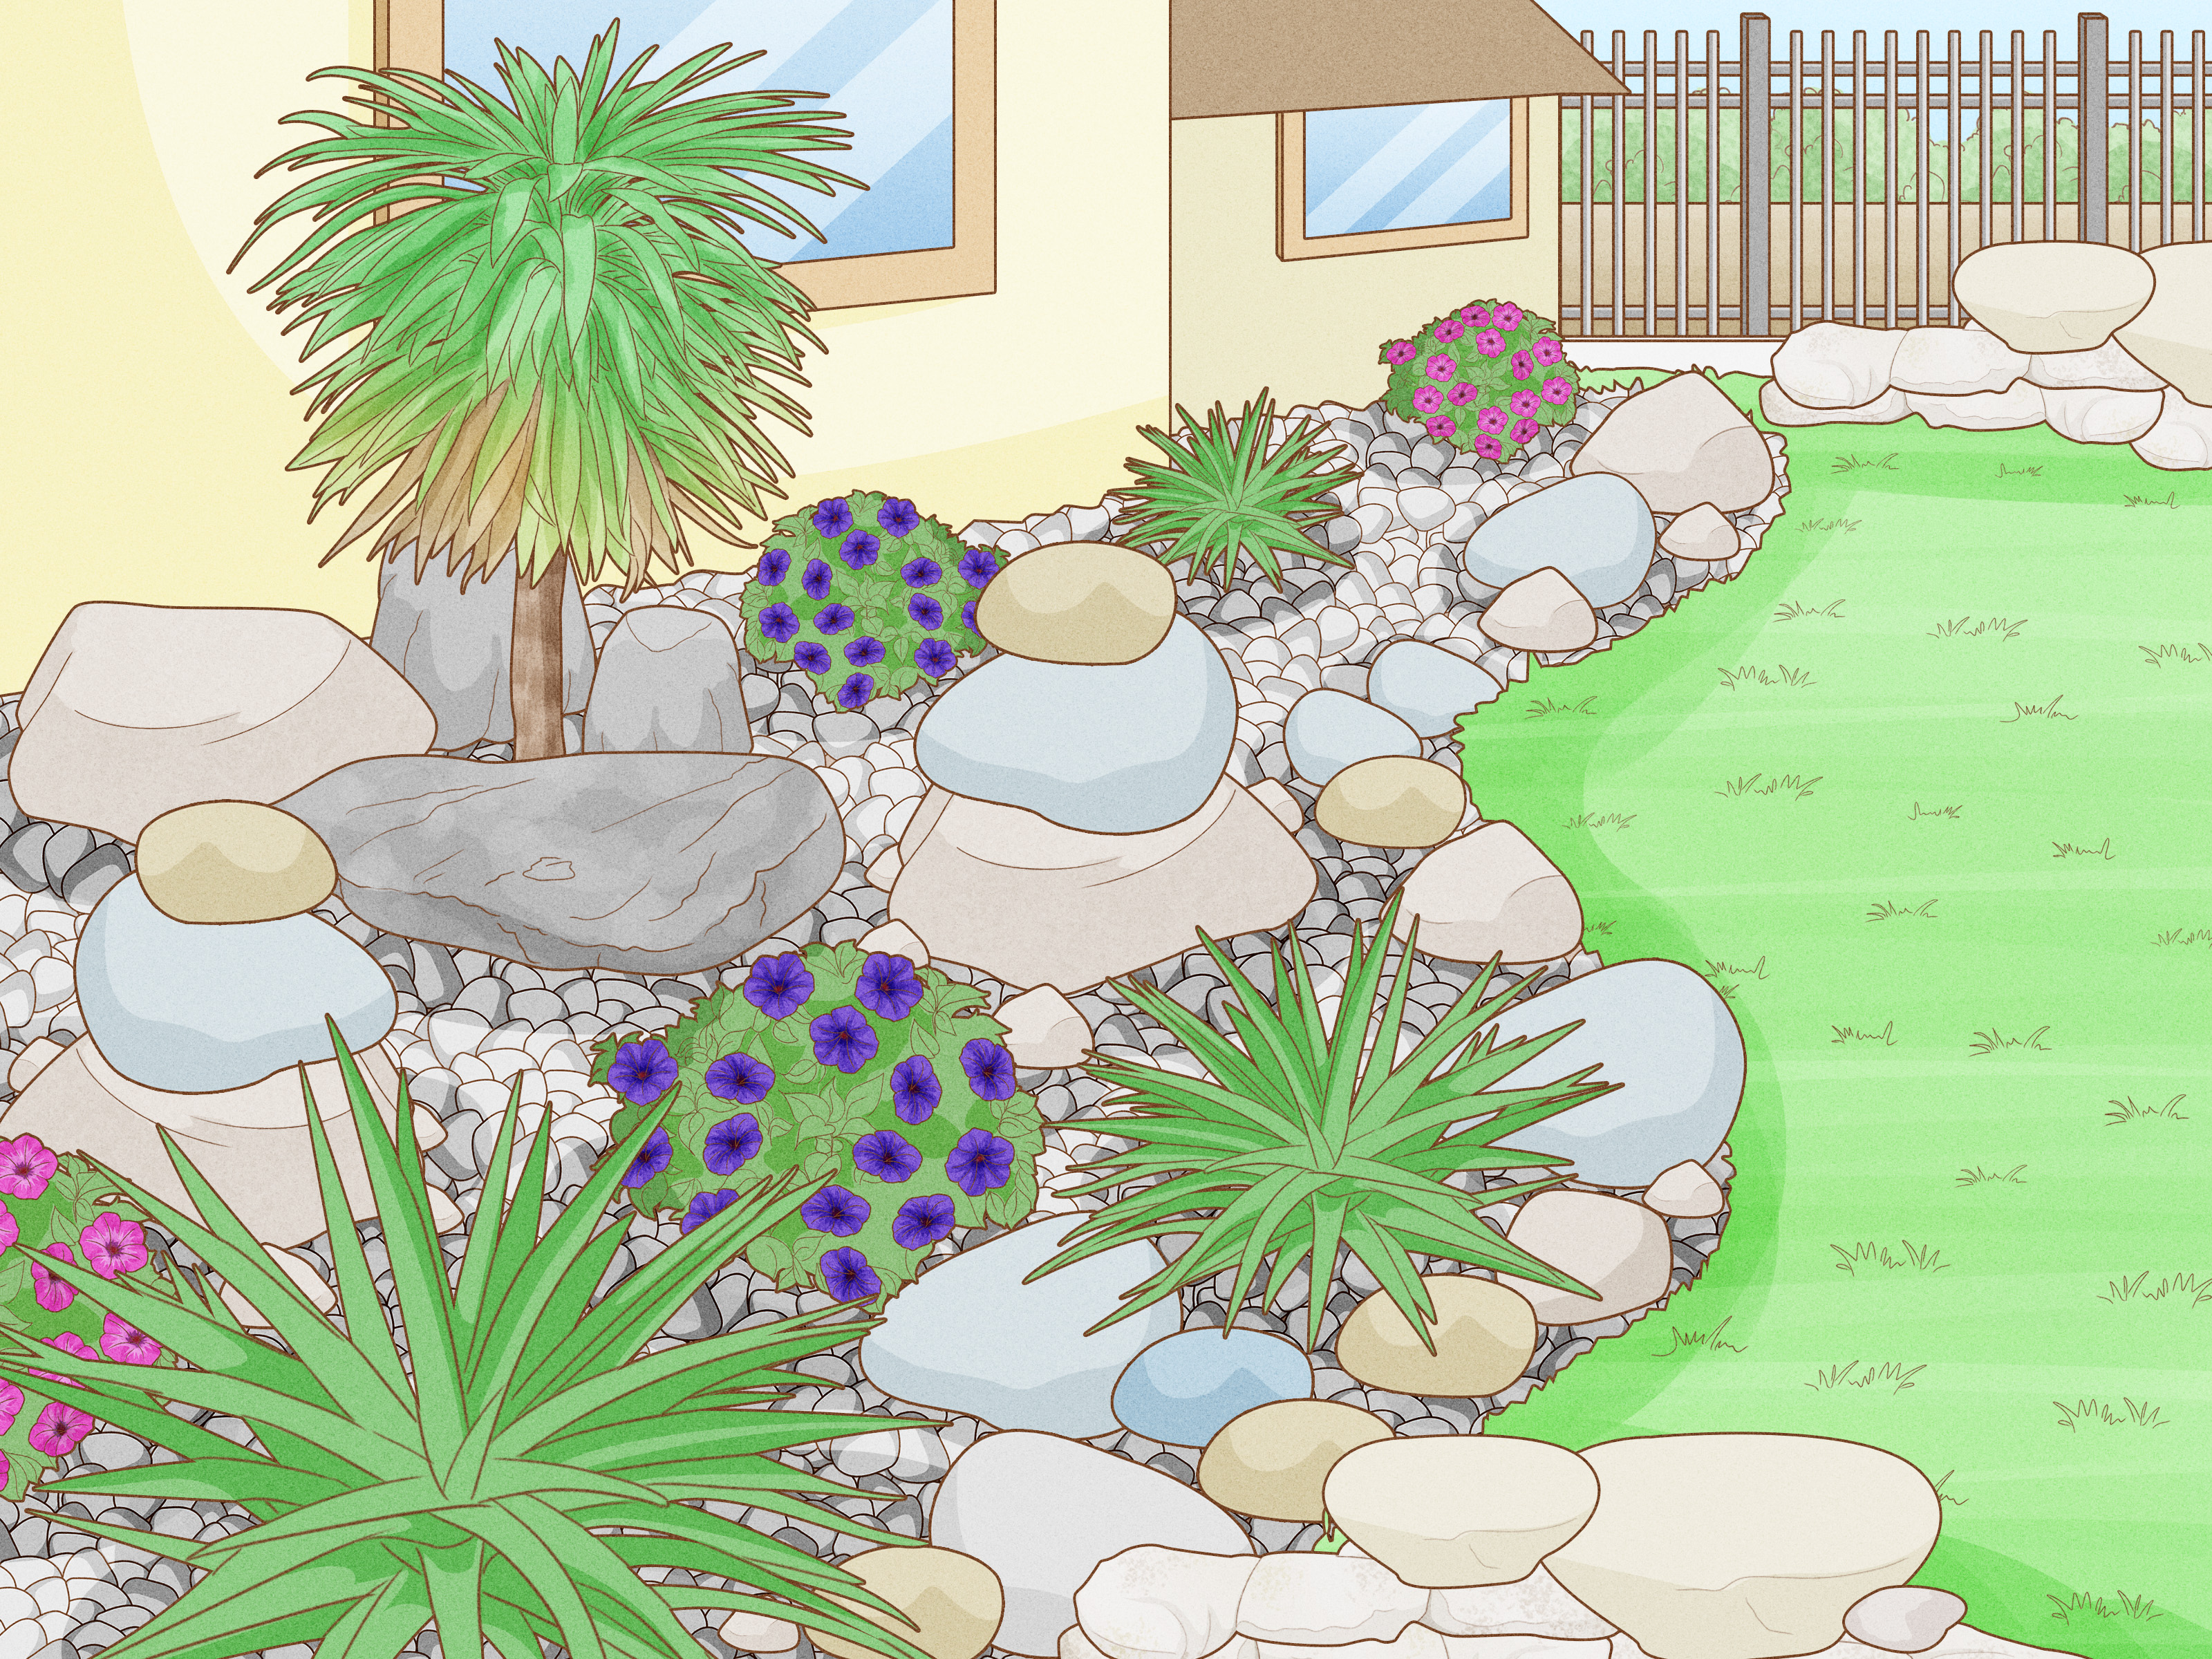
Rock landscaping is supposed to be the “set it and forget it” of the yard. And it isuntil it isn’t. One day your crisp river rock bed looks like a magazine spread. The next, it’s a crunchy salad of leaves, dirt, weeds, and mystery mulch that definitely wasn’t there last season.
The good news: you can almost always redo a rock bed without buying brand-new stone. With the right plan, you’ll remove the rock efficiently, clean it without nuking your plants (or your weekend), and reuse it for a refreshed, longer-lasting look. This guide covers the full makeover: removal, sifting, washing, base prep, fabric decisions, and reinstallationplus a big, real-world “here’s what actually happens” experience section at the end.
Before You Start: Is Your Rock Worth Reusing?
Most landscape rockpea gravel, crushed stone, river rock, lava rockcan be reused. The question is whether it’s worth the effort. Here’s a quick decision check:
- Reuse it if it’s mostly dirty (dust, algae, leaf bits) and not mixed with tons of soil.
- Reuse most of it if the top layer is grimy but the bulk underneath is still clean.
- Replace some if it’s heavily contaminated with fine soil (turning it into “rock-flavored dirt”).
- Replace a lot if it’s crumbling (soft stone), full of construction debris, or permanently stained.
Pro tip: if you’re redoing a bed because weeds took over, you’ll get better long-term results from fixing the base and edges than from obsessively power-washing every pebble until it sparkles. (Sparkly rock is nice. Weed-free rock is nicer.)
Tools & Supplies That Make This 10x Easier
You can do this with a shovel and stubbornness, but your back will file a formal complaint. Consider:
- For removal: flat shovel/scoop shovel, garden rake, pitchfork, buckets, wheelbarrow, tarp
- For separating debris: a DIY sifter (wood frame + 1/2" hardware cloth), leaf blower, shop vac (optional)
- For cleaning: hose with spray nozzle, stiff brush, big plastic tote, mild dish soap
- For deeper cleaning: pressure washer (optional), oxygen bleach (optional, label-directed)
- For rebuilding: edging (metal, plastic, brick/stone), landscape staples (if using fabric), base stone (for paths)
- Safety: gloves, eye protection, closed-toe shoes (rocks are surprisingly vengeful)
Step-by-Step: Remove, Clean, and Reuse Landscape Rocks
Step 1: Stage the Area Like You’re Hosting a Tiny Rock Concert
Pick where the rock will go while you work. Ideally, dump it onto a tarp, driveway, or a section of lawn you don’t mind flattening for a day. If you’re keeping plants in the bed, protect them with cardboard or a tarp while you move stone around.
If you’re working near your home’s foundation, pay attention to grade and drainage. Rock beds can hide low spots that funnel water where you don’t want itlike toward your house. Rebuilding is the perfect time to fix that.
Step 2: Remove the Rock Efficiently (Without Losing Your Will to Live)
Work in small sections. Rake the rock into a pile and scoop it with a shovel into a wheelbarrow or buckets. For pea gravel or small river rock, a scoop shovel moves material faster than a pointed spade.
- Tarp method: Rake rock onto a tarp, then drag it to your staging area. Great for moderate amounts.
- Bucket relay: Faster than it sounds if your bed is tight or fenced in.
- Two-pass approach: Remove the top 1–2 inches first (the dirtiest layer), then tackle the cleaner rock underneath.
Expect surprises: old mulch, random plastic, and the occasional fossilized dog toy. (If you find a lost sprinkler head, congratulationsyou just saved future-you from confusion.)
Step 3: Sift Out the “Compost Confetti” (Leaves, Dirt, Mulch Bits)
This is the step that makes reused rock look new again. Organic debris breaks down into soil, and soil is basically a luxury condo for weed seeds. Your goal is to remove as much fine material as possible.
A simple DIY sifter changes everything: build a wood frame that sits over a wheelbarrow, and staple 1/2" hardware cloth to the bottom. Shovel rock onto it, shake, and let the dirt fall through.
- For small gravel: 1/4" mesh catches more debris but takes longer.
- For river rock: 1/2" mesh is usually the sweet spot.
- For big rock: hand-pick debris and rinse; sifting isn’t worth it.
Step 4: Clean the Rocks (Rinse First, Then Escalate)
Cleaning doesn’t have to be dramatic. Start gentle and only go “full spa day” if you need to.
Option A: Quick Refresh (Most Beds)
- Blow or rake off loose leaves and sticks.
- Rinse rock on a tarp or in a wheelbarrow with a hose.
- Scrub problem areas with a stiff brush and mild soapy water.
- Rinse again until runoff looks mostly clear.
Option B: Deep Clean for Algae, Slime, or Stains
If rocks are green, slippery, or funkier than a gym towel in August, try a deeper clean:
- Soak and scrub: In a tote, mix water with a small amount of dish soap. Scrub, then rinse thoroughly.
- Oxygen bleach (optional): Useful for organic staining and algae; follow label directions and rinse extremely well.
- Pressure washer (optional): Great for larger stonesuse moderate pressure, keep the nozzle moving, and avoid blasting soft rock.
A practical note: do your wet cleaning where runoff won’t drain into storm drains or waterways. If you’re using any cleaner (even “eco-friendly”), keep it controlled and rinse thoroughly. If you’re working right next to plants you want to keep, remove the rock and wash it off-site (driveway/tarp) rather than flooding the bed with dirty, soapy water.
Step 5: Fix the Bed Base (This Is Where the Long-Term Win Happens)
With the rock out, you can finally see what’s going on underneath. This is the moment to:
- Pull weeds by the roots and remove any thick mats of old roots or runners.
- Remove or repair old weed barrier if it’s shredded or exposed.
- Regrade the soil so water flows where you want (generally away from the foundation).
- Compact lightly for paths, or loosen/level for bedsdepending on the design.
If you’re rebuilding a gravel path or a rock area that gets foot traffic, consider a proper base: excavate, add compacted crushed stone, then top with gravel. The base reduces shifting and helps drainage, so the path stays flatter and less “wavy ocean floor.”
Step 6: Landscape FabricHelpful Tool or Future Regret?
Landscape fabric is one of the most argued-about items in yard history. Some people love it. Some people would rather wrestle a porcupine than remove it again.
Here’s the balanced truth: fabric can be useful under rock-only areas (like gravel paths or decorative stone beds where you don’t plan to dig often). But it’s not magical, not permanent, and not maintenance-free.
When Fabric Makes Sense
- Under gravel or stone paths, where you want separation between soil and stone.
- In rock-only beds (few or no plants) that you want to stay tidy and easy to rake/refresh.
- Where erosion control and stabilization matter.
When Fabric Becomes a Headache
- In planting beds you regularly amend, replant, or dig.
- Where leaves and debris accumulate heavily (they turn into soil on top, and weeds grow anyway).
- Where roots can tangle into or through the fabric over time.
If You Use Fabric, Do It the “Doesn’t Fail Immediately” Way
- Remove existing weeds first. Don’t use fabric as a weed-smothering shortcut.
- Overlap seams so weeds don’t pop up through the gaps.
- Pin it securely (especially edges) so it doesn’t shift and peek out.
- Cover it fully with rock. Exposed fabric breaks down faster and looks messy.
If you skip fabric, your weed strategy becomes: remove debris regularly, maintain enough rock depth, and pull weeds early before roots get comfortable.
Step 7: Reinstall the Rock (Depth, Edging, and “Don’t Bury the Tree” Rules)
Once the base is prepped (and fabric is down, if you’re using it), reinstall your cleaned rock. Aim for a depth that looks intentional and reduces weed success:
- 2–3 inches is common for decorative rock in beds.
- 2–4 inches can be appropriate depending on rock size and the area’s function.
Edging matters more than most people realize. Good edging prevents rock from migrating into your lawn and keeps the bed looking crisp after rain, wind, and the occasional enthusiastic dog.
Landscaping around trees? Give trunks breathing room. Leave a clear gap between rock and the trunk, and avoid piling rock against stems the way some people build “mulch volcanoes,” only… rockier. Trees like oxygen and water at their roots, not a decorative chokehold.
Step 8: Keep It Looking Clean (So You Don’t Redo This Again Next Season)
The secret to low-maintenance rock landscaping is not “never touch it.” It’s “tiny maintenance before it becomes a Saturday-eating monster.”
- Blow off leaves before they turn into soil.
- Rake lightly once in a while to redistribute rock and expose tiny weeds early.
- Spot-weed often (five minutes beats five hours).
- Top up rock if depth gets thin in high-flow areas.
Quick Rock Math: How Much Rock Do You Actually Need?
If you’re adding new stone to supplement what you can reuse, the math is straightforward:
Square feet of area × depth (in feet) = cubic feet
Cubic feet ÷ 27 = cubic yards
Example
A 10 ft × 20 ft bed is 200 sq ft. If you want 3 inches of rock (0.25 ft):
- 200 × 0.25 = 50 cubic feet
- 50 ÷ 27 ≈ 1.85 cubic yards
- Add ~10% for settling and spillage: plan for about 2 cubic yards
If you’re reusing rock, you may only need a fraction of that to refresh the top layer.
Common Mistakes That Make Rock Beds Look Bad Fast
- Skipping debris removal: leaves become soil; soil becomes weeds.
- Too-thin rock layer: sparse rock exposes fabric and invites weeds.
- No edging: rock migrates everywhere like it’s trying to start a new life in your lawn.
- Using plastic sheeting: blocks air and water movement and can harm plants/trees.
- Relying on fabric as a forever solution: it reduces some weeds, not all, and needs maintenance.
- Cleaning rocks in-place with lots of soap: you create muddy soup in the bed and still have dirty rock.
When to Call in Help
If you’re dealing with very large boulders, serious drainage issues, or a huge area of heavy rock, hiring help can be money well spent. Also consider pros if you suspect your bed was installed without proper grading near the foundationfixing water flow problems is more important than perfect rock aesthetics.
Final Wrap-Up: Your Rock Bed Can Look New Without Buying New Rock
Redoing rock landscaping is equal parts muscle, strategy, and “why did I ever think this was low-maintenance?” But it pays off. The winning formula is simple: remove rock efficiently, sift out the dirt and debris, clean only as aggressively as needed, rebuild the base and edges, and reinstall at a sensible depth. Do that, and your rock bed stays sharp-looking longerwith fewer weeds and less annual frustration.
Real-World Experiences: What People Learn After Redoing Rock Landscaping (The Honest 500-ish Words)
Here’s the part most tutorials skip: the experience of redoing a rock bed is not just “Step 1, Step 2, Step 3.” It’s a series of small revelations that happen while you’re holding a shovel, questioning your life choices, and discovering that one bed contains approximately 900 pounds of rock and 40 pounds of decomposed leaves that used to be “just a few fall leaves.”
The first surprise is how much “dirt” is actually pulverized organic debris. If your rock bed sits under a tree, you’ll find layers: fresh leaves on top, crumbly leaf fragments beneath, then a dark, soil-like layer that’s basically compost. This is why rock beds grow weeds even when they were installed “perfectly.” Wind drops seeds. Leaves create soil on top. Weeds move in like they pay rent. The homeowners who feel most successful afterward usually adopt one new habit: they blow out the bed every couple of weeks during heavy leaf season. It’s boring, but it works.
The second surprise is how much easier life becomes with a sifter. People start the project thinking they’ll just rinse the rock. Then they rinse it and realize the dirt is still therebecause it’s not just stuck to the rock; it’s literally mixed in. A $20 roll of hardware cloth and a quick DIY frame turns a miserable project into something weirdly satisfying. You shovel, shake, and watch the junk fall away. Suddenly, reused rock doesn’t look “reused.” It looks “responsibly refreshed.”
The third surprise is the fabric debate turning personal. Many folks discover an old weed barrier that’s half exposed, torn, and threaded with roots. Pulling it up feels like peeling a sticker off a windowif the sticker were buried under dirt and fought back. That’s usually the moment people decide: “If I use fabric again, it’ll be only under rock-only areas, pinned well, fully covered, and never where I plan to dig.” Others skip fabric entirely and focus on depth, edging, and debris removal. Both approaches can work; what fails is expecting any system to be truly maintenance-free.
Another common experience: you’ll underestimate the role of edging until you reinstall the rock and watch it escape into the lawn after the first rain. Homeowners who add solid edgingmetal, stone, brick, or quality plasticoften say it’s the single most noticeable upgrade. The bed looks sharper, mowing is easier, and rock stays where it belongs instead of migrating into the grass like it’s trying to become a lawn ornament.
Finally, there’s the satisfaction factor. After redoing a rock bed, people usually notice two things immediately: (1) the area looks brighter and more intentional, and (2) weeds are easier to spot and pull early. That second part is underrated. A clean, well-defined bed makes maintenance feel like quick “touch-ups,” not endless combat. And once you’ve done the hard resetremoved the soil buildup, fixed the grade, installed better edgingyou’re not just cleaning rock. You’re rebuilding the system so it stays cleaner longer. Your future self may not send you a thank-you card, but they will quietly enjoy not spending another whole Saturday chasing weeds through gravel.