Recording audio on a Chromebook used to feel a little like trying to open a pickle jar with oven mitts: technically possible, but oddly frustrating. The good news? ChromeOS has grown up. Whether you need to record a lecture, capture a podcast idea, make a quick voice memo, narrate a class project, save browser audio, or create a clean voiceover, you now have several simple ways to do it.
This guide walks through eight easy options for how to record audio on Chromebook, from built-in ChromeOS tools to browser-based voice recorders, Android apps, Chrome extensions, and Audacity through Linux. Some methods are perfect for quick voice notes. Others are better for screen recordings, interviews, lessons, or polished audio editing. Think of this as your Chromebook audio toolboxminus the tangled cables and mysterious “input device not found” panic.
Quick Setup Before You Record Audio on a Chromebook
Before choosing an audio recorder for Chromebook, do three quick checks. First, make sure your microphone works. Click the time in the bottom-right corner, open Settings, and review your audio input options. If you use a USB microphone or headset, plug it in before opening your recorder so ChromeOS can detect it.
Second, check app permissions. Browser recorders, Android apps, and Chrome extensions usually ask for microphone access the first time you record. If you accidentally click “Block,” the app may sit there silently judging you. To fix it, open Chrome settings, go to site permissions, and allow microphone access for that website or extension.
Third, record a 10-second test. Say something normal like, “Testing one, two, three,” or something dramatic like, “This Chromebook shall hear my masterpiece.” Play it back. If the audio is too quiet, move closer to the mic, reduce background noise, or choose an external microphone.
1. Use the Chromebook Recorder App
The most direct way to record audio on Chromebook is the built-in Recorder app, available on supported ChromeOS devices, especially Chromebook Plus models. It is designed for voice notes, meetings, lectures, interviews, and quick sound capture. Open the Launcher, search for Recorder, and start a new recording.
Why It Works Well
Recorder is simple. You can pause, resume, mute, rename recordings, play them back, and export them when finished. On supported devices, it can also provide transcription, speaker labeling, and AI-generated summaries. That makes it especially useful for students, journalists, creators, and anyone who has ever opened a 48-minute recording and thought, “Where exactly did the useful part happen?”
How to Use It
- Open the Launcher.
- Search for Recorder.
- Select your microphone source if needed.
- Click Start recording.
- Pause or stop when finished.
- Rename and export the file if you want to save or share it.
This option is best for clean voice recordings, personal notes, class lectures, and meetings. If you want an audio-only file without installing anything extra, start here.
2. Use ChromeOS Screen Capture With Audio
ChromeOS has a built-in screen recording tool that can capture audio along with video. It is not strictly an audio-only recorder, but it is extremely useful when you need to capture what is happening on your screen while also recording your voice, system audio, or both.
Best For
Use this method for tutorials, software walkthroughs, presentations, online classes, reaction videos, and demonstrations. If your audio makes sense only when paired with visuals, Screen Capture is your friend.
How to Use It
- Press Shift + Ctrl + Show windows.
- Select the Screen record option.
- Choose full screen, partial screen, or a specific window.
- Open settings and select the audio source: microphone, device audio, or both.
- Start recording.
- Stop the recording from the bottom-right corner when finished.
ChromeOS saves screen recordings as video files, usually in the Downloads folder unless you choose another location. If you only need the audio later, you can extract it using an audio editor or converter. For many Chromebook users, though, the video file is exactly what they need.
3. Use the Screencast App for Narrated Lessons
The Screencast app is another ChromeOS tool, especially useful for teachers, trainers, students, and tutorial creators. It records your screen and narration, then adds a searchable transcript. That transcript can help viewers jump to the right part of the recording instead of scrubbing around like they are hunting for buried treasure.
Why Choose Screencast?
Screencast is ideal when your recording needs structure. You can trim parts, mute sections, add text overlays, and use transcript-based editing. It is more advanced than basic Screen Capture, but still friendly enough for school projects, training videos, and classroom explainers.
How to Use It
- Open the Launcher.
- Search for Screencast.
- Create a new screencast.
- Choose your screen area and microphone settings.
- Record your narration while demonstrating the task.
- Edit the transcript or trim the recording afterward.
This is not the best option for a simple audio memo. However, if you want a polished narrated recording with searchable text, Screencast is one of the most useful Chromebook recording tools available.
4. Use an Online Voice Recorder in Chrome
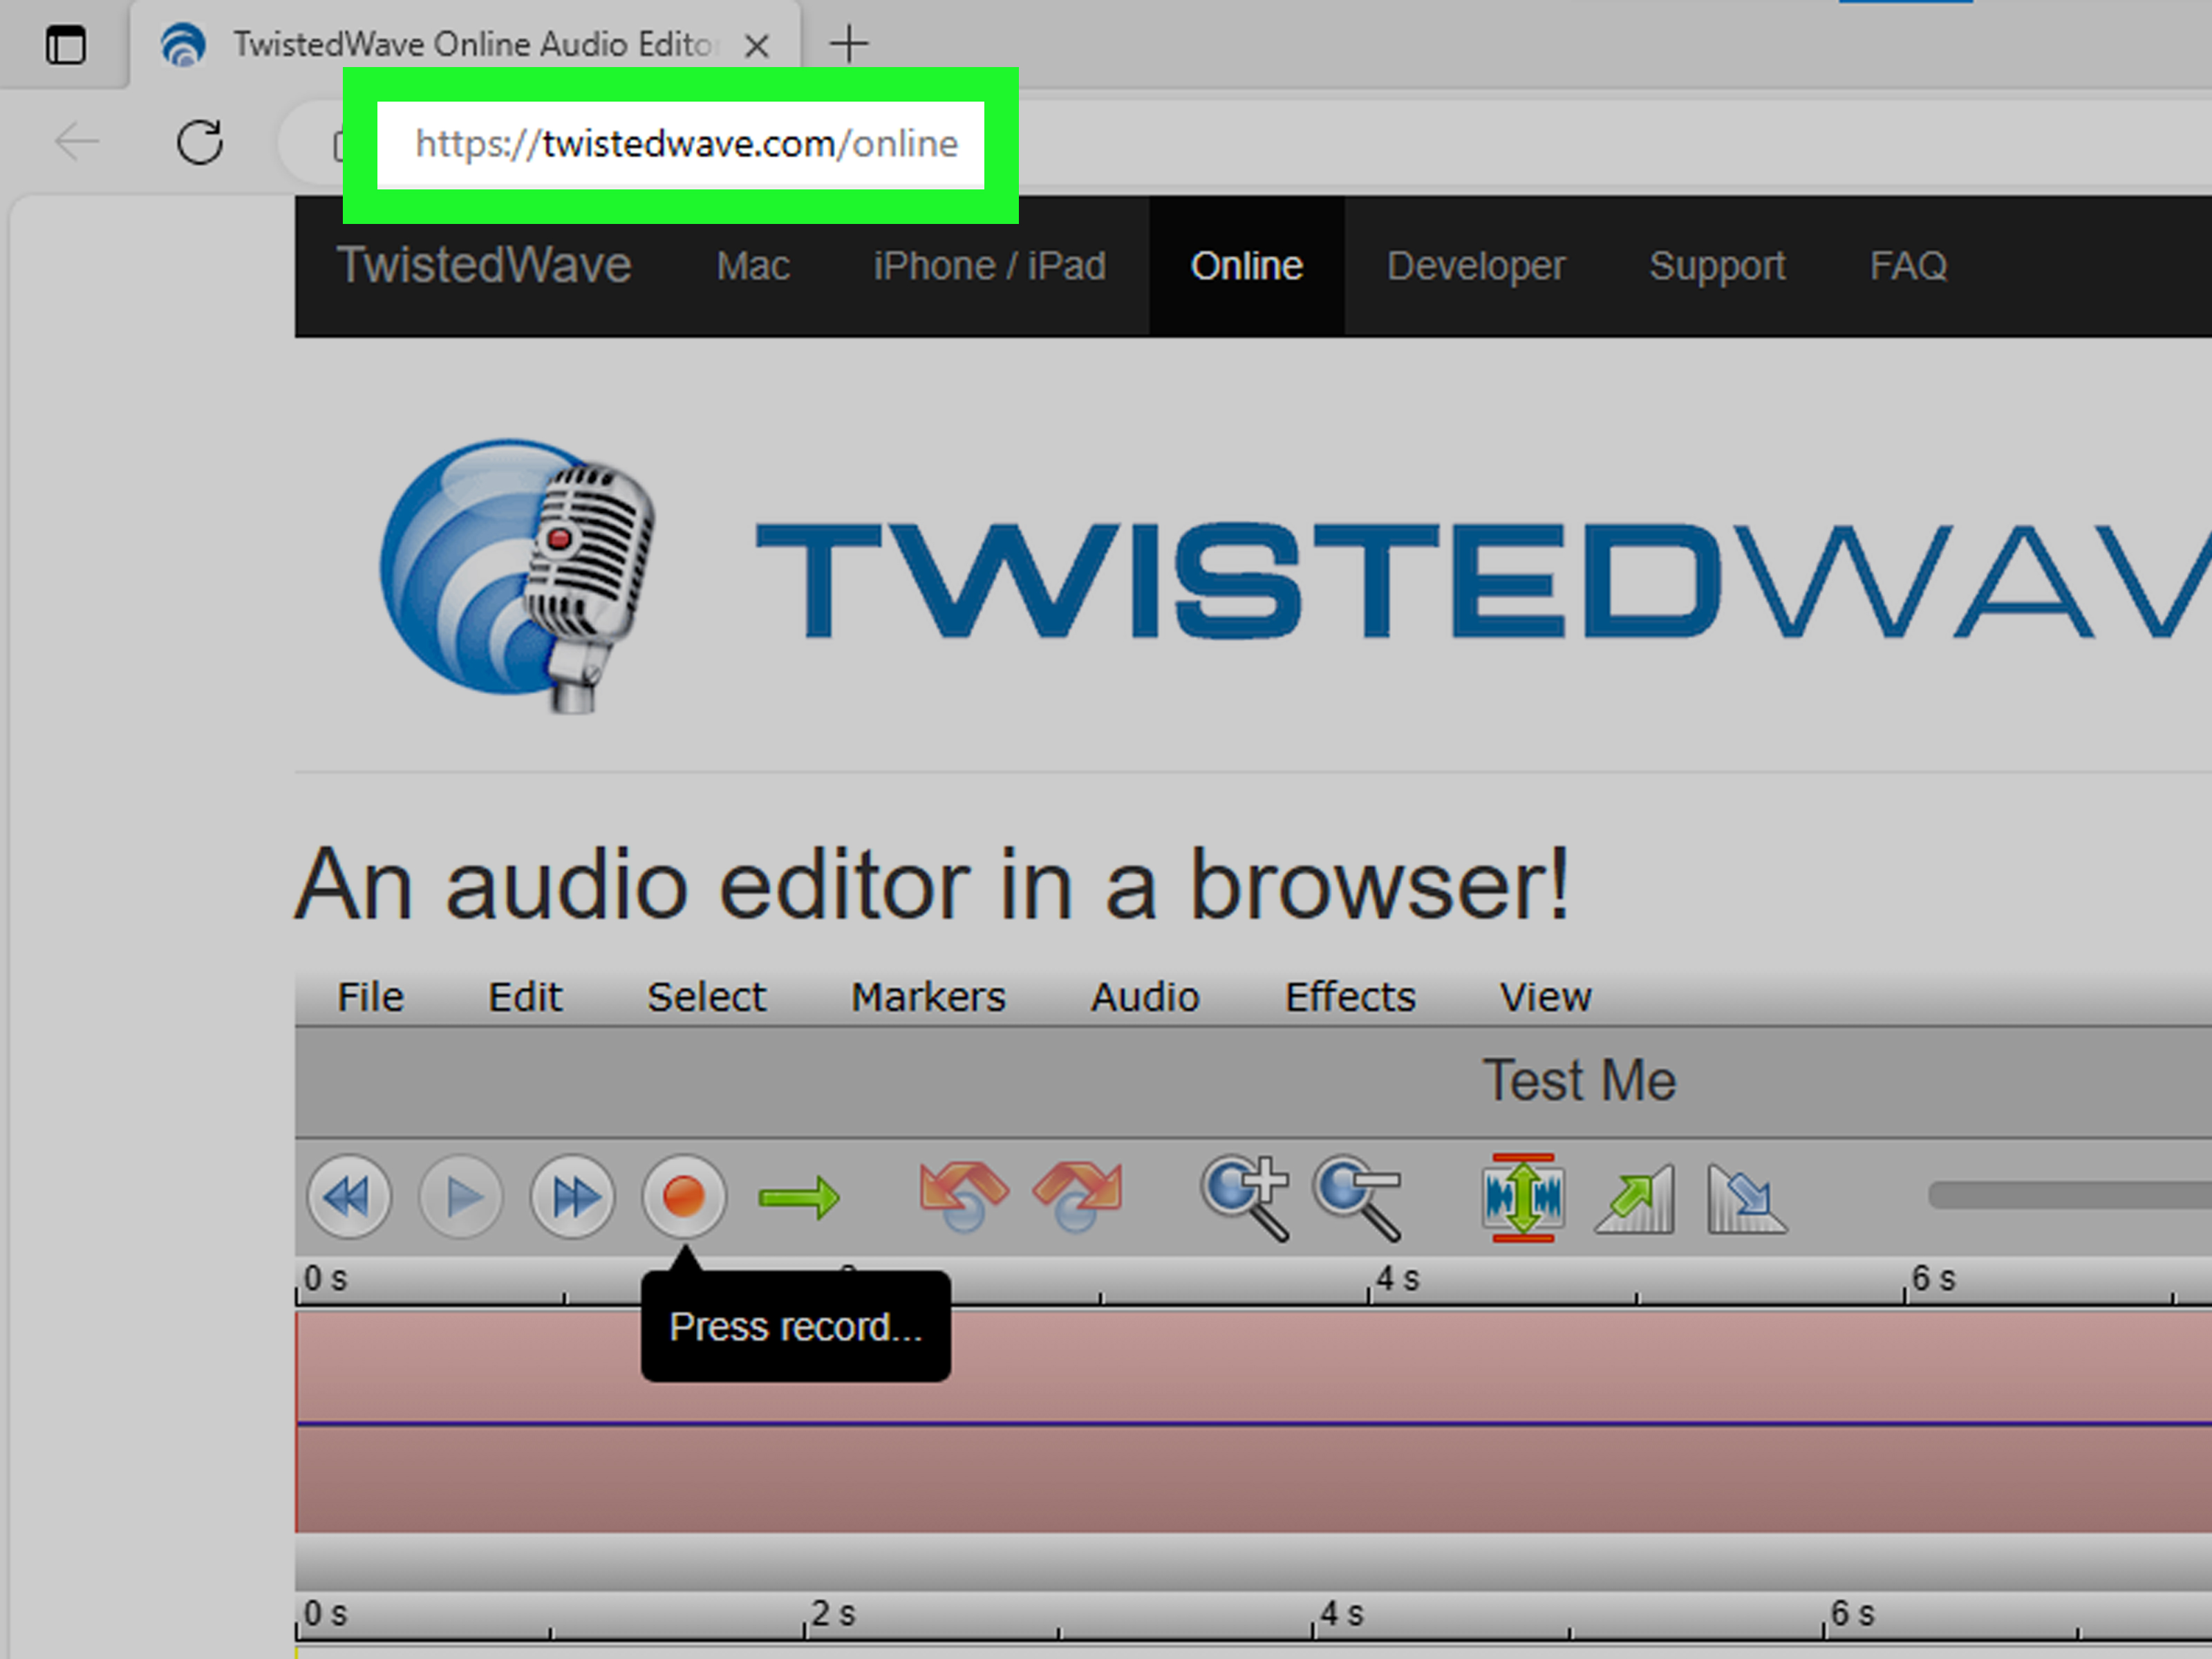
If you want the fastest no-install method, use an online voice recorder. Tools like Online Voice Recorder by 123apps run directly in the Chrome browser. You open the site, allow microphone access, press record, speak, stop, trim if needed, and download the file.
Why It Is Convenient
Online voice recorders are excellent for quick tasks: recording a pronunciation sample, making a voice note, submitting homework audio, capturing a short narration, or testing a microphone. Many browser-based recorders let you download files in common formats such as MP3, WAV, or WebM.
How to Use It
- Open Chrome.
- Go to a reputable online voice recorder.
- Click Record.
- Allow microphone access.
- Speak clearly into your microphone.
- Stop, preview, trim, and download the recording.
This option works beautifully when you need speed. The downside is that browser tools vary in privacy policies, file limits, export formats, and editing features. For sensitive meetings or private interviews, read the tool’s privacy details before recording.
5. Use Vocaroo or SpeakPipe for Quick Voice Sharing
Sometimes you do not need a full audio production studio. You just need to send a voice message without wrestling with settings. That is where simple browser tools like Vocaroo or SpeakPipe shine.
These tools are popular because they remove almost all friction. Open the site, record your voice, and share the link or download the audio. They are especially handy for teachers giving feedback, language learners practicing pronunciation, remote teams sending quick updates, or anyone who thinks typing “Let me explain” for the eighth time should be illegal.
Best Uses
- Short voice messages
- Audio feedback for students or coworkers
- Language practice
- Quick pronunciation samples
- Informal voice notes
The biggest advantage is simplicity. The biggest drawback is that these tools are not built for heavy editing. If you need noise reduction, multi-track editing, or professional cleanup, use a more advanced option.
6. Use a Chrome Extension Audio Recorder
Chrome extensions can turn your browser into a simple recording station. Some extensions focus on microphone recording, while others capture tab audio, screen audio, webcam video, or a mix of sources. Popular categories include basic audio recorder extensions, Loom-style screen recorders, and Screencastify-style classroom recording tools.
When Extensions Make Sense
Use a Chrome extension when you frequently record from the browser and want one-click access. Extensions can be helpful for recording web meetings, browser tutorials, online lectures, feedback videos, and tab-based audio. Some tools also provide cloud sharing, basic editing, captions, or viewer analytics.
Important Tip
Be careful with permissions. An audio recording extension may request access to your microphone, tabs, screen, or browsing activity. Choose reputable extensions, review ratings, check update history, and avoid installing ten different recorders just to find “the one.” Your Chromebook is a computer, not a digital junk drawer.
7. Install an Android Voice Recorder App
Many Chromebooks support Android apps through the Google Play Store. If your device supports it, you can install an Android voice recorder app and use it much like you would on a phone or tablet. Search for voice recorder apps with strong ratings, clear privacy policies, and export options that match your needs.
Why Use an Android App?
Android recorder apps often include features that simple web tools do not: pause and resume, tags, folders, compression, background recording, Bluetooth microphone support, and multiple export formats. Some are designed for lectures, some for music sketches, and some for interviews.
How to Use One
- Open the Google Play Store on your Chromebook.
- Search for a reputable voice recorder app.
- Install it and open the app.
- Grant microphone and storage permissions.
- Choose quality settings if available.
- Record, name, save, and export your file.
This method is great if you prefer an app-like experience. However, not every Android app works perfectly on every Chromebook, and school or work devices may block Play Store installation. If an app crashes or cannot detect your microphone, try another method from this list.
8. Use Linux and Audacity for Serious Audio Editing
If you want more control, you can use Linux on supported Chromebooks and install Audacity, a free, open-source audio editor and recorder. This is the most advanced option on the list and the best fit for podcasts, voiceovers, interviews, music demos, and audio cleanup.
What Makes Audacity Powerful?
Audacity supports multi-track editing, trimming, normalization, noise reduction, effects, waveform editing, and exports in common audio formats. It gives you much more control than a basic browser recorder. The trade-off is setup. You may need to enable Linux, allow Linux microphone access, install the app, and learn a few audio-editing basics.
Basic Setup Path
- Open Settings on your Chromebook.
- Go to About ChromeOS and then Developers.
- Set up the Linux development environment if your Chromebook supports it.
- Enable microphone access for Linux.
- Install Audacity from the Linux terminal or a trusted package source.
- Open Audacity, select your input device, and make a test recording.
This option is not necessary for a 30-second voice memo. But for creators who care about cleaner sound, editing flexibility, and export control, Audacity is worth the learning curve.
Which Chromebook Audio Recording Option Should You Choose?
The best method depends on what you are recording. For quick notes, use Recorder or a simple online voice recorder. For lessons and screen narration, use Screen Capture or Screencast. For fast voice sharing, use Vocaroo or SpeakPipe. For repeat browser work, use a Chrome extension. For mobile-style recording, try an Android app. For serious audio production, use Audacity through Linux.
| Recording Need | Best Option |
|---|---|
| Quick voice memo | Recorder app or online voice recorder |
| Lecture recording | Recorder app or Android voice recorder |
| Screen tutorial with narration | ChromeOS Screen Capture or Screencast |
| Shareable voice message | Vocaroo or SpeakPipe |
| Browser/tab recording | Chrome extension |
| Podcast or voiceover editing | Audacity with Linux |
Tips for Better Chromebook Audio Quality
Use a Better Microphone
The built-in Chromebook microphone is fine for casual recordings, but an external USB microphone or headset can make your voice sound clearer and more focused. If your audio matters, even an affordable wired headset can beat the built-in mic.
Record in a Quiet Room
Background noise is the villain of good audio. Fans, barking dogs, keyboard taps, and open windows all sneak into recordings. Record in a quieter space, close unnecessary tabs that may play sounds, and turn on Do Not Disturb if your recording app supports it.
Keep the Mic Close, But Not Too Close
Speak about six to twelve inches from the microphone. If you are too far away, the recording sounds thin and echoey. If you are too close, your “P” and “B” sounds may explode like tiny audio fireworks.
Do a Test Recording Every Time
A test recording can save you from disaster. Before recording a full lecture, interview, or presentation, capture ten seconds and play it back. Check volume, background noise, and whether the correct microphone is selected.
Common Problems and Quick Fixes
The Chromebook Is Not Recording My Voice
Check microphone permissions. In Chrome, click the lock icon near the address bar and confirm that the website can access your microphone. For Android apps, review app permissions in ChromeOS settings. For Linux apps, make sure Linux microphone access is enabled.
The Audio Is Too Quiet
Move closer to the microphone, select the correct input device, and reduce room noise. If you are using an external microphone, unplug it and reconnect it before reopening the recorder.
The Recording Has Echo
Echo usually comes from hard surfaces and distance from the microphone. Move closer, record in a smaller room, add soft materials nearby, or use a headset microphone.
I Need MP3, But My Chromebook Saved WebM
Some ChromeOS tools save recordings as WebM video or audio files. If you need MP3, use an online converter, an audio editor, or a recorder that exports directly to MP3. Always keep a backup of the original file before converting.
Real-World Experience: What Recording Audio on a Chromebook Actually Feels Like
In everyday use, recording audio on a Chromebook is surprisingly painless once you pick the right tool for the job. The mistake many people make is trying to force one app to do everything. That is like asking a toaster to make soup. Maybe someone on the internet has tried it, but nobody should have to live that way.
For quick voice notes, the built-in Recorder app or a browser recorder feels the most natural. You open it, press record, talk, and save. That is the whole show. This works well for reminders, article ideas, study notes, language practice, or capturing a thought before it escapes into the same mysterious place where missing socks go.
For students, the biggest lesson is file organization. A Chromebook makes it easy to record lectures, but it also makes it easy to end up with files named “Recording 1,” “Recording 2,” and “Recording final final maybe.” Rename recordings right away. Use names like “Biology Lecture – Cell Division – June 5” or “Spanish Pronunciation Practice – Week 3.” Future you will be grateful, and future you is already dealing with enough.
For creators, audio quality matters more than the recording tool. A basic Chromebook with a decent USB microphone in a quiet room can sound better than an expensive setup in a noisy kitchen. Record close to the mic, avoid echo-heavy rooms, and do not record next to a fan unless your podcast is called “Wind Tunnel Thoughts.” If you plan to publish audio, Audacity or another editor gives you the control needed to trim mistakes, reduce noise, and balance volume.
For teachers and remote workers, Screencast and Screen Capture are often the most practical choices. They let you explain something visually while capturing your voice. That is much better than sending a five-paragraph email that begins, “As you can see in the screenshot below,” followed by three arrows, a circle, and everyone’s patience slowly leaving the room.
For privacy-sensitive recordings, use extra caution. Browser tools are convenient, but you should understand where the audio is processed, whether it is uploaded, and how sharing links work. If you are recording private meetings, interviews, medical details, client conversations, or school information, choose tools carefully and get permission when required. Good audio is nice; responsible recording is better.
The best Chromebook recording workflow is usually simple: use Recorder for voice, Screen Capture for screen-plus-audio, Screencast for lessons, an online recorder for quick MP3 files, and Audacity when editing matters. Once you match the tool to the task, a Chromebook becomes a capable little recording machine. Not flashy. Not dramatic. Just usefulwhich, frankly, is what most of us wanted from technology in the first place.
Conclusion
Learning how to record audio on Chromebook is easier than it looks because ChromeOS now supports several recording paths. You can use the Chromebook Recorder app for voice notes, Screen Capture for video with audio, Screencast for narrated lessons, online voice recorders for quick browser-based files, Vocaroo or SpeakPipe for fast sharing, Chrome extensions for tab and mic capture, Android apps for mobile-style recording, and Audacity with Linux for advanced editing.
The simplest advice is this: choose the tool based on the final result you need. If you want a quick memo, keep it simple. If you want a polished podcast, use a real editor. If you want to teach something on screen, record the screen and your voice together. And alwaysalwaysmake a test recording first. Ten seconds of testing can save you from 45 minutes of silent footage and one very emotional sigh.
Note: App availability, audio-source options, AI features, Android app support, and Linux support can vary by Chromebook model, ChromeOS version, and school or workplace administrator settings.