A shower curtain has one job: keep water inside the shower instead of turning your bathroom floor into a tiny indoor lake. Unfortunately, it also has a side hustlecollecting moisture, soap scum, body oils, shampoo residue, and whatever mystery film appears after a few busy mornings. Give that damp environment enough time, and mold or mildew may move in like it signed a lease.
The good news? Preventing mold on a shower curtain is surprisingly simple. You do not need a laboratory, a hazmat suit, or a cleaning routine so complicated it requires a spreadsheet. With better drying habits, regular washing, smart ventilation, and a few safe cleaning solutions, you can keep your shower curtain fresher for longer and avoid that dreaded spotted, musty liner look.
This guide explains how to prevent mold on a shower curtain, how often to clean it, which cleaning methods work best, and when it is time to replace the curtain or liner altogether. Think of it as a friendly rescue mission for your bathroomminus the dramatic music.
Why Mold Grows on Shower Curtains
Mold needs moisture, warmth, and organic material to grow. A bathroom after a hot shower checks all three boxes. The curtain gets wet, steam fills the room, and soap scum builds up along the liner. If the curtain is left bunched together, the folds trap water and slow down drying. That damp, low-airflow zone is exactly where mold and mildew like to settle.
The bottom edge of the curtain is usually the first trouble spot. It touches the tub, catches shampoo runoff, and stays wet the longest. Corners, folds, seams, and magnet areas can also hold moisture. If your bathroom lacks a strong exhaust fan or window, the curtain may remain damp for hours.
Mold vs. Mildew: What Is the Difference?
People often use the words mold and mildew interchangeably. Mildew is commonly used to describe the surface-level, powdery or patchy growth that appears in damp places. Mold can appear darker, fuzzier, or more deeply embedded. Either way, both signal the same problem: moisture is hanging around too long.
You may also notice pink or orange slime near the curtain, tub, or grout. That is often not mold but a moisture-loving bacteria that also thrives in bathrooms. It still needs cleaning, but it is another reminder that wet surfaces are basically an open invitation to unwanted guests.
The Golden Rule: Keep the Curtain Dry
If you remember only one tip, make it this: mold prevention starts with drying. Cleaning matters, but drying is what stops the repeat performance.
Spread the Curtain Out After Every Shower
After showering, pull the curtain fully across the rod instead of leaving it bunched to one side. This simple habit allows air to reach more of the surface. When the curtain hangs flat, water runs down and evaporates faster. When it is crumpled, water hides in the folds like it is avoiding rent.
Make sure the liner sits inside the tub while drying so water drains properly. If the decorative outer curtain is fabric, separate it slightly from the liner to improve airflow between the two layers.
Shake Off Excess Water
Before stepping out, give the liner a gentle shake or run your hand along the bottom edge to knock extra water into the tub. This takes five seconds and helps prevent the soggy hem problem that causes many shower curtains to grow spots first.
Use a Squeegee or Towel on Nearby Surfaces
The more water sitting on walls, glass, tile, and tub ledges, the more humidity stays in the bathroom. Use a small shower squeegee on walls or glass doors, or wipe ledges with a microfiber cloth. You do not have to polish the shower like a hotel inspector is arriving. Just remove the obvious water so the room dries faster.
Improve Bathroom Ventilation
Moisture control is the backbone of mold prevention. A shower curtain cannot dry well in a bathroom that stays steamy long after the shower is over.
Run the Exhaust Fan During and After Showering
Turn on the bathroom exhaust fan before or as soon as you start the shower. Leave it running afterward until the mirror clears and the room feels less humid. In many bathrooms, that means at least 15 to 30 minutes after showering. If your fan sounds like a tired airplane but barely moves air, clean the vent cover and consider whether the fan needs repair or replacement.
Open a Window or Door When Possible
If your bathroom has a window, crack it open after showering when weather and safety allow. If there is no window, leave the bathroom door open for a while after use. Trapped steam creates the perfect setting for mold. Airflow is your curtain’s best friend.
Use a Dehumidifier in Damp Homes
Bathrooms in humid climates, basement apartments, or older homes may need extra help. A small dehumidifier outside or near the bathroom can reduce overall moisture. This is especially useful if towels stay damp for a long time or if condensation appears on walls frequently.
Create a Simple Weekly Cleaning Routine
You do not need to deep-clean the curtain every week, but a light maintenance routine makes a huge difference. Mold prevention works best when cleaning is easy enough that you will actually do it.
Use a Daily or Weekly Shower Spray
A basic shower spray helps reduce soap scum before it becomes mold food. You can use a store-bought daily shower cleaner or make a simple solution with equal parts water and white vinegar in a spray bottle. Lightly mist the inside of the liner, especially the lower half, then let it air dry.
Important safety note: never mix vinegar with bleach or any bleach-containing product. Mixing cleaners can create dangerous fumes. Use one cleaning method at a time, rinse surfaces when switching products, and keep the bathroom ventilated.
Wipe the Bottom Edge
Once a week, wipe the bottom hem of the curtain or liner with a damp microfiber cloth and mild soap. This is where soap residue and minerals collect. Cleaning that edge regularly can prevent the dramatic “what happened here?” moment that arrives when stains suddenly appear.
Clean Shower Hooks and Rings
Hooks and rings also collect grime. If they are sticky, rusty, or coated with residue, remove them and soak them in warm, soapy water. Scrub with an old toothbrush, rinse, and dry before rehanging. Smooth-gliding hooks also make it easier to spread the curtain out after every shower.
How to Wash a Shower Curtain in the Washing Machine
Many shower curtains and liners can be machine washed, including some plastic, vinyl, PEVA, polyester, and fabric options. Always check the care label first. If the label says not to machine wash, clean it by hand instead.
Step-by-Step Machine Washing Method
- Remove the curtain or liner from the hooks.
- Place it in the washing machine with two or three old towels. The towels help scrub the surface and balance the load.
- Add a small amount of laundry detergent.
- Choose a gentle cycle with warm water.
- For odor or buildup, add baking soda to the wash cycle if the care label allows it.
- Hang the curtain back on the rod immediately after washing so it can drip dry fully.
Avoid high heat in the dryer, especially for plastic or vinyl liners. Heat can warp, melt, or damage them. If the care label allows tumble drying, use low heat briefly and remove the curtain while still slightly damp. In most cases, air drying on the rod is the safest option.
How Often Should You Wash It?
For most households, wash the shower curtain or liner once a month. If the bathroom is heavily used, poorly ventilated, or shared by several people, clean it every two weeks. If the shower is in a guest bathroom used only occasionally, washing every two to three months may be enough, as long as the curtain dries completely between uses.
How to Clean a Shower Curtain by Hand
If you do not want to remove the curtain or the material is delicate, hand cleaning works well. This method is also handy for spot-treating early mildew before it spreads.
Vinegar and Water Cleaning Method
Mix equal parts white vinegar and warm water in a spray bottle. Spray the affected areas, focusing on the lower half of the liner. Let the solution sit for 10 to 15 minutes, then scrub gently with a sponge or soft brush. Rinse well with warm water and spread the curtain open to dry.
Vinegar is useful for soap scum and light mildew, but it may not remove deep stains from plastic or fabric. If discoloration remains after cleaning, the surface may be stained even if the growth has been removed.
Baking Soda Paste for Stubborn Spots
For thicker buildup, make a paste with baking soda and a small amount of water. Apply it to stained areas, let it sit for several minutes, and scrub gently with an old toothbrush or soft cleaning brush. Rinse thoroughly. Baking soda adds gentle abrasion without being too harsh for many liners.
Hydrogen Peroxide for Light-Colored Liners
Hydrogen peroxide can help with mildew stains on some light-colored surfaces. Spray a small amount on the spot, let it sit briefly, then rinse well. Test it first on an inconspicuous area because it can lighten some fabrics or colors.
When to Use Bleach Safely
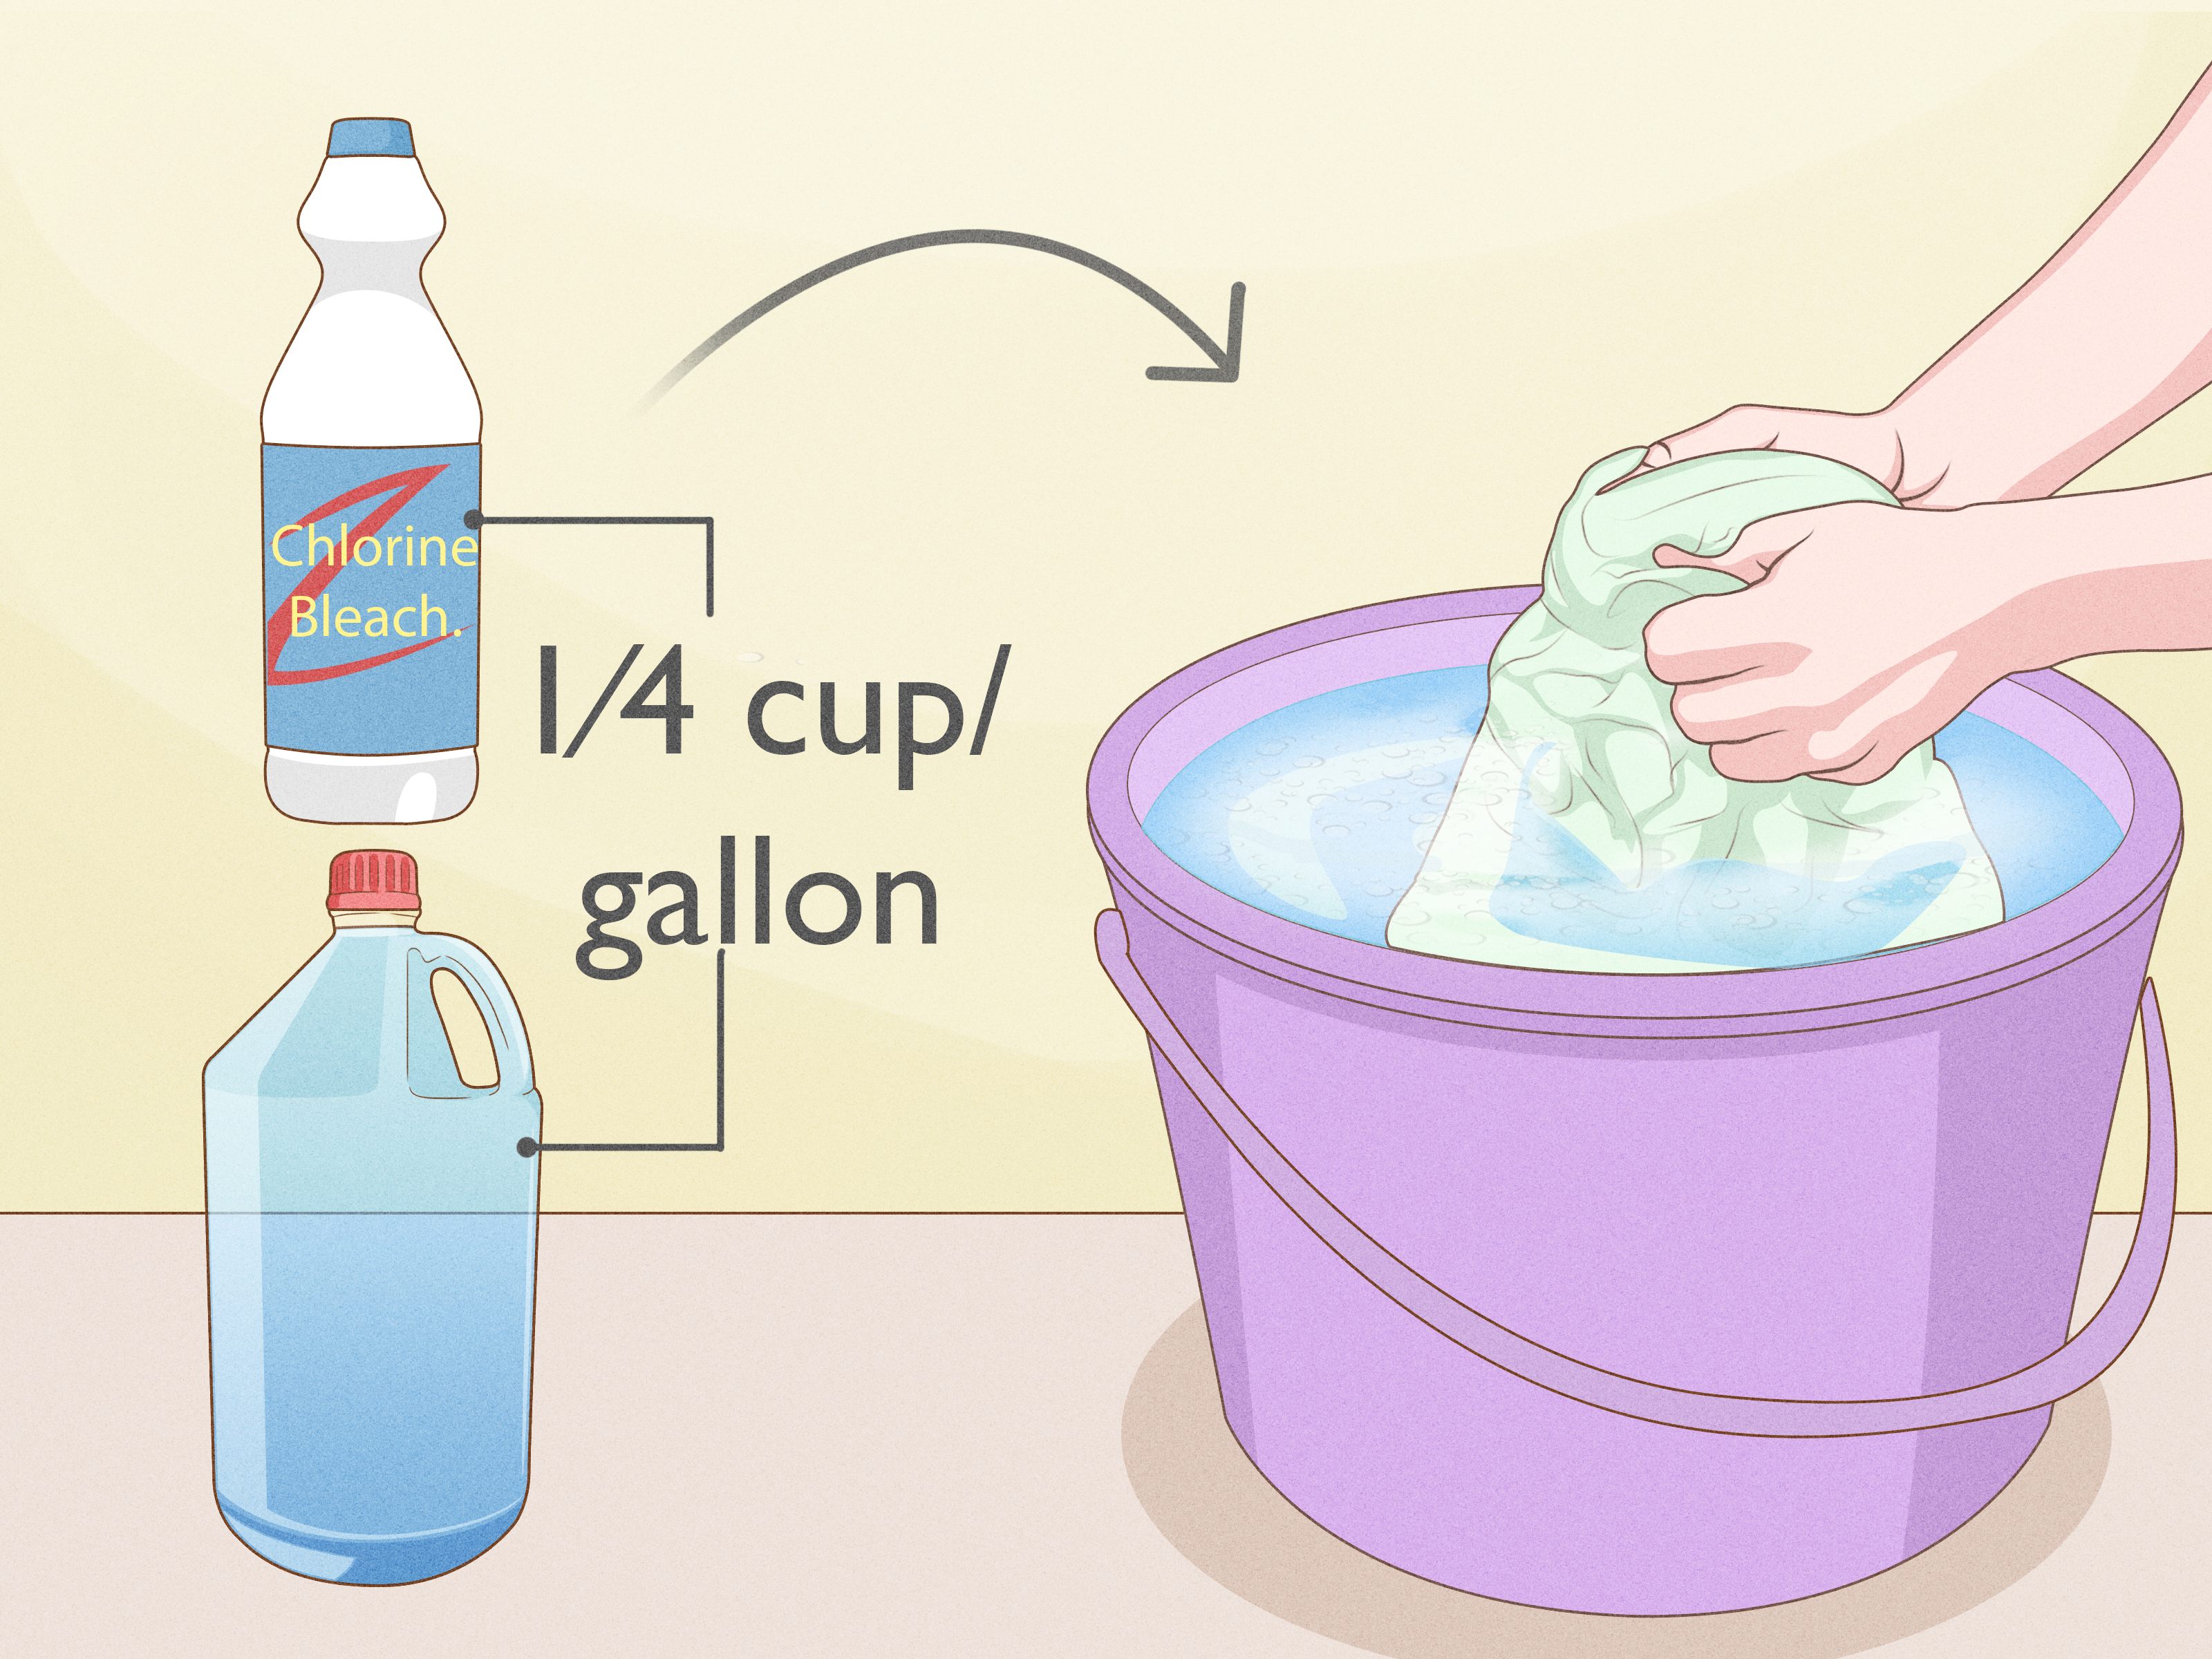
Bleach can be effective for disinfecting and removing mold stains on compatible white or colorfast materials, but it must be used carefully. Always read the curtain’s care label and the bleach product label before using it.
Basic Bleach Safety Rules
- Never mix bleach with vinegar, ammonia, or other household cleaners.
- Open a window or run the fan while cleaning.
- Wear gloves to protect your skin.
- Use bleach only on materials that can tolerate it.
- Rinse thoroughly after cleaning.
For small household mold cleanup, a diluted bleach solution may be used when appropriate. More is not better. Stronger mixtures can damage surfaces and increase fumes. If mold covers a large area beyond the curtain, appears on walls or ceilings, or keeps returning despite cleaning, look for a moisture problem and consider professional help.
Choose the Right Shower Curtain or Liner
The easiest shower curtain to maintain is one that dries quickly and can be cleaned without a battle. If your current liner has become a permanent science project, replacing it may save time and frustration.
PEVA, EVA, Vinyl, and Fabric Liners
PEVA and EVA liners are popular because they are water-resistant and often marketed as alternatives to traditional vinyl. Fabric liners, especially polyester, can look nicer and are often machine washable. Vinyl liners are inexpensive and widely available, but some people prefer non-vinyl options for odor or material reasons.
Look for labels such as “machine washable,” “mildew resistant,” or “quick drying.” No liner is magically mold-proof forever, but a washable, fast-drying liner gives you a head start.
Use Double Shower Hooks
Double hooks let the decorative curtain and liner hang separately. This makes it easier to remove the liner for washing and improves airflow between layers. It is a small upgrade that can make your cleaning routine less annoying, which is always a victory.
Make Sure the Curtain Fits Correctly
A liner that is too long may bunch at the bottom of the tub and stay wet. A liner that is too short may let water escape. Choose a size that hangs inside the tub without dragging excessively. If needed, trim a plastic liner carefully or buy one with the right dimensions.
Common Mistakes That Encourage Mold
Sometimes preventing mold is less about doing more and more about stopping the habits that help it grow.
Mistake 1: Leaving the Curtain Bunched Up
This is the big one. A bunched curtain dries slowly, especially in the folds. Spread it out every time.
Mistake 2: Skipping the Fan
A bathroom fan is not background noise; it is moisture control. Use it during and after showers.
Mistake 3: Waiting Until Mold Is Obvious
Once dark spots appear, cleaning takes more effort. Preventive cleaning is faster than rescue cleaning.
Mistake 4: Using Too Much Product
Heavy cleaner residue can attract grime if not rinsed properly. Use moderate amounts and rinse well.
Mistake 5: Mixing Cleaners
This is dangerous and unnecessary. Bleach, vinegar, hydrogen peroxide, ammonia, and commercial cleaners should not be combined. Pick one method, use it safely, and rinse before trying anything else.
A Realistic Shower Curtain Cleaning Schedule
A simple schedule keeps mold prevention manageable:
- After every shower: Spread the curtain open, run the fan, and shake off excess water.
- Once a week: Spray the liner with a mild cleaner and wipe the bottom edge.
- Once a month: Machine wash or hand wash the curtain and liner.
- Every few months: Inspect hooks, seams, magnets, and the lower hem for stains or damage.
- As needed: Replace the liner if stains, odors, tears, or mold keep returning.
This routine is easy enough for real life. You do not need to spend your Saturday lovingly scrubbing shower rings while questioning your life choices. A few small habits prevent most of the mess.
When Should You Replace a Shower Curtain?
Even with good care, shower curtains and liners do not last forever. Replace the liner if it has permanent black or green stains, a musty smell that survives washing, cracks, tears, stiff areas, or warped sections. If the liner clings to the tub and never dries well, it may also be time for a better material or fit.
Fabric curtains can last longer if washed regularly and dried thoroughly. Plastic liners are often cheaper to replace, but cleaning them consistently can extend their life and reduce waste.
Natural Cleaning Tips That Actually Help
Many people prefer low-odor, simple cleaning methods. White vinegar, baking soda, mild dish soap, and hydrogen peroxide can all be useful when used correctly. The key is not to treat “natural” as a free pass to mix everything together. Chemistry does not care whether the bottle looks friendly.
Best Natural Routine
For regular prevention, spray the liner once or twice a week with a water-and-vinegar solution, wipe the bottom edge, and keep the curtain spread open. For buildup, use baking soda paste and gentle scrubbing. For stains on light materials, test hydrogen peroxide in a hidden spot before using it more widely.
What About Essential Oils?
A few drops of essential oil may make a homemade spray smell pleasant, but fragrance is not the same as cleaning power. Essential oils can also irritate sensitive skin, affect pets, or leave residue. If you use them, keep the amount small and never rely on scent alone as proof that the curtain is clean.
Experience-Based Tips: What Really Works in Everyday Bathrooms
In real homes, the best mold-prevention routine is the one people can keep doing when life is busy. The most effective trick is also the least glamorous: pull the curtain closed after every shower. It sounds too simple, but it changes everything. A curtain that dries flat is far less likely to develop mold than one that sits in a damp clump all day. If you share a bathroom with family or roommates, this one habit may need a friendly reminder. A small note near the shower or a quick “please spread the curtain” conversation can save everyone from future scrubbing drama.
Another practical lesson is that the bottom edge deserves special attention. Many people clean the middle of the curtain because it is easy to see, but the lower hem is where the real action happens. Water drips down, soap collects, and the liner rests against the tub. A weekly wipe along that edge takes less than a minute and prevents the kind of buildup that later requires soaking, scrubbing, and possibly a motivational speech.
Machine washing also works better than many people expect. Adding a couple of old towels helps gently rub the liner during the cycle. The towels should be old because cleaning a shower liner is not exactly spa day for your nicest bath linens. Warm water, a small amount of detergent, and a gentle cycle are usually enough for routine cleaning. After washing, rehanging the liner immediately is easier than trying to find a place to drape a wet curtain. Let gravity do the drying.
Ventilation is the other major game changer. In bathrooms without a strong fan, mold prevention becomes harder. Opening the door after showering, cracking a window, or using a small dehumidifier nearby can help. If the mirror stays foggy for a long time, the bathroom is telling you something: moisture is stuck. Listen to the mirror. It may be dramatic, but it is not wrong.
It also helps to keep fewer bottles on tub ledges. Shampoo, conditioner, body wash, razors, and loofahs can block airflow and trap water against the curtain. A hanging shower caddy or wall-mounted organizer keeps products off the tub edge and makes it easier for everything to dry. Mold loves cluttered, wet corners. Take away the clutter, and you remove part of its playground.
Finally, know when to stop fighting an old liner. If it still smells musty after washing, has permanent dark stains, or feels slimy again within days, replacing it is reasonable. Cleaning is good; turning a five-dollar liner into a lifelong emotional commitment is not necessary. Choose a washable, quick-drying replacement, set up better drying habits, and start fresh. The goal is not perfection. The goal is a bathroom that smells clean, dries quickly, and does not make you side-eye the shower curtain every morning.
Conclusion
Preventing mold on a shower curtain is mostly about controlling moisture before it becomes a problem. Spread the curtain out after every shower, run the fan, improve airflow, wipe the bottom edge weekly, and wash the curtain or liner regularly. Use vinegar, baking soda, mild detergent, hydrogen peroxide, or bleach safely and separatelynever mix cleaners. Choose a washable liner, keep the bathroom ventilated, and replace curtains that are stained, damaged, or permanently musty.
With a few small habits, your shower curtain can stay clean, fresh, and mold-resistant without turning bathroom maintenance into a full-time job. Your reward is a better-looking shower, a fresher bathroom, and the quiet satisfaction of defeating mildew with common sense. Not bad for a Tuesday.