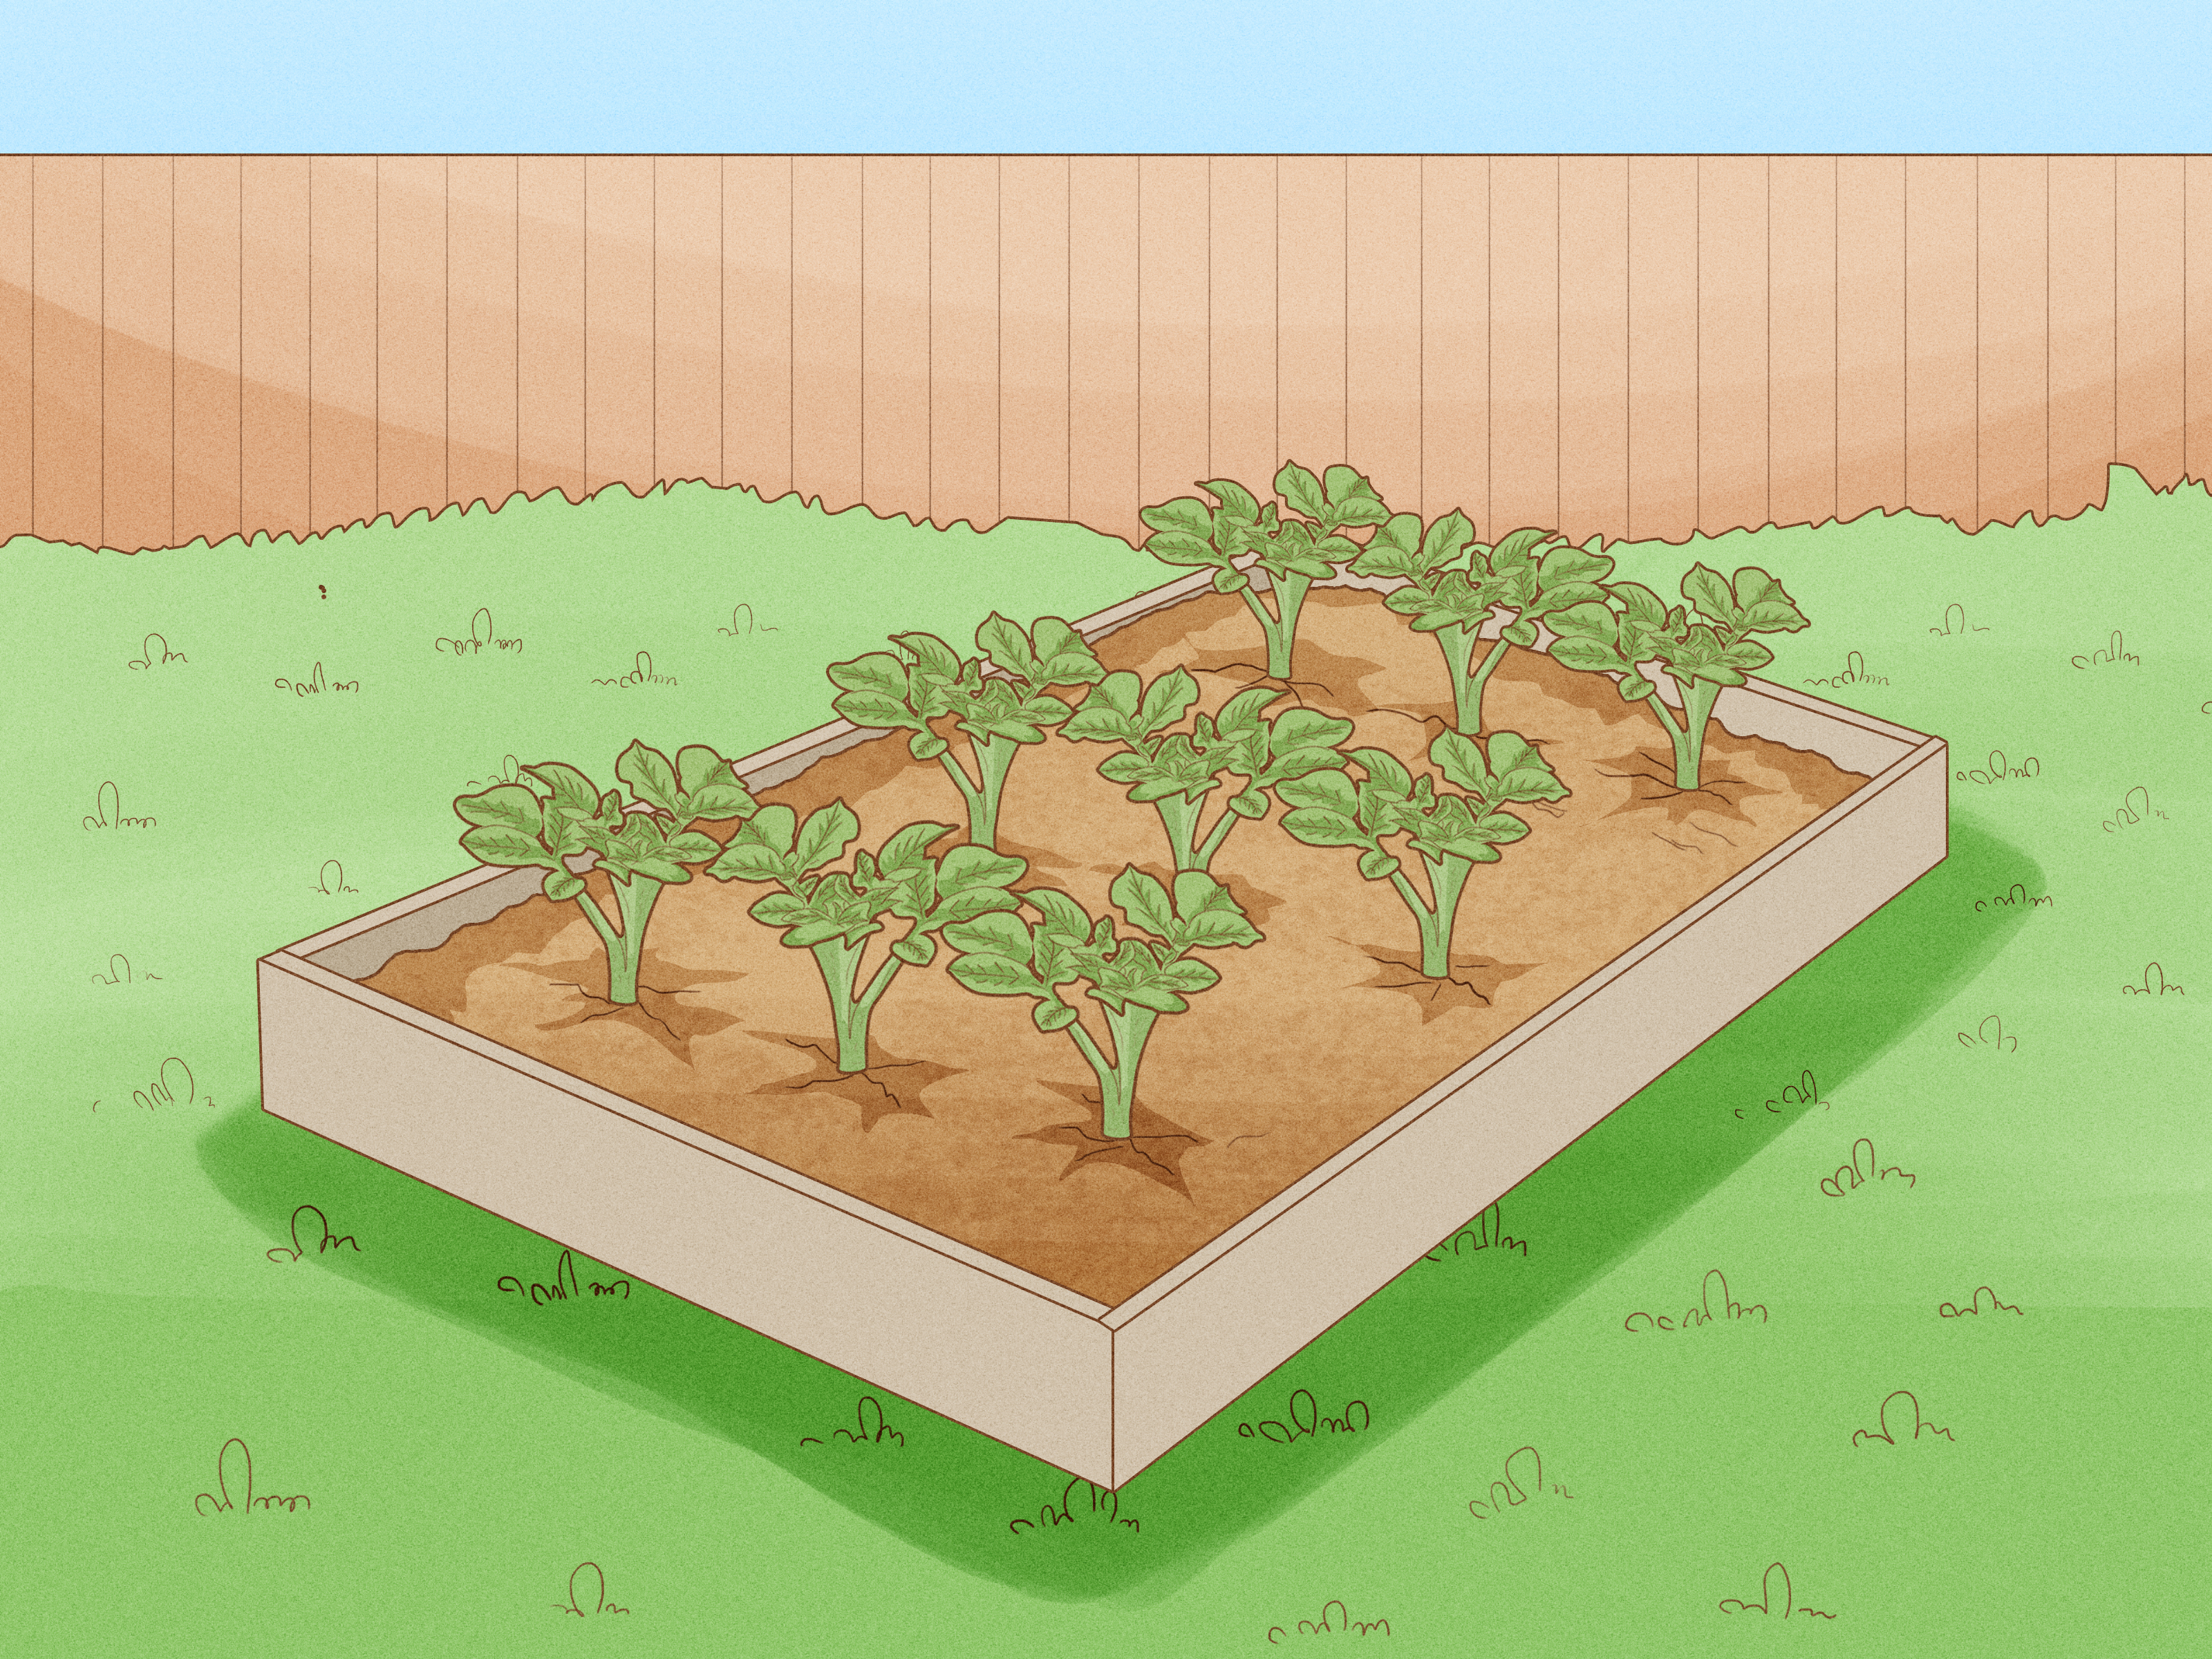
Starting a new garden bed feels a little like moving into an empty apartment: the potential is exciting, the mess is real, and somehow you already need a plan. The good news is that a beautiful, productive garden does not begin with luck. It begins with preparation. Whether you want a flower border packed with color, a kitchen garden full of tomatoes and herbs, or a mixed bed that does a bit of everything, the quality of your setup will shape everything that comes next.
If you rush the prep, your plants will spend the season fighting weeds, compacted soil, soggy roots, or bone-dry dirt that turns into a brick when watered. If you prepare the bed well, plants root faster, grow stronger, and make you look suspiciously competent. This guide walks through 12 practical steps to prepare a new garden bed, with real-world tips, simple examples, and a few reminders that gardening is part science, part sweat, and part learning not to buy twelve tomato plants for a four-foot bed.
Why Proper Garden Bed Preparation Matters
A new garden bed is more than a patch of turned soil. It is a growing system. Light, drainage, soil texture, organic matter, bed size, and weed pressure all work together. When those basics are handled first, plants can spend their energy on growth instead of survival.
Good garden bed preparation helps you:
- Improve root growth and drainage
- Reduce weeds before planting begins
- Use compost and soil amendments more effectively
- Prevent soil compaction from foot traffic
- Make watering easier and more efficient
- Create a bed that is easier to maintain all season
How to Prepare a New Garden Bed: 12 Steps
Step 1: Decide What You Want to Grow
Before you dig anything, decide what the bed is for. A vegetable bed, cutting garden, pollinator border, herb patch, or mixed ornamental bed all have different needs. Tomatoes and peppers want lots of sun and warm soil. Lettuce and spinach are more forgiving. Shrubs and perennials care more about long-term spacing and structure than quick seasonal yields.
This matters because plant choice affects everything else: location, bed size, soil pH, spacing, irrigation, and how much compost or fertilizer you may need. A “future vegetable garden” is a different project from a “front-yard flower bed with lavender and salvia.” The shovel appreciates knowing the difference.
Step 2: Pick the Best Location
Most new gardeners want to plant where the empty space already exists. Plants, unfortunately, have standards. Choose a spot based on sun, drainage, and convenience. If you are growing vegetables, aim for a site with at least 6 hours of direct sun, with 8 to 10 hours being even better for the widest range of crops.
Also think about access. If the bed is half a mile from your hose, hidden behind a shed, and wedged under a thirsty maple tree, it will become the most inspiring neglected project in the yard. Pick a place close enough that watering, weeding, and harvesting are easy. The best garden bed is often the one you will actually visit.
Step 3: Check Drainage Before You Commit
Even the sunniest site can fail if water just sits there like it paid rent. After a rain, notice whether the area puddles or stays soggy. Poor drainage can lead to root rot, slow growth, and soil that stays cold too long in spring.
A simple test helps: dig a hole about 12 inches deep, fill it with water, and see how quickly it drains. If it drains slowly and stays wet for hours and hours, that is a warning sign. In that case, consider building the bed slightly raised, improving the soil with organic matter, or moving to a better-drained spot. A bed in the wrong place is a lesson in frustration disguised as landscaping.
Step 4: Test Your Soil First
Soil testing is not glamorous, but neither is guessing. A basic soil test tells you about pH and nutrient levels and gives you a better idea of what amendments are actually needed. Without that information, adding fertilizer is a bit like seasoning soup before tasting it. You might help. You might ruin dinner.
For a new bed, collect several small samples from across the area and combine them into one representative sample. If the garden is on a site with unknown history, especially in urban areas or near older buildings, a more complete soil test may also be wise. That extra step can save time, money, and future disappointment.
Step 5: Mark the Shape and Size of the Bed
Now outline the bed with a hose, rope, stakes, or marking paint. This is where practical design beats enthusiasm. If it is an in-ground or raised bed you can access from both sides, keep it narrow enough that you can reach the center without stepping into it. In many home gardens, 3 to 4 feet wide works well. A common beginner size is 4 by 8 feet, which gives you useful growing space without becoming a tiny farm operation by accident.
If the bed will only be accessible from one side, make it narrower. Also leave room for pathways. Plants do not mind cozy spacing nearly as much as gardeners mind muddy shoes and awkward body geometry.
Step 6: Remove Grass, Weeds, and Existing Vegetation
This step separates the dreamers from the people who will not spend July pulling crabgrass by hand while muttering at the sky. If the area is lawn or full of weeds, remove or smother that growth before planting. You can dig out sod, cut it with a flat spade, or use a smothering method such as cardboard topped with compost and mulch.
For perennial weeds, be especially stubborn. If you leave aggressive roots behind, your new bed may become a weed rehabilitation center. Some gardeners use sheet mulching or tarping in advance to weaken existing vegetation. That method takes patience, but it can reduce future battles and build soil over time.
Step 7: Loosen the Soil Without Destroying It
Once the area is clear, loosen the soil. You do not need to pulverize it into powder like a baking show challenge. The goal is to break compaction, improve root penetration, and create a good environment for air and water movement.
For most new beds, loosen the top 6 to 8 inches with a garden fork, shovel, or broadfork. If your soil is severely compacted, especially on new construction sites, go slowly and work in stages. Avoid digging or tilling when the soil is soaking wet, because that can damage structure and create clods that harden later. Think crumbly, not concrete.
Step 8: Add Compost and the Right Soil Amendments
This is the part where your bed starts to become a garden instead of a cleared patch of earth. Compost improves soil texture, supports soil life, and helps sandy soil hold moisture while making clay soil easier to work. For many new beds, mixing in 1 to 3 inches of compost into the top 6 to 8 inches of soil is a smart starting point. If you are building a deeper raised bed, a blend of good topsoil and compost often works better than filling it with compost alone.
Use soil test results to decide whether lime, sulfur, or fertilizer is needed. Do not dump random amendments into the bed just because a bag promised “explosive blooms.” Plants prefer strategy over drama. If you are preparing a bed for vegetables, flowers, or herbs, balanced organic matter is usually a better first move than heavy fertilizing.
Example: If you have heavy clay soil, mix in compost to improve texture and drainage. If you have very sandy soil, compost helps retain water and nutrients. Different problems, same reliable helper.
Step 9: Shape the Bed and Create Permanent Paths
After amending the soil, rake the bed smooth and shape it. You can keep it level, create a slightly raised mound, or build a defined raised bed with edging. The important thing is to establish where you will walk and where you will not. Permanent paths reduce soil compaction and make the bed easier to maintain.
If you want a formal look, edge the bed with stone, brick, untreated rot-resistant wood, or metal. If you want a simpler setup, just create clean lines and mulch the paths. A neat edge is not just pretty; it also makes mowing easier and helps the bed look intentional instead of “I was doing something with the shovel and then snacks happened.”
Step 10: Water the Bed Before Planting
Freshly prepared soil is often dry, fluffy, and not quite settled. Water the bed before you plant so moisture can move into the soil profile and help everything settle naturally. This also gives you one more chance to observe drainage. If water runs off, pools, or disappears unevenly, you can adjust before your plants are depending on you.
Pre-watering is especially useful if you have added compost or new soil to a raised bed. Dry organic matter can sometimes repel water at first, which is deeply rude but common. A slow soak is better than a dramatic blast from the hose.
Step 11: Plant, Then Mulch Properly
Once the bed is ready, plant seeds or transplants according to their spacing needs. Then mulch the surface to conserve moisture, reduce weed germination, and keep soil from crusting or splashing onto leaves. Organic mulch such as shredded leaves, straw, fine bark, or finished compost works well in many beds.
In general, a layer of about 2 to 3 inches is enough for many garden beds. Keep mulch slightly back from plant stems and crowns so you do not create a damp little disease motel. If you are direct-seeding, wait until seedlings are up before applying mulch over the surrounding soil.
Step 12: Maintain the Bed Like It Matters
The best garden bed prep in the world cannot save a bed that is abandoned immediately after planting. The first few weeks are critical. Watch for weed seedlings, water consistently, and avoid stepping into the bed. Light hoeing when weeds are tiny is much easier than a midseason excavation project.
As the season goes on, top up mulch if needed, note what areas dry out fastest, and pay attention to plant performance. A good bed gets better over time. Add compost regularly, protect the soil surface, and treat paths like paths. Garden beds reward consistency more than heroics.
Raised Bed or In-Ground Bed?
If your native soil is compacted, rocky, poorly drained, or disturbed by construction, a raised bed can be a smart solution. It warms more quickly in spring, drains well, and makes access easier. The tradeoff is that raised beds can dry out faster and may need more frequent watering.
In-ground beds are often less expensive and hold moisture longer, which can be helpful in hot weather. They also connect directly to native soil, which gives roots room to explore. For many home gardeners, the best choice comes down to the site you have, the soil you inherited, and how much hauling of compost-filled wheelbarrows you are emotionally prepared to do.
Common Mistakes When Preparing a New Garden Bed
- Choosing a shady location: The bed may look lovely, but sun-loving plants will disagree.
- Ignoring drainage: Soggy roots are not a personality trait. They are a problem.
- Skipping the soil test: Guessing leads to unnecessary or unbalanced amendments.
- Tilling when soil is wet: This can wreck soil structure and create long-term compaction issues.
- Making the bed too wide: If you have to step in it, you will compact it.
- Using too much compost only: Compost is valuable, but a bed made entirely of it can be unstable and dry out fast.
- Planting before weeds are controlled: Tiny future weeds become giant present regrets.
- Mulching incorrectly: Too little does not help much, and too much around stems invites trouble.
A Simple Example of New Garden Bed Preparation
Let’s say you want a small vegetable bed for tomatoes, basil, peppers, and lettuce. You choose a sunny 4-by-8-foot area near the hose. You test the soil, remove the sod, loosen the top 8 inches, and mix in about 2 inches of finished compost. Then you rake the surface smooth, define narrow mulch paths around it, water the bed thoroughly, and plant. After planting, you mulch around the transplants, leaving open soil where lettuce seeds are sown. That is not flashy. It is simply the kind of setup that works.
Preparation does not need to be complicated. It needs to be thoughtful.
Experience-Based Tips Gardeners Learn the Hard Way
The first time many people prepare a new garden bed, they assume the hard part is digging. It is not. The hard part is correcting the little decisions that seemed harmless at the time. Ask almost any gardener what they would change about their first bed, and you will hear a familiar list.
One of the biggest lessons is that sunlight is never as generous as you think. A spot that looks bright at noon can spend the morning in tree shade and the late afternoon behind the garage. Then the tomatoes stretch, the peppers sulk, and you start giving pep talks to basil. Many gardeners learn to observe a site for a full day before planting anything permanent. It feels slow, but it is much faster than relocating a whole bed later.
Another common lesson is that weeds are not optional. New gardeners often believe they can just dig the grass under and move on. A month later, the bed is full of runners, volunteer grass, and mystery weeds that appear to have majored in speed. Experienced gardeners know that clearing and smothering existing vegetation is not wasted time. It is prepaid sanity.
Then there is the matter of bed size. Beginners love ambition. Ambition loves giant rectangles. But a bed that is too wide becomes a bed you step in, and a bed you step in becomes compacted. After one season of awkward reaching and muddy footprints, many gardeners become devoted fans of narrower beds and clear pathways. Convenience turns out to be one of the most underrated tools in the shed.
Soil amendments teach their own lessons. Some gardeners add nothing and wonder why the soil behaves like a parking lot. Others add way too much of everything because more sounds helpful. Compost is usually the great stabilizer, but even that works best in proportion. Seasoned gardeners tend to aim for steady improvement, not an overnight miracle. Soil gets better with repeated care, not one dramatic weekend of overcorrection.
Watering is another reality check. A newly prepared bed can dry out faster than expected, especially if it is raised or full of fresh organic matter. Many gardeners remember the moment they realized that “I’ll just water when I notice it looks dry” is not actually a system. Beds near a water source get more consistent attention for a reason. Lazy convenience is one of the most powerful forms of garden design.
And finally, gardeners learn that the best beds are observed, not just planted. You notice where water pools, which corner bakes in afternoon heat, where mulch blows away, and which plants grow like they got a motivational speaker. Every season turns the bed into a better version of itself, as long as you pay attention.
That is the encouraging part of preparing a new garden bed: you do not need perfection on day one. You need a solid start, a willingness to notice what the garden tells you, and enough humility to admit that maybe twelve zucchini plants was, in fact, a choice.
Conclusion
If you want healthier plants, fewer weeds, and a bed that is easier to manage all season, preparation is where the real win begins. Start with the right location, test and improve the soil, clear weeds properly, keep the bed reachable, and mulch once planting is underway. Those simple choices create better structure, better drainage, and better results.
In other words, preparing a new garden bed is not busywork. It is the foundation of everything that follows. Do it well once, and the garden gets easier. Skip the basics, and the weeds will be delighted to run the project for you.