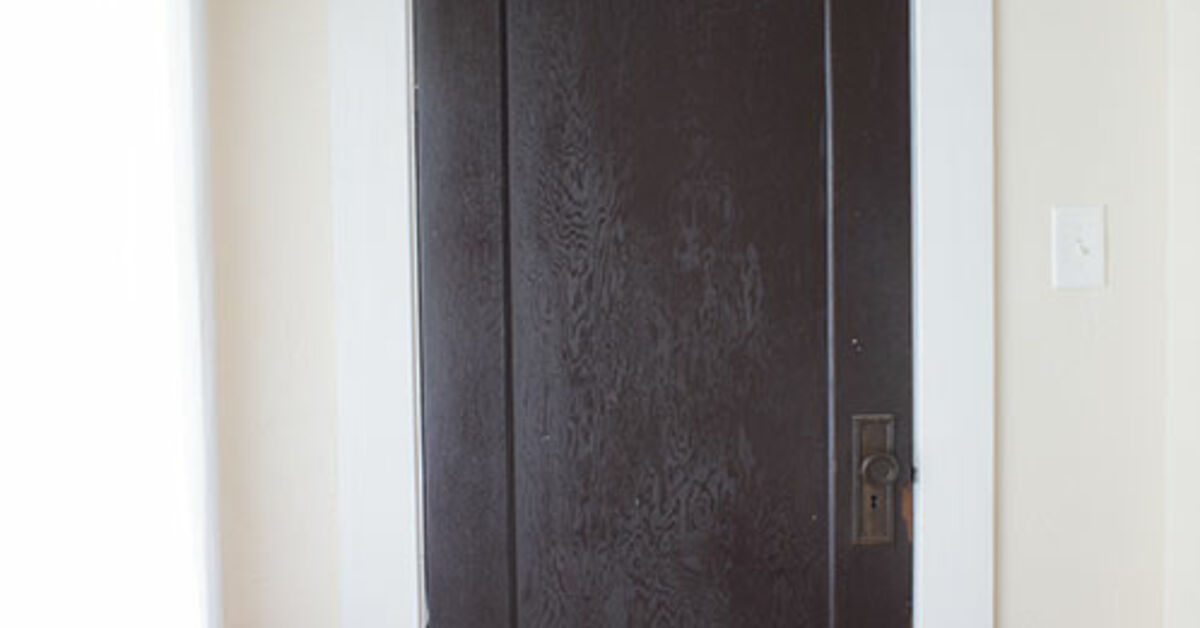
A real French door is lovely: glass panes, pretty grid lines, breezy charm, and the quiet ability to make any room feel like it belongs in a cottage with fresh croissants on the counter. The less lovely part? The price, installation hassle, and the moment you realize your perfectly normal door is still sitting there looking like a bored rectangle.
Good news: you can paint a DIY faux French door and get the look without replacing the entire door. This project uses paint, painter’s tape, measuring tools, and a little patience to create the illusion of glass panes, muntins, depth, and architectural detail. It works especially well on flat interior doors, closet doors, pantry doors, laundry room doors, basement doors, or even sliding doors that need a personality transplant.
The goal is not to trick a structural engineer. The goal is to make your door look brighter, more elegant, and more intentional. With the right layout and a few smart painting techniques, a plain door can become a charming faux French door that adds visual interest for the cost of a weekend project.
What Is a DIY Faux French Door?
A DIY faux French door is a standard door painted or trimmed to resemble a traditional French door. Instead of installing individual glass panes, you create the appearance of window grids using painted lines, faux shadows, highlights, or optional adhesive molding. The finished design can look like divided glass panels, a decorative interior door, or a painted mural-style door with architectural depth.
This is a great home improvement project if you rent, want a budget-friendly makeover, or simply do not want to remove a working door. It is also a smart solution for rooms where actual glass would be inconvenient, such as bathrooms, laundry spaces, or clutter-prone closets. Nobody needs a transparent view of the mop bucket kingdom.
Why Paint a Faux French Door Instead of Buying One?
Painting a faux French door is affordable, customizable, and beginner-friendly. A real French door may require exact sizing, new hardware, glass cleaning, installation tools, and sometimes professional help. A painted faux version lets you choose the color, pane size, grid style, and level of realism.
You can create a crisp modern black-grid door, a soft white cottage-style door, a muted sage green pantry door, or a dramatic charcoal faux French door for a home office. If you get tired of the design later, you can paint over it. Try doing that with a brand-new custom door without shedding one dramatic homeowner tear.
Best Doors for a Faux French Door Makeover
This technique works best on smooth, flat doors because the painted grid sits cleanly on the surface. However, you can also adapt the idea to paneled doors by using the existing panels as part of the design. Interior doors are the easiest option because they do not need to withstand rain, extreme sun, or outdoor temperature swings.
Good candidates include:
- Flat hollow-core doors
- Closet doors
- Pantry doors
- Laundry room doors
- Basement doors
- Office or craft room doors
- Sliding barn-style doors
For exterior doors, use exterior-rated primer and paint, and make sure the door material is suitable for painting. Interior latex enamel or door-and-trim paint is usually best for indoor projects because it dries to a harder, more washable finish than standard wall paint.
Tools and Materials You’ll Need
You do not need a professional shop to paint a DIY faux French door. You need accurate measuring, clean lines, and the emotional strength to not eyeball everything five minutes before dinner.
Basic supplies:
- Painter’s tape
- Measuring tape
- Pencil
- Level or straightedge
- Drop cloth
- Fine-grit sanding sponge
- Tack cloth or microfiber cloth
- Degreasing cleaner or mild soap solution
- Primer, if needed
- Door-and-trim paint or interior enamel paint
- Small angled brush
- Foam roller or smooth-surface mini roller
- Craft brush for detail work
- Clear ruler or yardstick
- Optional: adhesive molding or thin wood trim
- Optional: caulk for trim edges
Step 1: Choose Your Faux French Door Style
Before you touch the paint, decide what kind of faux French door you want. Traditional French doors usually have multiple rectangular glass panes divided by narrow muntins. For a painted version, you can create a full-door grid, a half-door grid, or a decorative top section that looks like a window.
Popular design options:
- Classic 10-pane look: Two columns and five rows for a traditional French door feel.
- Modern black grid: Thin dark lines over a light or smoky glass-effect background.
- Cottage white door: White frame and muntins with pale blue-gray faux glass.
- Arched faux French door: A painted arch at the top for extra charm.
- Half-lite illusion: Faux panes only on the upper half of the door.
If your room is small, lighter colors can help the door feel less heavy. If the space is modern, black or dark bronze grid lines can look sharp. For a farmhouse or cottage look, soft white, cream, sage, or muted blue works beautifully.
Step 2: Clean the Door Thoroughly
Paint sticks best to a clean surface. Doors collect fingerprints, dust, cooking oils, pet smudges, and mysterious marks that no one in the house will confess to making. Use a mild degreasing cleaner or warm water with a small amount of dish soap. Wipe the entire door, especially near the handle and edges.
After cleaning, wipe with plain water to remove residue and let the door dry completely. Do not paint over moisture or cleaner film. That is how you get peeling paint, and peeling paint is basically your door filing a complaint.
Step 3: Remove Hardware or Tape Around It
If possible, remove the doorknob, latch plate, and any hooks or hardware. This makes painting easier and gives the final project a cleaner finish. If you do not want to remove hardware, cover it carefully with painter’s tape.
You can paint the door while it stays on the hinges, especially for an interior project. Place a drop cloth underneath to protect the floor. If you remove the door, lay it flat on sawhorses. A flat position helps reduce drips, but it also means you need space and time for each side to dry.
Step 4: Sand for a Smooth Surface
Lightly sand the door with a fine-grit sanding sponge. The goal is not to sand through the finish; it is to dull glossy areas and create a surface that helps primer or paint grip better. Pay attention to chipped paint, bumps, and rough edges.
After sanding, remove every bit of dust with a vacuum, tack cloth, or clean microfiber cloth. Dust trapped under paint creates tiny bumps that become very noticeable once sunlight hits the door. It is unfair, but paint has a way of revealing every shortcut.
Step 5: Prime If Needed
Primer is important if the door is bare wood, stained, glossy, dark-colored, patched, or previously painted with oil-based paint. Primer also helps when you are switching from a deep color to a lighter faux French door design.
Use a primer suited to the door material. For most interior painted wood or composite doors, a quality bonding primer works well. Apply a thin, even coat and let it dry according to the manufacturer’s instructions. Lightly sand after priming if the surface feels rough, then wipe away dust again.
Step 6: Paint the Base Color
Your base color sets the mood. For a realistic faux French door, you may want the whole door to be painted in the “frame” color first, such as white, cream, black, or gray. Another option is to paint the door a soft glass-like color first, then tape and paint the grid over it.
Use a small angled brush for edges and a foam roller for broad flat areas. Apply thin coats instead of one thick coat. Thick paint is not faster; it just creates drips, ridges, and regret. Let the first coat dry, then apply a second coat for a smooth, durable finish.
Step 7: Measure and Mark the Faux Panes
This is the most important part of the project. A faux French door succeeds or fails by symmetry. Measure the width and height of the area where you want the window grid to appear. Decide how many rows and columns you want, then calculate equal spacing.
For example, if you want two vertical columns and five rows, mark a center vertical line and divide the height into five equal sections. Leave a border around the outside so the faux panes look framed. A 2- to 4-inch border often looks balanced on standard interior doors, but adjust based on your door size.
Simple layout tip:
Draw the design on paper first. Write down the measurements before marking the door. This prevents the classic DIY moment where one pane is elegant and the next one looks like it was measured during an earthquake.
Step 8: Tape the Grid Lines
Use painter’s tape to create crisp grid lines. Apply the tape slowly, pressing the edges down firmly. A level or straightedge helps keep vertical and horizontal lines straight. If your tape lines are crooked, the final painted muntins will be crooked too.
For the cleanest lines, run a finger or plastic putty knife along the tape edge to seal it. Some DIYers also brush a thin layer of the base color over the tape edge before applying the grid color. If any paint bleeds, it will be the base color, helping seal the line before the contrasting color goes on.
Step 9: Paint the Faux Muntins
The muntins are the narrow bars that divide the panes. In a faux French door, these can be painted directly onto the door. Use door-and-trim paint in a satin, semi-gloss, or gloss finish for durability. A small foam roller can work on wider strips, while an angled brush gives control near edges.
Apply thin coats. Let the first coat dry, then apply a second if needed. Remove painter’s tape according to the tape and paint instructions. In many cases, removing tape while the paint is still slightly tacky helps prevent tearing. If the paint has dried fully, score along the tape edge with a sharp utility knife before peeling.
Step 10: Add Faux Glass Effects
If you want the door to look more like it has glass panes, add subtle highlights and shadows. This step is optional, but it can make the faux French door feel more dimensional.
Easy faux glass techniques:
- Soft blue-gray panes: Paint the pane areas a pale blue-gray or warm gray before adding the grid.
- White highlight line: Add a thin white diagonal stroke in the upper corner of each pane.
- Shadow edge: Use a slightly darker shade along one side of each pane for depth.
- Dry brushing: Lightly drag a nearly dry brush across pane areas to create a soft reflected look.
Keep the effect subtle. Faux glass should whisper, not shout. If every pane has giant dramatic streaks, the door may start looking less like French doors and more like a stage backdrop for a soap opera.
Step 11: Consider Adding Adhesive Trim
If you want a more realistic raised-grid effect, use thin adhesive molding or lightweight wood trim over the painted lines. Adhesive trim can create the look of real muntins without cutting into the door. This works especially well for closet doors and decorative interior doors.
Measure carefully, cut trim pieces to size, and test the layout before attaching anything. If using wood trim, prime and paint it before installation, then touch up nail holes or seams afterward. If using adhesive trim, press firmly and follow product directions. For a polished finish, paint the trim the same color as the door frame or grid.
Step 12: Touch Up and Seal the Design
After the paint is dry, inspect the faux French door in natural and artificial light. Touch up any uneven lines with a small craft brush. If a line bled under the tape, do not panic. A tiny artist brush and the base paint can fix most mistakes.
For high-traffic doors, consider a clear water-based topcoat in a compatible finish. This can add durability, especially around handles or areas that get bumped often. Always test first, because some clear coats can slightly change the sheen or color.
Best Paint Colors for a Faux French Door
The best color depends on your room style. White is classic and bright, while black creates a modern steel-door effect. Soft gray is elegant, navy adds drama, and sage green feels fresh without being loud.
Color ideas:
- White with pale blue panes: Bright, airy, and cottage-inspired.
- Black grid with smoky gray panes: Modern and bold.
- Cream frame with warm gray panes: Soft and traditional.
- Sage green frame with ivory highlights: Calm and charming.
- Navy frame with subtle white highlights: Sophisticated and cozy.
Use satin or semi-gloss for the frame and grid because these finishes are easier to clean than flat paint. For faux glass areas, satin can work well because it reflects a little light without looking too shiny.
Common Mistakes to Avoid
The biggest mistake is rushing the measuring stage. Uneven panes will be visible immediately, even to people who claim they “never notice details.” They notice. They just wait until you are emotionally attached to the project.
Avoid these problems:
- Skipping cleaning before painting
- Painting over glossy surfaces without sanding
- Using wall paint instead of durable trim paint
- Making grid lines too thick for the door size
- Removing tape too late without scoring the edge
- Using too much faux shadow or highlight
- Not letting coats dry fully between steps
Patience is the secret ingredient. Let paint dry properly, use thin coats, and touch up slowly. This is not a race. The only prize for rushing is repainting.
How Long Does This Project Take?
A DIY faux French door can usually be completed in a weekend. Cleaning, sanding, priming, and base coats may take the first day. Measuring, taping, painting the grid, and adding details can happen on the second day. Drying time depends on the paint, humidity, temperature, and number of coats.
If you add adhesive trim or wood molding, allow extra time for measuring, cutting, painting, and touch-ups. The project is simple, but the detail work rewards a slow hand.
Budget-Friendly Tips
This project can be very affordable if you already have basic painting supplies. A quart of quality door-and-trim paint may be enough for one or two interior doors, depending on the color and coverage. Painter’s tape, sanding sponges, and a small brush are usually inexpensive compared with buying a new door.
Use leftover paint if it is still in good condition and appropriate for trim or doors. Avoid old paint that smells strange, has lumps, or has separated beyond saving. Your faux French door deserves better than mystery sludge from the garage shelf.
of Real-Life Experience: What Actually Helps When Painting a DIY Faux French Door
The biggest lesson with a faux French door is that the project looks easy because it is mostly straight lines, but straight lines are exactly where little mistakes become obvious. When painting one, the measuring stage matters more than the painting stage. It helps to tape paper templates on the door first or lightly sketch the grid with pencil before committing to painter’s tape. Seeing the proportions from across the room can save you from a design that technically measures correctly but visually feels awkward.
Another practical experience: do not make the “glass panes” too small. Tiny panes create lots of tape lines, more chances for bleeding, and a busier look. Larger rectangles often look cleaner and more expensive, especially on a flat hollow-core door. If the door is narrow, two columns are usually enough. If it is wide, such as a closet or sliding door, three or four columns may work better.
Paint choice also makes a noticeable difference. Regular flat wall paint can look chalky and may scuff quickly around the handle. A satin or semi-gloss enamel is easier to wipe clean and gives the faux muntins a more realistic trim-like finish. A small foam roller creates smoother coverage than a large wall roller, and an angled brush is useful for edges. Keep a damp cloth nearby for quick cleanup, but avoid wiping wet paint aggressively because it can smear into the tape line.
One trick that helps with clean edges is sealing the tape. After taping the grid, brush a very thin coat of the base color along the tape edges. Let it dry, then paint the grid color. This simple step reduces bleeding because any seepage matches the base coat. It feels like extra work, but it can save a lot of touch-up time later.
Lighting changes everything. A door that looks perfect at night may reveal uneven sheen or missed spots in morning light. Check the finish at different angles before putting away supplies. Keep a small amount of each paint color in labeled containers for future touch-ups. Doors get bumped by laundry baskets, shoes, backpacks, pets, and people who swear they “barely touched it.”
Finally, remember that faux painting is supposed to be charming, not laboratory-perfect. Small imperfections can give the door character, especially in cottage, vintage, or farmhouse spaces. The key is consistency. If the grid is balanced, the paint is smooth, and the colors fit the room, the finished door will look intentional and stylish. Best of all, every time someone asks where you bought the door, you get to casually say, “Oh, I painted that,” which is the DIY version of a mic drop.
Conclusion
Painting a DIY faux French door is one of the most rewarding ways to upgrade a plain door without replacing it. With careful measuring, proper prep, quality paint, and a little patience, you can create the look of divided glass panes, elegant trim, and custom architectural detail on a budget.
Start with a clean and sanded surface, choose a design that fits your room, tape carefully, and build the illusion with thin coats and subtle details. Whether you want a bright cottage door, a dramatic black-grid design, or a soft vintage-inspired finish, a faux French door can make an ordinary space feel more polished, personal, and inviting.
And the best part? No demolition, no custom glass order, and no explaining to your wallet why one door suddenly cost more than a weekend getaway.