If you want a cozy handmade project that does not require a PhD in quilting, a fleece quilt is your new best friend. Traditional quilts can involve batting, binding, tiny seams, and a relationship with your iron that borders on emotional dependence. A fleece quilt, on the other hand, is soft, forgiving, warm, washable, and beginner-friendly. It is the craft equivalent of a golden retriever: comforting, cheerful, and unlikely to judge your crooked first seam.
Learning how to make a fleece quilt is also a smart way to create personalized gifts, memory blankets, baby quilts, dorm throws, pet blankets, or movie-night covers. Fleece comes in endless prints, from buffalo plaid and florals to dinosaurs wearing sunglasses. It does not fray like woven cotton, which makes it easier to cut and finish. You can sew it, tie it, or combine patchwork squares into a quilt-style blanket that looks thoughtful without requiring months of work.
This guide walks you through a simple 11-step fleece quilt method using fleece squares and a backing layer. It is designed for beginners but includes enough practical detail to help more experienced crafters avoid common fleece drama, such as stretching, bunching, wavy edges, and that mysterious lint snowstorm that appears the second you pick up scissors.
What Is a Fleece Quilt?
A fleece quilt is a warm blanket made from fleece fabric, usually arranged in panels or squares like a quilt. Unlike a traditional quilt, it often does not need separate batting because fleece already has loft and warmth. Some fleece quilts are sewn with a backing. Others are made as no-sew tie quilts, where the edges of two fleece layers are cut into fringe and knotted together. For this tutorial, we will focus on a sewn fleece quilt with patchwork-style squares on the front and a single fleece backing piece.
This style gives you the charming look of a quilt while keeping the process approachable. It is ideal if you want a handmade blanket that looks polished but does not demand complicated quilting techniques. Basically, it is quilting with training wheelsand very fluffy training wheels at that.
Supplies You Will Need
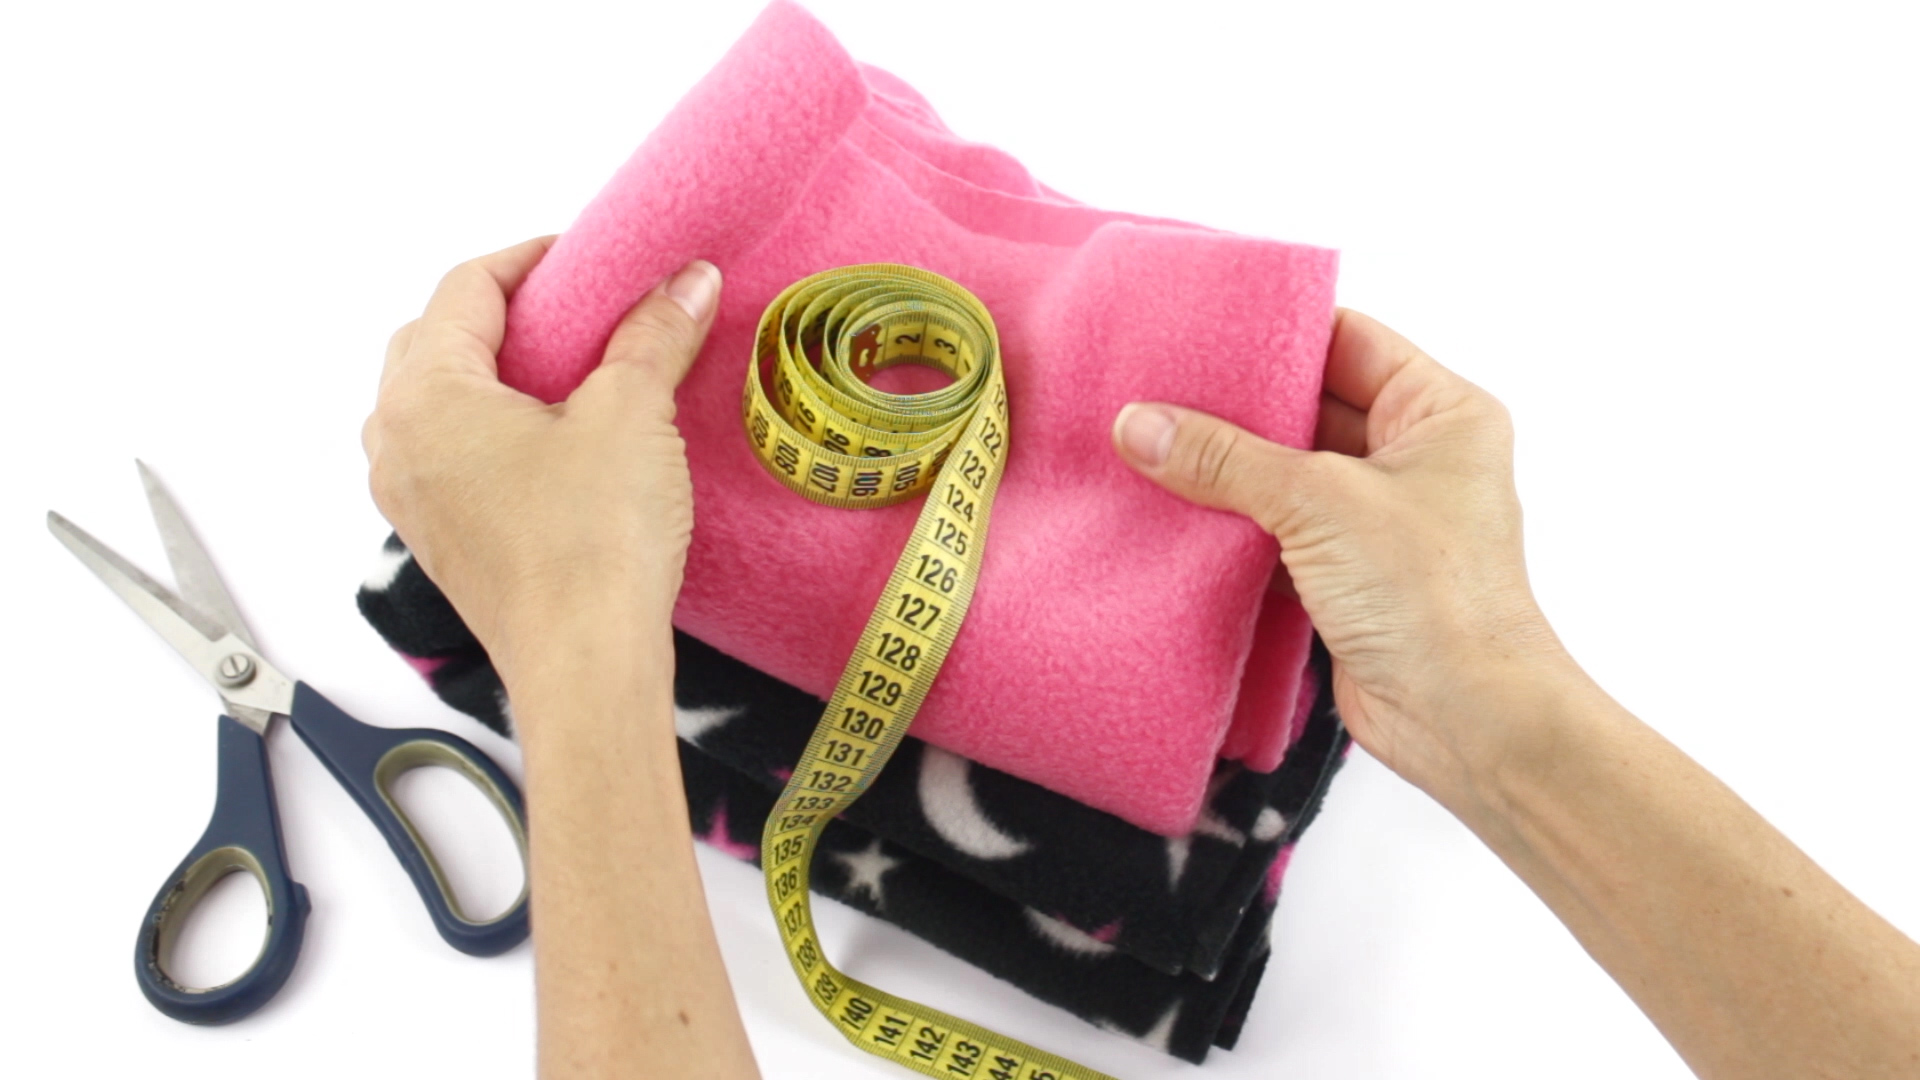
Before you start, gather everything in one place. Fleece has a talent for sliding off tables and pretending it has never met a straight line, so preparation helps.
- Fleece fabric for the quilt top, in two or more colors or prints
- Fleece fabric for the backing
- Fabric scissors or a rotary cutter
- Self-healing cutting mat
- Acrylic ruler or quilting ruler
- Sewing machine
- Polyester thread
- Ballpoint, stretch, or universal needle, size 90/14 if the fleece is thick
- Wonder clips or sewing pins
- Measuring tape
- Fabric marker or washable chalk
- Walking foot, optional but helpful
Best Fleece for a Quilt
Anti-pill fleece is a popular choice because it stays smoother after repeated washing. Blizzard fleece is budget-friendly and easy to find. Plush fleece, minky-style fleece, and sherpa fleece are extra cozy but can be slippery or bulky, so they are better for patient beginners or sewists who enjoy a little fabric rodeo.
For your first fleece quilt, choose medium-weight anti-pill fleece. Try to avoid mixing very stretchy fleece with firm fleece in the same quilt top. Different stretch levels can make your squares behave like they are attending separate meetings.
How Much Fleece Do You Need?
The amount depends on your finished quilt size. Here are practical starting points:
- Baby quilt: about 36 by 45 inches
- Child throw: about 45 by 60 inches
- Adult throw: about 55 by 70 inches
- Twin-size blanket: about 60 by 80 inches
For a beginner-friendly adult throw, plan for approximately 2 yards of fleece for the backing and 2 to 3 yards total for the front squares, depending on how many prints you want. If you are using 10-inch squares, a 5-by-7 layout creates a quilt top around 50 by 70 inches before seams. Once sewn, it will be slightly smaller.
How to Make a Fleece Quilt: 11 Steps
Step 1: Choose Your Quilt Size and Layout
Start by deciding the final size of your fleece quilt. A throw blanket is the easiest first project because it is large enough to be useful but not so large that it takes over your living room like a soft polyester sea monster.
Sketch a simple grid on paper. For example, you might make a 5-by-6 layout using 10-inch squares, or a 6-by-7 layout for a larger quilt. Decide whether you want a checkerboard pattern, random patchwork, stripes, or themed sections. If you are making a memory fleece quilt from old fleece jackets or blankets, group similar weights together for smoother sewing.
Step 2: Wash and Dry the Fleece
Fleece usually does not shrink dramatically like cotton, but washing it before sewing removes factory finishes, lint, dust, and mystery fuzz from the fabric store. Wash fleece in cool or warm water and dry it on low heat. Avoid fabric softener if possible, because it can coat the fibers and reduce softness over time.
After drying, shake the fabric outside or over a laundry basket. Fleece lint can be enthusiastic. It may look like your craft room adopted a tiny sheep and then immediately lost control of it.
Step 3: Square Up the Fabric
Lay your fleece on a large flat surface. A dining table works well, but the floor is fine if you are willing to negotiate with pets, toddlers, or your own knees. Trim uneven edges and remove selvage edges if they feel tight, curled, or different from the rest of the fabric.
Use a ruler and rotary cutter for the cleanest cuts. If you are using scissors, cut slowly and keep the fabric flat. Do not stretch the fleece as you cut. Stretching creates uneven pieces, and uneven pieces create wavy seams, and wavy seams create the kind of silence where you stare at your sewing machine like it betrayed you.
Step 4: Cut the Fleece Squares
Cut your quilt top pieces into equal squares. Common sizes include 8-inch, 10-inch, or 12-inch squares. Larger squares are faster and easier for beginners. Smaller squares create more patchwork detail but require more seams.
If you want a 50-by-60-inch throw, cut 30 squares measuring 10 inches each and arrange them in 5 rows of 6 squares. With a 1/2-inch seam allowance, each square will finish around 9 inches, creating a finished top close to 45 by 54 inches before adding any border. For a larger throw, add more rows or use larger squares.
Step 5: Arrange the Design
Place your fleece squares on the floor or a large table in your chosen layout. Step back and look at the pattern. Move colors around until the design feels balanced. Try not to place all the dark prints in one corner unless your goal is “mysterious blanket cave.”
Take a photo of the layout with your phone. This simple step saves you from accidentally sewing a carefully planned dinosaur square upside down next to a floral print and calling it “creative tension.” Stack the squares by row and label each row with a sticky note or scrap of paper.
Step 6: Sew the Squares into Rows
Set your sewing machine to a medium-long straight stitch, around 3.0 to 3.5 millimeters. Fleece is thick and slightly stretchy, so a longer stitch usually looks better and prevents the seam from becoming tight or puckered.
Place two squares right sides together and sew along one edge using a 1/2-inch seam allowance. Continue adding squares until the first row is complete. Repeat for each row. Use clips instead of pins if the fleece is thick. Clips hold the layers without distorting the fabric, and they are easier to find when they fall into your lap.
Step 7: Join the Rows
Once all rows are sewn, join them together. Place Row 1 and Row 2 right sides together, matching the seams as closely as possible. Because fleece is forgiving, your seams do not need to be museum-perfect. Still, matching them gives the quilt a cleaner patchwork look.
Sew the rows with a 1/2-inch seam allowance. Continue until the quilt top is complete. If your seams feel bulky, gently finger-press them open or to one side. Do not use high heat on fleece. Polyester fleece can melt or flatten under a hot iron, and nobody wants a quilt with shiny pancake seams.
Step 8: Cut the Backing
Spread the backing fleece right side down on a flat surface. Place your quilt top right side up on top of it. Smooth both layers carefully. Trim the backing so it is the same size as the quilt top, or leave it slightly larger if you want extra room for adjustment.
If you want an easy border effect, cut the backing 2 to 4 inches larger than the quilt top on all sides. Later, you can fold the backing around the front and stitch it down like a self-binding edge. This is one of the easiest ways to finish a fleece quilt neatly without adding separate binding.
Step 9: Secure the Layers
Fleece layers can shift while sewing, so secure them well. Use clips around the edges and add a few safety pins through the center if needed. You can also use temporary fabric spray, but test it first on scraps to make sure it does not leave spots or stiffness.
If your sewing machine has a walking foot, this is a good time to use it. A walking foot helps feed both layers evenly, which reduces stretching and rippling. If you do not have one, sew slowly and support the weight of the blanket so it does not pull against the needle.
Step 10: Sew the Quilt Layers Together
There are two simple ways to sew the layers. The first method is edge stitching. Place the quilt top and backing right sides together, sew around the edges, leave an opening for turning, turn the quilt right side out, and topstitch around the entire blanket. This creates a clean pillowcase-style finish.
The second method is self-binding. Leave the backing larger than the top, fold it over the raw edges of the quilt top, and stitch it down. This method is beginner-friendly and looks tidy. For extra security, sew a few straight lines along the seams of the quilt top. This keeps the front and back from separating during use and washing.
You do not need dense quilting on a fleece quilt. In fact, too much stitching can flatten the fleece and make it less cuddly. A few vertical or horizontal lines are usually enough.
Step 11: Trim, Finish, and Wash
Trim loose threads and even up any edges that need attention. If you used the pillowcase method, close the turning opening with topstitching or a hand-sewn ladder stitch. If you used self-binding, check the corners to make sure they are secure.
Wash the finished fleece quilt on a gentle cycle and tumble dry on low. This removes lint and helps the quilt settle into its final shape. Pull it out of the dryer, admire your work, and prepare for someone in your home to immediately claim it. This may be a child, a spouse, a roommate, or a pet with excellent taste.
Optional No-Sew Fleece Quilt Method
If sewing is not your thing, you can still make a fleece quilt using tied squares. Cut fleece squares of equal size, then cut fringe around each square and tie neighboring squares together. This creates a textured, knotted quilt that is especially fun for kids, classrooms, charity projects, and group crafting events.
The tied method is bulkier than the sewn method, but it has a cozy handmade charm. It also requires no sewing machine, which is convenient if your machine is hiding in a closet under three abandoned hobbies and a bag of holiday ribbon.
Helpful Tips for Sewing Fleece
Use the Right Needle and Thread
Polyester thread works well with fleece because it has strength and flexibility. A 90/14 needle is a good choice for thicker fleece. If your stitches skip, try a stretch or ballpoint needle.
Do Not Pull the Fabric
Let the sewing machine feed the fleece. Pulling stretches the fabric and creates wavy seams. Guide it gently, as if you are helping a nervous parade float down Main Street.
Keep the Stitch Length Longer
A slightly longer stitch prevents tight seams and helps the fabric lie flatter. Short stitches can sink into thick fleece and make seams stiff.
Test on Scraps First
Before sewing the actual quilt, test your stitch length, needle, and tension on leftover fleece. This small step can save you from ripping out seams later, which is nobody’s favorite hobby.
Common Mistakes to Avoid
The biggest mistake beginners make is cutting fleece while it is stretched. Always smooth it flat without tugging. Another common mistake is mixing fleece weights that behave differently. If one fabric is thick and stretchy while another is thin and firm, the quilt top may twist or ripple.
Do not over-quilt fleece. Unlike cotton quilts, fleece does not need heavy stitching to stay warm and usable. Too many stitch lines can make the blanket stiff. Finally, avoid high heat. Fleece is usually made from polyester, and polyester does not appreciate being roasted by an iron.
Fleece Quilt Ideas and Variations
Once you understand the basic method, you can customize your fleece quilt in many ways. Make a sports-themed quilt with team colors. Create a baby quilt using soft pastel squares and a plush backing. Use holiday fleece for a Christmas movie blanket. Turn old fleece pajamas, pullovers, or baby blankets into a memory quilt. You can even make matching pet blankets from leftover scraps, because pets deserve handmade luxury too.
For a modern look, use solid fleece squares in a simple color palette, such as cream, gray, navy, and sage. For kids, mix bright prints with solid blocks so the quilt feels playful without becoming visually chaotic. For gifts, choose colors that match the recipient’s room, favorite hobby, or personality. A handmade fleece quilt says, “I care about you,” and also, “I was brave enough to cut fabric in a straight line.”
How to Care for a Fleece Quilt
Wash your fleece quilt in cool or warm water on a gentle cycle. Use mild detergent and avoid bleach. Tumble dry on low heat. Do not iron directly on fleece. If the quilt develops lint or pills over time, use a fabric shaver carefully on the surface.
Store fleece quilts folded in a dry place. Avoid compressing them under heavy items for long periods, because plush fleece can flatten. If the quilt is a gift, include a small care tag with washing instructions. It is a practical touch that makes your handmade project feel extra polished.
Experience Notes: What Making a Fleece Quilt Teaches You
Making a fleece quilt sounds simple, and in many ways it is. But the first time you spread several yards of fleece across the floor, you quickly learn that fabric has opinions. It shifts, curls, clings to socks, collects lint, and somehow attracts every pet in the house. If you have a cat, congratulations: you now have a quality control manager. If you have a dog, you have a warmth tester. Neither employee will respect your layout.
One of the best experiences with a fleece quilt is discovering how forgiving it is. Cotton quilting can feel precise and sometimes intimidating, especially when points need to match perfectly. Fleece gives you room to breathe. If one square is slightly off, the softness hides it. If a seam is not completely straight, the quilt still works. This makes fleece quilting a wonderful project for beginners, teens learning to sew, families crafting together, or anyone who wants a satisfying weekend project without turning the house into a textile engineering lab.
Another lesson is that tools matter. Sharp scissors or a rotary cutter make the process smoother. Dull scissors chew fleece instead of cutting it, leaving edges that look like they were trimmed by a raccoon with commitment issues. A large ruler helps keep squares consistent, and clips are often easier than pins. When you use the right tools, the project feels calmer, faster, and more enjoyable.
The sewing stage teaches patience. Fleece is stretchy, and if you rush, the seams may wave. Slowing down helps. Supporting the blanket beside the machine helps too, especially as the quilt grows heavier. Many beginners blame themselves when the fabric shifts, but shifting is normal. The trick is not perfection; it is control. Smooth, clip, sew slowly, and keep going.
One surprisingly joyful part of making a fleece quilt is choosing the fabrics. A simple blanket becomes personal when the prints mean something. A camping-themed fleece quilt for someone who loves the outdoors, a galaxy quilt for a space-obsessed child, or a soft neutral throw for a minimalist bedroom can feel more meaningful than a store-bought blanket. Handmade items carry the maker’s attention. Even when the seams are imperfect, the care is obvious.
Fleece quilts are also excellent for practical giving. They are warm, durable, and easy to wash, which makes them useful for kids, college students, grandparents, shelters, care packages, and holiday gifts. Unlike delicate heirloom quilts, fleece quilts are meant to be used. They can live on couches, travel in cars, cover chilly feet, comfort sick days, and survive popcorn during movie night. That everyday usefulness is part of their charm.
After finishing your first fleece quilt, you may notice something dangerous: confidence. You start thinking about matching pillow covers. Then baby blankets. Then pet beds. Then a full stack of holiday throws. This is how fabric stashes are born. Nobody plans to own twelve kinds of fleece, yet somehow a penguin print goes on sale and suddenly you are “just being responsible.”
The most important experience is this: a fleece quilt does not need to be perfect to be loved. It needs to be soft, warm, sturdy, and made with care. Whether your first quilt has exact corners or a few charming wobbles, it will still do its job beautifully. It will keep someone warm, brighten a room, and remind you that making something by hand is always worth the small mess, the loose threads, and the lint on your shirt.
Conclusion
Learning how to make a fleece quilt is one of the easiest ways to step into handmade blanket making. With basic supplies, simple cutting, and beginner-friendly sewing, you can create a cozy quilt that looks thoughtful and feels wonderful. Fleece is forgiving, warm, washable, and available in endless colors and prints, making it perfect for gifts, home decor, baby blankets, memory quilts, and weekend craft projects.
The key is to choose good fleece, cut carefully, avoid stretching the fabric, sew slowly, and finish the edges neatly. Once you make one fleece quilt, you will probably want to make another. This is normal. Do not be alarmed. Just clear a little more space in the closet and welcome your new cozy hobby.