Note: This article is written for web publishing in standard American English and is based on established home-gardening guidance for forcing spring-flowering bulbs indoors.
Forcing tulip bulbs in water is one of those gardening tricks that feels a little like magic and a little like politely bossing nature around. You take a sleeping bulb, give it a pretend winter, set it above clean water, andif everything goes wellit wakes up, grows roots like spaghetti, and sends up a bright tulip bloom while the outdoor garden is still hitting the snooze button.
The good news: you do not need a greenhouse, a backyard, or a degree in plant science to do it. The not-so-good news: tulips are not quite as carefree as paperwhites or hyacinths. They need a proper cold period, clean water, and a setup that keeps the bulb from sitting directly in water. A tulip bulb is a storage organ, not a submarine. If it stays wet, rot can show up faster than a cat on fresh laundry.
This guide walks you through how to force tulip bulbs in water using 11 clear steps, plus practical troubleshooting, timing tips, and real-world experience from the “why is this one leaning like it pays rent?” side of indoor bulb growing.
What Does It Mean to Force Tulip Bulbs?
To “force” tulip bulbs means to encourage them to bloom earlier than they naturally would outdoors. In the garden, tulips experience cold winter temperatures before growing and flowering in spring. Indoors, you recreate that winter by chilling the bulbs, then move them into warmer light so they think spring has arrived.
When forcing tulips in water, the bulb is placed above water rather than planted in soil. Roots grow downward into the water, while the bulb itself stays dry. This method is decorative, clean, and fascinating because you can watch the roots develop through a clear vase or glass container.
Can Tulips Really Grow in Water?
Yes, tulips can be forced in water, but they need more preparation than some other bulbs. Tulips require a chilling period before they will bloom reliably. If you buy pre-chilled tulip bulbs, you can skip most of the waiting. If you buy regular fall tulip bulbs, you will need to chill them yourself for about 12 to 16 weeks before setting them up in water.
The most important rule is simple: only the roots should touch the water, not the bulb. The base of the bulb should sit slightly above the waterline. This encourages roots to grow toward moisture while reducing the risk of mold and rot.
Best Tulip Bulbs for Forcing in Water
Not every tulip variety behaves beautifully indoors. For the best results, choose large, firm, healthy bulbs from early-blooming or shorter tulip varieties. Large bulbs usually contain more stored energy, which helps them produce stronger stems and better flowers indoors.
Good choices include:
- Single Early tulips
- Double Early tulips
- Triumph tulips
- Species tulips
- Short-stemmed varieties for containers
Avoid bulbs that feel soft, smell unpleasant, have large moldy patches, or look shriveled. A tulip bulb should feel heavy for its size, almost like it is quietly confident about its future.
Supplies You Need
Before you begin, gather your materials. This project is simple, but having the right setup makes a big difference.
- Healthy tulip bulbs, preferably large and firm
- A glass vase, forcing vase, jar, or shallow bowl
- Clean pebbles, marbles, glass stones, or gravel
- Clean water
- A refrigerator or cool dark space for chilling
- Paper bag or breathable container for storing bulbs during chilling
- Optional: gloves, plant labels, and a small pair of scissors
A traditional bulb forcing vase has a narrow neck that supports the bulb above the water. If you do not have one, a clear bowl filled with pebbles works well. The pebbles anchor the roots and help keep the bulbs upright.
How to Force Tulip Bulbs in Water: 11 Steps
Step 1: Choose High-Quality Tulip Bulbs
Start with healthy bulbs. Look for tulip bulbs that are firm, plump, and free from deep cuts or mushy areas. Bigger bulbs often perform better because they have more stored food inside. Think of the bulb as a tiny lunchbox packed for the plant’s entire indoor adventure.
If you are buying bulbs specifically for indoor forcing, look for labels such as “good for forcing,” “pre-chilled,” or “indoor forcing bulbs.” Pre-chilled bulbs save time and are especially helpful if you want blooms sooner.
Step 2: Chill the Bulbs Properly
Tulips need a cold period before they bloom. Place regular tulip bulbs in a paper bag and chill them in a refrigerator or another dark, cool place for about 12 to 16 weeks. The ideal temperature is generally cold but not freezing, similar to winter soil conditions.
Keep tulip bulbs away from ripening fruit, especially apples. Fruit releases ethylene gas, which can interfere with flower development. That means your tulips and your snack drawer should not become roommates.
Step 3: Pick the Right Container
Choose a vase or bowl that can hold the bulb securely above the water. A clear glass container is ideal because it lets you monitor water level and root growth. For one bulb, a forcing vase or narrow-neck jar works well. For several bulbs, use a shallow bowl or wide vase with pebbles.
Make sure the container is clean before you begin. Wash it with warm, soapy water and rinse thoroughly. Clean containers help reduce bacteria, cloudy water, and unpleasant smells.
Step 4: Add Pebbles, Marbles, or Gravel
If you are using a bowl or wide vase, add 2 to 4 inches of clean pebbles, marbles, or glass stones. These materials support the bulbs and give the roots something to grow around. They also make the arrangement look polished, which is nice because the early stage of forcing can look a bit like “onions waiting for instructions.”
Rinse pebbles or stones before using them. Dust and debris can cloud the water and encourage bacterial growth.
Step 5: Position the Bulbs Pointed Side Up
Set each tulip bulb on top of the pebbles with the pointed end facing upward and the flatter root end facing downward. Gently nestle the bulb into the stones so it stays upright, but do not bury it completely.
If you are arranging several bulbs, place them close enough for a full display but not so tight that air cannot circulate. Crowded bulbs can trap moisture, and trapped moisture is where rot likes to host a tiny, terrible party.
Step 6: Add Water Just Below the Bulb
Pour clean water into the container until it reaches just below the base of the bulbs. The water should be close enough for roots to sense it, but the bulb should not sit directly in water.
This is the step that makes or breaks the project. If the bulb is submerged, it may rot. If the water is too low, roots may dry out before they establish. Aim for a tiny gap between the water surface and the bulb’s base. Once roots begin growing, they will reach down into the water on their own.
Step 7: Keep the Bulbs Cool and Dark at First
After setting up the bulbs in water, place the container in a cool, dark location for root development. A basement, garage, cool closet, or refrigerator can work if temperatures remain cold but above freezing.
During this stage, the bulbs focus on growing roots. You may not see much happening above the bulb, but below the surface, the plant is getting organized. Check the water level every few days and refill as needed so the roots can reach moisture.
Step 8: Move Them to Indirect Light When Shoots Appear
When roots are visible and shoots are about 1 to 2 inches tall, move the container to a cool room with bright, indirect light. Avoid placing newly awakened bulbs in hot direct sun right away. A sudden warm blast can cause weak, stretched stems.
A north- or east-facing windowsill often works well. The goal is bright light with moderate temperatures. Tulips forced indoors usually last longer when kept cool.
Step 9: Rotate the Vase Regularly
Tulip stems grow toward light. If you leave the container facing one direction for too long, the stems may lean dramatically, as if they are trying to eavesdrop on the window. Rotate the vase every day or two to encourage straighter growth.
If stems still lean, do not panic. Tulips naturally bend and curve as they grow. That movement is part of their charm. A slight lean looks graceful; a full tulip collapse usually means the plant is too warm, too far from light, or top-heavy.
Step 10: Maintain Clean Water
Change the water whenever it looks cloudy or smells stale. For most setups, refreshing the water every few days is a good habit. Carefully pour out old water and replace it with fresh water while keeping the bulbs in position.
Keep the water level consistent. Once roots grow, they should remain in contact with water, but the bulb itself should stay dry. If the bulb begins to soften or develop fuzzy mold, remove it to protect the others.
Step 11: Enjoy the Blooms and Know What Comes Next
Once buds form and color begins to show, you can move the tulips to a brighter display spot. Keep them away from heat vents, fireplaces, and strong afternoon sun. Cooler conditions help the flowers last longer.
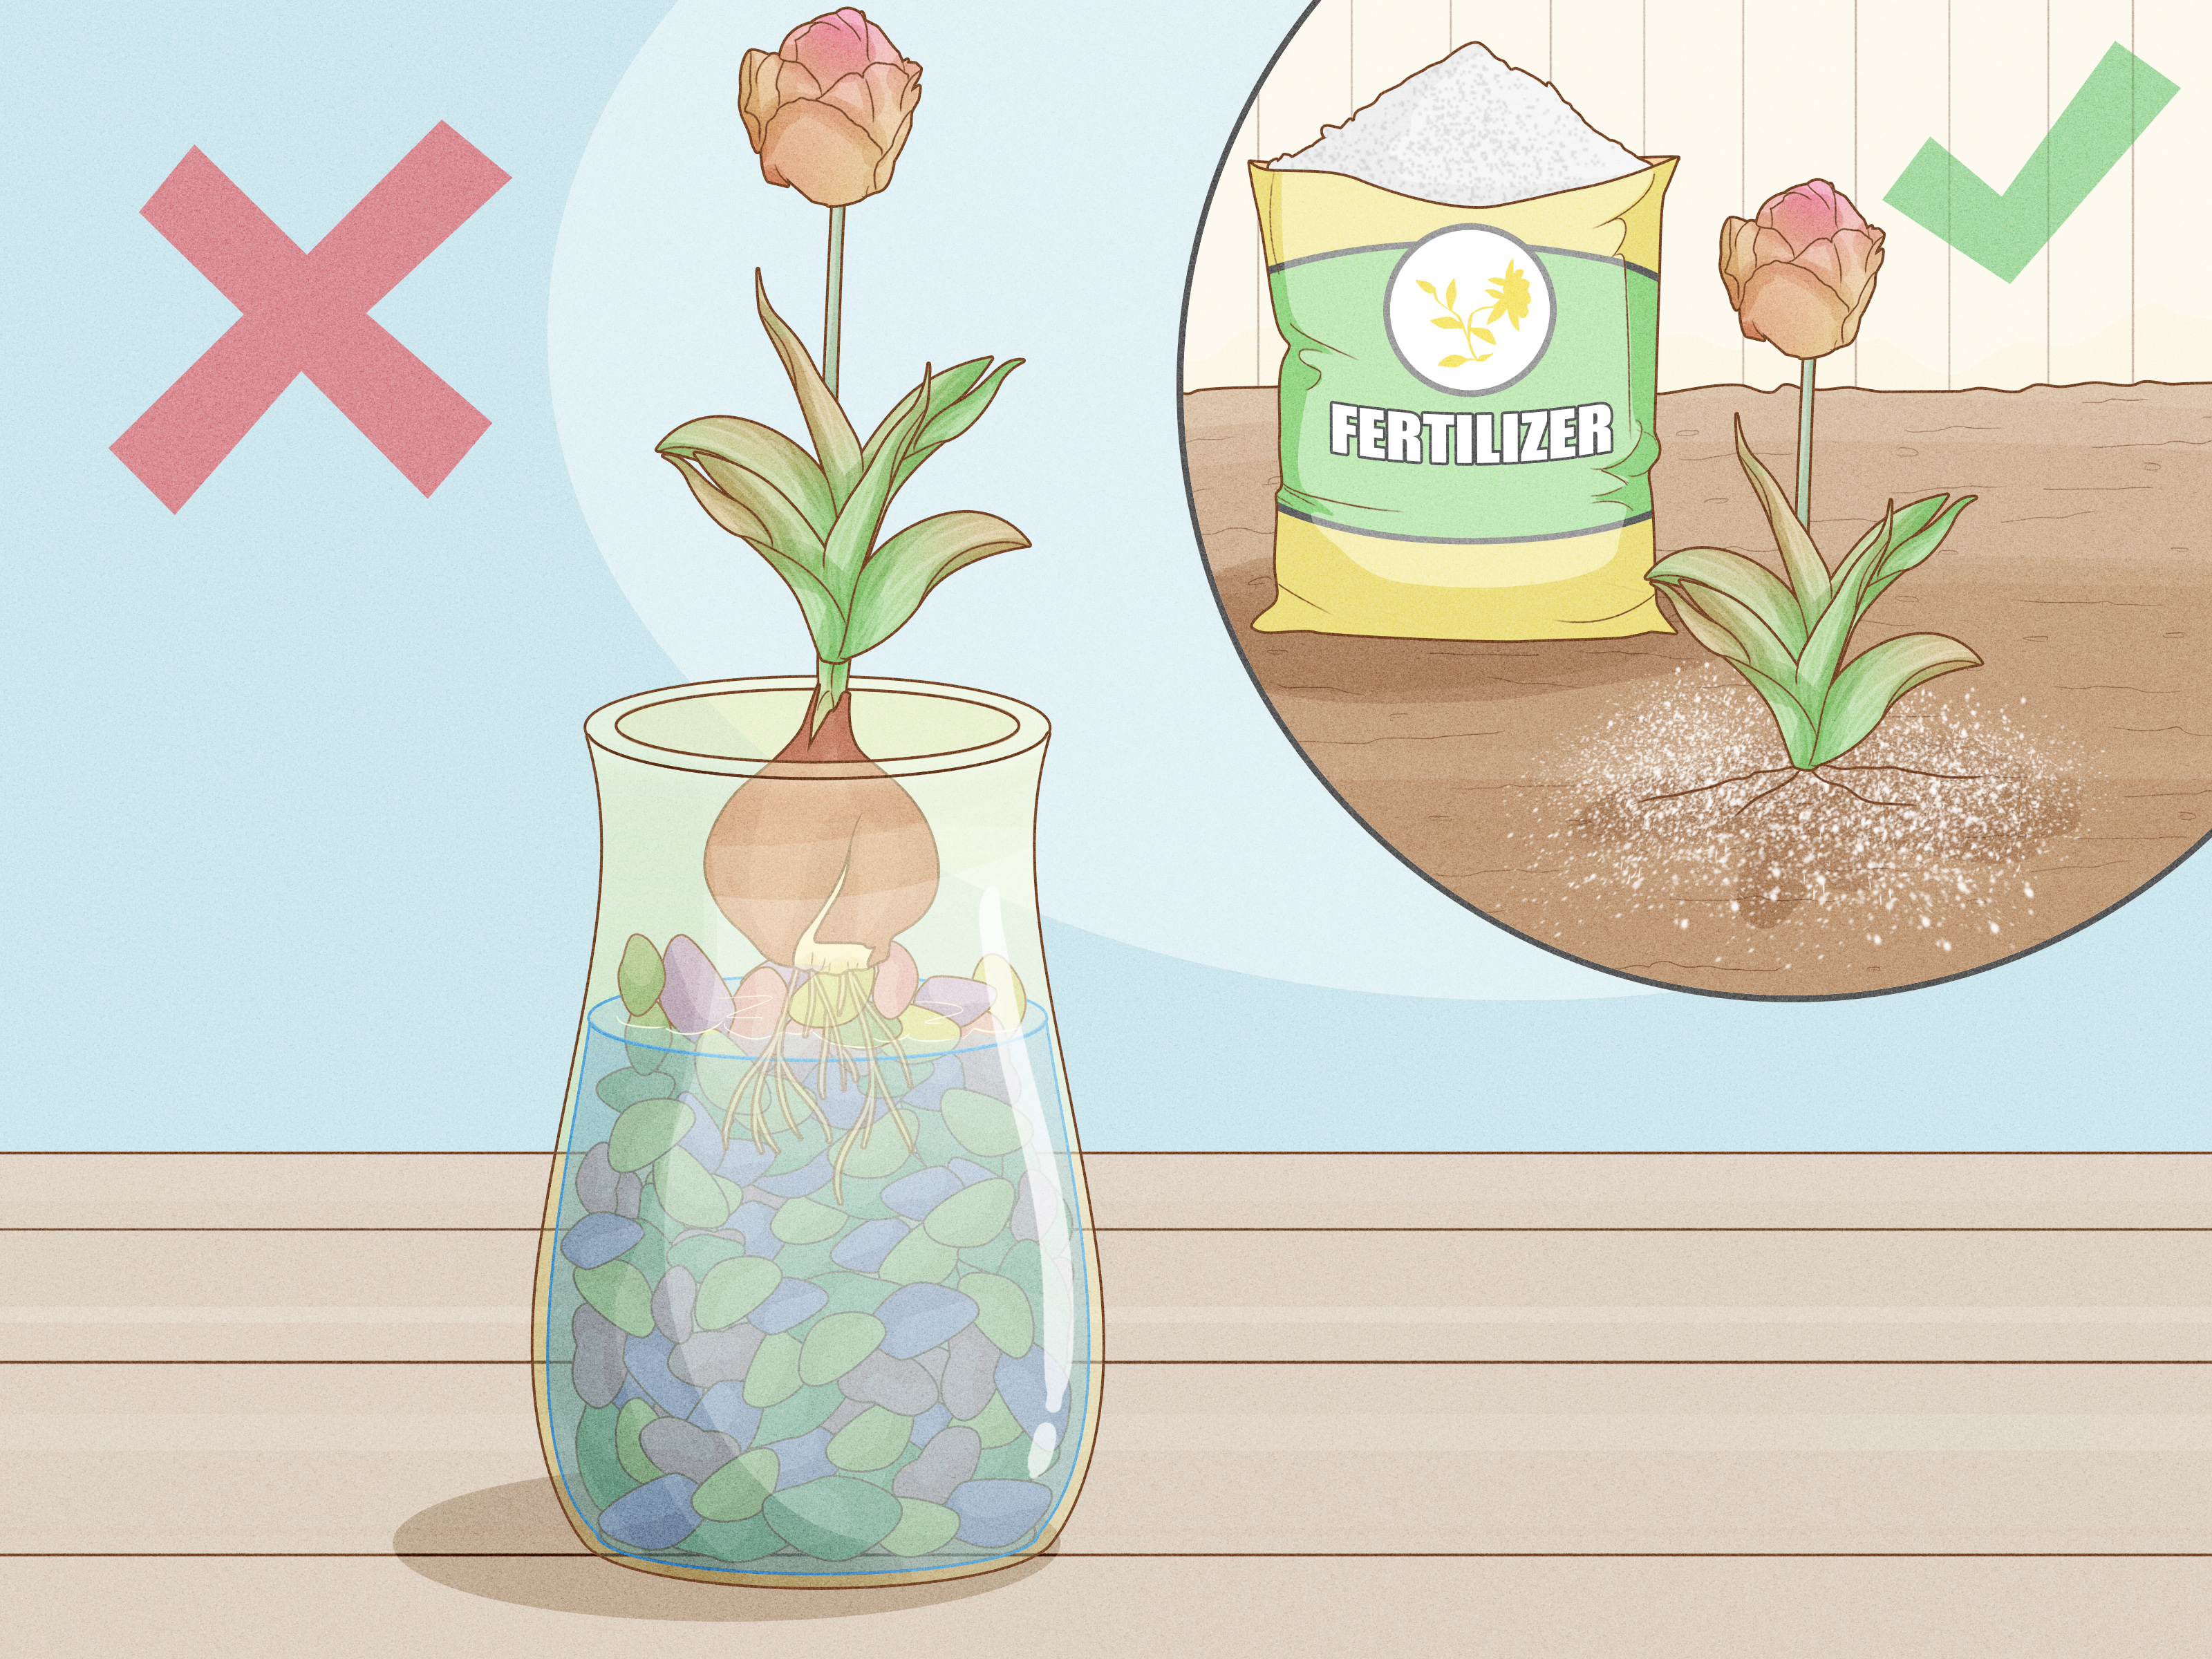
After blooming, forced tulip bulbs are often exhausted. Growing in water takes a lot of stored energy from the bulb, and it may not bloom well again. You can compost the bulbs after the flowers fade, or try planting them outdoors in fall if the foliage remains healthy long enough to recharge. Just know that reblooming is not guaranteed.
How Long Does It Take to Force Tulips in Water?
The full process depends on whether your bulbs are pre-chilled. Regular tulip bulbs need about 12 to 16 weeks of chilling, followed by several weeks of indoor growth. Once properly chilled and placed in water, tulips may bloom in about 3 to 5 weeks, depending on variety, temperature, and light.
If you want tulips blooming in January or February, begin chilling bulbs in early fall. For late winter or early spring indoor blooms, start the chilling process later in fall. Planning matters because tulips do not respond well to rushed winter. They are flowers, not microwave popcorn.
Common Problems When Forcing Tulips in Water
The Bulbs Are Rotting
Rot usually happens when bulbs sit directly in water or when containers are not clean. Keep the water just below the bulb and change it regularly. Remove any soft or smelly bulbs right away.
The Tulips Are Not Blooming
The most common cause is not enough chilling. Tulips need a real cold period before they bloom. Poor-quality bulbs, exposure to ethylene gas, or overly warm growing conditions can also cause failure.
The Stems Are Too Tall and Floppy
Weak stems often result from too much warmth and not enough light. Move the tulips to a cooler, brighter location. Rotate the container regularly and avoid placing it near heaters.
The Water Smells Bad
Cloudy or smelly water means bacteria are building up. Change the water, rinse the container if possible, and remove any decaying plant material. Clean water keeps roots healthier and the display more pleasant.
Best Places to Display Water-Forced Tulips
Water-forced tulips look beautiful on kitchen counters, dining tables, entryway consoles, and windowsills. Clear glass containers create a modern look, while vintage bowls and stones give a softer cottage-garden feeling. For the longest-lasting flowers, display them in bright light away from heat.
They also make thoughtful gifts. A vase of tulip bulbs just beginning to root feels more personal than a standard bouquet because the recipient gets to watch the whole performance unfold. It is basically plant theater, but with fewer ticket fees.
Safety Tips for Homes With Pets
Tulip bulbs can be toxic to cats and dogs if eaten, and the bulb contains the highest concentration of irritating compounds. Keep forced tulip arrangements away from curious pets and small children. A high shelf, closed room, or protected display area is best.
If a pet chews a tulip bulb or shows signs of illness, contact a veterinarian promptly. Pretty flowers are wonderful; emergency carpet cleaning is not.
Extra Experience: What I Learned From Forcing Tulip Bulbs in Water
The first thing you learn when forcing tulip bulbs in water is that patience is not optional. You can do every visible step correctlychoose the vase, rinse the pebbles, place the bulbs like a floral designer with a tiny indoor kingdomand still nothing dramatic happens for days. That is normal. Tulips spend the early stage building roots, not showing off. The clear vase helps because you can actually see progress below the surface before anything exciting appears above it.
One of the biggest practical lessons is to be strict about the waterline. Beginners often think more water means more growth. With tulips, more water can mean more rot. The best setup keeps the bulb dry and lets only the roots reach the water. If the bulb base is constantly wet, it may soften, smell sour, or develop fuzzy mold. Once that happens, the bulb rarely recovers. It is better to start with a slightly lower water level and top it up as roots grow.
Another experience-based tip is to chill more bulbs than you think you need. Not every bulb performs equally, even when they come from the same bag. Some root quickly. Some grow slowly. Some produce a perfect flower, while one bulb may decide its life mission is to produce leaves and emotional suspense. By chilling a few extras, you can remove weak bulbs and still create a full display.
Temperature also matters more than many people expect. Tulips forced indoors often look best when they grow cool and steady. A warm room can push fast growth, but the stems may stretch, flop, or bloom quickly and fade in a few days. A cooler windowsill with bright indirect light usually gives better results. If you want the flowers to last for a dinner party or weekend display, move them to a cooler spot at night.
Rotating the vase is another small habit with big rewards. Tulips lean toward light, and they can lean surprisingly fast. Turning the container every day helps the stems stay balanced. That said, do not expect perfect soldier-straight tulips. Part of their beauty is movement. They curve, reach, and sometimes continue growing after the buds color up. A little bend makes the arrangement look alive rather than overly staged.
Cleanliness is the quiet hero of the whole project. Rinse the pebbles before using them, start with a clean vase, and change cloudy water quickly. If you are forcing multiple bulbs together, check the arrangement often. One rotting bulb can affect the others. Removing a problem bulb early is not failure; it is good indoor gardening management.
Finally, it helps to enjoy forced tulips for what they are: a seasonal indoor treat. They may not be reliable garden performers afterward, especially if grown only in water. The bulb spends much of its stored energy producing that indoor flower. You can try planting it outside later, but do not build your retirement plan around its reblooming. Composting spent bulbs is perfectly acceptable. The reward is the winter bloom itself: fresh color, visible roots, and the small satisfaction of convincing spring to arrive early in a glass vase.
Conclusion
Learning how to force tulip bulbs in water is a rewarding way to bring spring indoors before the garden wakes up. The process is simple, but the details matter: choose healthy bulbs, give them enough chilling time, keep the bulb above the water, provide cool bright conditions, and refresh the water regularly.
Forced tulips are not just decorative; they are a front-row seat to plant growth. You see roots stretching downward, shoots rising upward, and flowers opening in the middle of winter like they missed the memo. With the right setup and a little patience, you can turn a few sleepy bulbs into a cheerful indoor display that makes cold days feel brighter.