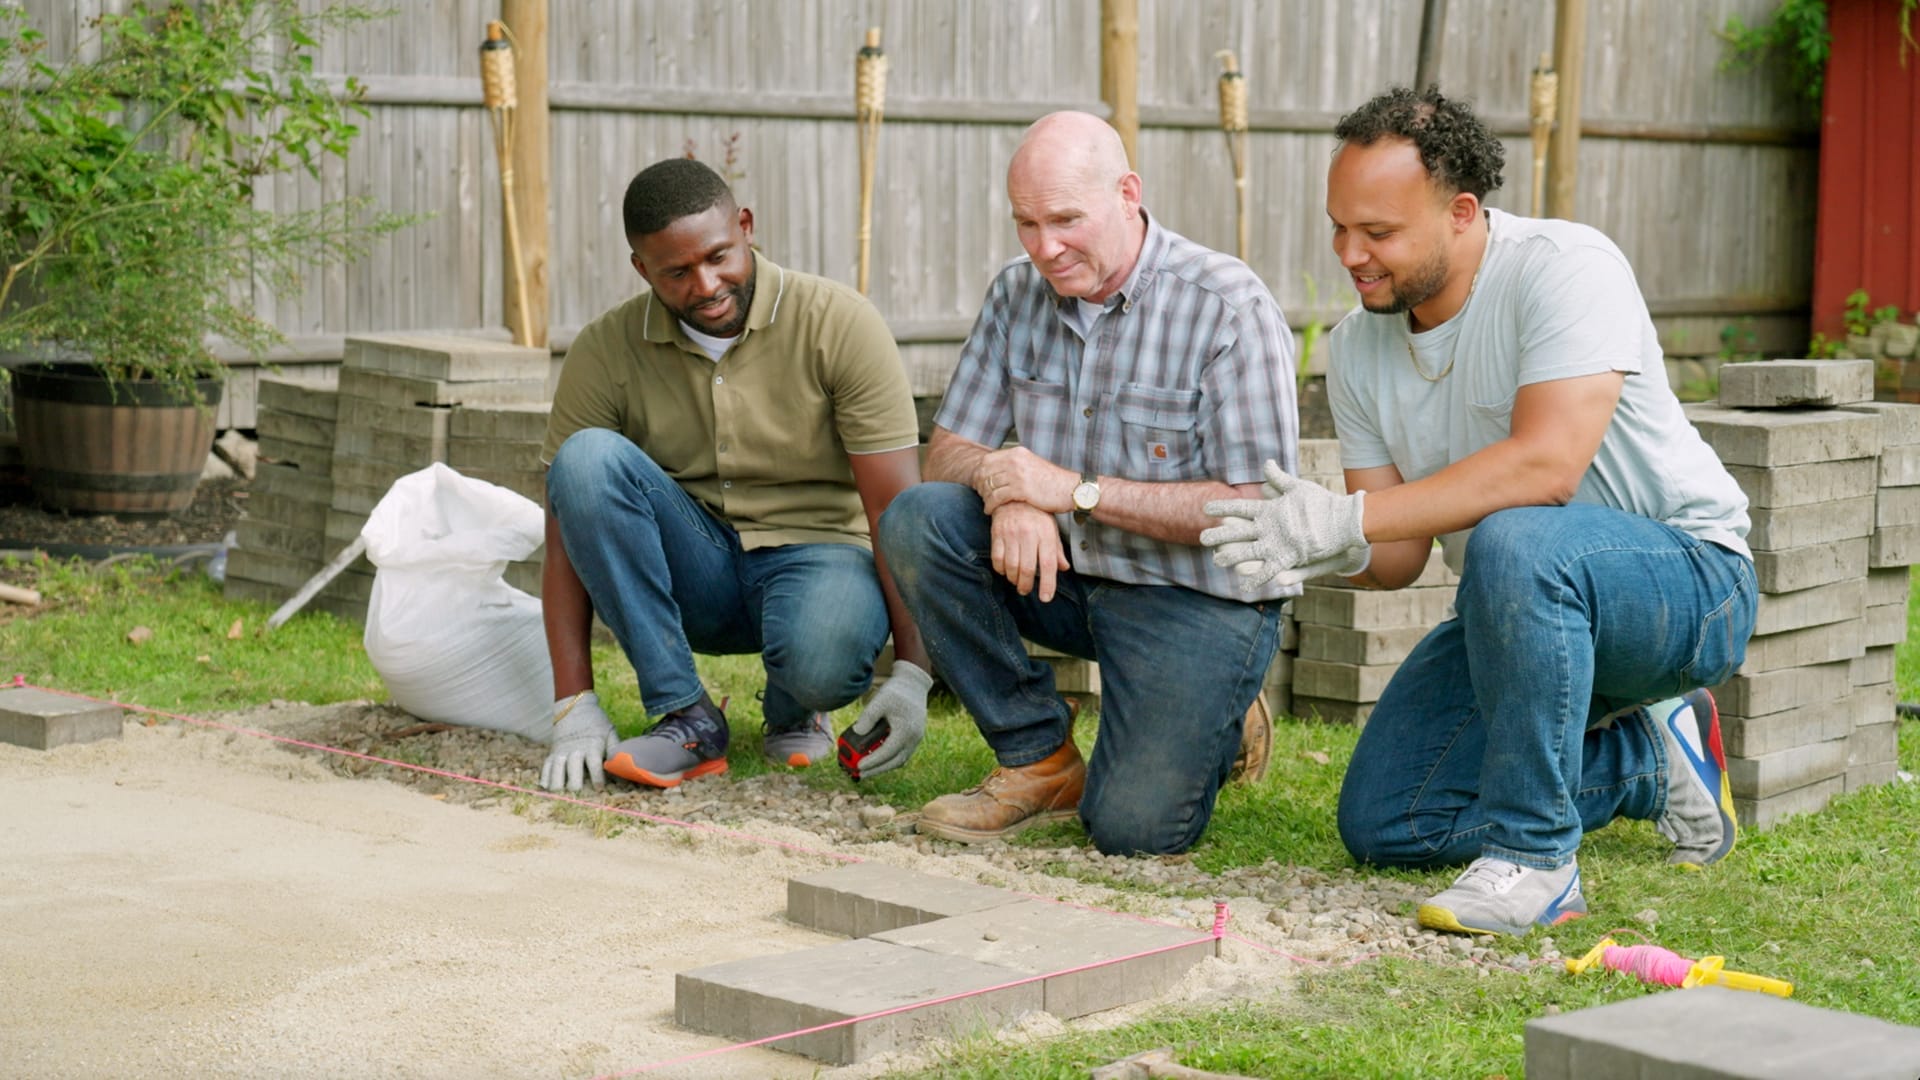
An uneven paver patio has a special talent for turning a relaxing backyard into an obstacle course. One sunken block catches your chair leg, another collects enough rainwater to qualify as a birdbath, and a third waits patiently for someone carrying a tray of burgers.
Fortunately, most sand-set paver patios can be repaired without replacing the entire surface. Individual pavers are designed to be removed, the foundation beneath them can be corrected, and the same blocks can usually be reinstalled. The key is to fix the reason the patio became uneven rather than simply sprinkling sand under a low corner and hoping for the best.
This guide explains how to diagnose the problem, lift the affected pavers, rebuild the base, restore proper drainage, and refill the joints. It also covers the mistakes that often cause a repaired patio to sink again.
Why Do Patio Pavers Become Uneven?
Pavers rarely decide to move around simply because they are bored. Unevenness usually begins below the visible surface.
Settling or poorly compacted base material
A durable paver patio depends on a compacted aggregate base. If the original installer placed the gravel in one thick layer, failed to compact it sufficiently, or built over soft soil, portions of the patio may settle under foot traffic, furniture, or seasonal moisture changes.
Erosion and drainage problems
Water can wash fine material out from beneath pavers, especially near downspouts, roof drip lines, poorly restrained edges, and low spots. A patio that slopes toward the house or holds standing water will often develop recurring settlement until the drainage problem is corrected.
Missing or deteriorated joint sand
Joint sand contributes to the interlocking action between adjacent pavers. When pressure washing, runoff, weeds, or normal weathering removes too much of it, the units can shift, rock, and spread apart.
Loose edge restraints
The pavers around the perimeter need a stable restraint. If plastic edging pulls away, spikes loosen, or the surrounding soil erodes, the outside row can migrate. That movement gradually opens joints and allows the rest of the pattern to become distorted.
Tree roots, frost, and animals
Roots can lift pavers from below, while burrowing animals may remove supporting soil. In cold climates, trapped water can freeze and move the base. These problems require more than adding a little bedding sand because the underlying cause will continue pushing or hollowing out the patio.
Decide Whether You Need a Spot Repair or Full Reset
Before pulling up the first paver, inspect the entire patio after a rain or spray it lightly with a hose. Mark puddles, rocking blocks, raised corners, open joints, and areas where water flows toward the house.
| What You See | Likely Repair |
|---|---|
| One to five sunken or rocking pavers | Localized removal and base correction |
| A small depression covering several square feet | Remove the affected area plus at least one surrounding row |
| Widespread waves or multiple large puddles | Reset a large section or rebuild the entire patio |
| Water consistently runs toward the foundation | Regrade the patio and address drainage |
| Pavers rise over a visible tree root | Evaluate the root and redesign or professionally repair the area |
| The same depression returns after previous repairs | Investigate erosion, drainage, utilities, or unstable soil |
A localized fix is appropriate when the surrounding patio remains firm and correctly pitched. If most of the surface has settled or the overall slope is wrong, patching individual depressions can create a collection of tiny hills rather than one functional patio.
Tools and Materials You May Need
- Work gloves and safety glasses
- Hearing protection and a dust mask when compacting or handling dry sand
- Flat screwdrivers, pry bars, or a paver extractor
- Rubber mallet
- Shovel, hand trowel, and stiff brush
- Wheelbarrow and tarp
- Four-foot level or long straightedge
- String line, stakes, and tape measure
- Hand tamper or rented plate compactor
- Graded aggregate paver base
- Concrete bedding sand or the bedding material specified for your pavers
- Jointing sand or compatible polymeric sand
- Push broom and garden hose
- Replacement edge restraint and spikes, if necessary
Do not use ordinary garden soil to raise a sunken paver. Soil holds moisture, compacts unpredictably, and may quickly settle again. Avoid using jointing sand as a substitute for aggregate base material. Each layer of a paver system has a different job.
How to Fix an Uneven Paver Patio Step by Step
1. Photograph and mark the existing pattern
Take several overhead and angled photographs before removing anything. Complex patterns can become surprisingly mysterious once the pavers are stacked beside the patio. A few minutes with your phone may prevent an afternoon of playing concrete Tetris.
Mark the repair boundary with chalk. Include the visibly uneven pavers and at least one row around them. Removing a slightly larger area makes it easier to blend the repaired section into the stable surrounding surface.
2. Remove the joint sand
Scrape or vacuum loose joint material from around the first paver. A narrow screwdriver or putty knife can help open a small gap. Work carefully so you do not chip the edges.
If polymeric sand is strongly bonded, it may need to be loosened in several passes. Avoid blasting the joints with a high-powered pressure washer unless the paver and joint-sand manufacturers permit it. Excessive pressure can damage the face of concrete pavers and remove more material than intended.
3. Lift the first paver
The first unit is usually the stubborn one. Insert two thin pry tools on opposite sides and raise it gradually. A dedicated paver extractor is helpful when the joints are tight.
Once the first paver is removed, the neighboring units are much easier to lift by hand. Stack the pavers in organized rows and separate different sizes. Set cracked blocks aside for replacement.
4. Remove contaminated bedding material
Inspect the sand beneath the pavers. If it is mixed with soil, roots, mud, or organic matter, remove it rather than spreading it back over the repair. Keep the edges of the excavation neat and avoid undermining pavers that will remain in place.
If the problem is confined to the bedding layer, you may only need to replace that material. If the aggregate base is low, soft, washed out, or loose, excavate far enough to rebuild it properly.
5. Correct the source of the problem
Look for clues before adding new material. A hollow channel may indicate runoff or animal activity. Wet mud near a downspout suggests drainage trouble. Pavers pushed upward in a narrow line may reveal a root.
Extend downspouts away from the patio, repair leaking irrigation, stabilize eroded edges, and replace failed restraints. When standing water, a damaged drain, a buried pipe, or major root growth is involved, consider consulting a hardscape or drainage professional.
6. Rebuild and compact the aggregate base
Add graded aggregate that matches or is compatible with the existing base. For a deep repair, place it in thin lifts rather than dumping in one thick layer. Compact each lift before adding the next.
A hand tamper is suitable for a small depression. A plate compactor is more effective for a larger reset, but it should be operated according to the equipment instructions and kept away from areas where vibration might damage fragile structures.
The compacted base should feel firm and should not leave deep footprints. Continue checking its height with a straightedge resting on the undisturbed base around the repair.
7. Restore the patio’s drainage slope
A patio should look visually level while still having enough pitch to shed water. Do not rebuild the repaired section perfectly flat if the rest of the patio slopes away from the house.
Use stakes and mason’s string to recreate the surrounding grade. A minimum slope of approximately 1/8 inch per foot is commonly used for drainage, while a slope closer to 1/4 inch per foot may be appropriate where space and transitions allow. The surface must drain away from the foundation without creating an awkward step at a doorway, walkway, or existing slab.
For example, a patio extending eight feet from the house may need roughly one to two inches of total fall, depending on the design and site conditions. Local codes, thresholds, drains, and manufacturer recommendations should guide the final elevation.
8. Add and screed the bedding layer
Spread approximately one inch of clean concrete bedding sand, or use the material recommended for your specific paver system. Set screed pipes or guides at the required elevation and pull a straight board across them to create a smooth, consistent surface.
Fill low areas and screed again instead of pressing random handfuls of sand under individual corners. The bedding layer should be uniform. Avoid walking on the finished sand or unnecessarily compacting it before setting the pavers unless your chosen system specifically requires a different procedure.
9. Reinstall the pavers
Lay the pavers back in their original pattern, beginning against a stable edge. Lower each unit vertically so it does not push bedding sand into the joint. Maintain the existing joint width and regularly check alignment.
Set the repaired pavers slightly highoften around 1/8 inch above the surrounding surfacebecause final compaction will settle them into the bedding layer. Exact allowance depends on the paver thickness, equipment, and bedding material.
Use a rubber mallet for small adjustments. Do not hammer one edge aggressively, as that can create a hidden void under the opposite side.
10. Compact and check the repaired surface
For a small repair, place a board across several pavers and tap it gently to seat the units evenly. For a larger area, use a plate compactor with a protective pad when required by the paver manufacturer. The pad helps reduce scratching and chipping.
Check the finished surface with a long straightedge. It should follow the patio’s drainage pitch without abrupt lips. Walk over the repair and listen or feel for rocking blocks. Correct problems now, before the joints are filled.
11. Refill the joints
Sweep dry jointing sand diagonally across the patio so it falls into the joints. Compact again if required, then add more sand until the joints remain full.
If you use polymeric sand, select a product compatible with the paver type, joint width, and drainage system. Remove every trace of excess material from the paver faces before adding water. Polymeric residue can harden into a stubborn haze, particularly on textured pavers.
Keep the finished sand level below the top or beveled edge of the pavercommonly about 1/8 inch below the chamfer. Activate polymeric sand exactly as directed on the package. Watering procedures and required dry-weather windows vary by product, so improvisation is not a charming personality trait here.
12. Let the repair cure and test the drainage
Keep furniture and heavy traffic off the repaired area for the period specified by the joint-sand manufacturer. After curing, test the patio with a gentle hose spray or wait for rain. Water should move away from the house without lingering in the repaired section.
Common Paver-Repair Mistakes
Adding sand without repairing the base
Bedding sand can correct small height differences, but it cannot replace missing structural base. A thick pocket of loose sand may shift or wash out, returning the paver to its original sunken position.
Repairing too small an area
Lifting only the lowest block often leaves a noticeable ridge around it. Removing the adjacent pavers gives you enough room to feather the corrected base into the surrounding grade.
Making the patio perfectly level
A patio can be even without being flat. Eliminating the drainage slope may send water toward the house or create a new puddle several feet away.
Using the wrong type of sand
Bedding sand and jointing sand are not automatically interchangeable. Fine play sand, garden soil, and some types of stone dust may retain moisture, migrate, or fail to support the pavers as intended.
Ignoring failed edging
If the border can move, the repaired interior may move with it. Replace cracked edging, reinstall spikes into stable ground, and backfill the outside edge so it remains supported.
Leaving polymeric sand on the surface
Dry polymer particles left on a paver can become a pale film after watering. Sweep carefully and use a leaf blower gently before activation, while taking care not to empty the joints you just filled.
When to Hire a Professional
A homeowner can often repair a few settled pavers with ordinary tools. Professional help is a better choice when the patio has widespread settlement, repeated washouts, major frost damage, extensive roots, broken drainage lines, or water flowing toward the foundation.
You should also obtain expert advice when the patio supports heavy structures, retaining walls, outdoor kitchens, pergola footings, or pool features. Correcting those areas may involve structural loads and drainage details beyond a straightforward surface reset.
Practical Experiences and Lessons From Uneven Paver Repairs
The following lessons reflect situations commonly encountered during real patio repair projects. They are worth reading before the wheelbarrow comes out and the backyard temporarily looks like an archaeological site.
The visible low spot is often smaller than the actual problem
A repair may begin with two rocking pavers beneath a dining chair. Once those blocks are removed, however, the base several feet around them may feel soft. Water moving beneath the patio does not necessarily stop directly under the lowest paver.
Removing one additional row around the obvious depression usually produces a smoother repair. It also makes compaction easier because new base material can be blended gradually into the stable portion instead of forming a small, isolated mound.
A photograph saves more time than expected
Simple running-bond patterns are fairly easy to reconstruct. Multi-size patterns are not. Three different rectangles can look wonderfully obvious when installed and completely unrelated when stacked in a pile.
Experienced DIYers photograph the patio, mark a reference edge, and arrange removed blocks in sequence. Some even number the underside with chalk. This small step prevents gaps, accidental pattern changes, and the exciting discovery that the “last” paver does not fit into the last opening.
Drainage repairs matter more than cosmetic perfection
One of the most frustrating repair experiences is creating a beautifully even surface and finding the same area sunken the following year. This often happens near a downspout or roof valley. The base was repaired, but the concentrated water source remained.
Redirecting the runoff may involve extending a downspout, adjusting nearby soil, repairing an edge, or installing an appropriate drain. The final paver alignment matters, but controlling water is what gives the repair a chance to last.
Compact in stages, not all at once
A deep depression tempts people to fill the entire hole with aggregate and perform a heroic round of tamping at the end. The top may feel firm while the lower material remains loose.
Adding and compacting thin layers takes longer, but it creates more uniform support. This is especially important over disturbed soil or where erosion has removed several inches of material. The extra passes with a tamper are less annoying than lifting the same patio section again next summer.
Repeated checking is faster than repeated rebuilding
Successful repairs involve frequent measurements. Check the aggregate base, check the screeded bedding, check the first few installed pavers, and check the finished surface. A long straightedge reveals gradual humps that a short level may miss.
It is also helpful to view the work from ground level. Shadows across the surface can reveal a raised corner before it becomes a trip hazard. A patio does not need laboratory-level precision, but chair legs should sit still and water should know where to go.
Keep spare pavers after the repair
Older paver colors and sizes can be difficult to match. Even when a current replacement has the same product name, years of weathering may make it look noticeably different.
Save several intact units in a dry location. They can replace blocks damaged by stains, cracks, freeze-thaw cycles, or future utility work. Spare pavers are not particularly glamorous garage decorations, but they are far more useful than discovering your discontinued patio color now exists only in old photographs.
Conclusion
Fixing an uneven paver patio is primarily a foundation and drainage project. The visible pavers are only the top layer of a system that depends on stable soil, compacted aggregate, consistent bedding material, secure edges, and properly filled joints.
For a localized problem, remove a slightly wider area than the obvious depression, correct the underlying cause, compact the base in stages, restore the drainage pitch, and reinstall the pavers evenly. When settlement is widespread or keeps returning, stop patching symptoms and investigate the larger grading or water-management problem.
Done carefully, a paver repair can blend almost invisibly into the original patio. More importantly, the table stops wobbling, the puddle disappears, and your backyard once again becomes a place for relaxing instead of practicing advanced footwork.