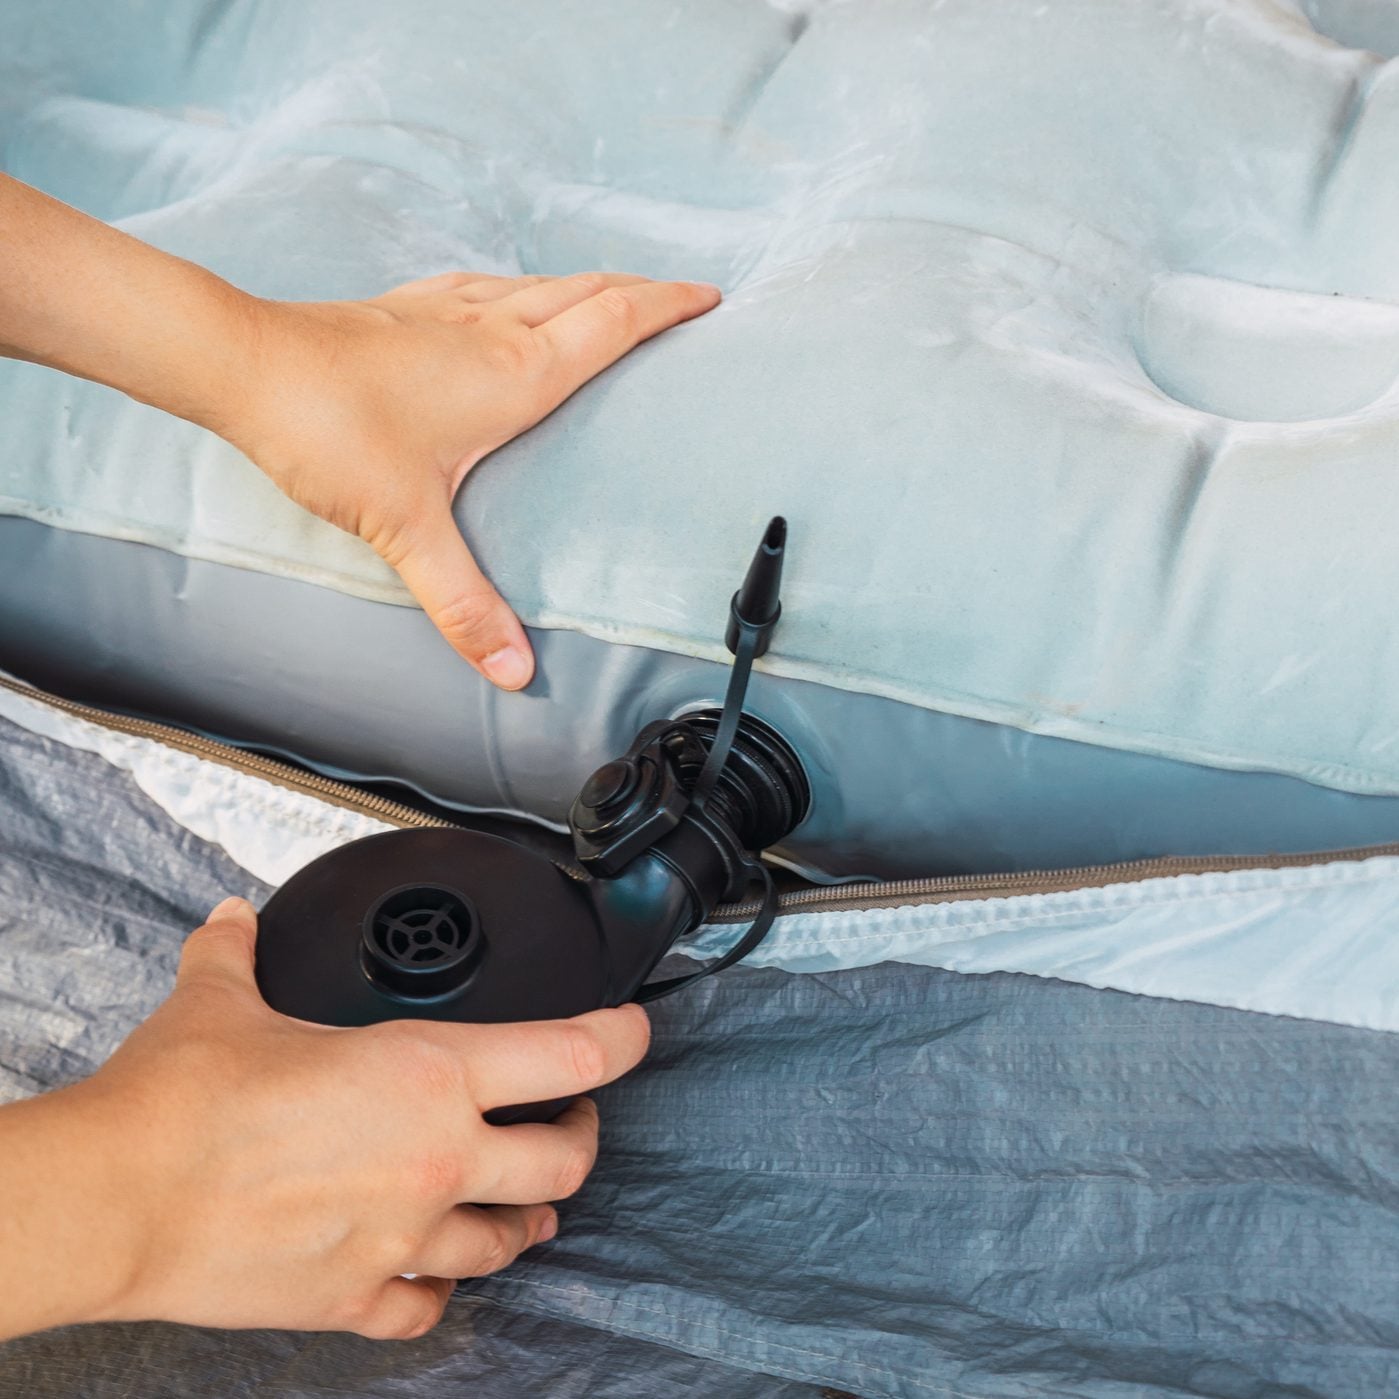
An air mattress has one job: hold air while you sleep. So when it slowly collapses under you at 2:17 a.m., it feels less like bedding and more like betrayal with a valve. The good news is that most small holes in an air mattress are fixable at home with a patch kit, a little patience, and the willingness to play detective with soapy water.
This guide explains how to fix a hole in an air mattress step by step, from confirming the leak to patching vinyl, PVC, or flocked surfaces. You will also learn what to use when you do not have the original repair kit, which quick fixes are only temporary, and how to stop your mattress from becoming a sad pancake again next weekend.
Before You Patch: Make Sure There Really Is a Hole
Not every soft air mattress has a puncture. New air mattresses often stretch during the first few uses, which can make them feel deflated even when no air is leaking. Temperature changes can also affect firmness. Cool air contracts, so a mattress inflated in a warm room may feel softer later in a chilly basement, cabin, or tent.
Inflate the mattress fully, close the valve tightly, and leave it alone for a few hours. If it loses firmness quickly, especially in the same environment, you probably have a leak. If the loss is slow and minor, reinflate once and test again. If it still sinks like a dramatic movie character, it is time to find the hole.
Tools and Materials You Need
You do not need a professional workshop to repair an air mattress. Most successful patches come down to three things: finding the exact leak, cleaning the area well, and giving the adhesive enough time to cure. Skipping any of those steps is how patches peel off and feelings get hurt.
Basic supplies
- Dish soap and water
- Spray bottle or sponge
- Clean cloth or paper towels
- Permanent marker or painter’s tape
- Rubbing alcohol
- Vinyl repair patch or air mattress patch kit
- Flexible adhesive made for vinyl, PVC, or inflatables
- Scissors
- A heavy book or flat weight
- Fine sandpaper, only for flocked fabric tops
Best patch options
The best repair is usually the patch that came with the mattress. If that has vanished into the same mysterious dimension as missing socks, use a vinyl repair kit, inflatable repair patch, sleeping pad repair kit, or clear waterproof repair tape designed for vinyl or PVC. Avoid stiff glues and brittle household adhesives. An air mattress flexes every time you move, so the repair must flex too.
Step 1: Inflate the Air Mattress
Inflate the mattress until it is firm but not overfilled. A firm mattress makes escaping air easier to hear and feel. Do not inflate it until it is drum-tight. Too much pressure can widen a puncture or stress the seams, which is like fixing a dripping faucet by inviting a flood.
Move the mattress to a quiet, well-lit space. A bedroom floor, garage, patio, or clean driveway can work. Keep pets away during the repair. Cats, in particular, hear the phrase “inflatable vinyl surface” and interpret it as “premium claw trampoline.”
Step 2: Check the Valve First
The valve is one of the most common places for air loss. Before hunting for a microscopic puncture, inspect the valve cap and seal. Make sure the plug is fully inserted and the cap is threaded or snapped shut correctly. Look for cracks, grit, hair, sand, or lint that could stop the valve from sealing.
Apply a little soapy water around the valve while the mattress is inflated. If bubbles grow around the cap or valve housing, the issue may be the valve rather than a hole in the sleeping surface. Clean the valve area, reseat the plug, and test again. If the valve itself is cracked, a patch may not solve the problem for long; replacement parts or a new mattress may be more realistic.
Step 3: Find the Hole With the Soapy Water Method
The soapy water test is the classic leak-finding method because it works. Mix a few drops of dish soap with water in a spray bottle or bowl. Spray or sponge the solution onto one section of the inflated mattress at a time. Watch closely for bubbles that appear, grow, or foam in one small spot. That is where air is escaping.
Start with the most vulnerable areas: the valve, seams, corners, bottom surface, and any place that may have rubbed against the floor. Then check the top and sides. Work slowly. Tiny leaks are shy little villains, and they do not always reveal themselves on the first pass.
Other ways to locate a leak
If you do not have a spray bottle, run a damp hand slowly over the mattress and feel for a cool stream of air. You can also listen closely for a faint hiss. For very small mattresses or camping pads, submerging sections in water may reveal bubbles, but this is usually impractical for a full-size air bed and can introduce water where you do not want it.
Once you find the leak, dry the spot and mark it with a permanent marker or a small piece of tape. Do not rely on memory. The moment you deflate the mattress, that tiny hole can disappear like it has entered witness protection.
Step 4: Deflate and Clean the Repair Area
Deflate the mattress completely before patching. A patch applied to an inflated mattress may shift, wrinkle, or fail to bond properly because the surface is under tension. Lay the damaged area flat and smooth out wrinkles.
Clean the area with a dry cloth first, then wipe around the hole with rubbing alcohol. This removes body oils, dust, soap residue, and mystery grime. Let the surface dry fully. Adhesive does not like moisture, and a wet patch is basically a sticker with commitment issues.
Step 5: Prepare the Patch
Cut a patch large enough to cover the hole with at least half an inch of overlap on every side. For larger punctures or small tears, use more overlap. Round the corners with scissors. Rounded corners are less likely to lift, peel, or catch on sheets, clothing, or curious fingers.
If you are using a peel-and-stick patch, avoid touching the adhesive side. If you are using a separate adhesive and vinyl patch, apply the adhesive according to the product directions. Some adhesives need a few minutes to become tacky before the patch goes down. Others require immediate placement. Read the label. Yes, reading directions is not glamorous, but neither is waking up on the floor.
Step 6: Patch the Hole
Center the patch over the hole. Press it down firmly from the middle outward to push out trapped air bubbles. Work slowly toward the edges so the patch sits flat. If using adhesive, wipe away extra glue around the edge, but do not disturb the patch.
Place a flat weight, such as a heavy book, over the repair. Make sure the weight does not slide or create wrinkles. Leave the patch undisturbed for the curing time recommended by the adhesive or patch manufacturer. Many repairs need several hours, and some perform best after curing overnight or for a full 24 hours.
How To Patch a Hole on a Flocked Air Mattress Top
Many air mattresses have a soft, velvety top called flocking. It feels nicer than plain vinyl and helps sheets stay put, but it is not an ideal surface for adhesive. If the hole is on the flocked side, the patch needs to bond to the smooth material underneath.
Use fine sandpaper gently around the leak to remove the fuzzy texture from an area slightly larger than your patch. Do not sand aggressively. The goal is to expose a smooth bonding surface, not dig a decorative crater. Vacuum or wipe away the dust, clean the area with rubbing alcohol, let it dry, and then apply the patch as usual.
Can You Fix an Air Mattress Without a Patch Kit?
Yes, but choose materials carefully. A piece of thin vinyl from an old pool float, shower curtain liner, or retired inflatable can work as a patch when paired with the right flexible adhesive. Clear waterproof repair tape can also seal small holes in smooth vinyl surfaces.
Duct tape may help in an emergency, but it is usually a temporary fix. It can peel, leave sticky residue, and fail when the mattress flexes. Super glue is also risky because it can dry hard and crack. Hot glue is not recommended because heat can damage vinyl and the repair may not stay airtight.
Step 7: Test the Repair
After the patch has cured, inflate the mattress and repeat the soapy water test around the repaired spot. If no bubbles appear, leave the mattress inflated for several hours or overnight. Check the firmness in the morning. A successful repair should hold air under normal use.
If bubbles form at the edge of the patch, the surface may not have been clean enough, the adhesive may not have cured, or the patch may not have overlapped the hole sufficiently. Remove the failed patch if possible, clean the area again, and apply a larger patch with rounded corners.
What If the Hole Is on a Seam?
Seam leaks are trickier than flat-surface punctures. A seam flexes more and may be under more stress. For a tiny seam leak, a flexible sealant made for inflatables may work better than a simple sticker patch. Apply a thin layer over and around the leak, allow it to cure fully, and test it carefully.
If the seam has split open or the leak runs along several inches, repair may not last. Large seam failures often mean the internal structure or welded edge has weakened. You can attempt a patch, but for a guest bed or regular-use mattress, replacement may be the wiser choice.
Common Air Mattress Repair Mistakes
Using the mattress too soon
This is the number one mistake. A patch may feel secure after ten minutes, but adhesive strength develops with curing time. Give it the full recommended wait. Your future sleeping self will applaud politely from a mattress that still has air in it.
Patching over dirt or soap
Soap helps find the leak, but leftover soap can weaken the bond. Always rinse or wipe the area clean and dry it thoroughly before applying adhesive.
Cutting square patches with sharp corners
Sharp corners peel more easily. Rounded patches look neater and hold better. It is a small detail that makes a big difference.
Ignoring the bottom of the mattress
The underside often gets punctured by grit, carpet staples, rough flooring, pine needles, pebbles, or tiny debris. Always inspect the floor before placing an air mattress down.
How To Prevent Future Air Mattress Holes
Prevention is much easier than midnight leak repair. Before using the mattress, sweep or vacuum the floor. Place a blanket, tarp, rug, or foam mat underneath it, especially on rough surfaces. Keep it away from sharp furniture corners, fireplace tools, pet claws, and exposed nails.
Do not overinflate the mattress. More air does not always mean more comfort. Overinflation increases stress on seams and makes punctures more likely. Inflate until supportive, then stop. If two people are sleeping on the mattress, check the weight limit and avoid bouncing, jumping, or dramatic “trust fall” demonstrations.
When storing the mattress, make sure it is clean and dry. Fold it loosely instead of crushing it into a tiny, angry bundle. Store it in a bag or box away from heat, moisture, and sharp tools. A closet is better than a garage shelf next to screws, garden shears, and that one mysterious metal bracket nobody can identify.
When To Replace Instead of Repair
Repair makes sense for small punctures, pinholes, and short tears on otherwise healthy material. Replacement may be better if the mattress has multiple leaks, a damaged valve, a long seam split, brittle vinyl, mold inside, or a surface that has become thin and stretched.
Also consider how the mattress is used. A patched mattress for occasional guests may be perfectly fine. A mattress used nightly, on a camping trip, or by someone who needs reliable support should be tested thoroughly before you depend on it. Nobody wants to discover a failed patch in the middle of a national park, unless the plan was to become one with the gravel.
Real-Life Experience: What Actually Works When Fixing an Air Mattress
The most useful lesson from repairing air mattresses is that finding the hole usually takes longer than patching it. The leak is almost never sitting in the middle of the mattress waving a tiny flag. It hides near a seam, under the mattress, beside the valve, or in a spot you already checked twice. That is why the soapy water method is worth the mess. A small cluster of growing bubbles tells the truth faster than guessing.
One practical experience many people share is that the first repair attempt often fails when the surface is not prepared well enough. The patch looks fine, the mattress inflates, everyone celebrates, and then the next morning the bed has gone soft again. Usually, the problem is not the patch itself. It is dust, flocking, oil, soap, or moisture under the adhesive. Cleaning with rubbing alcohol and waiting until the area is completely dry can turn a weak repair into a strong one.
Another real-world tip is to make the patch larger than you think you need. A pinhole may be tiny, but the material around it flexes when someone lies down. A patch with generous overlap spreads the stress across a wider area. Rounded corners help too. Square patches may look tidy, but those little corners love to lift. Once one corner lifts, the rest of the patch starts negotiating its resignation.
Patience is the least exciting tool in the repair kit, but it is also one of the most important. Letting adhesive cure overnight is far better than rushing the mattress back into service after an hour. A heavy book placed over the patch can help keep steady pressure on the repair while it cures. Just make sure the mattress is deflated and the patched area is flat, not folded or wrinkled.
For camping, the best experience-based advice is to carry a small repair kit before you need it. A patch kit weighs almost nothing, but it can save a trip. Add a few alcohol wipes, a small tube of flexible adhesive, and a couple of peel-and-stick patches to your gear bag. At home, keep the original patch kit taped to the storage bag or tucked into the box. Otherwise, it will disappear exactly when the in-laws are arriving in forty minutes.
Finally, always test the repair before trusting it. Inflate the mattress, check the patched area with soapy water, and leave it inflated overnight. If it is still firm in the morning, you have earned your victory nap. If it loses air again, do not panic. There may be a second leak, or the first patch may need to be redone with better cleaning, more overlap, or longer curing time. Air mattress repair is not glamorous, but when it works, it feels like defeating a tiny invisible enemy with soap, scissors, and stubbornness.
Conclusion
Fixing a hole in an air mattress is a simple DIY repair when you follow the right order: confirm the leak, locate it carefully, clean the area, apply a flexible patch, let it cure, and test before use. The job does not require fancy tools, but it does reward patience and surface prep. A rushed patch may fail quickly, while a clean, well-cured repair can extend the life of your air mattress and save you from buying a replacement too soon.
Whether you are preparing a guest bed, rescuing camping gear, or trying to avoid another night on the floor, the key is to treat the patch like a real repair, not a sticker slapped on during a sleep-deprived emergency. Find the leak, fix it properly, and your air mattress can go back to doing its one heroic job: staying inflated while you sleep.