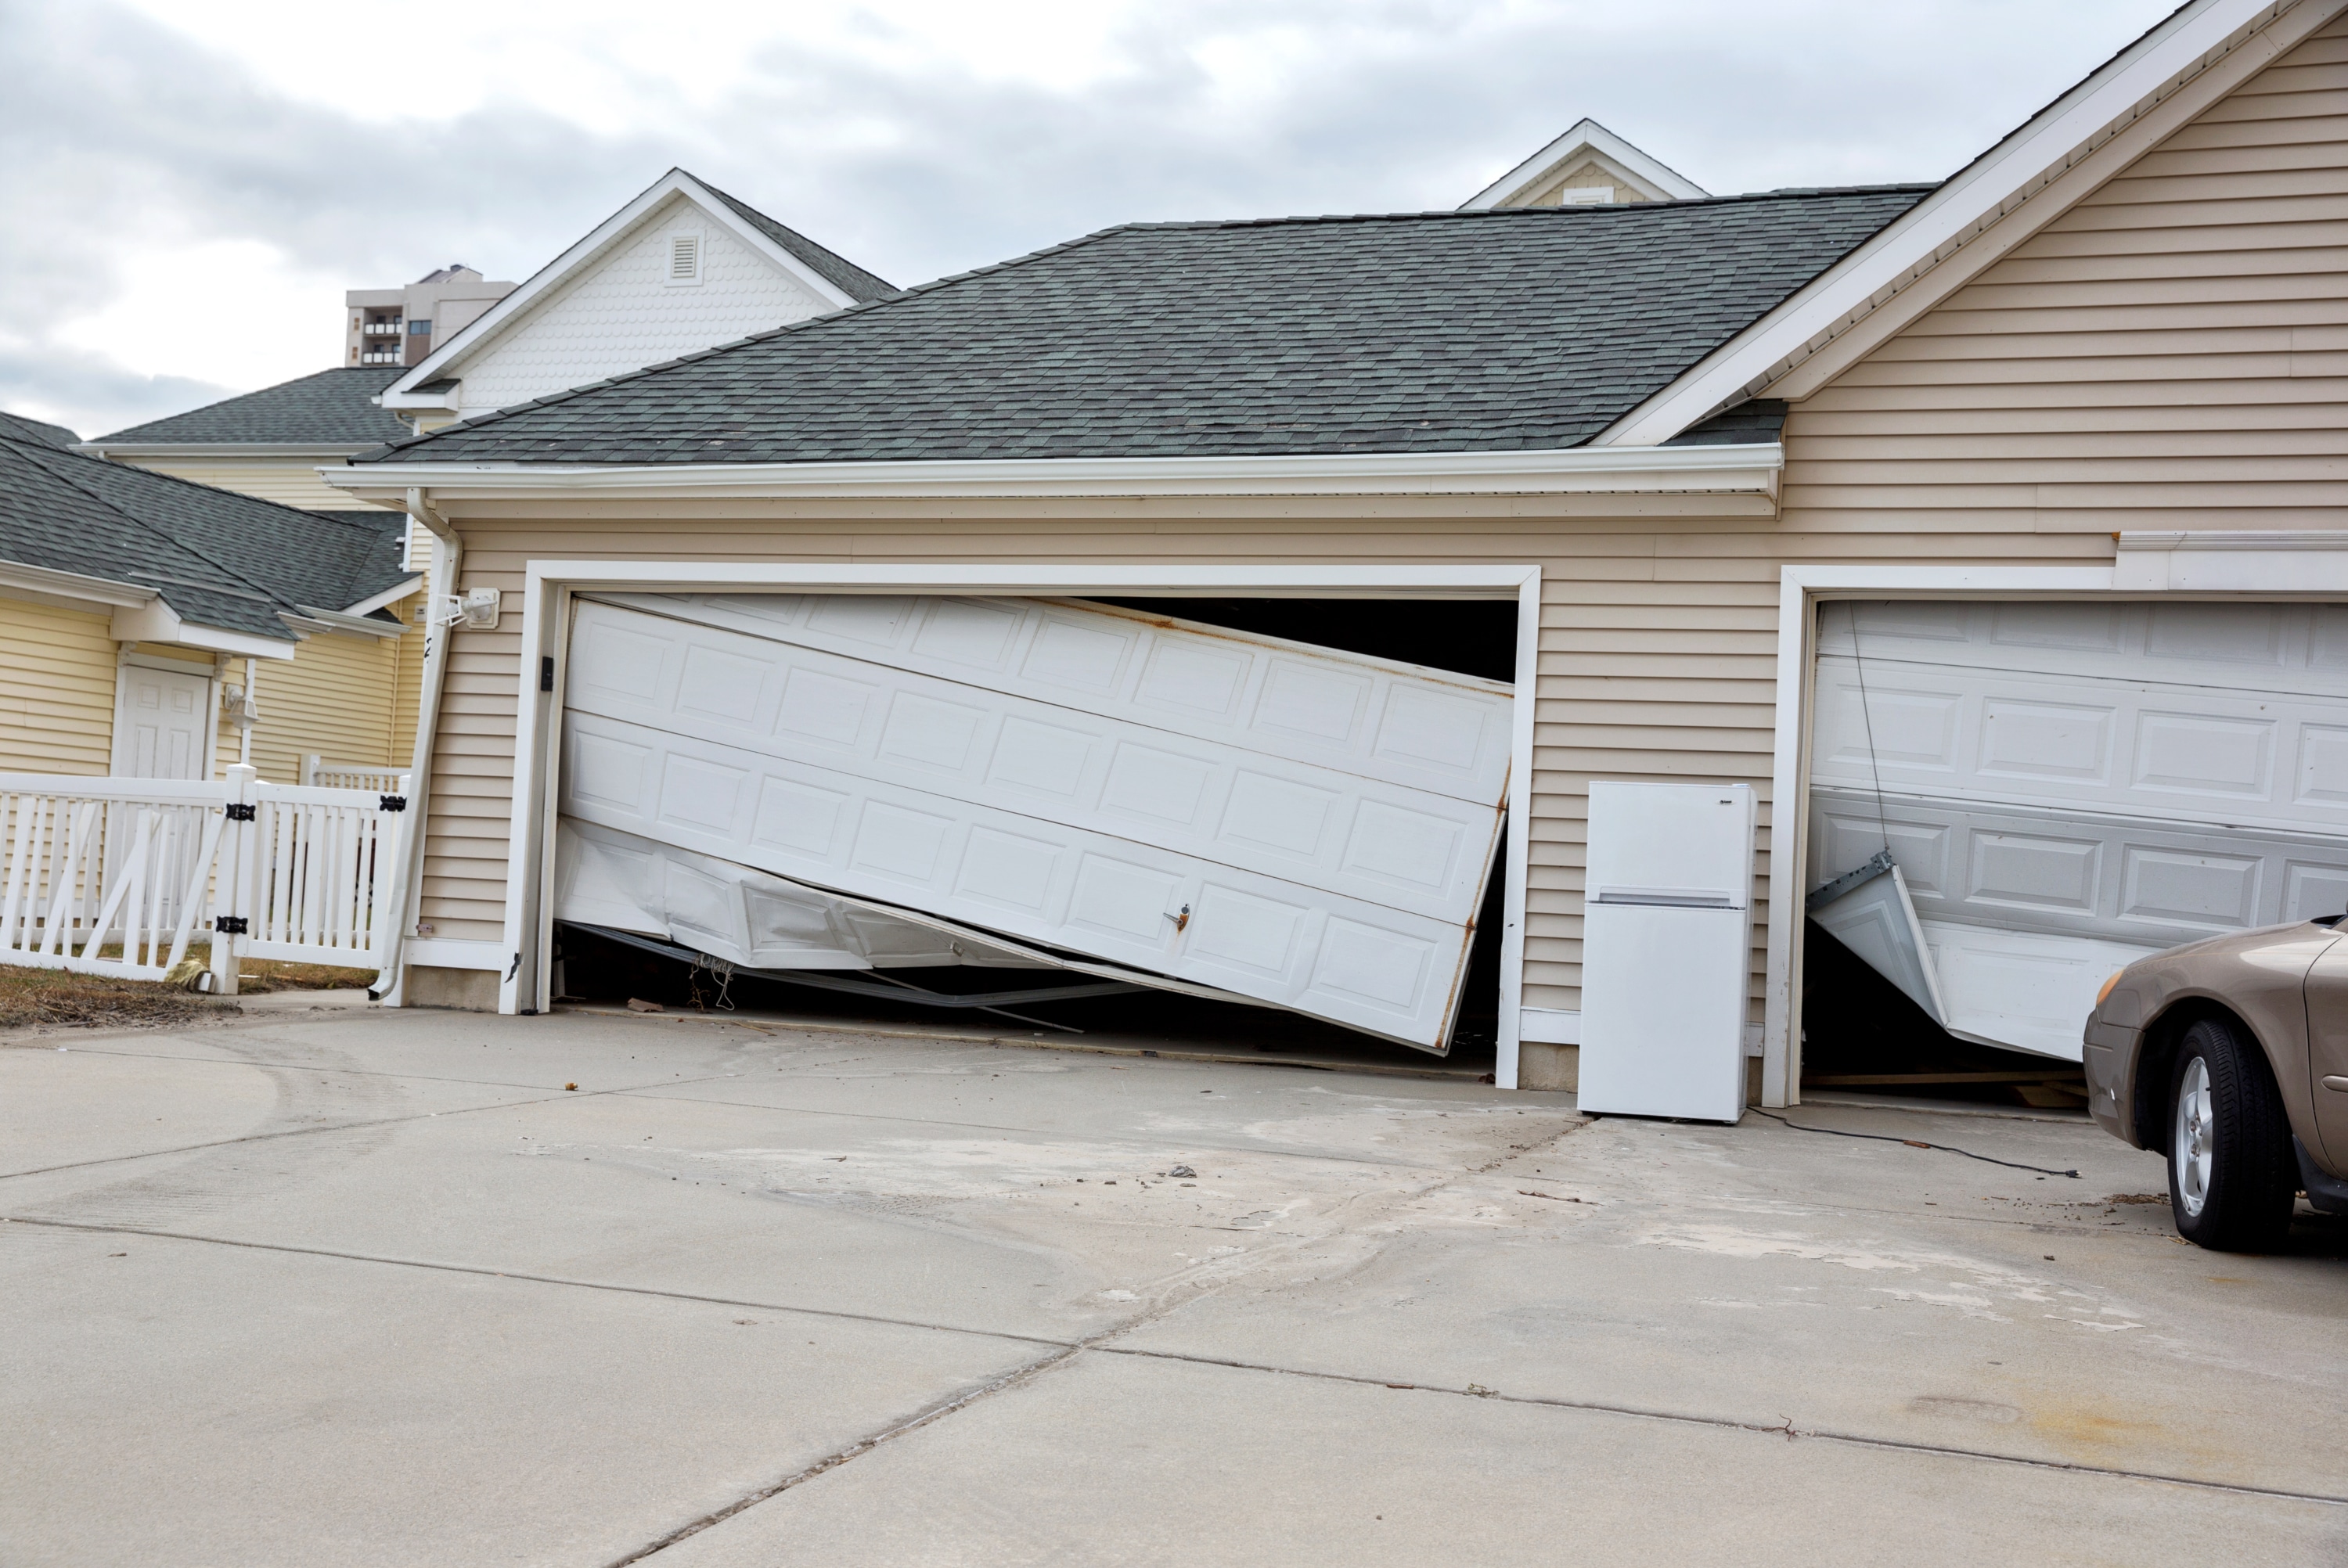
When your house takes a hit, your brain usually follows right behind it. One minute you are living your normal life, and the next you are staring at a hole in the roof, a flooded kitchen, or a living room that suddenly looks like it lost a wrestling match with a tree. In that moment, filing a homeowners insurance claim can feel like doing taxes during a thunderstorm.
The good news is that the process is manageable when you break it into steps. The bad news is that insurance companies do not grade on vibes. They want details, documentation, receipts, and a clear explanation of what happened. So, if you want your claim to move faster and more smoothly, you need to act quickly, stay organized, and avoid the classic mistakes that turn a bad day into a long season of phone calls.
This guide walks through exactly how to file a homeowners insurance claim after a loss, what to expect from the claims process, how to document damage, how to work with an adjuster, and how to protect yourself from underpayment, delays, and post-disaster scams. Think of it as your practical playbook for getting from “What just happened?” to “Okay, we have a plan.”
Step 1: Make Sure Everyone Is Safe Before You Think About the Claim
Before you even touch your policy paperwork, deal with the urgent stuff. If there is fire damage, electrical danger, gas odor, a collapsed ceiling, or standing water near outlets, stay out and wait for the proper authorities or emergency crews to say it is safe to go back in. Your insurance claim matters, but not nearly as much as not becoming part of the incident report.
Once it is safe, take reasonable steps to prevent further damage. That might mean shutting off the water, putting a tarp over a damaged roof, boarding up a broken window, or moving salvageable items out of harm’s way. Homeowners insurance typically expects you to protect the property from additional damage after the initial loss. Translation: if a storm punches a hole in your roof, do not let the weather finish the job out of spite.
Smart move
Take photos and video before making temporary repairs if you can do so safely. Then save every receipt for emergency supplies, cleanup, hotel stays, meals, and temporary repairs. Those costs may become part of the claim, especially if you have loss-of-use coverage.
Step 2: Decide Whether You Should File a Homeowners Insurance Claim
Not every mess needs a claim. Before you file, compare the likely repair cost to your deductible. If your deductible is $2,500 and the damage will cost $1,200 to fix, filing may not make sense. You will spend time, create a claims record, and still pay the entire bill yourself. That is not a strategy; that is paperwork cosplay.
You also need to ask whether the damage is actually covered. A standard homeowners policy often covers sudden and accidental damage from things like fire, wind, hail, theft, vandalism, and certain types of water damage, such as a burst pipe. It generally does not cover flood damage, earth movement, neglect, or normal wear and tear. If your roof is simply old and tired, insurance may send sympathy, but not money.
Read the declarations page and the relevant coverage sections of your policy. Look for:
- Your deductible amount
- Coverage A for dwelling
- Coverage C for personal property
- Coverage D or loss-of-use coverage for temporary living expenses
- Special limits for valuables, electronics, jewelry, or collectibles
- Exclusions for flood, sewer backup, mold, or ordinance and law issues
If you are unsure whether filing is worth it, call your insurer or agent and ask direct questions before formally moving ahead: Is this type of loss likely covered? Does it appear to exceed my deductible? Are there special limits or endorsements that apply? A five-minute conversation here can save you a five-week headache later.
Step 3: Document the Damage Like Your Reimbursement Depends on It, Because It Does
This is the part that feels tedious right when you least want tedious things. Do it anyway. Thorough documentation is often the difference between a clean, fair claim and a frustrating one.
Walk through the property with your phone and record wide shots and close-ups. Capture each room, every damaged surface, and every affected item. If personal property is damaged, photograph brand labels, model numbers, serial numbers, and anything that helps establish value. Open drawers, closets, cabinets, and storage areas. Damage loves to hide in places that seem annoying to inspect.
Create a damage inventory
For each damaged or destroyed item, list:
- Description of the item
- Brand and model, if known
- Approximate purchase date
- Estimated replacement cost
- Condition before the loss
- Photo or video reference
If you already have a home inventory, today is the day it becomes the hero of the story. If you do not, start building one from memory, receipts, old bank statements, email purchase confirmations, photos, warranty records, and cloud backups. It will not be glamorous, but it will be useful.
Do not throw away damaged property too soon unless it creates a health or safety risk. The adjuster may need to inspect it. If you must remove something immediately, photograph it from multiple angles first.
Step 4: Notify the Insurance Company Right Away
Once you know you are likely filing, report the claim as soon as possible. Most insurers let you do this online, through an app, over the phone, or through your local agent. The sooner you file, the sooner the claim gets assigned, and that matters even more after a regional catastrophe when thousands of other homeowners are lining up with the exact same idea.
Have this information ready when you file:
- Your policy number, if available
- Date and approximate time of loss
- Cause of loss, if known
- Address of the damaged property
- Current contact information
- Whether the home is livable
- A quick summary of the damage
- Police report information if theft or vandalism was involved
Ask for the claim number and write it down immediately. Then ask what happens next, whether an adjuster will visit in person or virtually, whether you need estimates, whether a proof-of-loss form is required, and how temporary repair expenses should be submitted.
If the loss involves a federally declared disaster, hold on to every settlement letter, denial letter, and claims communication. Those documents may also be important if you later seek disaster assistance for losses insurance does not cover.
Step 5: Work With the Adjuster, but Stay Actively Involved
After the claim is opened, the insurer typically assigns an adjuster. That person evaluates damage, reviews documentation, and helps determine what the company will pay. Be polite, cooperative, and organized. Also be alert. This is a professional process, not a magical fairness machine.
When the adjuster visits, walk through the damage together. Use your photos, inventory, receipts, contractor notes, and repair estimates to support your position. Show structural damage, hidden moisture concerns, damaged personal property, and temporary repairs you already made.
During the adjuster visit, remember these rules
- Take notes on what the adjuster inspects
- Ask questions about anything missing from the scope
- Request clarification on depreciation, exclusions, and next steps
- Keep copies of everything you submit
- Follow up in writing after major conversations
A claim diary is incredibly helpful here. Track dates, names, phone numbers, what was discussed, what was promised, and when you expect the next update. It sounds old-school, but it works because memory gets fuzzy fast when you are juggling contractors, cleanup, hotel bookings, and a dishwasher that now thinks it is a submarine.
Step 6: Understand How Claim Payments Usually Work
Many homeowners are surprised to learn that insurance claim payments do not always arrive in one neat, movie-style check. Depending on your policy and the type of loss, payment can come in stages.
If you have actual cash value coverage, the insurer may pay the current value of damaged property after depreciation. If you have replacement cost coverage, the company may first issue an initial payment based on estimated actual cash value, then release additional money after repairs or replacement are completed and you submit receipts. In plain English: the first check may not be the final check.
Also, if you have a mortgage, the repair payment for dwelling damage may be issued to both you and your mortgage servicer. That means you often cannot just cash it and move on with your day. The lender may hold funds and release them in stages as the work progresses.
Other payments you may need to track
- Additional living expenses: hotel, rent, pet boarding, parking, laundry, and extra meal costs if the home is uninhabitable
- Debris removal: cleanup and hauling costs
- Temporary repair reimbursement: tarps, plywood, emergency plumbing, water extraction
- Personal property replacement: especially if contents are claimed separately from structural damage
Read the estimate carefully. Make sure line items are included for everything that is actually damaged. If hidden damage appears later, tell the adjuster right away. Claims can sometimes be supplemented or reopened when additional covered damage is discovered.
Step 7: Get Repair Estimates and Choose Contractors Carefully
Even if your insurer has preferred vendors or a repair network, you still want to understand the numbers. Get detailed written estimates for major repairs when appropriate, especially if the insurer’s estimate looks suspiciously optimistic. “We can fix the entire kitchen for the price of one fancy toaster” is not the confidence-building message insurers think it is.
Vet contractors carefully. After major storms and wildfires, scammers show up almost as fast as utility trucks. Avoid anyone who pressures you to sign immediately, asks for large cash payments up front, offers to waive your deductible, or pushes legal documents you do not understand, including assignments of benefits. Verify licenses, read reviews, and do not let a random stranger in a branded polo shirt become the CEO of your rebuilding project.
Step 8: Push Back If the Settlement Looks Too Low
You are allowed to question an estimate. You are allowed to ask why certain items were excluded. You are allowed to request a revised scope. In fact, you should do exactly that if the insurer’s numbers do not reflect the actual damage.
If you disagree with the settlement, gather support before you complain. Useful evidence includes contractor estimates, expert reports, repair invoices, photos, receipts, product information, and written explanations of why the insurer’s valuation is incomplete or too low.
Escalation options may include:
- Requesting a claim review from a supervisor
- Submitting a written dispute or supplemental claim
- Using appraisal if your policy includes it and the dispute is mainly about value
- Hiring a licensed public adjuster when appropriate
- Filing a complaint with your state insurance department
- Consulting an attorney for major disputes or bad-faith concerns
Keep emotions out of your written communication as much as possible. “Please explain why the roof decking was excluded despite visible water intrusion and the contractor report attached” tends to work better than “Your estimate was apparently calculated with a dartboard.”
Common Mistakes That Can Hurt a Homeowners Insurance Claim
- Waiting too long to file the claim
- Failing to stop additional damage
- Throwing away damaged items too early
- Not reading the policy before arguing about coverage
- Forgetting to track hotel, meal, and cleanup expenses
- Accepting a low estimate without reviewing it line by line
- Using vague descriptions like “stuff in bedroom got ruined”
- Hiring the first contractor who knocks on the door
- Ignoring depreciation and replacement cost rules
- Failing to keep a written record of conversations
A Simple Example of the Claims Process
Suppose a windstorm drops a tree limb through your roof. You confirm the house is safe, photograph the damage, move electronics out of the wet area, and pay for an emergency tarp. You notify the insurer that same day, get a claim number, and log all your expenses. The adjuster inspects the damage, and your roofing contractor submits a detailed estimate showing the insurer missed underlayment and interior drywall work. You send the contractor report, ask for a supplement, and the insurer revises the estimate. Because your family has to stay elsewhere for a week, you submit hotel and meal receipts under loss-of-use coverage. You finish repairs, send final invoices, and recover the remaining replacement cost payment. That is how an organized claim usually wins: not by drama, but by documentation.
Final Thoughts
Filing a homeowners insurance claim after a loss is not exactly fun. Nobody wakes up hoping to compare drywall estimates or debate depreciation on a five-year-old sofa. But if you move quickly, document everything, understand your policy, and stay involved from start to finish, you give yourself the best chance at a fair outcome.
The key is not perfection. It is consistency. Take photos. Save receipts. Ask questions. Read the estimate. Follow up in writing. Repeat as needed. Insurance claims reward the homeowner who is calm, organized, and just persistent enough to make “let me check on that” turn into actual progress.
And when this is all over, make a fresh home inventory and store it somewhere safe. Future-you will be deeply grateful, even if present-you would rather never hear the phrase “proof of loss” again.
Real-World Experiences and Lessons From Filing a Claim After a Loss
One homeowner dealing with a kitchen fire learned very quickly that smoke damage is sneaky. The flames were contained fast, so the family assumed the claim would be straightforward. It was not. Cabinets looked fine at first glance, but the odor had worked its way into porous materials, insulation, and upholstery. The lesson was simple: visible damage is only part of the story. During the adjuster visit, the homeowner walked room by room and pointed out where smoke had traveled, which helped expand the scope beyond the obvious burn area. That extra attention probably saved thousands in overlooked repairs.
Another family filed after a burst pipe while they were away for a weekend. Their smartest move was not fancy. They had cloud-stored photos of every room from a recent remodel. Those photos made it much easier to prove what the home looked like before the loss and which items were damaged. They also kept every single receipt for fans, dehumidifiers, and temporary lodging. The family said the claim still took patience, but having records turned the process from a debate into a checklist.
A homeowner after a hailstorm had the opposite problem: too many people offering help. Contractors appeared almost immediately, some promising they could “handle everything” and make the insurer pay more. One even offered to waive the deductible, which sounded amazing right up until it sounded illegal. The homeowner slowed down, checked licenses, called the insurance company first, and got multiple estimates. That pause prevented a bad decision at a time when urgency felt overwhelming. The biggest lesson was that speed matters when reporting a claim, but haste is dangerous when choosing who repairs your home.
There is also a common emotional lesson people do not talk about enough: claims are tiring. Even competent insurers and honest contractors still require follow-up, signatures, scheduling, and a weird number of spreadsheets. One policyholder said the best thing they did was start a claim binder with tabs for receipts, letters, estimates, and notes from every phone call. It sounds delightfully unexciting, which is exactly why it works.
Across these experiences, the same themes come up again and again. Homeowners who do best are the ones who document early, communicate clearly, stay organized, and review every estimate before agreeing to it. The process may not be fast, and it definitely is not glamorous, but it becomes much more manageable when you treat the claim like a project instead of a panic. That mindset shift can make a rough season feel a lot less chaotic.