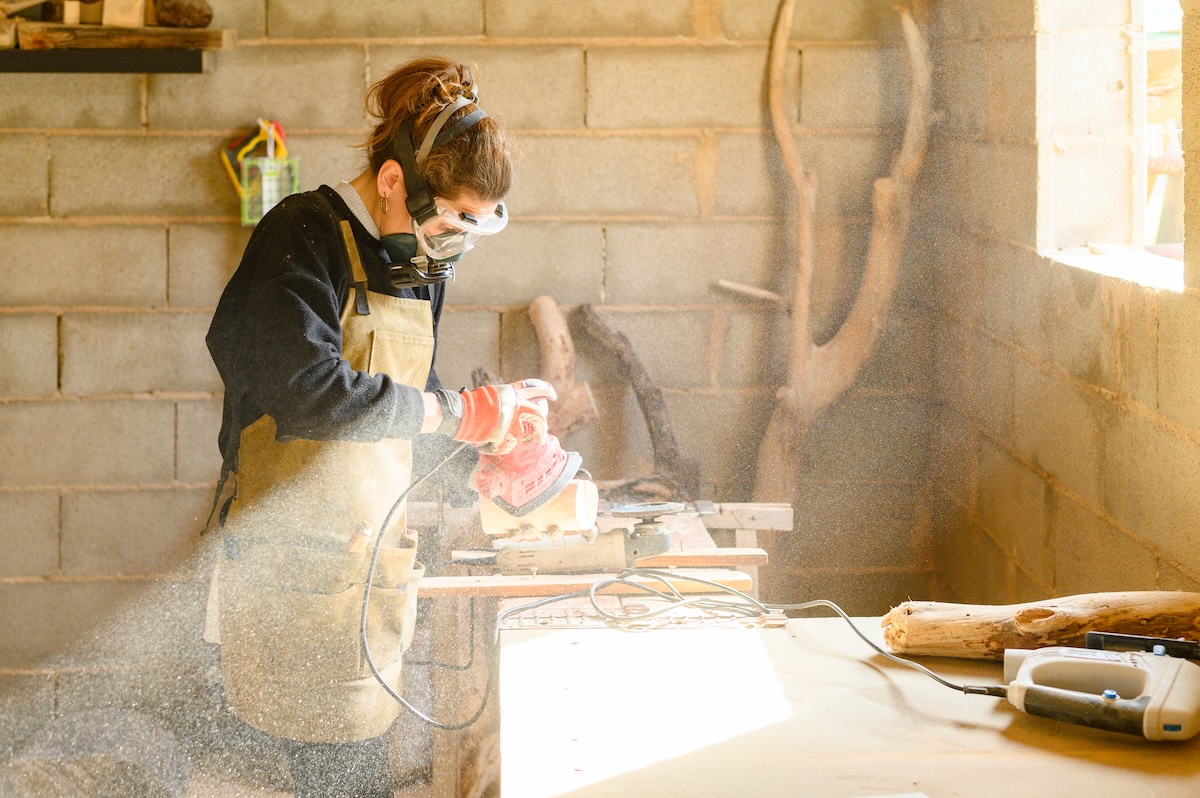
If you’ve ever looked at a plain doorway and thought, “You know what this needs? More charm. And fewer hinges,” a sliding barn door might be your new favorite weekend project. It saves swing space, adds character, and gives a room that custom-built look without requiring a full renovation. Better yet, a DIY sliding barn door can be built with straightforward materials, basic carpentry tools, and a little patience.
The trick is building a door that looks great and glides smoothly. That means paying attention to barn door measurements, choosing the right barn door hardware, and making sure the wall can actually support the track. In other words, this is not the time for vibes-only construction. This guide walks you through how to build a sliding barn door from planning to final adjustment, with practical advice that helps you avoid the classic mistakes: a door that scrapes, wobbles, gaps too much, or sounds like a shopping cart with trust issues.
Why Choose a DIY Sliding Barn Door?
A sliding barn door is a smart solution when a traditional swinging door eats up too much floor space. That makes it especially useful for pantries, laundry rooms, offices, closets, and some bathrooms. It can work in rustic, modern farmhouse, minimalist, industrial, or even contemporary interiors depending on the wood species, finish, and track style you choose.
Still, let’s be honest: a barn door is not magic. It does not seal like a standard hinged door, so privacy and sound control are not its greatest talents. If you’re building one for a home office or pantry, excellent. For a hallway bathroom right next to the dinner table, think twice. Beautiful design should not come at the cost of hearing every cough in surround sound.
Before You Build: Measure the Opening and the Wall
Measure the doorway opening
Start by measuring the width and height of the opening. Measure in more than one place because old houses love surprises. Record the widest width and the tallest height. If your opening has trim or casing, measure to the outside edges of that trim, not just the inner opening.
Size the door correctly
A good rule of thumb for an interior barn door is to make the slab slightly larger than the opening so it overlaps the sides and top. In many DIY layouts, that means adding about 1 inch on each side and about 1 inch above the opening. Some builders go a little wider depending on trim, privacy needs, and style. The point is simple: if the door is too small, it will look skimpy and leave awkward gaps. If it is too big, it may crash into trim, switches, or nearby walls.
Check slide clearance
The door needs enough empty wall space beside the opening to slide completely open. If the wall is crowded with a thermostat, light switch, artwork, or a console table you definitely swear you’ll move later, fix that now. A sliding barn door only looks elegant when it has somewhere to go.
Choose the track length
For a single sliding barn door, the track is commonly sized at about twice the width of the opening or door panel so the slab can slide fully clear. Always verify your specific barn door hardware kit because roller style and stop placement can change the exact requirements.
Materials and Tools You’ll Likely Need
Materials
For the door itself, many DIY builders use pine boards, common boards, plywood with trim, cedar, or reclaimed wood. If you want a lighter door, a plywood core with face trim can be easier to manage than a thick solid-wood slab. You’ll also need wood glue, screws, filler, sandpaper, stain or paint, and a barn door hardware kit that includes the track, rollers, spacers, stops, and floor guide.
Tools
A tape measure, level, drill/driver, stud finder, saw, clamps, sander, and square will cover most builds. A pocket hole jig or brad nailer is helpful but not mandatory. If you can measure twice and cut once, you are already performing above average in the DIY Olympics.
Pick a Door Style That Matches Your Skill Level
Simple plank door
This is the easiest build: edge-joined boards reinforced on the back with battens or a frame. It works well for rustic and farmhouse interiors.
Frame-and-panel look
You can fake a more custom look by building a flat panel and adding face trim in a Shaker, X-brace, or chevron layout. This is a popular way to get a designer appearance without advanced joinery.
Modern slab style
If your home leans clean and contemporary, build a flat slab door with minimal trim and a smooth painted finish. Matte black track hardware usually pairs nicely with this style.
How To Build the Sliding Barn Door
Step 1: Cut the boards or panel to size
Use your finished door dimensions, not just the opening size. If you are building with vertical planks, cut them to the same length. If you’re using a plywood base, cut it cleanly and confirm the panel is square before moving on.
Step 2: Assemble the door body
For plank construction, line the boards up on a flat surface and clamp them together. Reinforce the back with horizontal battens, a perimeter frame, or pocket-screwed rails and stiles. For plywood construction, glue and nail decorative trim onto the face. The goal is a door that stays flat and rigid over time, not one that develops a dramatic twist like it’s auditioning for modern art.
Step 3: Add design details
This is where the door gets personality. You can add a Z-brace, diagonal pattern, inset trim, or a simple crossbuck layout. Keep the design proportional. Oversized trim on a small door can look busy, while too little detail on a large slab can feel unfinished.
Step 4: Sand everything well
Sand the face, edges, and back until the surface feels consistent. Round over sharp corners slightly so the door feels intentional and finished, not like a wooden accusation. Fill visible nail holes or gaps if you are painting.
Step 5: Stain or paint the door
Finish the door before installation whenever possible. It is easier, cleaner, and far less annoying. Stain brings out wood grain and suits rustic or natural interiors. Paint works especially well for modern, coastal, and transitional homes. Let the finish cure fully before hanging the door so you do not smudge your hard work five minutes before victory.
How To Install the Barn Door Hardware
Step 6: Find studs or install a backer board
This is the part that separates a proper sliding door installation from a future apology. The track must be anchored securely. If your studs do not line up with the hardware holes, install a solid wood backer board or blocking according to your kit instructions. Make sure it is level, because a crooked track will announce itself immediately every time the door starts drifting like it has life goals elsewhere.
Step 7: Mark the track height
Follow your hardware kit instructions closely here because roller designs vary. In general, you’ll mount the track high enough to create the proper gap under the door while allowing clearance above. A small gap at the floor is normal. Too little and the door rubs. Too much and it looks like it’s hovering in search of a landing zone.
Step 8: Install the track
Level the track carefully and fasten it according to the hardware specifications. Add the stops before final tightening if your kit requires that sequence. Double-check that the spacers, washers, and bolts are installed in the right order. Hardware kits are very confident in their diagrams, even when humans are not.
Step 9: Attach the rollers to the door
Mark the mounting locations precisely. Keep the rollers square to the top edge so the door hangs evenly. Install the handle or pull at a comfortable height. If you plan to recess a pull for a tight return wall, do that before hanging the door.
Step 10: Hang the door
With a helper, lift the door onto the track. This is rarely a one-person move unless your hobbies include competitive deadlifting. Once it is hanging, slide it gently to test travel and confirm it clears the trim, floor, and surrounding wall.
Step 11: Install the floor guide and safety hardware
Do not skip the floor guide. It keeps the door from swinging away from the wall and helps it move straight. Install end stops so the door cannot roll off the track, and use any anti-jump clips or blocks included in your kit. These parts are not decorative extras. They are the difference between “custom feature” and “gravity demonstration.”
Fine-Tuning for Smooth Operation
If the door rubs the floor
Recheck track height, roller adjustment, and floor guide placement. A door that rubs will only get more annoying over time.
If the door swings or wobbles
Make sure the floor guide is centered and secure. Confirm that the door bottom groove, if your system uses one, is aligned properly.
If the door won’t close cleanly
Check for out-of-level track installation, uneven trim, or warped lumber. Even a beautiful DIY sliding barn door can misbehave if the wall or slab is not true.
If privacy gaps feel too large
Use a slightly larger slab, adjust the wall spacing if allowed by the hardware, or add soft trim details nearby to reduce visual gapping. Just remember: barn doors are style-forward, but they are not airtight vault doors.
Design Tips That Make the Finished Door Look Better
Match the finish to your room’s mood. Warm wood tones create a cozy, handcrafted feel. Crisp white or muted gray feels cleaner and more modern. Black hardware gives strong contrast and works in almost every style. If your room already has a lot going on, keep the door design simple. If the room is plain, let the barn door be the star.
Also think about scale. A chunky, heavily distressed door can overwhelm a small hallway. A thin, flat slab may disappear in a larger room. The best interior barn door feels intentional, balanced, and just dramatic enough to earn compliments without begging for them.
Common Mistakes to Avoid
The biggest mistake is underestimating measurements. The second is assuming drywall alone can handle the load. The third is skipping the floor guide because it “seems optional.” It is not. Other avoidable issues include buying hardware before measuring the opening, ignoring nearby switches or vents, choosing a door style that is heavier than the track rating, and rushing the finish before the wood has been sanded properly.
One more thing: if the doorway needs strong acoustic privacy, a barn door may not be the best solution. Stylish? Absolutely. Silent? Not usually.
Final Thoughts
Learning how to build a sliding barn door is part carpentry, part planning, and part refusing to let one crooked measurement ruin your weekend. The good news is that the project is very achievable for an intermediate DIYer and still approachable for a careful beginner who is willing to measure thoroughly and follow the hardware instructions. Build the slab square, mount the track securely, use the proper safety components, and your finished barn door will look custom and glide like it belongs there.
Done well, a sliding barn door is more than a trend piece. It is a practical, space-saving feature that can improve how a room functions while adding warmth and personality. And every time it slides open smoothly, you get that deeply satisfying homeowner thought: “Yes, I made that.”
Hands-On Experience: What Building a Sliding Barn Door Usually Teaches You
There is a big difference between admiring a barn door online and actually building one in real life. On screen, it looks like a charming afternoon project with clean sawdust, photogenic tools, and suspiciously perfect lighting. In practice, the experience is a little messier and a lot more educational. Most people start out focused on the face of the door, obsessing over stain colors, hardware finishes, and whether the final look is more rustic farmhouse or modern industrial. Then the build begins, and reality gently taps them on the shoulder with a tape measure.
The first real lesson is that measuring matters more than style. Builders often discover that the opening is not perfectly square, the casing is slightly uneven, or the wall beside the door is full of things the barn door absolutely cannot slide over. Suddenly, the project becomes less about decorative taste and more about geometry, wall structure, and patience. It is not glamorous, but it is the reason a finished door looks polished instead of improvised.
The second lesson is that weight changes everything. A solid wood door feels luxurious until it is time to lift it. That is when many DIYers become believers in dry-fitting, asking for help, and checking the hardware rating twice. A lighter plywood-and-trim build often ends up being easier to install, easier to adjust, and kinder to both the wall and the person doing the hanging. Experience tends to replace the phrase “I want the heaviest, most authentic slab possible” with “I want this to move smoothly and not destroy my shoulder.”
Another common takeaway is that the hardware installation is the true make-or-break moment. A beautiful door can still feel cheap if the track is slightly off level or loosely fastened. Builders who have done this project usually say the same thing afterward: spend more time on layout than you think you need. Mark the studs carefully. Check level more than once. Read the instruction sheet before holding a drill in one hand and your confidence in the other.
Then there is the floor guide, the humble little part that people underestimate until they see what happens without it. A barn door without a guide can swing, drift, and bump in a way that makes the whole setup feel unfinished. Once the guide is installed correctly, the door suddenly behaves like a built-in architectural feature instead of a decorative panel on wheels.
Finally, building a sliding barn door teaches a broader DIY truth: the projects that look simple from a distance are usually the ones most dependent on planning. Still, that is exactly what makes the experience rewarding. You begin with a stack of boards and a blank opening, and you end with something functional, attractive, and undeniably satisfying. Not because it was effortless, but because each small decision added up to a result you can use every day.