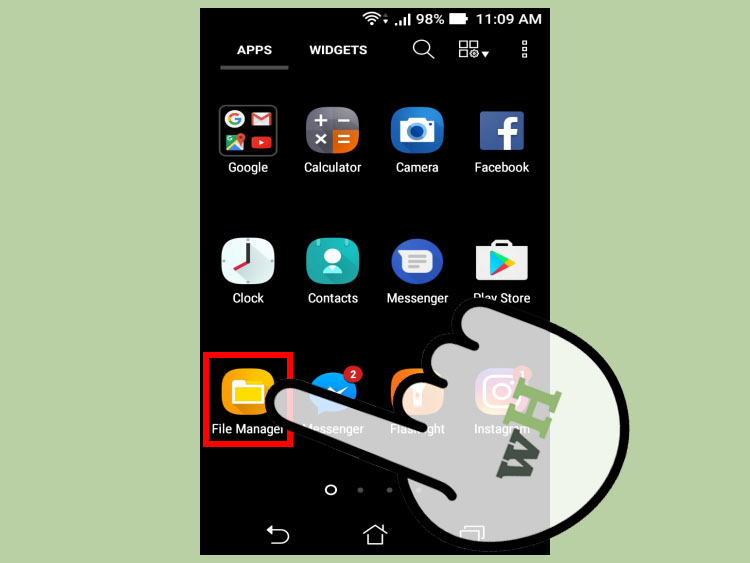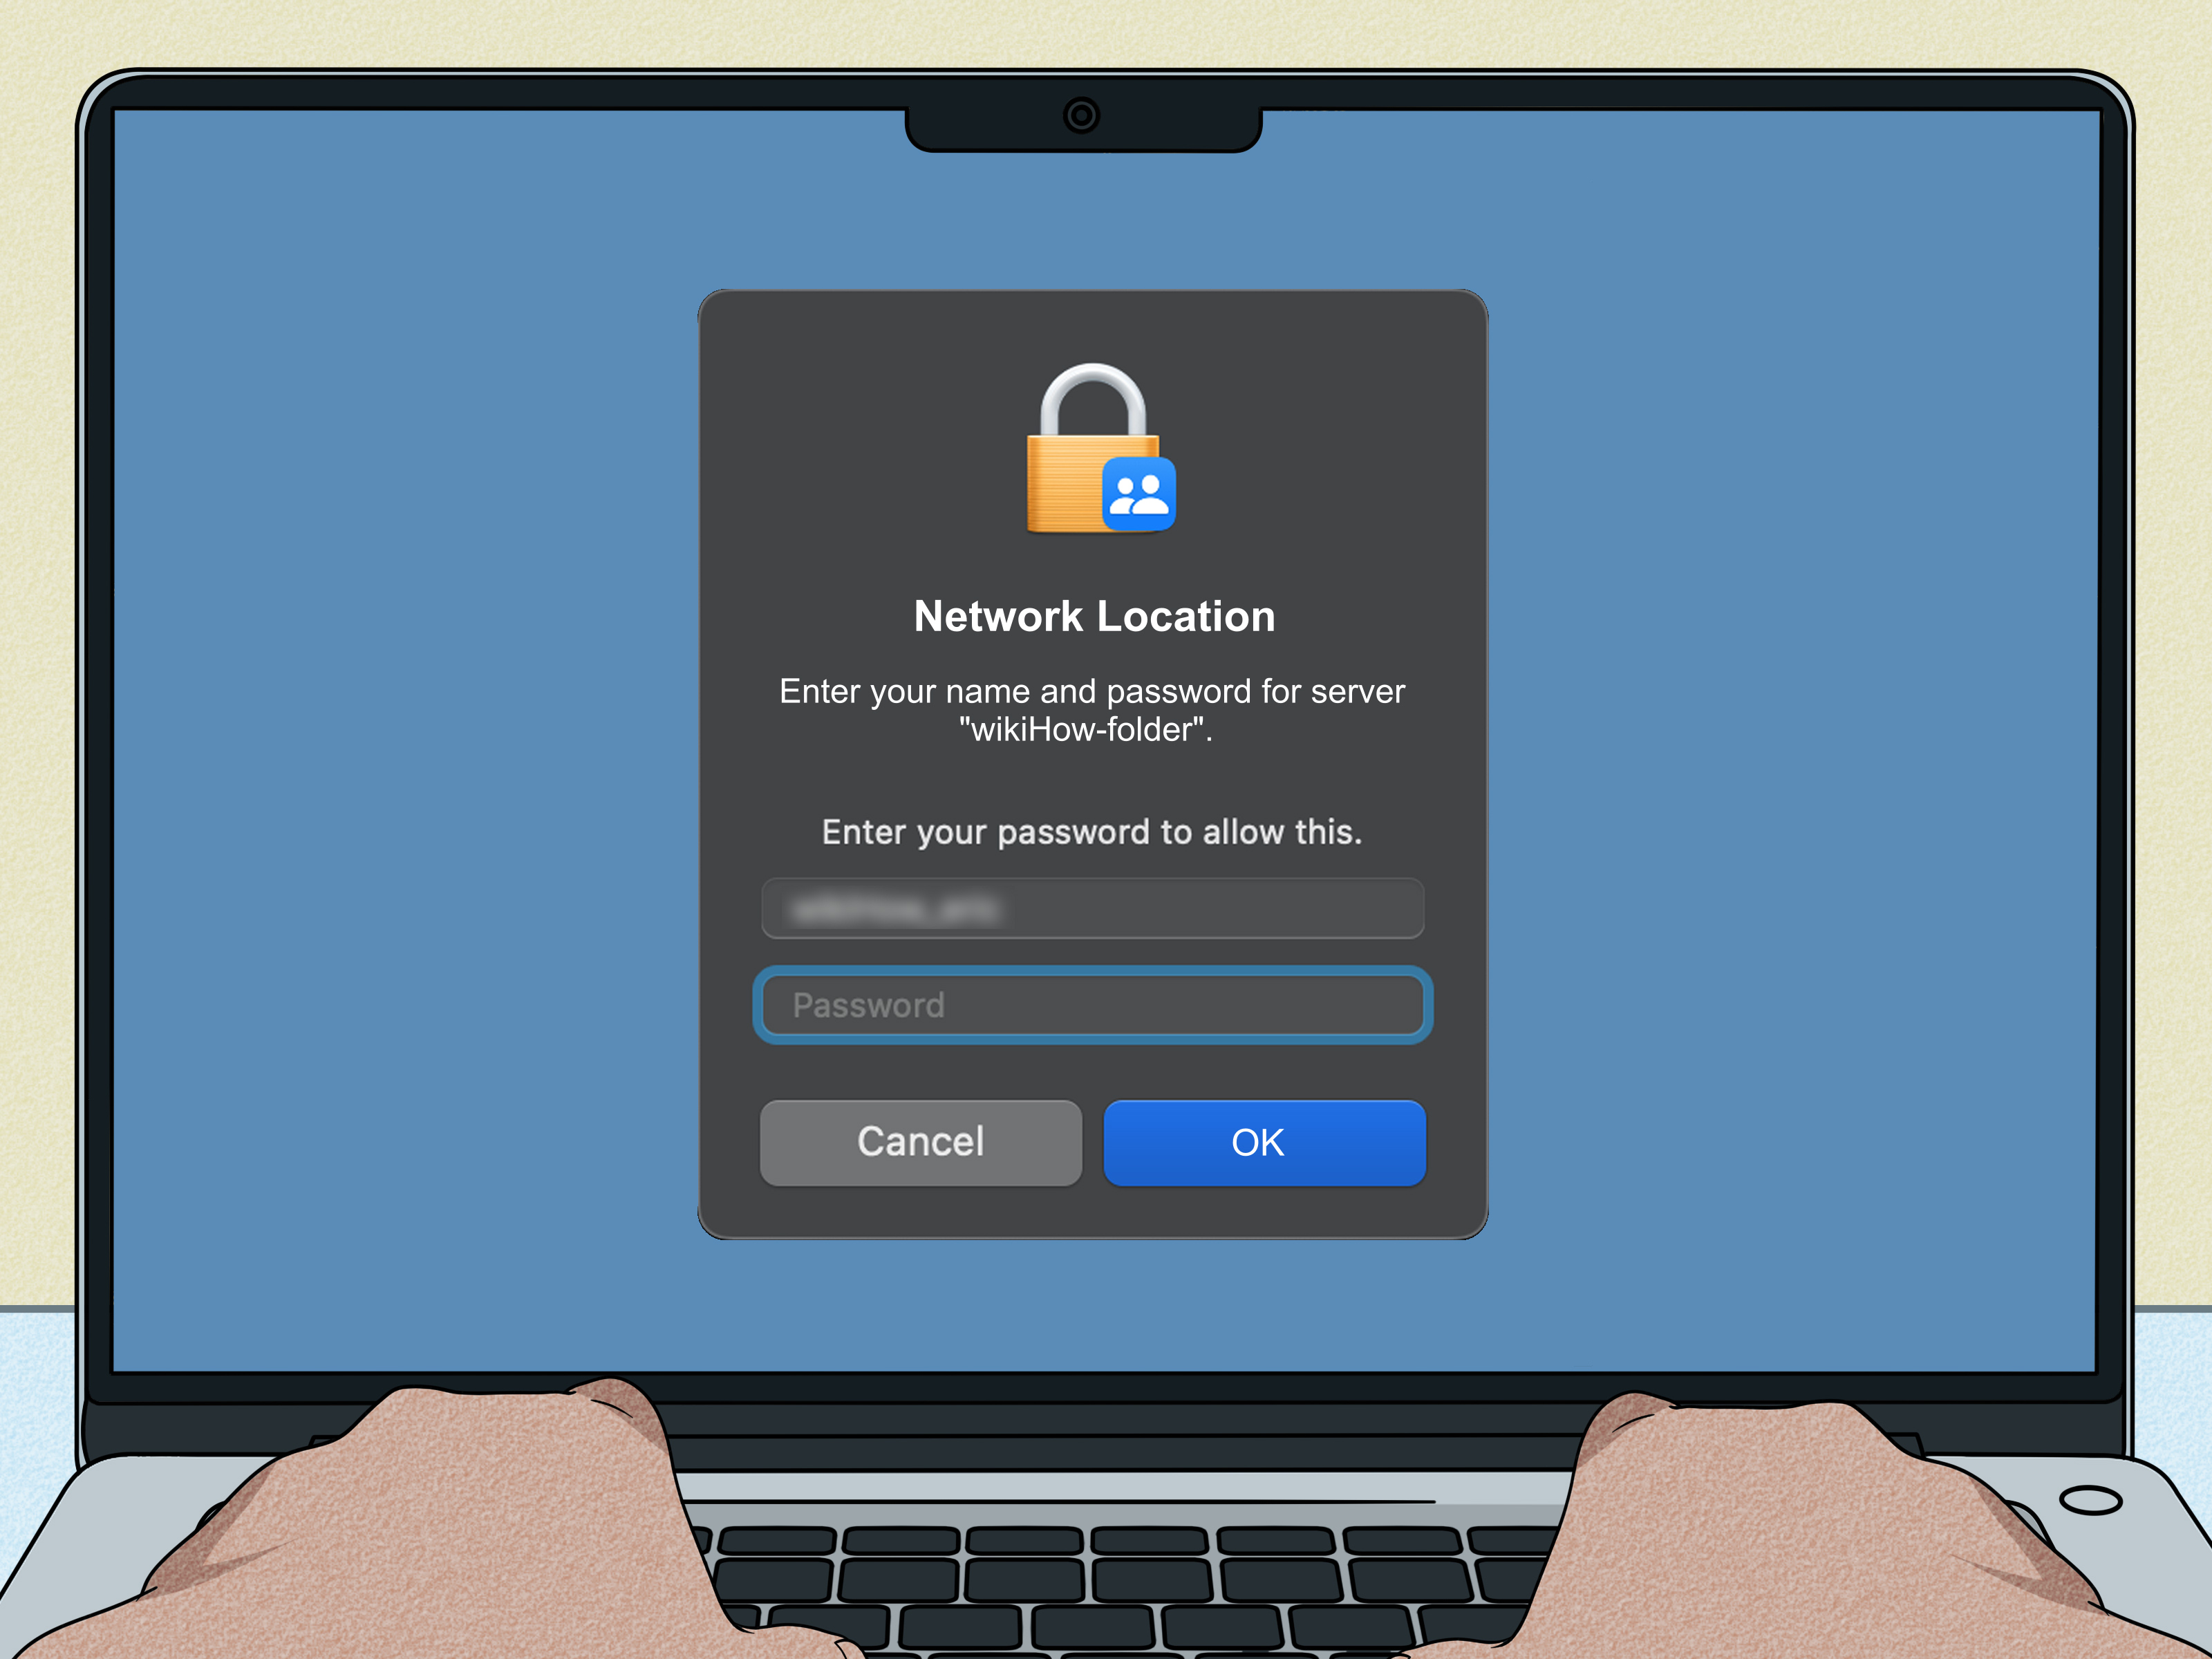
Accessing shared folders on a network sounds like one of those tasks that should be easyright up there with “plug in the printer” and “just restart it.” Then suddenly you are staring at a login prompt, a missing computer name, or a folder that was definitely there yesterday. Do not worry. The folder has not joined witness protection. Most of the time, the fix is simply knowing where to look, what address to type, and which permissions are blocking the door.
This guide explains how to access shared folders on a network using Windows and Mac, including the easiest methods, direct network paths, mapped drives, SMB connections, permissions, and common troubleshooting steps. Whether you are sharing files at home, working in a small office, connecting to a NAS device, or trying to grab one spreadsheet from another computer before the meeting starts, this step-by-step walkthrough will help you get connected without sacrificing your afternoon to the networking gremlins.
What Is a Shared Folder on a Network?
A shared folder is a folder stored on one computer, server, NAS device, or network drive that other approved users can open from another device on the same network. Instead of emailing files to yourself like it is still 2004, you can place documents, photos, installers, backups, or team files in one shared location and access them from Windows PCs, Macs, and sometimes mobile devices.
Most Windows and Mac shared folders use SMB, short for Server Message Block. SMB is the standard file-sharing protocol used by Windows and widely supported by macOS. When you type a Windows network path such as \\Office-PC\Projects or a Mac SMB address such as smb://Office-PC/Projects, you are usually asking your device to connect through SMB.
Before You Start: What You Need
Before trying to open a shared network folder, gather a few basics. This small checklist can save you from the classic “why is this not working?” spiral.
- The shared folder name: For example,
Projects,Photos, orAccounting. - The computer or server name: For example,
OFFICE-PC,DESIGN-MAC, orNAS-01. - The IP address, if needed: For example,
192.168.1.25. - A valid username and password: Especially if password-protected sharing is enabled.
- The correct permissions: You need at least read permission to open files, and write permission to edit or add files.
- The same network connection: Your device usually needs to be on the same Wi-Fi, Ethernet network, VPN, or trusted office network.
If you do not know the computer name or folder name, ask the owner of the shared folder. If you are the owner, good news: you can ask yourself. Bad news: you still have to remember what you named it.
How to Access Shared Folders on Windows
Windows offers several ways to access shared folders: through File Explorer, by typing the network path directly, or by mapping the folder as a network drive. The best method depends on whether you need quick one-time access or a folder you will use every day.
Method 1: Open Shared Folders from File Explorer
- Press Windows + E to open File Explorer.
- In the left sidebar, select Network.
- Wait for available computers and devices to appear.
- Double-click the computer that hosts the shared folder.
- Open the shared folder you need.
- If prompted, enter the username and password for the host computer or server.
This method is convenient when network discovery is working properly. If the computer does not appear under Network, do not panic. Network browsing can be fussy, especially on mixed Windows and Mac networks. Direct access by address is often faster and more reliable.
Method 2: Access a Shared Folder Using a Network Path
For direct access, type the folder path into File Explorer’s address bar. Use this format:
For example:
You can also use the IP address of the computer or server:
Using the IP address is helpful when the computer name does not resolve correctly. It is not glamorous, but it gets the job donelike a networking crowbar.
Method 3: Map a Shared Folder as a Network Drive
If you access the same folder often, mapping it as a network drive makes it appear in File Explorer like a regular drive. You can assign it a drive letter such as Z:, P:, or whatever letter makes your inner organizer happy.
- Open File Explorer.
- Select This PC from the left sidebar.
- Choose Map network drive from the toolbar or the more options menu.
- Select a drive letter.
- Enter the folder path, such as
\\Office-PC\Projects. - Check Reconnect at sign-in if you want Windows to remember it.
- Select Finish.
- Enter credentials if prompted.
Mapped drives are ideal for team folders, media libraries, accounting files, design assets, backups, and shared workspaces. Just remember: a mapped drive depends on the network. If the server is asleep, disconnected, renamed, or hiding under a desk with one blinking light, the drive may show as unavailable.
How to Share a Folder from Windows
If you are trying to access a shared folder from another device, the folder must first be shared on the host Windows PC. Here is the basic process.
- Right-click the folder you want to share.
- Select Show more options if needed.
- Choose Give access to or Properties > Sharing.
- Select the users who should have access.
- Choose permission level, such as Read or Read/Write.
- Apply the changes and note the network path Windows provides.
For smoother access, make sure the Windows PC is using a private network profile, not a public one. Public networks are designed to be cautious, which is excellent at an airport and annoying in your living room. You may also need to turn on Network discovery and File and printer sharing in advanced sharing settings.
How to Access Shared Folders on a Mac
Mac users can access Windows shared folders, Mac shared folders, servers, and NAS devices through Finder. The main tool is Connect to Server, which lets you enter an SMB address directly.
Method 1: Browse Network Shared Folders in Finder
- Open Finder.
- Look in the sidebar for Network.
- Select the computer, Mac, server, or NAS you want to connect to.
- Click Connect As if prompted.
- Enter your username and password.
- Choose the shared folder you want to mount.
After connecting, the shared folder may appear on the desktop or in the Finder sidebar, depending on your Finder settings. If you want connected servers to show on the desktop, open Finder settings and enable connected servers under the General options.
Method 2: Connect to a Shared Folder Using SMB
The most reliable Mac method is to use the SMB address directly.
- Open Finder.
- From the menu bar, select Go > Connect to Server.
- Enter the server address in this format:
For example:
Or use the IP address:
- Click Connect.
- Choose Registered User if credentials are required.
- Enter the correct username and password.
- Select the folder volume you want to mount.
Using smb://IPaddress/ShareName is often the quickest fix when the Mac cannot find the Windows computer by name. Computer names are convenient, but IP addresses are blunt and effective, like telling your GPS, “No scenic route. Just take me there.”
Method 3: Save a Favorite Server on Mac
If you connect to the same shared folder regularly, save it as a favorite server.
- Open Finder.
- Choose Go > Connect to Server.
- Enter the SMB address.
- Click the plus button to add it to your favorite servers.
- Connect whenever you need it without retyping the full address.
This is especially helpful in offices where shared folders have names like Archive_Final_UseThisOne_Really. Save it once and spare yourself future folder archaeology.
How to Share a Folder from a Mac
A Mac can share folders with other Macs and Windows PCs. To make Mac files available over the network, turn on File Sharing and enable SMB if Windows users need access.
- Open the Apple menu.
- Go to System Settings.
- Select General, then choose Sharing.
- Turn on File Sharing.
- Add the folder you want to share under shared folders.
- Set permissions for each user or group.
- Open sharing options and enable Share files and folders using SMB.
- If Windows users need to connect, enable the relevant user account for Windows file sharing.
Once sharing is enabled, Windows users can usually connect by typing a path such as:
If that does not work, use the Mac’s IP address:
Make sure the Windows user has permission to access the Mac folder. Sharing is not magic; it is more like a locked filing cabinet with Wi-Fi. The right key still matters.
Windows and Mac Network Path Examples
Network paths look different depending on which system you are using. Here are the formats you will use most often.
Windows Path Examples
\\Office-PC\Projects\\192.168.1.25\Projects\\NAS-01\Backups
Mac SMB Address Examples
smb://Office-PC/Projectssmb://192.168.1.25/Projectssmb://NAS-01/Backups
Here is the simplest rule: Windows usually starts with two backslashes. Mac SMB addresses usually start with smb://. Mix them up and your computer will look at you with the digital equivalent of a raised eyebrow.
Understanding Permissions: The Part Everyone Forgets
When a shared folder will not open, people often blame Wi-Fi, Windows updates, macOS, the router, Mercury in retrograde, and sometimes the office intern. But the real cause is often permissions.
There are two major permission layers to understand:
- Sharing permissions: These control who can access the folder over the network.
- File system permissions: These control what users can do with the files on the computer itself.
If a user has network sharing permission but not file system permission, access may still fail. If a user can read but not write, they may open files but cannot save changes. If they have no permission at all, they will meet the dreaded “access denied” message, also known as the bouncer of network storage.
Troubleshooting Shared Folder Access
If you cannot access a shared folder on your network, work through these practical checks.
1. Confirm Both Devices Are on the Same Network
Make sure both computers are connected to the same router, Wi-Fi network, Ethernet network, or VPN. Guest Wi-Fi networks often block access to local devices. That is great for coffee shops and bad for file sharing at home.
2. Try the IP Address Instead of the Computer Name
If \\Office-PC\Projects or smb://Office-PC/Projects fails, try the IP address. Name resolution is convenient when it works and mysterious when it does not.
3. Check Network Discovery and File Sharing on Windows
On Windows, confirm that network discovery and file and printer sharing are enabled for the correct network profile. If the PC is marked as public, Windows may hide it from the network.
4. Check SMB Sharing on Mac
On Mac, confirm that File Sharing is turned on and that SMB sharing is enabled. Also check that the user account allowed for sharing has a password. Windows connections generally work best with named user accounts rather than anonymous access.
5. Check the Firewall
Firewalls can block file sharing. SMB commonly relies on TCP port 445. On a trusted local network, the host computer must allow file sharing traffic. However, you should not open SMB to the public internet. If remote access is needed, use a secure VPN or a managed cloud storage option instead.
6. Restart the Devices
Yes, it is the oldest advice in tech support. Yes, it still works more often than anyone wants to admit. Restart the computer hosting the share, the computer trying to connect, and if needed, the router.
7. Re-enter Credentials
Saved passwords can become outdated after account changes. On Windows, check Credential Manager. On Mac, check saved passwords in Keychain Access if the system keeps using an old login.
Security Tips for Shared Network Folders
Shared folders are useful, but sloppy sharing can become a security headache. A shared folder should be easy for the right people to access and hard for everyone else to touch.
- Use strong passwords for accounts that access shared folders.
- Avoid guest access unless you have a specific reason.
- Give users only the permissions they need.
- Use read-only access for folders that should not be edited.
- Do not expose SMB shares directly to the internet.
- Keep Windows, macOS, NAS firmware, and router firmware updated.
- Remove old user accounts that no longer need access.
- Back up important shared folders regularly.
The goal is simple: make file sharing convenient, not chaotic. A good shared folder setup should feel boring. In networking, boring is beautiful.
Best Practices for Home and Office Networks
For a home network, keep shared folders simple. Create one or two clearly named folders, such as Family Photos, Scans, or Media. Avoid sharing your entire user folder unless you truly need to. Sharing everything is like handing someone your whole closet when they only asked for a sweater.
For a small office, organize shared folders by department, project, or function. Use names that people can understand without decoding a secret map. Good examples include Accounting, Marketing Assets, Client Projects, and Templates. Bad examples include Stuff, New Folder 7, and DO_NOT_DELETE_FINAL_FINAL2, though we have all met that last one.
If multiple people edit files, consider version control habits. Do not let five people open the same spreadsheet from a shared folder and start making changes without a plan. Shared folders are excellent for access, but they do not automatically solve collaboration conflicts. For live co-authoring, cloud platforms may be better. For storing stable files, installers, reference documents, exports, and archives, network shared folders are still extremely practical.
When a Network Folder Is Better Than Cloud Storage
Cloud storage is convenient, but network shared folders still have strong advantages. A local shared folder can be faster for large files, especially videos, design files, backups, and disk images. It can also work without uploading sensitive data to a third-party platform. In offices with a NAS or local server, shared folders remain one of the simplest ways to centralize files.
That said, local shared folders depend on your network. If you leave the office, you may need a VPN to connect securely. If the host computer is turned off, the folder disappears. If the router is having a dramatic day, everyone gets to participate. Choose the tool that fits the job: local shares for fast internal access, cloud storage for easy remote collaboration, and backups for the day someone accidentally deletes the “Important” folder.
Real-World Experience: Lessons from Accessing Shared Folders on Windows and Mac
In real life, accessing shared folders on a network is rarely difficult because the steps are impossible. It is difficult because small details pile up. One device is on guest Wi-Fi. Another has file sharing disabled. A Mac is using the computer name while Windows only responds to the IP address. Someone changed a password three months ago and forgot that the mapped drive was still using the old one. The technology is not always broken; it is just extremely literal.
One of the most useful habits is to write down the exact network path as soon as a shared folder works. For example, if \\NAS-01\ClientFiles works on Windows and smb://NAS-01/ClientFiles works on Mac, save those addresses in a team note or onboarding document. This prevents the “ask Sarah, she set it up” problem, especially when Sarah is on vacation and the folder contains the presentation due in 11 minutes.
Another lesson: IP addresses are often the fastest troubleshooting tool. Computer names can fail because of DNS, workgroup settings, router quirks, sleep states, or general network moodiness. If the name fails but the IP address works, you have learned something valuable. The share exists. Permissions probably work. The issue is likely name resolution, not the folder itself. That single test can cut troubleshooting time dramatically.
Credentials are another common source of confusion. A Windows user may try signing in from a Mac using only a first name, while the shared PC expects a full local username or a Microsoft account-style login. A Mac user may enable File Sharing but forget to allow the specific account for SMB access. The fix is not glamorous, but it is consistent: confirm the exact account, confirm the password, and confirm that the account has permission to the shared folder.
For mixed Windows and Mac environments, SMB is the friend that keeps everyone speaking the same language. It is usually better to connect directly with smb:// on Mac than to wait for browsing to behave. In offices, saving favorite servers on Mac and mapping network drives on Windows makes daily access smoother. Users should not have to memorize network paths like they are studying for a wizard exam.
Security also becomes more important with experience. At first, it is tempting to give everyone read/write access just to make the error messages go away. That works until someone accidentally moves a folder, overwrites a template, or deletes last year’s archive. A better approach is to create clear groups: read-only users, editors, and administrators. Most people do not need full control. They need enough access to do their job and not enough access to create a digital bonfire.
Finally, good naming saves everyone time. A shared folder called Projects is better than Share. A server called Office-NAS is better than DESKTOP-A7XQ92L. Clear names reduce mistakes, speed up support, and make the network feel less like a haunted house. The best shared folder setup is the one people can use without asking for help every Monday morning.
Conclusion
Learning how to access shared folders on a network is one of those practical tech skills that pays off immediately. On Windows, you can browse through File Explorer, type a direct path like \\ComputerName\ShareName, or map the folder as a network drive. On Mac, Finder and Connect to Server make it easy to connect with an SMB address like smb://ComputerName/ShareName. When things go wrong, focus on the basics: same network, correct path, valid credentials, proper permissions, SMB enabled, and firewall settings that allow local file sharing.
Once everything is configured, shared folders can make file access faster, cleaner, and far less dependent on email attachments named final-final-really-final.pdf. Set up your folders thoughtfully, protect them with sensible permissions, and document the paths people need. Your future selfand everyone who has ever searched for “where did the file go?”will thank you.