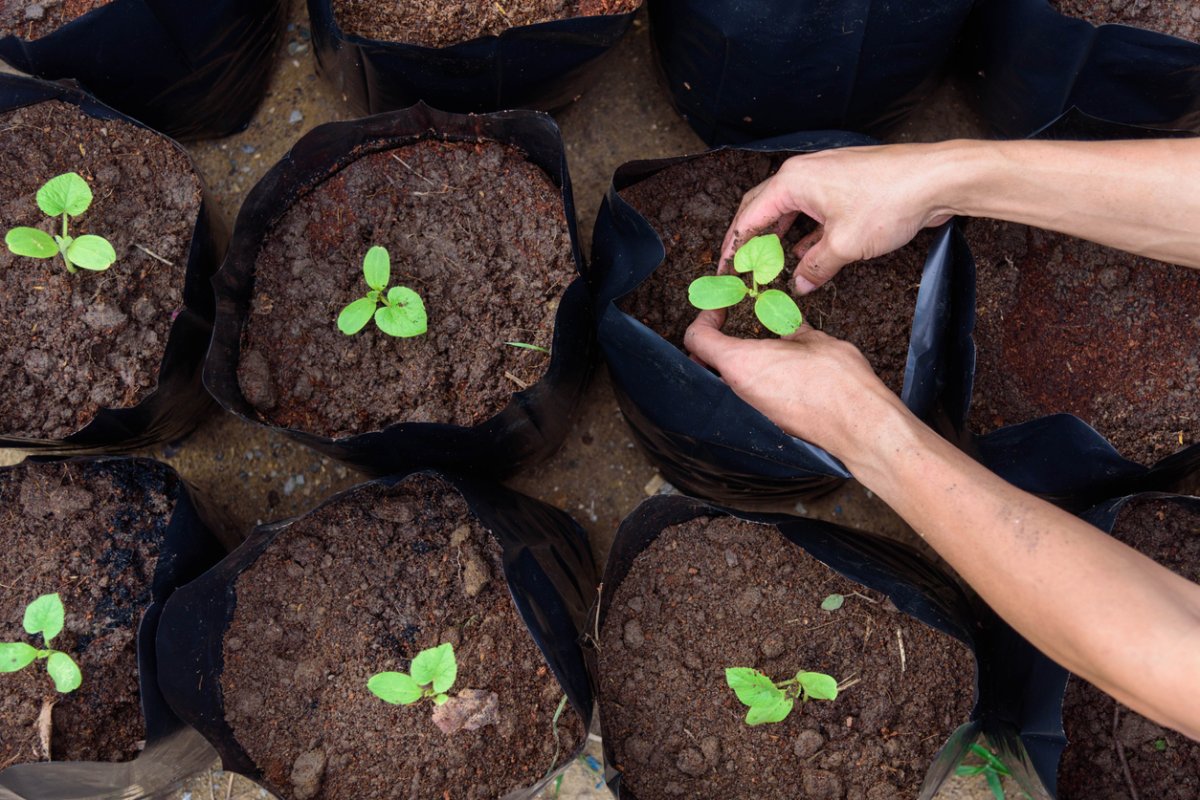
Grow bag gardening is the practical middle ground between digging up the yard and trying to raise a driveway, rooftop, patio, or sunny corner into a productive miniature garden. They are light when empty, fold flat for storage, and give roots something rigid pots cannot: breathable walls.
That breathability is both the grow bag’s superpower and its most demanding trait. Airflow supports healthy roots and fast drainage, but the potting mix can dry quickly. Understanding the pros, cons, sizing, soil, watering, and plant choices will help you enjoy the benefits without becoming a full-time irrigation technician.
What Is Grow Bag Gardening?
A grow bag is a flexible planting container made from porous fabric, felt-like material, woven plastic, or another breathable textile. Sizes range from small herb bags to large portable raised beds, and many models include handles.
When roots reach the drier, airy edge of a fabric bag, their tips stop extending and branch behind the tip. This process, called air pruning, encourages a dense, fibrous root system instead of the circling roots often found in hard-sided pots.
Grow bags are useful where native soil is compacted, poorly drained, unsuitable, or unavailable. They also let gardeners tailor the potting mix for each crop. Tomatoes can occupy one bag, acid-loving blueberries another, and herbs a third without asking the whole yard to negotiate a soil treaty.
Pros of Grow Bag Gardening
Healthy Roots and Reliable Drainage
Air pruning discourages circling roots and promotes finer branching roots. Porous walls also allow excess water to escape and oxygen to reach the root zone, reducing the likelihood of persistently soggy mix. Grow bags can still be overwatered if they sit in deep saucers, but they are generally forgiving when drainage is the concern.
Useful in Small or Difficult Spaces
A sunny porch, balcony, driveway, or rental property can support an impressive harvest. No permanent bed is required, and gardeners can avoid problems caused by heavy clay, poor fertility, or questionable ground soil.
Flexible Placement and Storage
Empty bags are easy to position, and smaller planted bags can be shifted as sunlight changes. At season’s end, cleaned and dried bags fold flat instead of occupying half a shed. Large filled bags are another story: a wet 20-gallon planter is less “portable garden” and more “mud-filled ottoman.”
Custom Growing Media
Each bag can contain a fresh, weed-free blend tailored to the plant. This makes it easier to manage drainage, fertility, and pH while reducing uncertainty about poor native soil.
Cons of Grow Bag Gardening
More Frequent Watering
Airflow and drainage speed evaporation. Small bags, windy balconies, hot pavement, and dark fabric can dry especially fast. During peak summer weather, some crops may need daily watering and an additional afternoon check.
Faster Nutrient Loss
Frequent watering carries dissolved nutrients through the mix. Container vegetables often need light, regular feeding. Controlled-release fertilizer at planting and appropriately diluted liquid fertilizer during active growth can help. Follow the label; enthusiasm is not a recognized fertilizer measurement.
Limited Durability and Environmental Concerns
Thick, well-stitched bags may last several seasons, while thin bags can fade, split, or lose handles sooner. Many products contain synthetic fibers and are not biodegradable, so material quality and eventual disposal deserve consideration.
Weight, Stains, and Winter Exposure
Large bags become very heavy after watering. Drainage can stain decking or keep wood damp, so use pot feet, slats, or a protective tray without letting the bag stand in water. Aboveground roots also experience greater temperature swings, which complicates overwintering perennial crops in cold climates.
How to Start a Grow Bag Garden
1. Measure the Available Sunlight
Most fruiting vegetables, including tomatoes, peppers, cucumbers, and eggplants, perform best with at least six to eight hours of direct sun. Leafy greens and many herbs tolerate less. Observe the location for a full day before choosing plants.
2. Select Food-Safe, Durable Bags
For edible crops, choose bags labeled food-safe. Look for substantial breathable fabric, reinforced seams, and sturdy handles. Lighter colors can be useful in very hot climates, while dark bags may help warm the mix earlier in cool spring weather.
3. Match Bag Size to the Crop
- 1 to 3 gallons: herbs, lettuce, spinach, and small flowers.
- 5 gallons: one pepper, compact eggplant, dwarf tomato, or bush beans.
- 7 to 10 gallons: one full-size tomato, supported cucumber, compact squash, or potatoes.
- 10 to 15 gallons: large tomatoes, sweet potatoes, or mixed plantings.
- 20 gallons and larger: multiple crops, shrubs, or a mini raised-bed garden.
Larger containers hold more moisture and nutrients, making them easier to manage. Variety matters: a patio tomato and a six-foot indeterminate tomato may share a surname, but they do not share an apartment comfortably.
4. Fill With Potting Mix, Not Plain Garden Soil
Garden soil can compact in containers. Use a quality potting mix containing ingredients such as compost, coconut coir or peat, and perlite or another aeration material. The mix should hold moisture while draining freely. Pre-moisten very dry mix before filling.
5. Position and Support the Bag
Set bags on a level surface before filling them. Raise them slightly on pot feet, slats, or a sturdy pallet to improve airflow and prevent roots from entering nearby soil. Install cages, stakes, or trellises at planting time so established roots are not damaged later.
6. Plant Without Crowding
Follow seed packet or plant-label spacing. Crowded plants compete for water and nutrients and have poorer airflow. Tomatoes can be planted deeper than they grew in their nursery pots because buried stem sections can form additional roots.
7. Water Slowly and Thoroughly
Water until the entire root zone is moist and excess begins to drain. Check by inserting a finger 1 to 2 inches into the mix; water when that layer is becoming dry. In extreme heat, inspect morning and late afternoon. Drip irrigation on a timer is helpful, but it still needs regular checking.
8. Feed and Mulch
Use a container fertilizer according to label directions, then supplement during active growth when needed. A 1- to 2-inch layer of clean straw, shredded leaves, or another suitable mulch can reduce evaporation. Keep mulch slightly away from stems.
Best Plants for Grow Bags
Reliable choices include lettuce, arugula, spinach, chard, kale, radishes, short carrots, herbs, peppers, eggplants, strawberries, bush beans, dwarf tomatoes, patio cucumbers, and compact squash. Potatoes and sweet potatoes are popular because harvesting can be as simple as emptying the bag onto a tarp.
For tall or vining crops, combine a large bag with sturdy support. Remember that a mature tomato can become a leafy sail in strong wind. Deep-rooted perennials can grow in bags, but they require larger volumes and careful winter planning.
Common Problems and Quick Fixes
Water Runs Straight Through
Very dry potting mix can repel water. Apply it slowly in several passes or use drip irrigation so the mix has time to absorb moisture.
Plants Wilt Every Afternoon
Check the mix before watering. If it is dry, water deeply and consider mulch, a larger bag, or temporary afternoon shade. If it is moist, heat stress may be temporary and extra water could make matters worse.
Leaves Turn Pale
Nutrients may be depleted, but yellowing can also come from wet roots, pests, or pH problems. Review the feeding and watering routine before adding more fertilizer.
The Bag Tips Over
Use a wider bag, secure supports, and shelter tall crops from wind. Do not expect a lightweight decorative trellis to negotiate with a mature indeterminate tomato.
What Grow Bag Gardening Is Like in Real Life: A 500-Word Experience
My most useful grow bag lesson began with six fabric pots on a sun-baked patio: two 10-gallon tomato bags, two 5-gallon pepper bags, one shallow bag of lettuce, and one 15-gallon potato bag. The setup looked tidy on planting day. By midsummer, it looked as though a vegetable parade had become stuck in traffic.
The tomatoes proved the value of choosing the final location first. Once each bag held damp potting mix, a cage, and a rapidly growing plant, “moving it a few feet” became an ambitious strength-training exercise. I eventually slid each bag onto a low plant caddy. That worked, but the better decision would have been to position the bags near their supports before filling them.
Watering was the biggest adjustment. In spring, checking every other day was usually enough. During a hot, windy week, the tomato bags went from comfortably moist in the morning to noticeably dry by late afternoon. The first warning was not dramatic wilt but curled leaves and a few dropped blossoms. A slow morning soak, surface mulch, and simple drip lines stabilized the moisture. The lesson was clear: a schedule is useful, but the potting mix gets the final vote.
The lettuce bag behaved differently. It needed steady moisture but appreciated protection from late-day heat. Moving it behind a taller container extended the harvest and slowed bolting. That small success demonstrated one of the best features of portable container gardening: the layout can change as the season changes.
The peppers were nearly trouble-free. Their 5-gallon bags were adequate, although the plant in the slightly larger volume stayed moist longer and produced more evenly. Both responded well to light, regular feeding. The plant that received an extra, unmeasured dose of fertilizer grew lush foliage and fewer early peppersan excellent reminder that plants do not reward generosity when generosity arrives with too much nitrogen.
The potato bag delivered the most entertaining harvest. Instead of digging with a fork and accidentally stabbing half the crop, I spread a tarp, tipped the bag, and sifted through the mix by hand. The harvest was not enormous, but it was clean, simple, and satisfying. The used mix went into a composting area rather than directly back into another potato bag.
At season’s end, the bags were emptied, brushed, washed according to their care instructions, and dried completely before storage. A few mineral marks remained, and the handles had lost their showroom posture, but the bags folded into a fraction of the space occupied by rigid pots.
The experience did not prove that grow bags are superior for every plant or gardener. It showed that they reward attention to container volume, moisture, placement, and support. For someone with limited ground space, they can produce a surprising amount of food. For someone who routinely forgets to water, they can produce a surprisingly educational collection of crispy basil. Start with three or four generous bags, automate watering if summers are hot, and expand only after learning how quickly the containers dry in your own microclimate.
Final Verdict
Grow bag gardening is an affordable, flexible way to grow vegetables, herbs, fruits, and flowers without permanent beds. Its biggest advantages are healthy root development, strong drainage, easy storage, and adaptable placement. Its main drawbacks are frequent watering, nutrient loss, limited durability, and the weight of filled bags.
Choose a food-safe bag, use enough soil volume, fill it with quality potting mix, provide consistent water and nutrients, and match the plant to the sunlight. Get those fundamentals right, and a humble fabric sack can become a remarkably productive garden.
Note: Watering frequency and winter protection vary with climate, bag size, crop, wind, and surface temperature. Check the potting mix rather than relying on a fixed calendar.