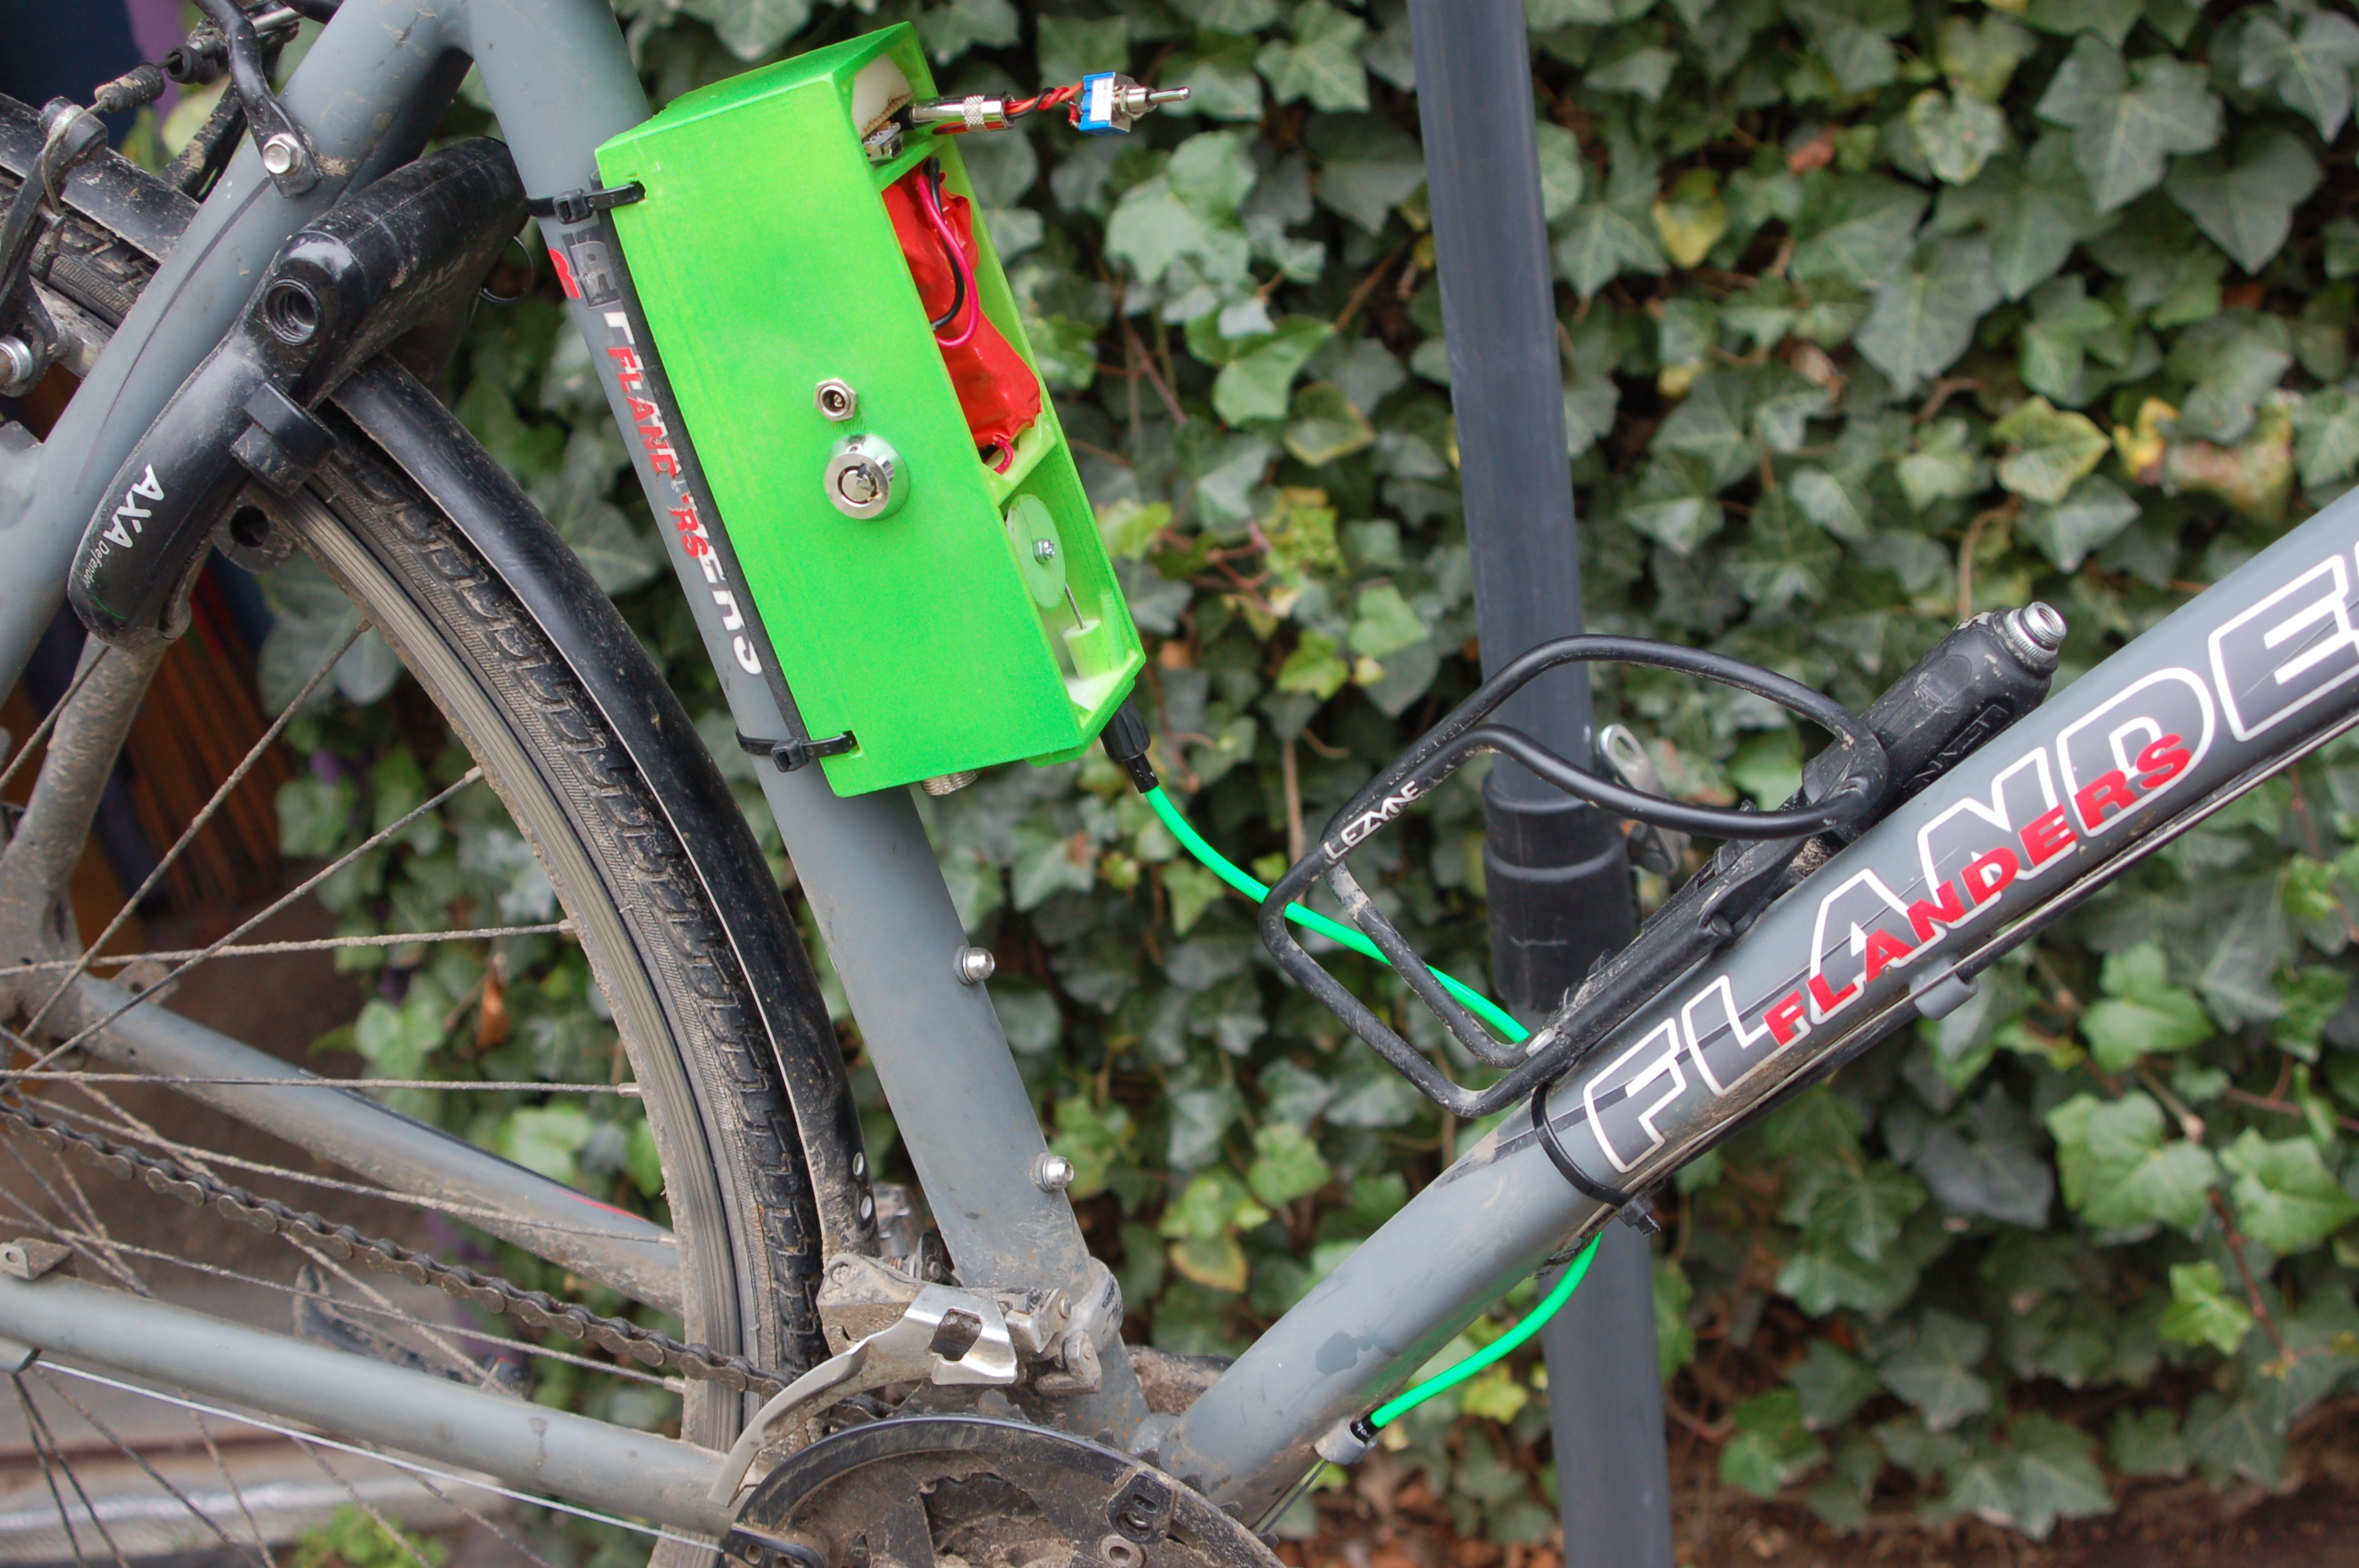
If you have ever climbed a hill on the wrong gear and briefly considered mailing your bicycle to another family, an automatic Arduino bicycle shifter may sound like a beautiful idea. At its core, this project uses a microcontroller, a few sensors, and a motorized actuator to shift gears for you based on conditions like cadence, speed, and sometimes slope or rider input. In plain English: your bike gets a tiny robot brain that tries to keep your legs happy.
The idea is not as wild as it sounds. Modern commercial drivetrains already use electronic shifting, synchronized shifting, and even fully automatic gear selection in some systems. What makes the Arduino version exciting is that it brings those smart-bike concepts into the DIY world. Instead of paying premium-road-bike money, you can experiment with sensors, code, and a healthy amount of zip ties to build a custom setup that matches your own riding style.
That said, this is not a magic wand. A homebuilt automatic shifter can be clever, useful, and very fun, but it also has to survive chain vibration, weather, mud, cable tension, and the deeply personal opinions of cyclists. Nothing attracts debate faster than saddles, tire pressure, or gear choice. Still, for makers, commuters, and tinkering cyclists, this project is one of the coolest places where embedded electronics and bicycle mechanics meet.
What Is an Automatic Arduino Bicycle Shifter?
An automatic Arduino bicycle shifter is a DIY gear-changing system that replaces or assists manual shifting by using an Arduino-compatible board to decide when the bike should move into an easier or harder gear. The system usually reads pedal cadence, wheel speed, or both. It then compares that data to a target range and commands a servo motor, stepper motor, or linear actuator to pull a shift cable or reposition a derailleur.
Think of it as a homemade version of the logic behind modern smart drivetrains. Commercial systems from major cycling brands already use speed, torque, and cadence data to smooth out shifting or automate parts of it. A DIY Arduino build follows the same general principle, just with more garage creativity and fewer glossy product videos.
Why Riders Want One
The biggest reason is cadence control. Many riders feel strongest and most efficient when they pedal within a comfortable rhythm instead of mashing a giant gear like they are trying to start a lawn mower with their knees. A properly tuned automatic shifter can help keep pedaling smooth on rolling terrain, during stop-and-go commuting, or when fatigue turns the phrase “I’ll shift in a second” into a small lie.
There is also the convenience factor. If you are commuting in traffic, wearing gloves in cold weather, or carrying bags, one less thing to think about is helpful. For some riders, the appeal is accessibility. A bike that can help manage shifting may be easier and more enjoyable for riders with limited hand strength or those who simply want a more relaxed experience.
And of course, there is the obvious maker reason: because building a bicycle that shifts itself is delightfully nerdy. Some people restore classic cars. Some people build espresso stations. Some people decide their bike needs firmware. All are valid life choices.
How the System Works
1. Sensor Layer
Most DIY builds start with one or two sensors. A common setup uses a magnet and Hall effect sensor on the crank to measure cadence, plus another magnet and sensor on the wheel to measure speed. Every time the magnet passes the sensor, the Arduino counts a pulse. Using interrupts, the board can catch those pulses accurately without missing events while the rest of the program runs.
This matters because bicycle data changes fast. If your code is slow, your “smart” shifter becomes the electronic equivalent of a friend who says “I’ve got this” and then misses the obvious cue.
2. Decision Layer
Once the Arduino knows your cadence and speed, it can decide whether to shift. The simplest rule set is beautifully straightforward:
- If cadence drops below a lower threshold for more than a short delay, shift to an easier gear.
- If cadence rises above an upper threshold for more than a short delay, shift to a harder gear.
- If cadence is in the target zone, do nothing and let the rider enjoy life.
More advanced versions add hysteresis, which is a fancy control term for “please stop shifting back and forth like a caffeinated squirrel.” Hysteresis creates a buffer zone so the bike does not bounce between gears every time your cadence wiggles by one rpm. You can also add delay timers, hill detection, or a manual override button.
3. Actuation Layer
After the decision comes motion. Some builders use a standard hobby servo to pull the shift cable to a calibrated position for each gear. Others prefer a stepper motor because it can move in repeatable increments and hold indexed positions more precisely. Either approach can work, but each has tradeoffs.
A servo is compact, inexpensive, and easy to control with Arduino libraries. A stepper motor can offer better positional accuracy for indexed shifting, especially when paired with a lead screw or cable spool. The important part is calibration. Each gear position has to match the derailleur’s indexing well enough that the chain lands on the intended cog without protest, noise, or interpretive dance.
The Parts You Will Usually Need
A typical automatic Arduino bicycle shifter includes:
- An Arduino board such as an Uno, Nano, or similar compatible microcontroller
- A Hall effect sensor for cadence
- A second Hall effect sensor for wheel speed
- Magnets for the crank and wheel
- A servo motor or stepper motor with suitable driver hardware
- A custom bracket, cable pull mechanism, or derailleur mount
- A battery pack and voltage regulation if needed
- Buttons for manual upshift and downshift override
- A small display, optional but very satisfying, for showing cadence, speed, and current gear
- A weather-resistant enclosure because electronics and road spray are not best friends
Some builders also add Bluetooth, logging, or tuning menus. That is the point where your bicycle project starts casually wandering toward “small startup prototype.”
How to Build One Without Torturing Your Drivetrain
Start with Sensing Before Shifting
Before you motorize anything, build a simple cadence and speed computer. Make sure the sensors are reliable, the pulse counts are stable, and the numbers make sense on a work stand and on the road. This step sounds boring, but it saves huge amounts of time later. If the Arduino misreads cadence, your automatic shifting logic will make bad decisions with complete confidence, which is the most dangerous kind of confidence.
Calibrate Your Gear Positions
If you are using a rear derailleur, every gear position must match the cassette indexing. Park the bike on a stand, move through the gears one by one, and store each motor position. You are not just moving a cable; you are teaching the system where every gear lives. Get this wrong and the chain will announce its disappointment loudly.
Use Gentle, Delayed Shift Logic
Do not tell the system to shift the instant cadence crosses a line. Add a short delay, such as half a second to two seconds depending on your setup, so the controller responds to trends instead of every tiny fluctuation. You should also prevent repeated shifts until the previous one finishes and the chain settles. Bikes like decisiveness, but not panic.
Protect the Mechanical Side
Your derailleur still has to be adjusted properly. Limit screws, cable tension, hanger alignment, and indexing need to be right before automation enters the chat. An Arduino cannot rescue a bent derailleur hanger any more than a smartwatch can fix a flat tire. Mechanical basics come first.
Keep Manual Override
This is one of the smartest design decisions you can make. Add upshift and downshift buttons so you can override the automatic mode whenever you want. Manual control is useful for starts, descents, sprinting, and that very human moment when you simply do not agree with your code.
Choosing Good Shift Logic
The best automatic shifting systems do not just chase one number. They respect context. A practical Arduino setup might target a cadence band such as 75 to 95 rpm for general riding, then adjust behavior based on speed. For example, if cadence is low but speed is already high, the system might wait a beat before downshifting. Likewise, if cadence is high during a downhill, it might avoid chasing harder gears forever like an overenthusiastic intern.
A strong beginner strategy looks like this:
- Below target cadence: suggest or trigger one easier gear
- Above target cadence: suggest or trigger one harder gear
- At very low speed: favor easier gears for smooth starts
- During rapid acceleration or rough terrain: delay shifting slightly
- After each shift: lock out another shift briefly to avoid chain chatter
This simple logic mimics a lot of what riders already do instinctively. The goal is not to create a hyperactive drivetrain. The goal is to create a calm, helpful one.
How DIY Systems Compare to Commercial Smart Shifting
The commercial bike world offers a useful reality check. Shimano has developed automatic and synchronized shifting features that use cadence, torque, and speed data in supported systems. SRAM also offers intelligent shifting modes that aim to keep cadence consistent and reduce gear-overlap confusion. These systems prove the basic concept works: maintaining smoother cadence can make riding more efficient and less distracting.
But factory systems also reveal what is hard. They use deeply integrated hardware, tightly calibrated motors, proprietary tuning, and lots of testing. Your Arduino version probably will not match the polish of a premium drivetrain on day one. That is fine. A DIY automatic bicycle shifter does not need to be perfect to be useful. It needs to be reliable, predictable, and fun enough that you keep improving it.
In fact, that is part of the charm. Commercial systems are finished products. An Arduino shifter is a living experiment. Today it keeps cadence steady on your commute. Next month it logs ride data. Two weekends later it might begin speaking to you through a tiny OLED screen like a very judgmental coach. Progress is beautiful.
Common Problems and Smart Fixes
Hunting Between Gears
If the bike shifts up, then down, then up again, your thresholds are too tight or your delay is too short. Widen the cadence window and add more hysteresis.
Missed Shifts
Check motor torque, cable friction, derailleur adjustment, and battery voltage. A beautiful control algorithm cannot overcome a weak actuator or gritty housing.
Bad Data from Sensors
Hall sensors need secure magnet placement and consistent spacing. If readings jump around, improve mounting and debounce your signal handling. Shielded wiring and stable power also help.
Shifting Under Heavy Load
This is hard on drivetrains whether the rider or robot causes it. Add logic that waits briefly when pedal force is obviously high, or shifts earlier based on speed and cadence trends so the system is not late to the party.
Who Should Try This Project?
This project is ideal for makers who enjoy both bikes and electronics, commuters who want a smoother ride, students learning embedded control, and cyclists who like solving practical problems with code. It is especially rewarding if you enjoy iterative tinkering. You will almost certainly revise the sensor mounts, rewrite the shift logic, and reprint or remount at least one bracket. That is not failure. That is the normal mating ritual between hardware and reality.
If you want a bike that “just works” with zero fuss, a commercial electronic drivetrain is the easier path. If you want a bike that teaches you mechanics, control logic, and patience while also making strangers say, “Wait, your bike does what?” then the Arduino route is a fantastic rabbit hole.
Real-World Experiences and Lessons from the Road
What does an automatic Arduino bicycle shifter actually feel like once you stop bench-testing it and ride the thing outside where wind, potholes, traffic lights, and human chaos live? In many homebuilt setups, the first impression is not speed. It is relief. On gentle rollers or city streets, the bike starts to feel less demanding because it quietly handles one of the constant little decisions of cycling. Instead of glancing down and thinking, “Hmm, maybe one cog easier,” you just pedal and notice that your rhythm stays more even.
That smoothness becomes especially noticeable on commutes. Riders who have experimented with automatic shifting often describe the same pattern: starts from traffic lights feel cleaner, moderate hills are less annoying, and fatigue late in the ride is reduced because the system keeps nudging the drivetrain back toward a comfortable cadence. It is not dramatic in the movie-trailer sense. There are no explosions. There is simply less mashing, less panic-shifting, and fewer moments where your knees file a complaint.
The second real-world lesson is that tuning matters more than raw intelligence. A basic system with sensible thresholds and stable hardware usually feels better than an overly ambitious one with too many rules. When the logic is simple, the bike behaves predictably. When the logic gets fancy too quickly, the system can become bossy. Nobody wants a bicycle that behaves like it read one productivity book and now insists on optimizing your life.
Road vibration also teaches humility. A shifter that works perfectly on a repair stand can become moody on broken pavement if the sensor gap changes, a bracket flexes, or the battery mount rattles. Builders learn fast that enclosure quality, cable routing, and secure magnet mounting are not glamorous details. They are the difference between “smart bike” and “rolling troubleshooting workshop.”
Manual override ends up being one of the most appreciated features. Even riders who love the automatic mode still want a button for those moments when they can see the terrain before the algorithm can react to it. A steep ramp, a quick sprint, or a rough corner may call for a deliberate shift before cadence drops. The best DIY experience usually comes from partnership, not full automation: the bike handles routine gear changes, and the rider steps in when strategy matters.
Another common experience is that the system changes how you think about cadence. Once you ride with visible cadence data and automatic responses, you become much more aware of your natural pedaling habits. Some riders discover they habitually grind harder gears than they thought. Others learn they prefer a wider comfort range than the “ideal” numbers floating around online. That is useful knowledge, because the best automatic shifter is not built around some mythical perfect cyclist. It is tuned for the actual human on the saddle.
And yes, there is also the joy factor. A bike that shifts itself is fun in the same way a well-designed gadget is fun: it makes a familiar thing feel freshly inventive. It sparks conversations. It inspires upgrades. It turns ordinary rides into field tests. For many builders, that is the real payoff. Not just the smoother cadence, but the fact that a bicycle became a platform for experimentation, learning, and a little bit of wonderfully unnecessary brilliance.
Final Thoughts
An automatic Arduino bicycle shifter sits at the intersection of cycling efficiency, embedded electronics, and pure maker curiosity. It can help keep cadence steady, reduce shifting stress, and teach you a lot about sensors, control logic, and bicycle mechanics along the way. It is not a perfect substitute for a commercial electronic drivetrain, but it does not need to be. Its value lies in customization, learning, and the satisfaction of building something genuinely clever with your own hands.
If you approach the project in the right order, sensor accuracy first, shifting mechanics second, and smart logic third, you can create a system that feels surprisingly refined. Add manual override, weather protection, and careful calibration, and your bike becomes more than transportation. It becomes a rolling experiment that happens to be useful.
In a world where plenty of gadgets solve problems nobody asked about, an Arduino bicycle shifter solves a very real one: finding the right gear without constantly thinking about it. And if that happens while making your bicycle slightly more robotic and dramatically more interesting, well, that is just a bonus.