Decorating a staircase wall sounds easy until you’re balancing on a step, holding a frame, squinting at a tape measure, and wondering whether your “casual gallery wall” now looks like it lost a fight with geometry. The good news: hanging pictures over a staircase is absolutely doable, and when it’s done well, it can turn a blank pass-through into one of the most memorable design moments in your home.
A stair wall has built-in drama. It rises, moves, and naturally pulls the eye upward. That means your artwork does not have to work overtime. It just has to work with the architecture instead of against it. Whether you’re styling family photos, vintage prints, black-and-white travel shots, or a mix of meaningful pieces, the secret is a layout that feels intentional, secure, and easy to view while moving up and down the stairs.
Below are eight expert-backed tips that make the process simpler, smarter, and a lot less nail-happy.
Why Staircase Picture Walls Look So Good
A staircase wall is one of the best places for a gallery display because it already creates movement. Unlike a flat living room wall, a stairwell gives your eye a path to follow. That makes even modest artwork feel dynamic. It is also a smart place to display personal pieces that tell a story over time, such as family photos, travel souvenirs, landscapes, sketches, or collected thrift-store art.
In practical terms, staircase walls often have more vertical real estate than other parts of the house. If you have a narrow hallway, a blank stairwell can add personality without taking up floor space. In other words, it is decorating that earns its keep. Very polite decorating.
Tip 1: Follow the Angle of the Stairs
Let the architecture do the heavy lifting
The biggest mistake people make is trying to hang staircase art as if the wall were flat and level in the usual way. Over a stairway, the arrangement should usually echo the rise of the stairs. When the line of frames mirrors the slope of the handrail or stair angle, the display feels natural and visually balanced.
This does not mean every frame has to be identical or placed in a strict diagonal. It means the overall composition should climb with the staircase. A stepped layout, a trailing gallery wall, or a loose salon-style arrangement can all work, as long as the grouping respects the rhythm of the stairwell.
If you ignore the angle, the result can look oddly detached from the space, like the art belongs in a hallway but accidentally wandered onto the stairs.
Tip 2: Treat the Whole Arrangement as One Composition
Do not hang one frame at a time and hope for the best
A staircase picture wall works best when you think of it as one large design instead of a bunch of individual frames. Start by deciding what overall shape you want. Do you want a clean line of frames moving upward? A grid on a tall stairwell wall? A layered, collected look with mixed sizes? Pick the big idea first, then choose the pieces that support it.
Designers often begin with an anchor piece, usually the largest, boldest, or most meaningful item, and build outward from there. That anchor helps set the mood and scale for everything else. Once the main piece is in place, smaller frames can taper around it without the arrangement feeling random.
This approach is especially helpful if you are mixing vertical and horizontal pieces. Instead of thinking, “Where do I put this one?” think, “How does this piece help the whole wall look complete?” That tiny shift in mindset prevents the dreaded scattered look.
Tip 3: Map It Out Before You Hammer Anything
Painter’s tape and paper templates are your best friends
Professionals rarely freestyle a gallery wall directly onto the plaster and just hope the universe approves. They test the layout first. You should too.
Lay your frames out on the floor and experiment with arrangements until the grouping feels balanced. Then make paper templates the size of each frame and tape them to the wall. This simple step helps you see the spacing, height, and angle before you commit to holes. It also saves you from that classic home-improvement plot twist where one nail becomes seven because “it looked lower in person.”
Use painter’s tape, a pencil, and a level to mark the top center or hanging points for each piece. Stand at the bottom of the stairs, halfway up the stairs, and at the top landing to review the composition from multiple angles. A layout can look perfect from one step and mildly chaotic from another, so check it like a picky director reviewing camera shots.
Tip 4: Get the Height Right for a Staircase Wall
Eye level still matters, but stairwells play by slightly different rules
On a standard wall, decorators often aim for the center of the artwork to land around eye level. Over a staircase, that idea still applies, but you need to think in relation to the stair treads and your walking path. A common strategy is to anchor the arrangement so it feels comfortable to view as you move through the stairwell, rather than measuring from the floor below and calling it done.
That is why stair displays usually feel best when their visual center tracks around the same viewing height as you climb the stairs. If you are creating a stepped arrangement, keep the spacing even and let the whole collection rise in a way that feels smooth. The result should feel connected, not like a series of unrelated pit stops.
If your staircase has a tall two-story wall, consider whether you want the display to occupy only the main viewing band or expand vertically for drama. Smaller homes usually benefit from a tighter composition. Larger entry staircases can handle more scale.
Tip 5: Keep Spacing Consistent
Consistency makes a mixed collection look polished
One of the easiest ways to make a staircase gallery wall look intentional is to maintain consistent spacing between frames. In many homes, a gap of about 3 to 6 inches works well. Closer spacing makes separate pieces read as a group, while larger gaps can make the wall feel disconnected unless you are deliberately going for a sparse, airy look.
Consistency matters more than perfection. If you are using matching frames, equal spacing reinforces a polished, orderly style. If you are mixing frame sizes and finishes, consistent spacing acts like the quiet adult in the room, keeping everything from turning into visual noise.
There is one exception: if you have only a few small pieces and a big wall, slightly wider gaps can help the arrangement breathe. Just make sure the negative space looks purposeful rather than accidental.
Tip 6: Choose Frames That Suit the Space
Pretty matters, but so do depth, scale, and traffic flow
Not every picture frame belongs in a stairwell. In a tight or enclosed staircase, overly chunky frames can make the area feel narrower and more crowded. Slimmer profiles often look cleaner and are less likely to visually jut into the walking space.
Scale matters too. A grand staircase with high ceilings can support oversized artwork or a more dramatic arrangement. A modest stairwell usually looks better with small to medium frames grouped together. If every frame is tiny, the wall may feel fussy. If every frame is massive, the stairs may start to feel like they are being judged.
To keep a mixed display cohesive, use one or two unifying elements. That could be a consistent frame color, a common mat style, a repeated color palette in the artwork, or a single theme such as landscapes, family portraits, architectural prints, or black-and-white photography.
Tip 7: Use the Right Hardware for the Wall and the Weight
Because gravity is still undefeated
Secure hanging is non-negotiable over a staircase. Before you hang anything, figure out what kind of wall you have: drywall, plaster, brick, or something else. Then match the hardware to both the wall type and the weight of the frame.
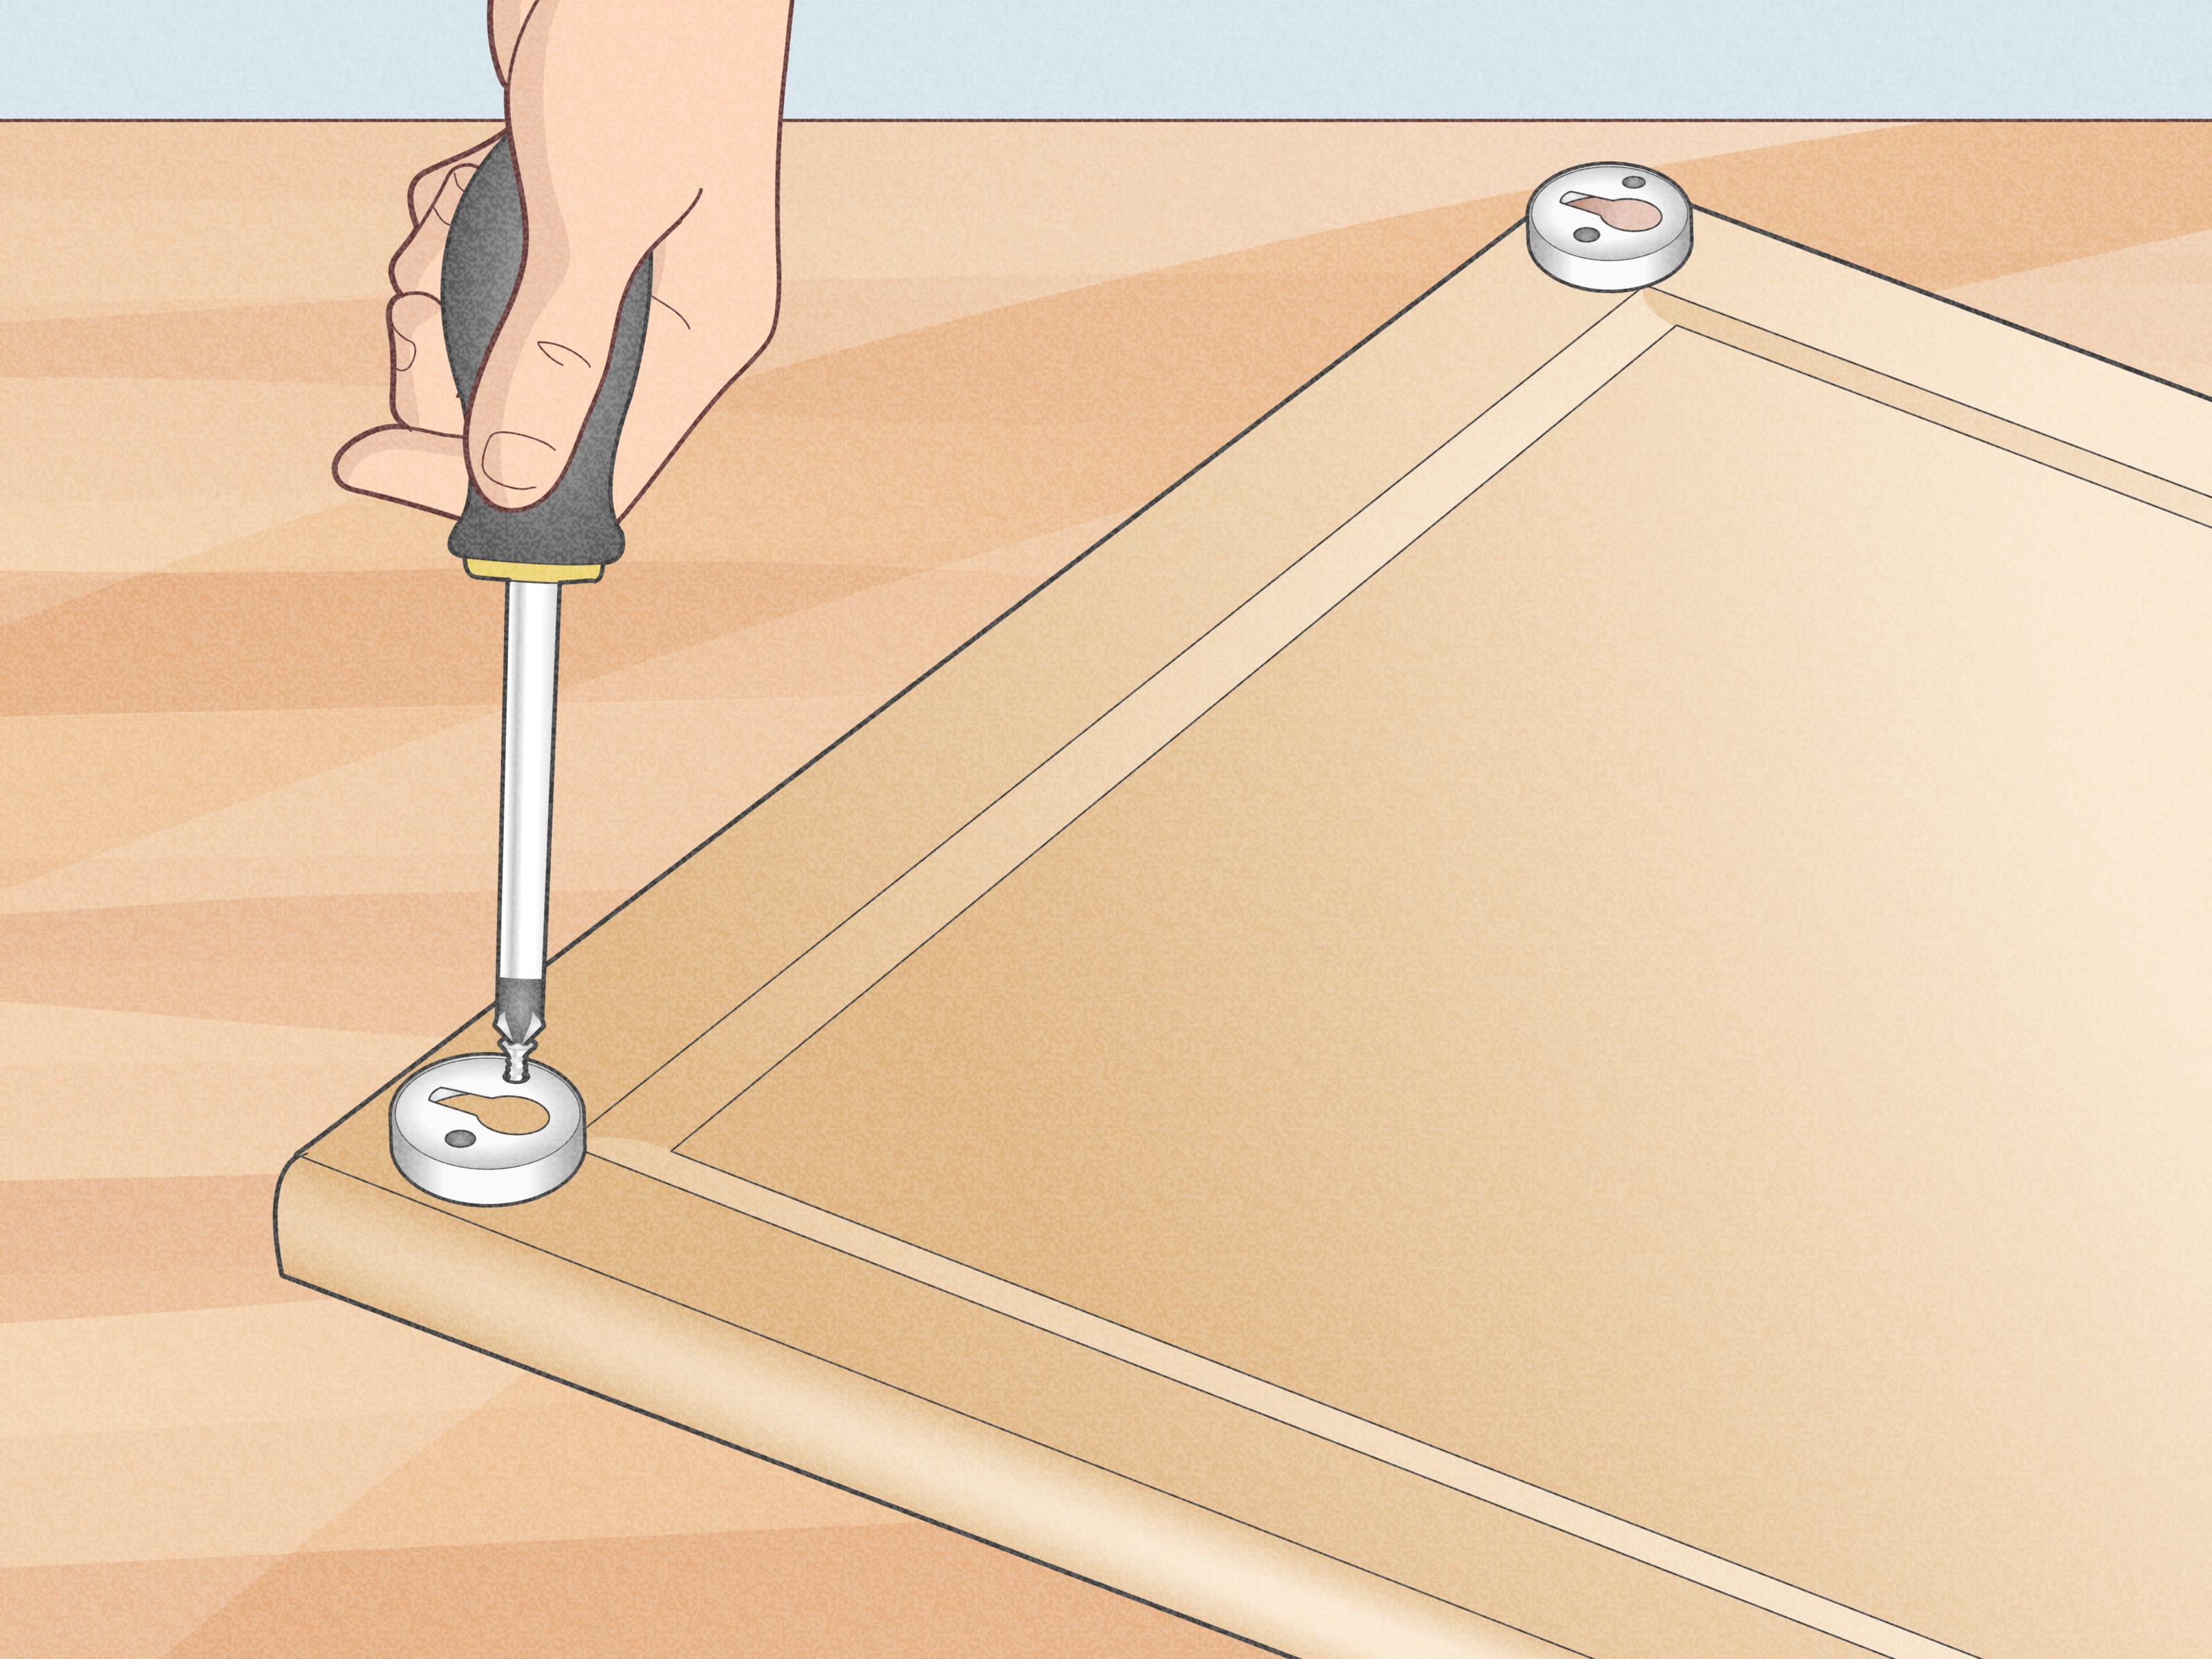
If you can hit a stud, great. That is usually the strongest option. If not, use a drywall anchor or specialty picture-hanging hardware rated for the weight of the piece. Do not guess. Check the frame’s weight, check the hardware rating, and give yourself a little margin. This is not the time for optimism-based engineering.
Heavier pieces may need D-rings, proper hooks, anchors, or multiple secure contact points. Lighter pieces can sometimes use damage-reducing options, but even then, read the packaging carefully and follow the instructions. Staircases are high-traffic areas, and the last thing you want is a frame slipping loose because the adhesive and humidity decided to end their relationship.
Tip 8: Build a Display That Feels Personal, Not Just Pretty
A staircase wall should tell a story as you move through it
The most memorable staircase gallery walls are not the ones that look copied from a catalog. They are the ones that reflect the people who live there. That might mean family photographs arranged chronologically, travel art collected over years, thrifted landscapes in matching frames, children’s drawings professionally matted, or a mix of paintings, prints, and small objects that share a color story.
Do not be afraid to mix sizes, media, or even a few unexpected objects, as long as there is a thread connecting them. Maybe everything is black and white. Maybe everything has warm wood tones. Maybe every piece reminds you of a place, a person, or a phase of life. That through-line is what makes the wall feel curated instead of cluttered.
And yes, meaningful art usually looks better than filler art. The wall knows when you bought something just to “take up space.” It is very observant.
A Simple Step-by-Step Plan for Hanging Pictures Over a Staircase
- Choose your overall layout style: stepped, grid, salon, or anchor-and-build.
- Gather frames, confirm sizes, and decide on a visual theme.
- Lay everything on the floor and photograph your favorite arrangement.
- Make paper templates and tape them to the wall along the stair angle.
- Check the view from the bottom, middle, and top of the staircase.
- Measure spacing and mark hanging points with painter’s tape.
- Use a stud finder when possible and match hardware to wall type and weight.
- Hang the anchor piece first, then work outward and upward.
- Level each piece as you go and make small adjustments at the end.
Common Mistakes to Avoid
Even a beautiful collection can look off if the execution is sloppy. Avoid these common staircase gallery wall mistakes:
- Hanging everything level instead of following the rise of the stairs.
- Using inconsistent spacing that makes the display feel accidental.
- Choosing frames that are too bulky for a narrow stairwell.
- Using hardware without checking wall type or weight limits.
- Starting at one end without planning the full composition first.
- Mixing too many unrelated styles without a unifying element.
Extra Experiences and Real-Life Lessons From Hanging Staircase Pictures
The funny thing about staircase art is that it often looks effortless only after someone has spent a suspicious amount of time holding paper rectangles against the wall and muttering, “Nope, still weird.” In real homes, the process is less glamorous than the before-and-after reveal. But that is exactly why the best staircase picture walls tend to feel so satisfying: they are usually the result of trial, editing, and a few tiny lessons learned the hard way.
One common experience is realizing that the bottom-of-the-stairs view and the top-of-the-stairs view are basically two different worlds. A layout that seems perfectly balanced from below can feel oddly compressed from above. Homeowners often discover that staircase art needs to be tested from several points before it is truly right. That is why templates, floor layouts, and photos matter so much. They let you catch problems early, before your wall starts looking like Swiss cheese with aspirations.
Another real-life lesson is that mixed frames are trickier than they seem. People love the idea of an “effortless eclectic collection,” but effortless eclectic usually requires actual effort. The easiest way to pull it off is to repeat something on purpose: frame color, mat style, subject matter, or even a consistent amount of visual breathing room. Without that repetition, a staircase wall can go from charmingly collected to flea market at 7 a.m. in about three seconds.
Many people also learn that staircase walls are ideal for personal art because those pieces reward repeat viewing. You pass them multiple times a day. A travel photo from a favorite trip, a vintage print from a local shop, or a framed note from a grandparent can feel more special in a stairwell than on a main living room wall where it competes with furniture, lighting, and television drama. Staircases are transitional spaces, but emotionally, they can become quiet memory lanes.
There is also the practical side. Real households discover quickly that security matters more over stairs than in many other rooms. A slightly crooked frame in a bedroom is annoying. A poorly secured frame above a staircase is a personal betrayal. Choosing the right anchors, testing weight limits, and double-checking every hanging point is not just a technical step; it is the difference between a polished finished look and a future story that begins with, “Well, at least nobody was on the stairs when it fell.”
And perhaps the most reassuring experience of all is this: the wall does not have to be finished in one day. Some of the best staircase galleries evolve. They start with three frames, then five, then a stronger anchor piece, then a better layout, then maybe one thrifted landscape that mysteriously makes everything click. A great staircase display often grows into itself, which means you do not need perfection on day one. You need a smart plan, a little patience, and the courage to move one frame half an inch when your instincts say it needs it.
That is the real expert tip hiding underneath all the measurements: the best staircase picture walls feel both designed and lived in. They respect spacing, scale, and safety, but they also reflect real people with real taste, real memories, and, occasionally, real frustration while standing on the third step with a level in one hand. And honestly, that is part of the charm.
Final Thoughts
Hanging pictures over a staircase is one of those decorating projects that can seem intimidating until you understand the logic behind it. Follow the line of the stairs, plan the composition in advance, keep spacing consistent, use hardware that matches the wall and the weight, and choose artwork that feels personal. Do that, and your staircase stops being a blank transition zone and starts becoming a feature.
The best part is that staircase walls are flexible. They can be formal, playful, vintage, modern, symmetrical, eclectic, or deeply sentimental. As long as the layout feels connected to the architecture and secure on the wall, you have room to make it your own. Which is excellent news for anyone who wants their home to feel stylish and human.