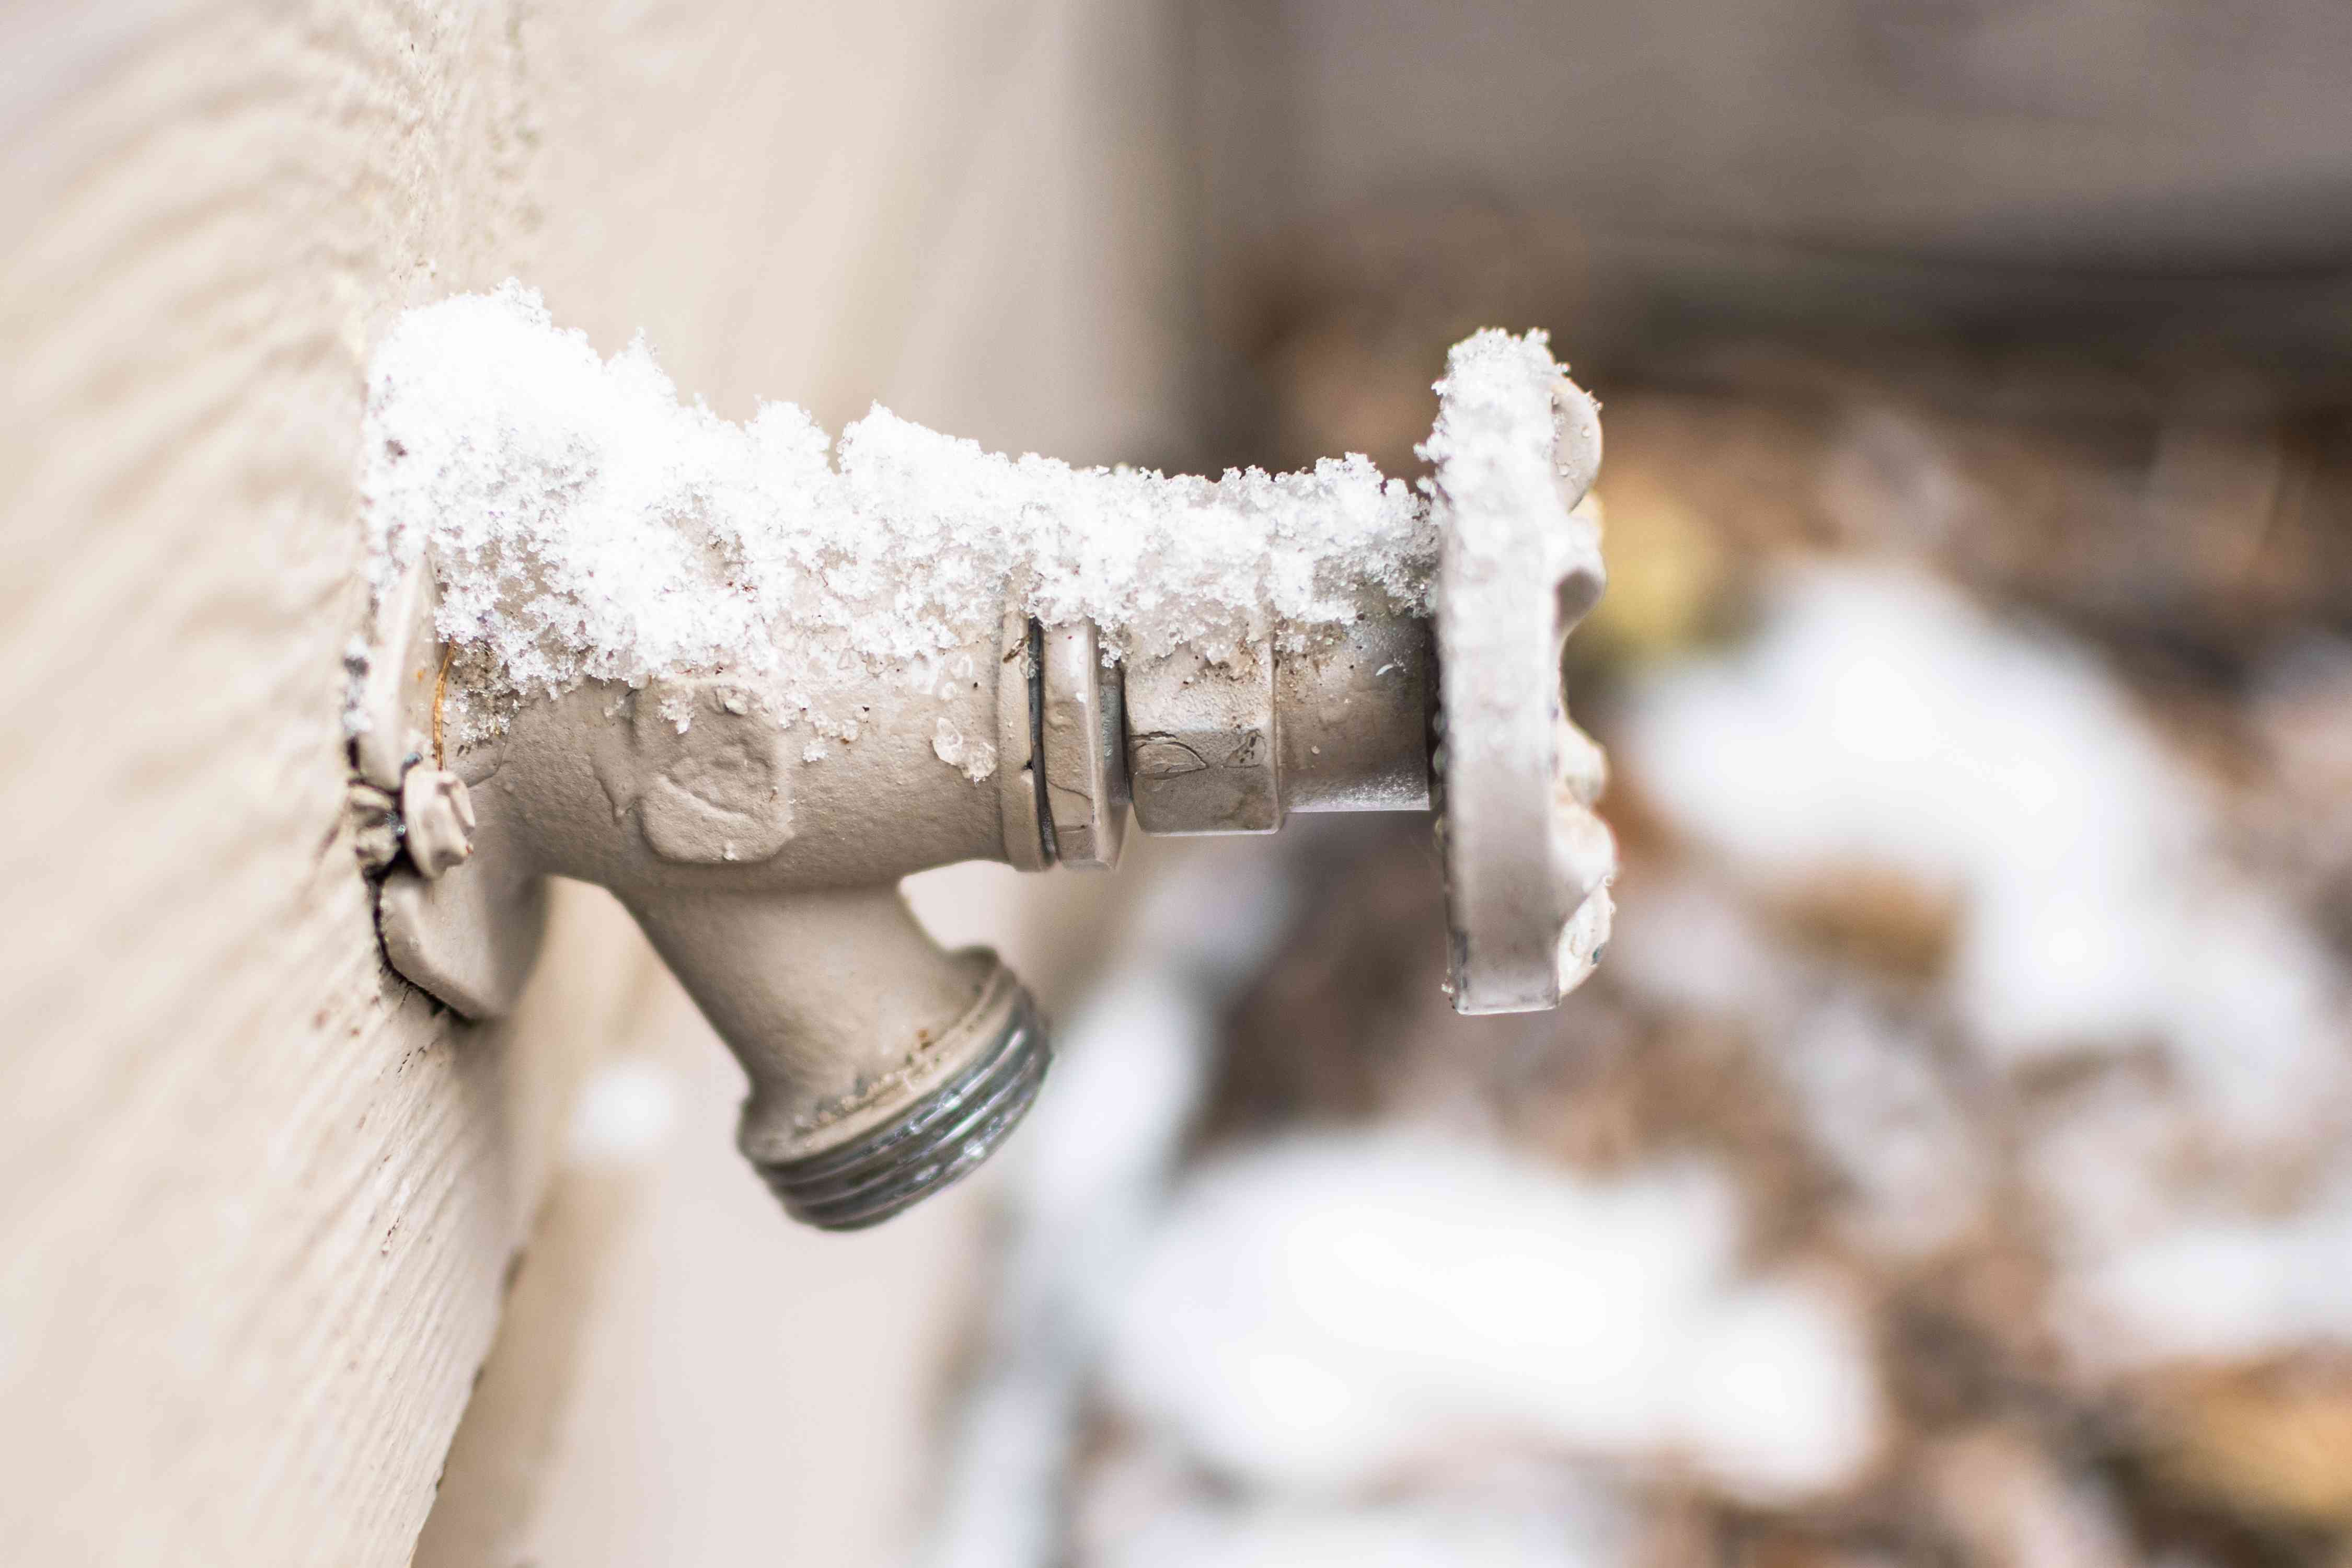
Winter has a funny way of turning tiny home maintenance jobs into expensive character-building exercises. One minute, your outdoor faucet is minding its business. The next, a hard freeze rolls in, water expands inside the line, and suddenly your wall is auditioning for a plumbing disaster documentary. That is why learning how to winterize an outdoor faucet is one of those small, boring, gloriously practical tasks that can save real money and real stress.
The good news is that winterizing an outdoor faucet is not complicated. In most homes, it comes down to five things: disconnecting hoses, shutting off the water supply to the outdoor line, draining any trapped water, insulating what remains exposed, and double-checking that your setup actually matches your climate. In other words, you are not trying to outsmart winter. You are simply refusing to give ice a place to throw a party.
This guide walks through the process step by step, explains the difference between a standard hose bib and a frost-free faucet, highlights the most common mistakes homeowners make, and covers what to do if the faucet is already frozen. Along the way, you will also get real-world experience-based lessons that make the advice a little more useful and a lot less robotic.
Why Winterizing an Outdoor Faucet Matters
Outdoor faucets are vulnerable because they sit right where warm indoor plumbing meets outdoor cold air. When water is left inside that exposed section and temperatures drop below freezing, the water can turn to ice and expand. The trouble is not always at the exact frozen spot. Pressure can build in the line and crack the pipe or fixture somewhere nearby, including inside the wall. That is when a tiny forgotten hose can become a very memorable repair bill.
Winterizing your outdoor faucet helps prevent frozen pipes, burst hose bibs, hidden wall leaks, damaged splitters, wrecked hoses, and a lovely spring surprise when you turn the water back on and discover your siding now offers an indoor water feature. It also helps your faucet last longer. Freezing and thawing cycles are rough on seals, washers, vacuum breakers, and fittings.
In short, this is one of the rare home maintenance jobs where ten minutes in the fall can save you from a weekend of towels, panic, and calling a plumber with the voice of someone who has seen things.
Know What Kind of Outdoor Faucet You Have
Standard Outdoor Faucet or Hose Bib
A standard outdoor faucet usually has the shutoff point right near the handle at the exterior wall. That means water can remain in the short section of pipe closest to the outside, which makes this style more vulnerable to freezing. If your home has this type, shutting off the interior supply valve and draining the line before winter is the safest move.
Frost-Free or Frost-Proof Faucet
A frost-free faucet has a longer stem, and the valve seat is located farther inside the house where it is warmer. That design reduces freezing risk because when the faucet is turned off, the water is supposed to drain out of the long stem. Sounds magical. It is not magical. It is just smarter plumbing.
But here is the catch: frost-free faucets only work properly when they can drain. If a hose, splitter, timer, sprayer, or nozzle is left attached, water can stay trapped in the faucet. That means even a frost-free faucet can freeze and burst if it cannot empty itself. So yes, the “frost-free” label is helpful, but it is not a permission slip to ignore winter.
When to Winterize an Outdoor Faucet
The best time to winterize an outdoor faucet is before the first hard freeze, not after the weather app starts using language like “historic plunge.” In most parts of the United States, that means sometime in fall, when overnight temperatures begin flirting with freezing on a regular basis.
If you live in a region with mild winters, you may not need the full shutoff-and-drain routine every year, but you should still remove hoses and use a faucet cover when cold snaps are in the forecast. In colder climates, especially where temperatures stay below freezing for long stretches, full winterization is the smarter choice.
What You Need Before You Start
You do not need a truck full of gear. Most homeowners can handle this with a short list of basics:
- An insulated outdoor faucet cover
- Pipe insulation or foam wrap for exposed supply lines
- A towel or small bucket for draining leftover water
- Gloves and a flashlight if the shutoff valve is in a basement or crawl space
- A little patience, especially if your shutoff valve has not been touched since the Bush administration
How to Winterize an Outdoor Faucet Step by Step
Step 1: Disconnect the Hose and Every Attachment
Start by removing the garden hose, hose splitter, spray nozzle, timer, pressure washer hose, or anything else attached to the faucet. This is the most important first step and the one homeowners skip most often. A hose that stays attached can trap water in the faucet and line, which defeats the whole point of winterizing.
After disconnecting the hose, drain it fully and store it somewhere protected. Leaving a drained hose outside is better than leaving it attached, but storing it indoors or in a shed will help it last longer.
Step 2: Find the Interior Shutoff Valve
If your outdoor faucet has a dedicated shutoff valve inside the house, find it. It is often located in a basement, crawl space, utility room, or near the spot where the faucet line passes through the wall. Turn that valve off completely.
If your home does not have a dedicated shutoff valve for the outdoor faucet, do not panic. You can still improve freeze protection by disconnecting the hose, insulating the faucet, and protecting exposed piping. But in colder climates, adding a dedicated shutoff valve is a worthwhile upgrade because it gives you much better control.
Step 3: Drain the Faucet and the Short Supply Line
Once the interior shutoff valve is closed, go outside and open the faucet. Water should flow briefly and then slow to a trickle or stop as the line drains. If your interior shutoff valve has a bleeder cap or drain cap, open that as well so the trapped water between the valve and faucet can empty fully. Keep a towel or small container handy because this part tends to be splashier than homeowners expect.
After draining, leave the outdoor faucet in the open position for the winter if you have shut off the dedicated supply line. That gives any residual water a little room and helps avoid trapped pressure. For many homeowners, this is the tiny step that separates “winterized” from “I thought I winterized.”
Step 4: Install an Insulated Faucet Cover
Once the line is drained, install an outdoor faucet cover over the faucet. Foam covers and hard-shell insulated covers are both common and easy to use. A cover adds a layer of protection against wind and cold, especially around standard hose bibs and short exposed sections.
That said, a faucet cover is not a superhero cape. It is helpful, but it should not be your only strategy in a seriously cold climate. Think of it as backup protection, not the entire plan.
Step 5: Insulate Exposed Pipes Nearby
If there are exposed water lines in an unheated basement, crawl space, or garage feeding the outdoor faucet, wrap them with foam pipe insulation. This matters because the faucet is only one part of the freeze-risk chain. The supply pipe behind it may be just as vulnerable.
Pay extra attention to areas where the pipe passes through an exterior wall, where cold air leaks are common. Seal gaps with caulk or insulation as needed. A tiny draft aimed at a water line can do more mischief than it has any right to.
Step 6: Check Frost-Free Faucets the Right Way
If you have a frost-free faucet, the winterizing routine is simpler, but not optional. Remove all hoses and attachments so the stem can drain. Shut the faucet off normally and inspect it for drips. A dripping frost-free faucet may not drain correctly, which raises the risk of freeze damage.
In very cold climates, many homeowners still add an insulated cover to a frost-free faucet for extra peace of mind. That is especially smart if the faucet is on a windy side of the house or if the wall cavity has limited insulation.
Common Mistakes That Cause Winter Faucet Damage
Most winter plumbing problems are not caused by a total lack of effort. They are caused by one overlooked detail. Here are the usual suspects:
- Leaving a hose attached all winter
- Forgetting a splitter, timer, or nozzle on a frost-free faucet
- Shutting off the interior valve but forgetting to drain the outdoor line
- Using only a faucet cover in a region with long, severe freezes
- Ignoring exposed supply piping in a garage, crawl space, or basement
- Assuming a newer faucet cannot freeze because the packaging once used encouraging words
The lesson is simple: winter damage loves small mistakes. The best prevention is a short, repeatable routine you actually follow every year.
What to Do If the Outdoor Faucet Is Already Frozen
If you turn on the faucet and get only a trickle, or if you suspect the line is frozen, act gently and quickly. First, shut off the water supply to that faucet or, if necessary, the main water supply to the house if you suspect a crack or leak. Then open the faucet so melting water has somewhere to go.
Warm the frozen section gradually using a hair dryer, an electric heating pad, or towels soaked in hot water. Never use a blowtorch, propane heater, or other open flame. That is not a winterizing hack. That is a future insurance conversation.
If you cannot reach the frozen section, if the pipe is inside a wall, or if you see water stains, bulging materials, or active leaking, call a licensed plumber. Sometimes the smartest DIY move is knowing when the job has left the DIY chat.
Should You Upgrade to a Frost-Free Faucet?
If your home still has old standard hose bibs and you live in a climate with regular freezing temperatures, upgrading to a frost-free faucet is often worth it. A properly installed frost-free sillcock reduces the odds of freezing by moving the shutoff point farther inside the heated part of the home.
It is not perfect, and it still requires good habits, especially removing hoses in winter. But as a long-term improvement, it is one of the more practical plumbing upgrades for cold-weather homeowners. If you have already dealt with one freeze-related faucet issue, this upgrade starts looking less like an expense and more like a peace treaty with January.
Real-World Lessons and Homeowner Experiences With Winterizing an Outdoor Faucet
Ask homeowners about winterizing an outdoor faucet, and the same stories tend to surface again and again. Someone meant to remove the hose “tomorrow.” Someone assumed a foam cover was enough. Someone thought a frost-free faucet meant zero maintenance and went inside feeling victorious, only to discover in spring that the victory parade was a little early.
One of the most common experiences is the deceptively small mistake: leaving a hose splitter attached. The main hose may be gone, so the faucet looks winter-ready at a glance, but the splitter or timer still traps water. That little leftover attachment can keep a frost-free stem from draining, and the damage may not show up until the next thaw. Homeowners often say the worst part was not the repair itself. It was the moment of realization that the problem came from something the size of a coffee mug.
Another recurring lesson comes from people in milder regions. They may go several winters without a problem, so winterizing starts to feel optional. Then a sudden cold snap hits, temperatures stay low longer than usual, and the faucet or line freezes because the house was prepared for a “normal” winter, not an unusually cold one. That experience teaches a useful rule: winterizing is not only for snowy states with dramatic weather maps. It matters anywhere temperatures can dip below freezing long enough to affect plumbing.
Homeowners in older houses often talk about how valuable it is to learn where the shutoff valves are before cold weather arrives. Trying to identify plumbing lines in a dark basement while wearing a coat and muttering at the weather is not ideal. People who make a habit of locating and labeling those valves in the fall usually describe winter maintenance as easy. People who do not usually describe it with stronger vocabulary.
There is also the experience of discovering hidden drafts. Many homeowners winterize the faucet correctly, then still run into trouble because the pipe feeding it passes through an uninsulated wall cavity, garage, or crawl space. In those cases, the faucet was not the real villain. Air leakage was. Once the drafts were sealed and the supply line insulated, the problem often stopped repeating.
Vacation homes and long holiday trips add another layer. Homeowners who leave for a week or two in winter often learn that outdoor faucet winterization is only part of the equation. Keeping the thermostat at a safe minimum, having someone check the house, and understanding the main shutoff valve all become part of the routine. The faucet is just one part of a bigger cold-weather strategy.
Perhaps the most useful shared experience is this: the people who rarely deal with burst outdoor faucets are not necessarily more skilled. They are just more consistent. They use the same short checklist every fall, do not trust their memory, and treat hose removal like brushing teeth. Not glamorous, not exciting, but highly effective. Homeownership, as usual, rewards the mildly obsessive.
Conclusion
Learning how to winterize an outdoor faucet is one of the easiest ways to protect your plumbing before cold weather arrives. Disconnect the hose, shut off the indoor supply valve if you have one, drain the line, insulate the faucet and exposed piping, and do not assume a frost-free faucet is maintenance-free. The process is simple, but the payoff is big: fewer surprises, fewer repairs, and a much lower chance of discovering indoor rainfall in the middle of winter.
If you remember only one thing, make it this: a hose left attached to an outdoor faucet in freezing weather is basically a handwritten invitation to trouble. Remove it early, drain what you can, and let winter pick on somebody else’s plumbing.


