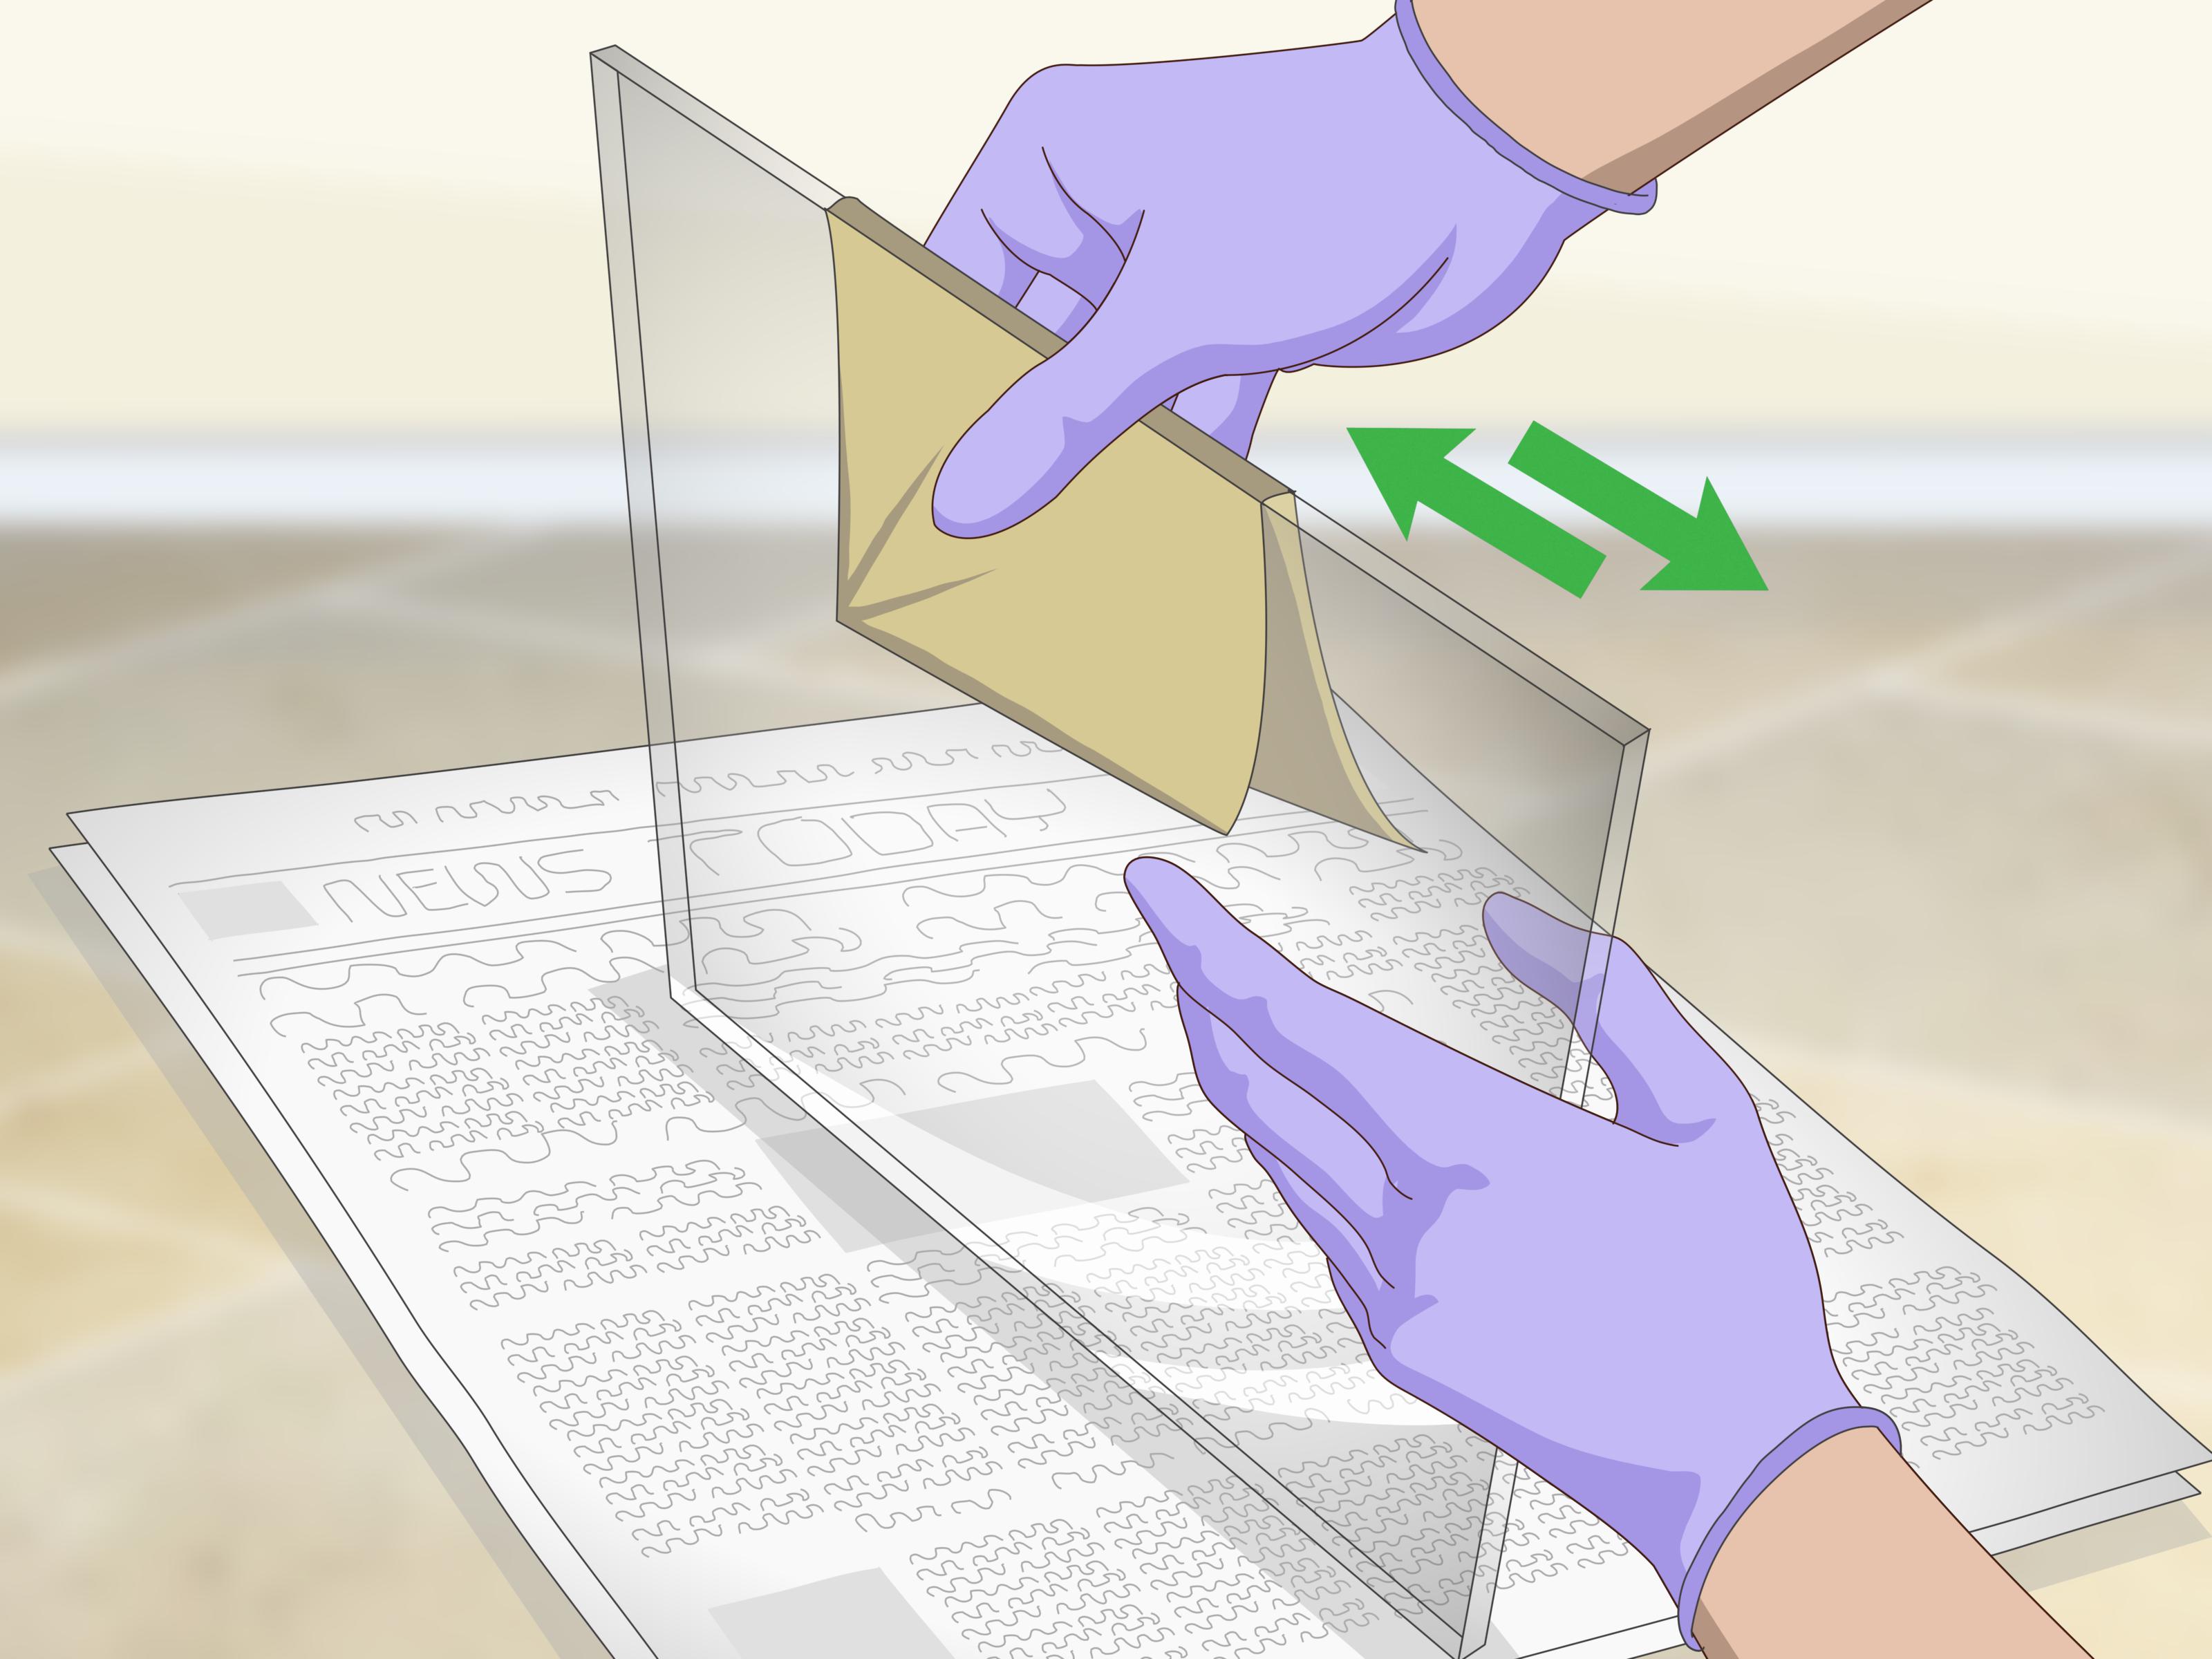
If you came here hoping for a magical trick involving a kitchen knife, a prayer, and the confidence of a reality-show handyman, let’s pump the brakes. Mirrors are not forgiving. They crack, chip, splinter, and turn a “quick DIY” into a bandage budget with shocking speed. The truth is simple: if you do not have a proper glass cutter, the smartest move is not to improvise. It is to change the plan.
That does not mean your project is dead. It means you need a better strategy. Maybe that strategy is ordering a mirror already cut to size. Maybe it is choosing acrylic mirror instead of glass. Maybe it is reframing the mirror you already have so the size issue disappears like a magician’s rabbit. Whatever the case, this guide walks you through 13 safer, smarter, and more realistic steps for getting the look you want without turning your workshop into a glittering field of regret.
Why Improvising a Mirror Cut Is a Bad Bet
A standard mirror is still glass, just with a reflective backing. That means it behaves like glass when stressed, snapped, chipped, or mishandled. The proper way to cut it involves the right scoring tool, a stable surface, and protective equipment. Without those basics, you are not “being resourceful.” You are increasing the odds of a bad break, rough edges, wasted material, or injury.
There is also another catch that many DIYers miss: not every mirror is a good candidate for cutting in the first place. Some are tempered, beveled, backed differently, or already under internal stress. Others are simply too large to handle safely in a home workspace. So before you go looking for a workaround, start with a better question: how do I get the right mirror result without making a risky cut?
Step 1: Figure Out What Kind of Mirror You Have
Before you do anything else, identify the mirror. Is it a frameless bathroom mirror? A decorative wall mirror with a beveled edge? A closet-door panel? A vintage piece with a wood frame? A mirrored tile? These details matter because the shape, thickness, and edge finish affect what options make sense next.
If your mirror has a beveled edge, ornate frame, or obvious signs of specialty finishing, that is your first clue that this is not the time for a make-do solution. Specialty mirrors are usually better modified by a professional or replaced with a size made for your project.
Step 2: Check Whether It Is Tempered or Special Safety Glass
This is the step many people skip, then later wish they had tattooed on their forehead. Tempered glass is designed to behave differently from ordinary annealed glass, and it is not something you casually alter after the fact. If the mirror is part of a door, a large bathroom installation, or another location where safety glazing might be required, do not assume it can be resized at home.
If you are unsure, contact the manufacturer, retailer, or a local glass shop with the product details. A five-minute phone call can save you from ruining an expensive mirror and learning about glass physics the hard way.
Step 3: Measure the Space, Not Just the Mirror
Most mirror disasters start with a tape measure and too much optimism. Measure the wall, vanity, recess, frame opening, or furniture surface where the mirror will go. Then measure it again. The goal is to define the final size you need, not the size you wish the mirror magically already was.
Write down width, height, clearance around fixtures, outlet placement, trim thickness, and any hardware that affects fit. A mirror project becomes much easier when you realize your problem is not “I need to cut this mirror today.” It is “I need a reflective surface that fits this exact area.” That opens the door to safer options.
Step 4: Decide Whether Glass Is Even the Best Material
Here is the plot twist: sometimes the best answer is not glass at all. Acrylic mirror sheets exist for a reason. They are lighter, easier to fabricate, and often make more sense for kid spaces, rental upgrades, closets, decorative panels, and projects where weight matters. If your project is mostly visual rather than high-end luxury, acrylic can be the hero wearing a much lighter cape.
That does not mean acrylic is identical to glass. It can scratch more easily, and depending on thickness and installation, it may not look quite as rigid or crisp. But for plenty of DIY jobs, the trade-off is worth it. A material that is easier to handle and safer to work with often beats the romantic fantasy of wrestling a full glass mirror on your garage floor.
Step 5: See Whether a Store Can Cut a Replacement Mirror for You
If you need real glass mirror and want a cleaner result, look for a replacement mirror panel that can be cut to size by a store or supplier. This is one of the most overlooked options in home improvement. Instead of modifying the mirror you already own, you buy a plain mirror panel in a workable size and have it prepared correctly before it reaches your house.
This route makes sense for bathroom updates, craft projects, framed mirror builds, and furniture repairs. It also tends to produce a neater edge and a better fit than a desperate attempt to “sort of” trim a mirror using whatever happens to be in the junk drawer next to old batteries and mystery screws.
Step 6: Call a Local Glass or Mirror Shop
This is not giving up. This is outsourcing the part where experience matters. A local glass shop can tell you quickly whether your existing mirror can be resized, whether it should be replaced, and what edge finish you need. In many cases, the shop can also polish edges, drill mounting holes if appropriate, or recommend the right thickness for the application.
Professionals are especially worth calling when the mirror is large, heavy, part of a bathroom renovation, or meant to sit above a sink, dresser, or entry console where appearance really matters. Paying for a correct cut once is usually cheaper than buying the same mirror twice because the first one lost a fight with “improvisation.”
Step 7: Consider Ordering a Custom-Size Mirror Instead
Sometimes the cleanest solution is the obvious one: order the exact size you need. Custom-size mirrors are widely available through glass shops, home improvement retailers, specialty mirror sellers, and local fabricators. If you want clean lines, less waste, and fewer headaches, this option is hard to beat.
Custom ordering is especially useful when your measurements are unusual, such as a narrow niche, a long vanity, or a framed opening that is just slightly off from common retail sizes. It also saves you from playing design Tetris with a mirror that is close, but not close enough.
Step 8: Use Mirror Tiles for a Modular Look
If the size problem is awkward, stop thinking in one giant piece. Mirror tiles can solve a surprising number of layout issues. Instead of one oversized mirror that needs trimming, you install multiple smaller pieces in a pattern that fits the wall. This approach works well in home gyms, hallways, dressing areas, and decorative accent walls.
Design-wise, mirror tiles can look intentional rather than like a compromise. Grid layouts, staggered arrangements, and framed tile groupings can all create a finished result without a risky cut. It is a little like admitting the puzzle piece does not fit and then discovering you were supposed to build a mosaic all along.
Step 9: Hide the Size Problem with a Frame or Trim
If your mirror is only slightly too small or visually underwhelming, framing can rescue the project. Adding trim, molding, or a custom border changes the perceived proportions and often makes a mirror look larger, more expensive, and more intentional. This is one of the easiest ways to avoid cutting entirely while still upgrading the final look.
A framed mirror also works beautifully in bathrooms, bedrooms, and entryways where plain builder-grade mirrors tend to look unfinished. Sometimes the problem is not the mirror size. It is the lack of visual structure around it. Fix the border, and the mirror suddenly stops looking like an afterthought from a budget hotel renovation.
Step 10: Rework the Project to Fit Standard Mirror Sizes
This is the step where practicality wins a small but glorious battle over stubbornness. Standard mirror sizes are easier to source, easier to replace, and easier to install. So instead of forcing a custom cut on an existing mirror, adjust the surrounding project if possible. Shift a frame dimension. Move shelf spacing. Change trim width. Add side panels. Center the design differently.
Design flexibility often costs less than fabrication. In other words, it may be easier to edit the furniture or wall treatment around the mirror than to force the mirror to become something it is not.
Step 11: Choose Acrylic Mirror for High-Traffic or Kid Spaces
If the mirror is going into a playroom, exercise area, hallway, dorm, classroom-style setup, or a space where bumps happen, acrylic deserves serious consideration. A lighter, more impact-resistant mirror alternative can make installation easier and reduce the stress of handling large reflective panels indoors.
This is also a smart option for renters who want the look of a mirror without committing to a heavy glass install. If the goal is visual brightness, depth, and function rather than heirloom-level craftsmanship, acrylic mirror often delivers more convenience than people expect.
Step 12: Plan Transport and Installation Before You Buy Anything
A surprisingly large number of mirror problems have nothing to do with cutting and everything to do with transport. A mirror that survives the store can still crack in the car, chip on the stairs, or get torqued during installation. So before you buy, think about how it will get home and how it will reach the final wall.
Measure your vehicle opening, stairwells, hallways, and door clearances. Decide whether the mirror needs edge protection, a helper for carrying, or special hardware. If you are installing a large wall mirror, plan for anchors, adhesive compatibility, and wall type. Drywall, tile, plaster, and masonry all have different personalities, and some of them are crankier than others.
Step 13: Know When the Best DIY Move Is Not Cutting at All
The smartest DIYers are not the ones who insist on doing every task personally. They are the ones who know which tasks are worth doing and which ones are worth handing off. If you do not have a glass cutter, a safe setup, or confidence in the material, the best step is to stop before the mirror becomes an expensive lesson.
That decision is not boring. It is skilled. It means you understand that a successful project is about the finished result, not about winning a personal showdown with a sheet of reflective glass. Home improvement is full of moments where the smartest tool is judgment.
Common Mistakes to Avoid
Trying random household tools
Improvising with blades, rotary gadgets, heat tricks, pressure hacks, or “internet genius” shortcuts is how a simple decor project turns into a bad story. A mirror is not impressed by confidence alone.
Ignoring edge quality
Even if a mirror somehow ends up the size you want, rough or chipped edges can ruin the look and create handling hazards. A clean edge matters visually and practically.
Forgetting wall support
A mirror that fits is only half the job. A mirror that is correctly supported is the other half. Never assume a heavy panel can hang happily from wishful thinking and one questionable anchor.
Choosing the wrong material for the room
Bathrooms, kids’ rooms, and decorative accent walls may all call for different mirror solutions. The “best” option depends on moisture, traffic, weight, and appearance.
Best Alternatives at a Glance
If you need a quick decision, use this cheat sheet. For a clean, high-end look in a bathroom or entryway, order a custom glass mirror. For a budget-friendly decorative update, use framed mirror tiles. For lightweight installations or family-heavy spaces, choose acrylic mirror. For a mirror that is close but not perfect, adjust the design around it with trim or framing. And for large, thick, beveled, or questionable mirrors, call a professional and let experience do the heavy lifting.
Final Thoughts
So, how do you cut a mirror without a glass cutter? The honest answer is: you usually should not. The smarter answer is: you solve the mirror problem without forcing a risky cut. That may sound less dramatic than a rogue-DIY legend passed around the internet, but it leads to better-looking projects, safer outcomes, and fewer emergency runs for bandages and replacement glass.
In home improvement, the best shortcut is not the sketchiest one. It is the one that gets you to a polished result with the least damage, the least waste, and the fewest opportunities to say, “Well, that escalated quickly.” Choose the safer route, and your mirror project will thank you by staying in one piece.
Experience and Lessons Learned From Real Mirror Projects
People who work on mirror projects usually begin with the same idea: “This should be simple.” After all, a mirror is flat, looks manageable from a distance, and seems like one of those materials that should cooperate if you are careful. Then reality shows up wearing work gloves. The mirror is heavier than expected, the room is tighter than expected, the wall is less straight than expected, and suddenly the project has more personality than anyone asked for.
One of the most common experiences is discovering that the “small size difference” is not actually small. A homeowner may think a mirror only needs to lose half an inch, but once the measurements are checked against trim, outlet placement, faucet clearance, and wall bowing, the issue becomes more complicated. This is why experienced DIYers almost always recommend planning the whole installation first. It is rarely just about the mirror itself. It is about the mirror, the wall, the mounting method, the room layout, and the final look all working together.
Another common lesson is that buying the wrong material can make even a well-measured project frustrating. Many people love the elegance of real glass, but later realize that what they really needed was a lighter mirror alternative for a closet door, workout corner, or child-friendly space. On the flip side, some shoppers choose acrylic because it seems easier, only to learn that a premium bathroom vanity setup may look crisper with true glass. The experience teaches a useful rule: choose the material based on the room, not just the price tag or impulse.
There is also the “I can transport this myself” phase, which often ends with a dramatic re-evaluation of physics. A mirror that looks perfectly manageable in a store can become awkward the moment it reaches a parking lot, staircase, or narrow hallway. People who have done this more than once tend to say the same thing: plan the journey before you buy. Knowing how it will fit in the car and through the house matters just as much as knowing where it will hang.
Then there is the emotional side of DIY, which is real and slightly hilarious. A lot of mirror projects go wrong because the project owner gets attached to making the original idea work, even after the smarter solution becomes obvious. Maybe the existing mirror is sentimental. Maybe it was free. Maybe it is just stubborn pride dressed up as thrift. But experienced renovators eventually learn that saving one piece of material is not always the same as saving money. Sometimes the least expensive path is replacing the mirror with the right size from the start.
The good news is that mirror projects usually turn out beautifully when approached with patience. People who step back, rethink the plan, and choose a safer alternative often end up with a cleaner finished result. The frame looks more intentional. The mirror fits better. The installation feels sturdier. And perhaps most importantly, the story ends with admiration instead of first aid. That is the kind of DIY experience worth repeating.