Painting a linoleum floor is one of those DIY projects that sounds a little suspicious at first, like putting a tuxedo on a lawn mower. Can it work? Yes. Can it look surprisingly beautiful? Also yes. Can it go wrong if you skip the prep work? Absolutely, and the floor will tell on you faster than a toddler with a secret.
If your old linoleum floor is clean, firmly attached, and structurally sound, paint can give it a fresh, custom look without the cost and chaos of a full flooring replacement. A dated beige kitchen floor can become a crisp checkerboard. A tired laundry room can suddenly look intentional. A small bathroom can go from “rental sadness” to “boutique guesthouse” in a weekend.
The secret is not magic. It is preparation, patience, and using products made to survive foot traffic. This guide explains how to paint a linoleum floor step by step, what materials to use, which mistakes to avoid, and how to make the finished surface last as long as possible.
Can You Paint a Linoleum Floor?
Yes, you can paint a linoleum floor, but it is best to think of it as a cosmetic makeover rather than a permanent flooring miracle. Paint sits on top of the surface, so adhesion matters. If the floor is waxy, greasy, glossy, peeling, damp, or loose, the paint will struggle to stick. If the floor is clean, lightly sanded, properly primed, and sealed, the result can be attractive and durable enough for many low- to moderate-traffic rooms.
This project works especially well in laundry rooms, powder rooms, mudrooms, craft rooms, pantries, and older kitchens where the existing floor is ugly but still functional. It is not the best fix for floors with water damage, curling seams, deep gouges, mold, or soft spots underneath. In those cases, paint is not a makeover; it is a disguise wearing bad shoes.
Linoleum vs. Vinyl: Does It Matter?
Many people use the word “linoleum” for any sheet flooring, but true linoleum and vinyl are different materials. Linoleum is usually made from natural ingredients such as linseed oil, cork dust, wood flour, and backing materials. Vinyl is synthetic and made mostly from PVC. Both are resilient floors, both can be glossy, and both can be painted with the right prep and products.
For this project, the bigger question is not whether the floor is technically linoleum or vinyl. The bigger question is whether the surface is stable, clean, and able to accept primer. If the floor is flexible, slick, or wax-coated, your prep work becomes even more important.
When You Should Not Paint Linoleum
Before grabbing a roller, inspect the floor carefully. Do not paint if the flooring is lifting at the seams, bubbling, crumbling, or damp. Avoid painting over mold, mildew, or mystery stains that keep coming back after cleaning. If the subfloor feels soft or spongy, the problem is underneath the surface and needs repair before any decorative work begins.
Also be careful in homes built before 1978. Older homes may contain lead-based paint on trim, walls, or nearby painted surfaces. If your floor project involves sanding painted baseboards, scraping old paint, or disturbing suspicious coatings, use lead-safe practices and consider hiring a certified professional. A pretty floor is not worth turning your house into a dust-flavored science experiment.
Tools and Materials You Will Need
Gather everything before you start so you are not standing in the middle of a wet floor wondering where the painter’s tape went. You will need a broom or vacuum, a mop, a degreasing cleaner, clean rags, painter’s tape, a sanding block or orbital sander, 120- to 150-grit sandpaper, a tack cloth or microfiber cloth, bonding primer, porch and floor paint or a floor coating system, a paint tray, angled brush, foam or microfiber roller, optional stencil, and a water-based polyurethane or compatible clear topcoat if recommended by your paint system.
Use products designed for floors, not leftover wall paint from the garage. Wall paint is made to look nice while quietly minding its business. Floor paint has to deal with shoes, pet paws, chair legs, laundry baskets, dropped spoons, and people pacing while waiting for coffee.
Step 1: Clean the Floor Like You Mean It
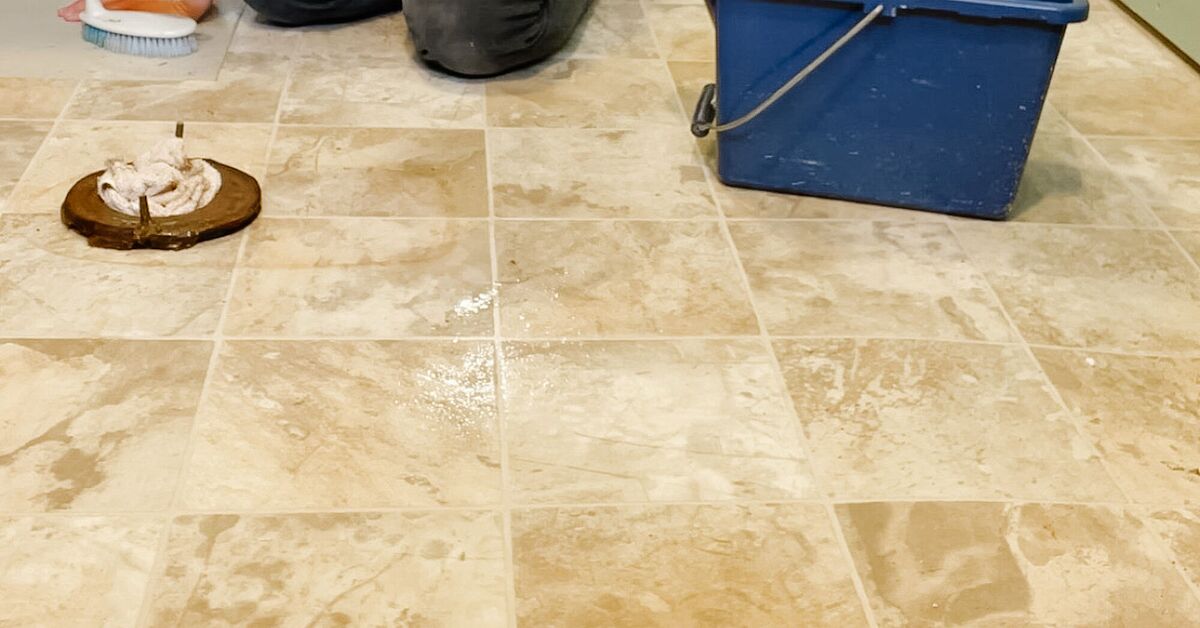
Cleaning is the least glamorous part of painting a linoleum floor, but it is also the part that decides whether your project succeeds. Sweep or vacuum thoroughly, paying special attention to corners and edges. Then wash the floor with a degreasing cleaner to remove cooking residue, wax, polish, soap film, and everyday grime.
In kitchens, clean twice. Grease can hide in plain sight, especially near the stove, sink, and trash area. In bathrooms and laundry rooms, remove detergent residue, hairspray film, and moisture marks. Rinse the floor with clean water after degreasing, then let it dry completely. Paint and trapped moisture are not friends. They are more like neighbors who keep calling the HOA on each other.
Step 2: Repair Small Damage
Small nicks, shallow dents, and tiny gaps can be filled before painting. Use a flexible floor patch or filler suitable for resilient flooring, following the product directions. Let repairs dry fully, then sand them smooth so they do not telegraph through the finished paint.
If you see curled edges or loose seams, glue and repair them before painting. If the floor is badly damaged across a large area, painting may not be worth the effort. A painted floor looks best when the original surface is boring but stable, not actively trying to escape the room.
Step 3: Sand or Degloss the Surface
Linoleum and vinyl floors often have a shiny protective layer. Paint does not love shiny surfaces because there is nothing to grip. Light sanding creates “tooth,” which gives primer a better chance to bond.
Use 120- to 150-grit sandpaper and lightly scuff the entire floor. You do not need to grind the floor down or remove the pattern. The goal is to dull the shine, not excavate ancient flooring history. After sanding, vacuum carefully and wipe with a tack cloth or slightly damp microfiber cloth. Any leftover dust can create bumps and weak spots in the paint.
Step 4: Tape the Edges
Apply painter’s tape along baseboards, thresholds, cabinets, toilet bases, tub edges, or anywhere the floor meets another surface. Press the tape firmly so primer and paint do not sneak underneath. If you want extra crisp lines, run a plastic putty knife along the tape edge.
Good taping makes the final job look professional. Bad taping makes the room look like it was painted during an earthquake. Take your time here.
Step 5: Apply Bonding Primer
A high-adhesion bonding primer is one of the most important parts of this project. It helps the paint grip the slick floor surface and creates a more even base color. Cut in around the edges with an angled brush, then roll the primer across the main floor area in thin, even coats.
Do not flood the floor with primer. Thick coats dry slowly and may stay soft underneath. Thin coats bond better and look smoother. Let the primer dry according to the manufacturer’s directions. Overnight drying is often a smart choice, especially if the room is humid or cool.
Step 6: Paint the Base Coat
Once the primer is fully dry, apply your floor paint. A porch and floor enamel, specialty floor coating, or manufacturer-approved floor paint is usually the right direction. Choose a finish that is durable but not dangerously slick. Satin and low-luster finishes are often more forgiving than high-gloss paint because they hide small imperfections and reduce glare.
Start at the farthest corner of the room and work toward the exit. Use a brush for edges and a roller for the main area. Apply thin, even coats. Two coats are usually better than one thick coat. Depending on the color change, you may need a third coat. For example, covering dark brown faux-brick linoleum with soft white paint may require more patience than covering beige with warm gray.
Step 7: Add a Pattern or Stencil
This is where the project gets fun. A painted linoleum floor can be solid, striped, checkerboard, geometric, faux tile, or stenciled. A stencil can make a dated sheet floor look like patterned cement tile for a fraction of the cost.
For a checkerboard pattern, measure the room carefully and mark your grid with a pencil or chalk line. For stripes, use painter’s tape and a measuring tape to keep spacing consistent. For stencils, use a stencil brush or small foam roller with very little paint. Too much paint causes bleeding under the stencil. Think “dry brush,” not “frosting a cake.”
Choose colors that match the room’s style. Black and white looks classic. Navy and cream feels coastal. Sage green and ivory feels soft and vintage. Terracotta and beige can warm up a laundry room or mudroom. If the room is small, a lighter base color can make it feel bigger and brighter.
Step 8: Touch Up Imperfections
After the pattern dries, inspect the floor. Use a small artist’s brush to fix stencil bleeds, uneven lines, or thin spots. This is the stage where perfectionists either shine or lose track of time completely. Do not worry if the floor is not flawless. A hand-painted floor should look intentional and charming, not machine-printed.
If you want crisp results, remove painter’s tape before the paint fully hardens. Pull the tape slowly at an angle. If a small bit lifts, touch it up after the surface dries.
Step 9: Seal the Painted Floor
A clear protective topcoat helps defend the painted surface from scratches, moisture, and daily wear. Use a water-based polyurethane or a clear coating that is compatible with your paint. Always check the product label. Some floor coating systems include their own topcoat and should not be mixed with random sealers.
Apply thin coats with a clean roller or applicator. Let each coat dry fully before applying the next. Three coats are common for painted floors, though high-traffic areas may benefit from extra protection if the product allows it. Avoid oil-based polyurethane over light colors unless the manufacturer says it is safe, because it may amber over time.
Step 10: Let the Floor Cure
Dry and cured are not the same thing. Paint may feel dry after a few hours, but it can take days or even weeks to reach full hardness. During the first few days, keep traffic light. Avoid dragging furniture, placing rugs, or letting pets sprint across the floor like tiny furry athletes.
When moving furniture back, use felt pads under legs. Do not place rubber-backed rugs on the new finish unless the coating manufacturer says it is safe. Some rubber backings can react with floor finishes and leave marks.
Best Rooms for Painted Linoleum Floors
Painted linoleum works best in spaces where you want style without a major renovation. A powder room is a great place to try a bold stencil because the square footage is small. A laundry room can handle a playful pattern because it is already a hardworking space. A pantry or mudroom can look fresh with a simple solid color and durable topcoat.
Kitchens can also work, but they need more care. Kitchens get grease, crumbs, chair movement, spills, and heavy foot traffic. If you paint a kitchen floor, choose durable products, seal well, and accept that touch-ups may be part of life. The floor can still look fantastic, but it is not a porcelain tile replacement wearing a cape.
Common Mistakes to Avoid
Skipping the Degreaser
Regular mopping is not enough. Grease, wax, and cleaner residue can prevent primer from bonding. Deep cleaning is essential.
Using Wall Paint
Wall paint is not designed for foot traffic. Use floor-rated paint or a specialty coating made for resilient flooring.
Painting Over Damp Flooring
Moisture can cause peeling, bubbling, and odor problems. Let the floor dry completely before priming.
Applying Thick Coats
Thick paint can stay soft, chip easily, and show roller marks. Thin coats are stronger and smoother.
Rushing the Cure Time
Walking on the floor too soon can leave dents, scuffs, and regret. Give the finish time to harden.
How Long Does a Painted Linoleum Floor Last?
A painted linoleum floor can last a few years with good prep, quality products, proper sealing, and gentle maintenance. In low-traffic rooms, it may look good for quite a while. In busy kitchens or entryways, expect some wear over time, especially near doorways, sinks, and chairs.
The good news is that touch-ups are easy if you save leftover paint. Keep small labeled containers of your base color, stencil color, and topcoat. Future you will be grateful. Future you may even say nice things about present you.
How to Clean and Maintain a Painted Linoleum Floor
Clean painted floors gently. Sweep often to remove grit, because dirt acts like sandpaper under shoes. Mop with a mild cleaner and a damp mop, not a soaking wet one. Avoid harsh chemicals, abrasive scrub pads, ammonia-heavy cleaners, and steam cleaning unless your coating manufacturer specifically allows it.
Use felt pads under furniture and lift items instead of dragging them. Place mats near exterior doors to catch grit. If you use rugs, choose breathable options that will not trap moisture or discolor the finish.
Design Ideas for a Stunning Transformation
For a timeless look, try a black-and-white checkerboard. It works in kitchens, mudrooms, and laundry rooms, and it pairs well with both vintage and modern decor. For a softer style, choose warm white and greige. For a farmhouse feel, paint a muted charcoal base with cream stenciling. For a cheerful small bathroom, try pale blue with a white tile-inspired pattern.
If your cabinets and walls are already busy, keep the floor simple. If the room is plain, let the floor be the star. Pattern scale matters too. Large patterns can make a small room feel calmer, while tiny patterns can look lively but may become visually busy.
Real-World Experience: What Painting a Linoleum Floor Actually Feels Like
The first thing you notice during a linoleum floor painting project is that the prep work feels wildly out of proportion to the painting. You might spend hours cleaning, sanding, taping, vacuuming, wiping, and waiting, then only thirty minutes rolling on a coat of paint. That is normal. In fact, that is the project. Painting is just the victory lap.
One of the most useful lessons is to start in a small room if you have never painted a floor before. A powder room, laundry closet, or pantry gives you enough space to learn without committing your entire kitchen to your first attempt. Small rooms also make mistakes less dramatic. If one stencil corner bleeds, you can fix it with a tiny brush instead of questioning all your life choices under fluorescent lighting.
Another real-world tip: test your colors on a scrap board or inconspicuous corner before painting the whole floor. Colors look different when they spread across a horizontal surface. A white that looks crisp on a paint chip may look too bright under kitchen lighting. A gray that looks sophisticated in the store may turn blue at home. Floors reflect light differently than walls, so sampling is not optional if you care about the final mood.
Stenciling also teaches patience. The best stencil results usually come from using less paint than you think you need. Load the roller lightly, blot it on a paper towel or tray, and build the pattern slowly. When the stencil is too wet, paint creeps under the edges. When it is lightly loaded, the design looks cleaner. It feels slower at first, but it saves time because you do not have to perform tiny rescue missions with a detail brush later.
Drying time is another area where optimism can sabotage the project. A floor may feel dry enough to touch but still be vulnerable to pressure. Socks are safer than shoes in the early stages, but even socks can pick up lint or leave marks if the coating is tacky. Keep pets, kids, and curious adults away as long as possible. Someone will always want to “just peek.” Do not trust the peekers.
Ventilation makes the experience much more pleasant. Open windows when weather allows, use fans to move air out of the room, and follow the safety instructions on every product label. Floor coatings can smell stronger than regular wall paint. A good respirator or mask may be appropriate depending on the product, especially in tight spaces.
The biggest emotional payoff usually happens after the final topcoat dries and the room comes back together. The same cabinets look newer. The same walls look cleaner. Even basic furniture feels more intentional. A painted linoleum floor can make a room look decorated instead of merely tolerated.
Still, it helps to keep expectations realistic. Painted floors may chip eventually. High-traffic paths may show wear. Chair legs can scuff if they are not padded. But the beauty of this project is that it is repairable. A small chip does not require demolition. It requires a dab of paint, a little sealer, and five minutes of calm confidence.
If you enjoy DIY projects that deliver a dramatic before-and-after without requiring a contractor, painting linoleum is deeply satisfying. It is affordable, creative, and flexible. You can go subtle, bold, classic, playful, or completely custom. And when guests ask whether you installed new tile, you get to smile mysteriously and say, “Nope, just paint.” That is a very good sentence.
Conclusion
Painting a linoleum floor is a smart way to refresh a dated room when the existing flooring is still solid. The process is simple, but it is not a shortcut. Clean thoroughly, sand lightly, use bonding primer, choose floor-rated paint, seal the surface, and let everything cure. With the right prep and a little patience, an old linoleum floor can become one of the most eye-catching features in your home.
Note: Painted linoleum is a decorative update, not a repair for damaged, wet, moldy, loose, or unsafe flooring. Fix structural and moisture problems before painting.