Note: This article is written for web publishing and is based on practical grill-maintenance guidance from major U.S. grill brands, fire-safety organizations, consumer-maintenance resources, and outdoor-cooking experts.
Winter has a sneaky way of exposing every shortcut you took in summer. The patio umbrella folds itself into hibernation, the garden hose starts acting like a frozen noodle, and your grillonce the heroic burger machine of Julysuddenly looks like a greasy metal treasure chest nobody wants to open. But here is the good news: learning how to prep your grill for winter is not difficult, expensive, or mysterious. It simply requires a little time, a bucket of soapy water, a clear head, and the emotional courage to face whatever is hiding in the drip tray.
Whether you own a gas grill, charcoal grill, pellet grill, smoker, kamado, or flat-top griddle, winter prep protects your investment from rust, moisture, pests, clogged burners, damaged fuel, and springtime regret. A neglected grill can develop corrosion, attract insects or rodents, collect mold, and create safety problems when you fire it back up. A properly winterized grill, however, can survive snow, sleet, rain, wind, and the occasional squirrel inspection with dignity.
This guide walks you through the full process: deep cleaning, fuel storage, rust prevention, cover selection, pest protection, and smart winter storage. Think of it as sending your grill to a cozy seasonal spaexcept instead of cucumber water, it gets degreaser and a weatherproof cover.
Why Winterizing Your Grill Matters
A grill is built for heat, smoke, grease, and outdoor weather, but that does not mean it enjoys being abandoned in freezing rain with last weekend’s barbecue sauce still welded to the grates. Winter conditions can be hard on metal, enamel, burners, hoses, igniters, wheels, shelves, and electronic pellet-grill components.
Moisture is the biggest enemy. When grease, ash, food residue, and rainwater mix, they create the perfect environment for rust and unpleasant odors. Ash from charcoal can hold moisture and become corrosive. Grease left in trays can turn rancid, attract pests, and increase fire risk later. Pellet grills have another special problem: wood pellets absorb moisture, swell, crumble, and clog augers if left in the hopper too long.
Winter prep also makes spring easier. Instead of spending the first warm weekend scraping mystery gunk while your neighbors are already grilling ribs, you can uncover a clean, protected grill and get cooking. That alone is worth the effort.
Step 1: Do One Final Burn-Off
Before you start scrubbing, give your grill one final burn-off. Turn the grill on high for 10 to 15 minutes, close the lid, and let heat loosen stuck-on food and grease. For charcoal grills, allow the coals to burn hot and clean after your last cook. For pellet grills, run the shutdown cycle according to the manufacturer’s instructions.
Once the grill cools to a safe temperature, brush the cooking grates. A grill brush, wooden scraper, nylon brush, grill stone, or balled-up foil can help remove residue. If you use a wire brush, inspect it carefully and replace it if bristles are loose or worn. Nobody wants a metal bristle cameo in next spring’s cheeseburger.
Step 2: Deep Clean the Cooking Grates
Remove the grates and clean them thoroughly. For stainless steel or porcelain-coated grates, warm soapy water usually works well. Soak them in a large tub or sink if they are especially dirty, then scrub gently and rinse. Avoid harsh scraping on porcelain-coated surfaces because chipped coating can expose metal and encourage rust.
Cast-iron grates require a little extra care. Do not soak them for long periods, and do not put them in the dishwasher. Clean them by hand, dry them completely, and apply a thin layer of cooking oil to help prevent corrosion. The goal is not to make cast iron look brand-new; the goal is to keep it clean, seasoned, and protected.
Quick grate-care tip
After cleaning and drying, lightly oil metal grates before storage. Use a neutral high-heat oil and wipe off the excess. A thin coat is helpful. A dripping oil slick is not. Your grill should not look like it is auditioning for a salad dressing commercial.
Step 3: Empty and Clean the Grease Tray
The grease tray is where good intentions go to become a fire hazard. Remove the drip pan, grease cup, foil liner, or disposable tray. Throw away old liners and scrape out hardened grease. Wash reusable parts with warm soapy water, rinse, and dry completely.
This step matters because grease buildup can cause flare-ups when you use the grill again. It can also attract mice, insects, raccoons, and other backyard critics who do not respect property boundaries. If your grill has a removable grease management system, clean every part you can safely access.
Step 4: Clean the Firebox and Interior
Remove flavorizer bars, heat tents, flame tamers, baffles, diffuser plates, or sear plates. Scrape loose debris from the firebox with a plastic putty knife or grill scraper. Vacuum out dry crumbs, ash, and flakes with a shop vacuum if appropriate for your grill type. Never vacuum hot ash or warm embers.
Use warm soapy water or a grill-safe degreaser on greasy interior surfaces. Rinse with a damp cloth and dry everything well. The inside does not need to shine like a showroom appliance. A grill is a working machine, not a jewelry display. Your target is clean, dry, and free of heavy buildup.
Step 5: Inspect Burners, Tubes, Hoses, and Igniters
For gas grills, winter prep is a great time to inspect the burners and gas system. Look for clogged burner ports, rusted areas, cracked hoses, loose connections, sharp hose bends, and signs of insect nests. Spiders and small insects sometimes crawl into burner tubes, which can interfere with gas flow.
Use a burner brush, pipe cleaner, or manufacturer-recommended tool to clear burner openings. Do not enlarge the holes. Check the igniter button and battery if your grill uses one. If the ignition system was unreliable during the season, fix it before storage or add it to your spring checklist. Future you will appreciate not having to troubleshoot fire while holding a tray of marinated chicken.
Step 6: Handle Propane Tanks Safely
If you have a propane grill, turn the tank valve off completely. If you store the grill outdoors, the propane tank can often remain connected as long as the valve is closed and the grill is covered. If you move the grill indoorssuch as into a garage, shed, or storage areadisconnect the propane tank and store the tank outside in an upright, well-ventilated area.
Do not store propane tanks inside your home, basement, garage, or enclosed porch. Do not store them on their side. Do not place them near open flames, heaters, dryer vents, or high-traffic areas where they can be knocked over. Propane cylinders are designed to handle cold weather, but they need proper ventilation and stable positioning.
Before spring grilling
When warm weather returns, check gas connections with a soapy-water leak test before lighting the grill. If bubbles form at a connection, turn off the gas and fix the issue before use. Never use matches or lighters to search for leaks.
Step 7: Prep Charcoal Grills the Right Way
Charcoal grills are simpler than gas grills, but they still need winter care. Empty all ash from the bowl and ash catcher. Ash absorbs moisture, and wet ash can encourage corrosion. Clean the cooking grate, charcoal grate, vents, lid, and bowl. Make sure vents move freely because stuck vents can make temperature control frustrating later.
Store charcoal in a dry place, preferably in a sealed container. Damp charcoal can be difficult to light and may burn poorly. If you use charcoal starter fluid, store it safely according to the label, away from heat sources and out of reach of children and pets.
Step 8: Winterize Pellet Grills and Smokers
Pellet grills need special attention because pellets and electronics do not love moisture. Empty pellets from the hopper if the grill will sit unused for weeks or months. Vacuum sawdust from the hopper and firepot. Clean the grates, drip tray, heat baffle, grease channel, chimney, and interior surfaces.
Store wood pellets in an airtight container in a dry location. A sealed bucket with a lid works well. Do not rely on a loosely folded pellet bag in a damp garage and expect magic. Pellets are basically tiny wooden sponges with barbecue ambitions.
If your pellet grill has a controller, display, meat-probe ports, or Wi-Fi components, protect the unit from moisture. Use a fitted cover, avoid pooling water, and consider storing the grill under a roofed area if possible.
Step 9: Protect Against Rust
Rust prevention begins with dryness. After washing grill parts, dry them completely before reassembly. Wipe down exterior stainless steel, painted metal, shelves, handles, knobs, and side tables. For stainless steel, clean with the grain using a soft cloth and a stainless-safe cleaner if needed.
Apply a light coat of cooking oil to cast iron, bare steel grates, and other manufacturer-approved metal surfaces. Do not oil burners unless your grill manual recommends it. Reassemble the grill only after parts are fully dry.
If you notice chipped paint or exposed metal on the outside of the grill, touch it up with high-heat grill paint if appropriate. Small repairs before winter can prevent larger rust problems by spring.
Step 10: Choose the Right Grill Cover
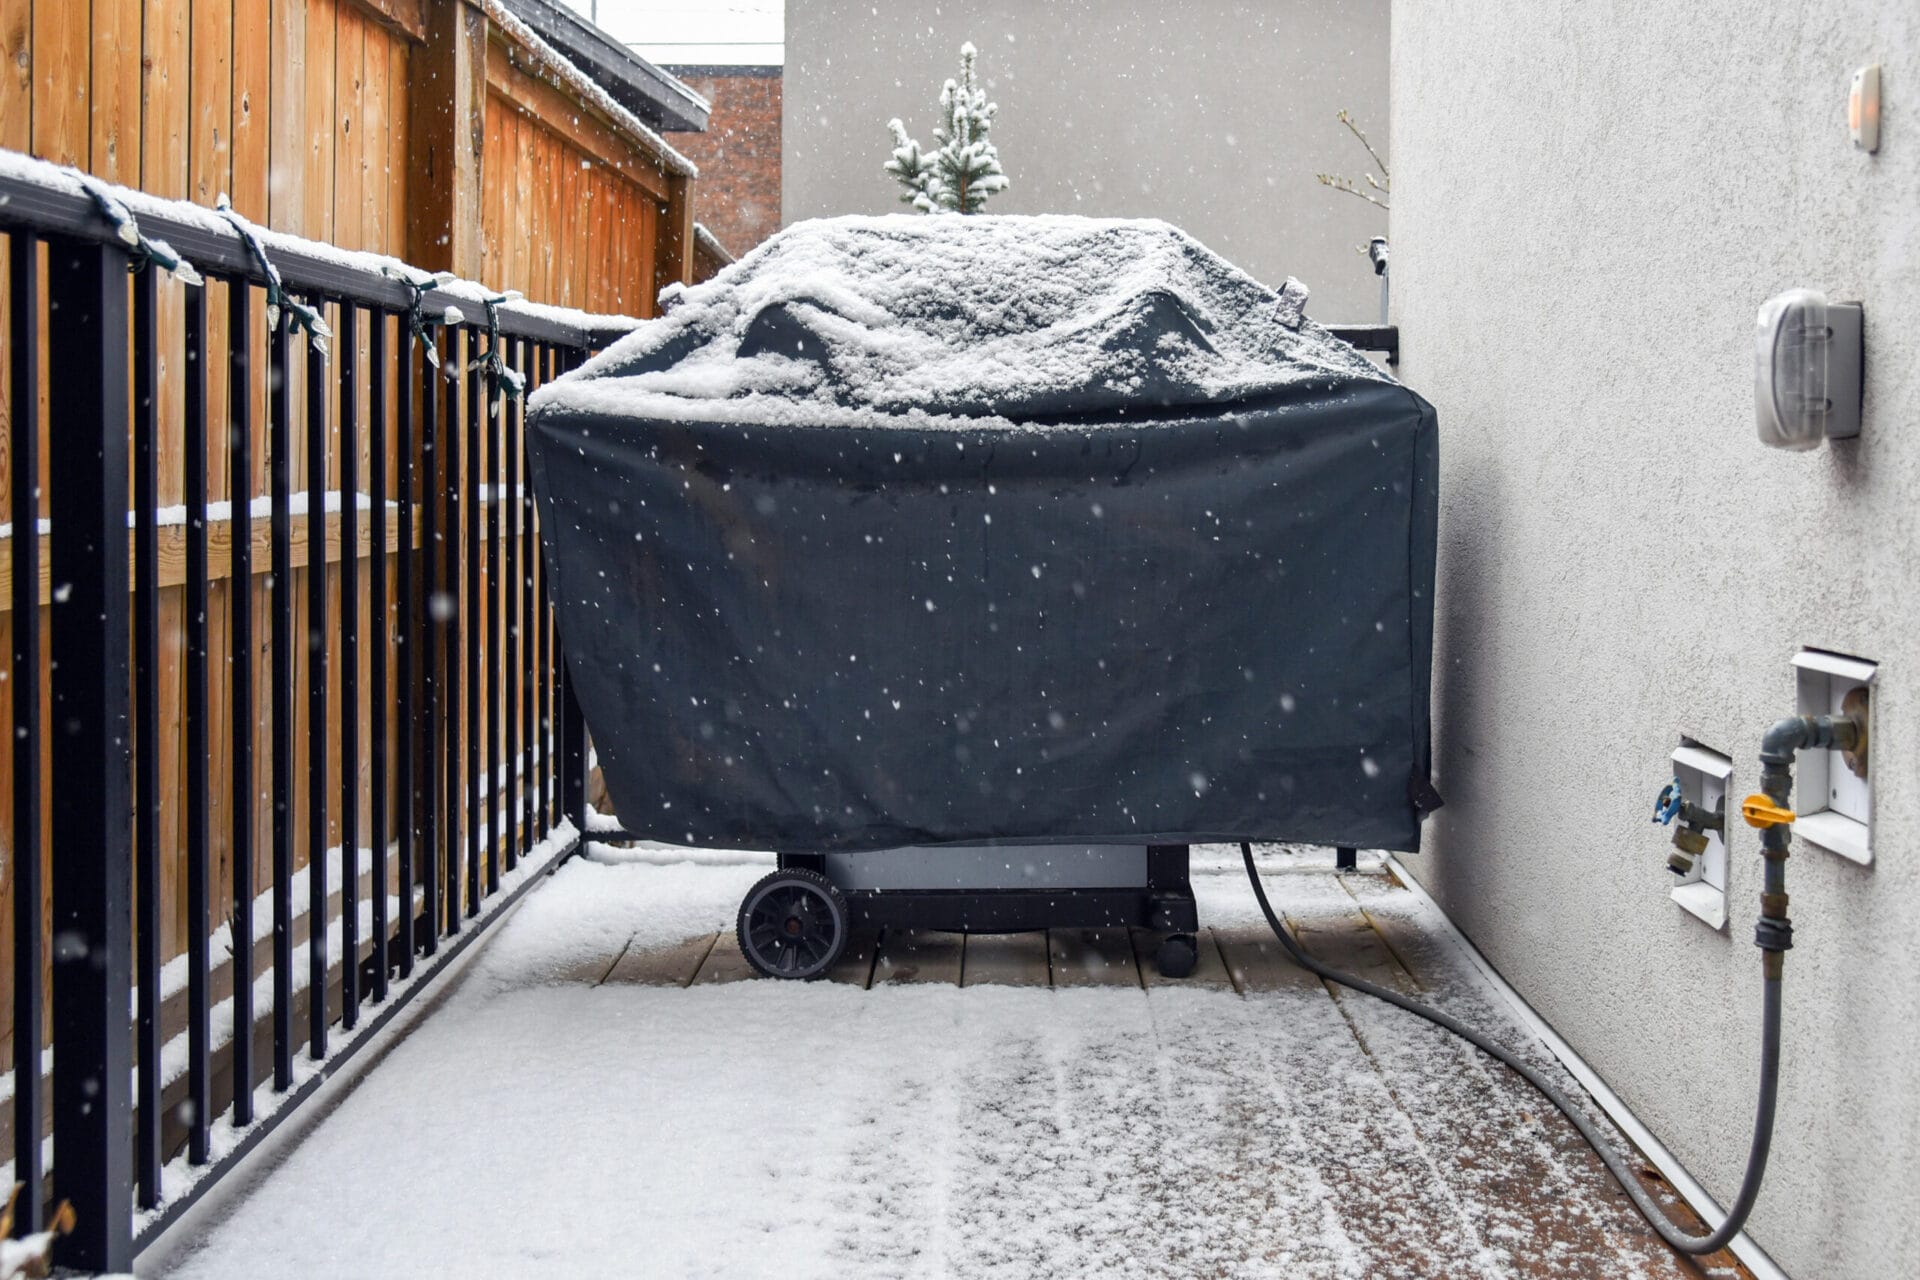
A good grill cover is not just a grill blanket. It is a weather barrier, pest shield, and emotional support garment for your barbecue equipment. Choose a cover that fits your grill well without dragging on the ground. It should be water-resistant, durable, breathable enough to reduce trapped condensation, and secured with straps or fasteners so winter wind does not launch it into the neighbor’s yard.
Before covering the grill, make sure everything is clean and dry. Covering a dirty, damp grill can trap moisture and accelerate rust. If your grill sits in an exposed area, check the cover occasionally during winter to remove heavy snow or standing water.
Step 11: Store the Grill in the Best Location
The best winter storage location is dry, sheltered, and ventilated. A covered patio, outdoor kitchen area, carport, or shed can work well. If storing a grill indoors, disconnect propane tanks and keep them outdoors. Natural gas grills should be turned off at the supply and disconnected only if you are comfortable doing so or have a professional handle it.
Try to avoid placing the grill directly under roof edges where snow and ice slide down. Keep it away from sprinklers, downspouts, muddy ground, and areas where water pools. If possible, set the grill on a level hard surface such as concrete, pavers, or a deck.
Step 12: Keep Pests Out
Winter pests are opportunists. If your grill smells like grease and has tiny openings, it may look like a furnished apartment to mice or insects. Clean food residue thoroughly, empty grease trays, and close vents when appropriate. Some grill owners cover burner openings loosely with foil or plastic wrap during long storage, then remove the coverings before use. If you do this, place a big reminder note near the controls so you do not forget.
Do not store grill tools, greasy brushes, or food items inside the grill cabinet. Keep the storage area tidy, and avoid leaving bags of charcoal, pellets, or wood chips open where pests can explore.
Winter Grill Prep Checklist
- Do a final burn-off to loosen residue.
- Brush and wash the cooking grates.
- Empty and clean the grease tray or drip pan.
- Scrape and clean the firebox.
- Inspect burners, hoses, tubes, vents, and igniters.
- Remove ash from charcoal grills.
- Empty pellet hoppers and store pellets in airtight containers.
- Dry every part completely before storage.
- Lightly oil cast iron or bare metal grates.
- Turn off propane tanks and store cylinders safely outdoors if disconnected.
- Use a fitted, weather-resistant grill cover.
- Store the grill in a dry, sheltered spot when possible.
Common Winter Grill Prep Mistakes
Leaving grease behind
Grease is not seasoning. It is fuel, pest bait, and odor in waiting. Clean the drip tray before storage.
Covering the grill while it is damp
A cover protects your grill from weather, but it can also trap moisture if the grill is wet. Dry first, cover second.
Forgetting about the propane tank
Propane cylinders should stay upright, closed, and outdoors in a ventilated area when disconnected. Never bring them into enclosed indoor spaces.
Leaving pellets in the hopper all winter
Pellets can absorb moisture, break apart, and create auger problems. Empty the hopper and store pellets dry.
Assuming spring cleaning will fix everything
Spring cleaning is easier when you did winter prep. Otherwise, you may spend your first sunny weekend fighting rust, grease, and regret.
Can You Grill During Winter?
Yes, you can grill during winter if you do it safely. Keep the grill outdoors in a well-ventilated area, away from structures, deck railings, overhangs, and dry branches. Never grill inside a garage or enclosed space, even with the door open. Carbon monoxide is not a seasoning.
Cold weather grilling usually requires extra fuel and longer preheating. Keep the lid closed as much as possible, use a food thermometer, and clear snow or ice from around the grill before cooking. If knobs, lids, or wheels are frozen, thaw them gently rather than forcing them.
If you grill all winter, your “winter prep” becomes more of a maintenance routine: keep the grates clean and oiled, empty grease regularly, protect fuel from moisture, and cover the grill after it cools.
Personal Experience: What Actually Makes Winter Grill Prep Easier
After helping maintain several grills through cold seasons, one lesson stands out: the best winter prep is the kind you do before the weather becomes miserable. Cleaning a grill in a light fall breeze is not glamorous, but it is much better than scraping frozen grease while your fingers question your life choices.
The easiest routine is to split the job into two parts. First, do the dirty work right after the final big cookout of the season. The grill is already in use, the residue is fresh, and you are mentally prepared for barbecue cleanup. Run a hot burn-off, brush the grates, empty the grease tray, and scrape the firebox. This prevents the worst buildup from sitting for months. Then, a day or two later, do the careful work: wash removable parts, dry everything, oil the grates, inspect hoses, and cover the grill.
Another practical experience: do not underestimate the power of a good cover. Cheap covers can rip, leak, or blow away. A fitted cover with straps is worth it, especially in windy areas. However, even the best cover cannot rescue a grill that was stored wet and dirty. A cover is protection, not a forgiveness machine.
For gas grills, the propane tank step is the one people often rush. Turning off the valve takes two seconds, but forgetting it can waste fuel or create safety concerns. I like to make it part of a simple closing ritual: knobs off, tank off, grill cool, cover on. That tiny routine prevents a lot of spring confusion.
For pellet grills, emptying the hopper is the habit that pays off most. Damp pellets can turn into crumbly sawdust, and sawdust in the wrong place can cause feeding and ignition problems. Storing pellets in a sealed bucket feels slightly fussy until the first time you open it in spring and the pellets are dry, clean, and ready to smoke ribs like nothing happened.
One underrated trick is taking quick phone photos during disassembly. If you remove heat plates, drip trays, baffles, or burner covers, snap a picture before everything comes apart. In spring, those photos can save you from staring at a pile of metal pieces like you are solving a barbecue-themed escape room.
It also helps to keep a small grill-maintenance kit: gloves, scraper, soft cloths, degreaser, dish soap, nylon brush, stainless-safe cleaner, replacement foil liners, and a trash bag. When everything is in one place, the job feels manageable. When you have to hunt for supplies, suddenly cleaning the grill becomes “maybe next weekend,” and next weekend has a way of turning into next April.
The final experience-based advice is simple: leave yourself a spring note. Put a small tag under the cover or set a reminder on your phone that says what you did before storage. Did you disconnect the propane tank? Empty the pellets? Remove the igniter battery? Cover burner openings? That note is a gift to your future self, who will otherwise have no memory of your responsible autumn behavior.
Conclusion: A Clean Grill Sleeps Better
Prepping your grill for winter is not about perfection. It is about removing grease, controlling moisture, protecting fuel, preventing rust, and storing the grill safely. A clean, dry, covered grill lasts longer, performs better, and makes the first cookout of the next season feel easy instead of archaeological.
Take the time to deep clean the grates, firebox, grease tray, burners, ash catcher, pellet hopper, and exterior. Store propane correctly, keep pellets dry, cover the grill well, and choose the driest storage spot available. Your reward is a grill that wakes up in spring ready for burgers, steaks, vegetables, ribs, and whatever else you plan to throw over the flame.
Winter may be coming, but your grill does not have to suffer dramatically like it is in a prestige TV finale. Give it a proper cleanup, tuck it in with a good cover, and let it rest like the backyard legend it is.